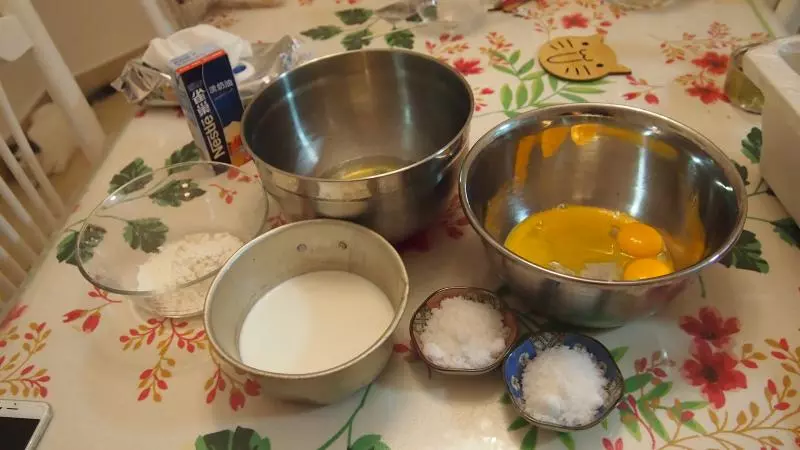
原料
蛋黄: 5个, 蛋白: 4个左右130g, 蛋白用砂糖: 50g, 蛋黄用砂糖: 30g, 牛奶: 275g, 淡奶油: 50g, 低粉: 45g
步骤
1材料码好,另准备一盆冷水,放入冰箱冷藏备用。
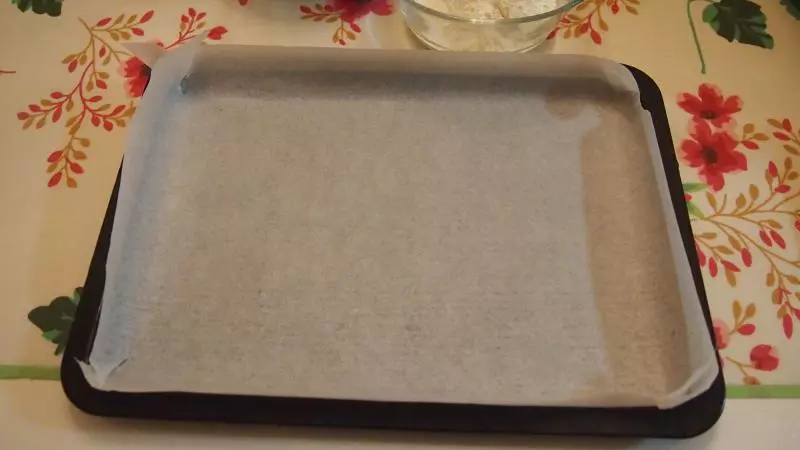
2烤盘铺好。我用的是长方形烤盘。
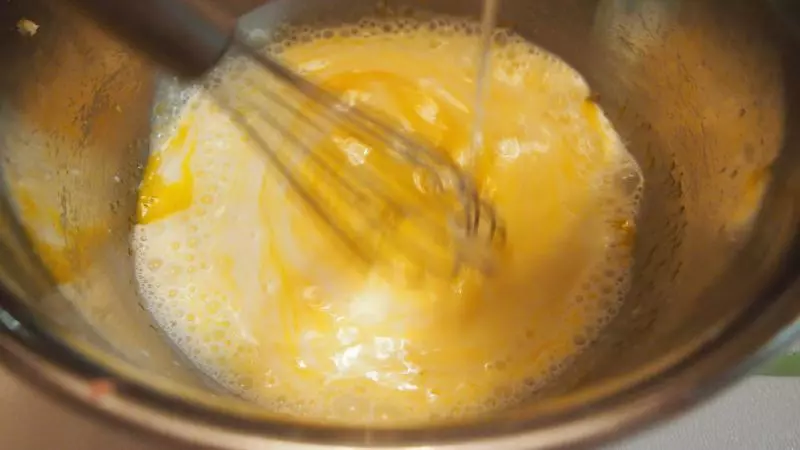
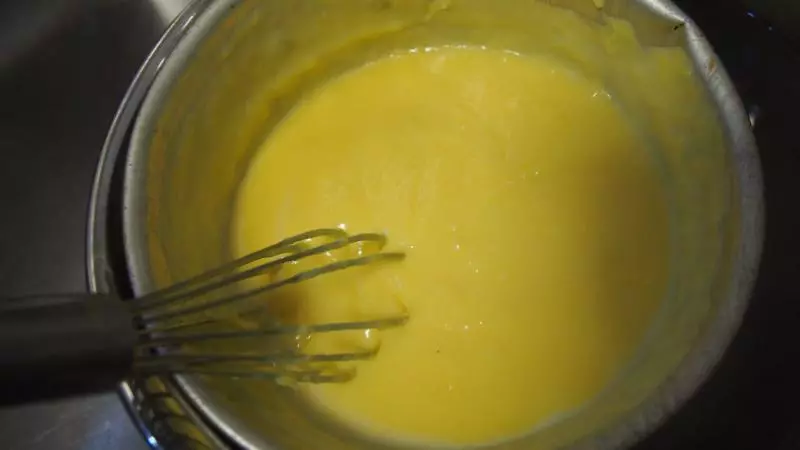
3蛋黄加砂糖用打蛋器混合均匀。
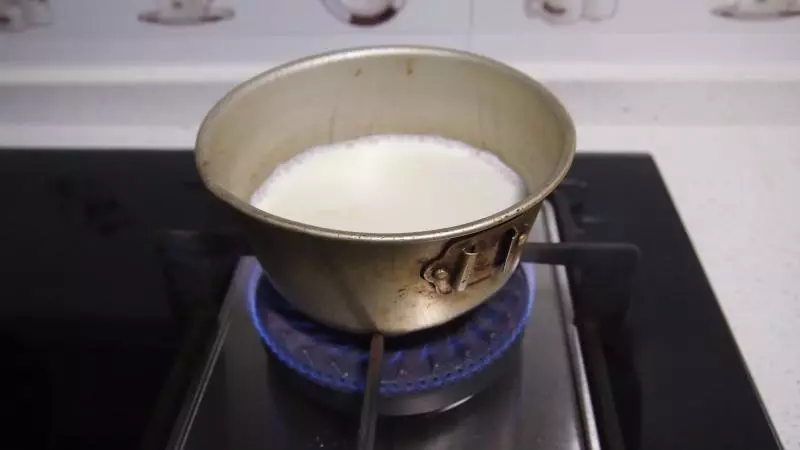
4牛奶混淡奶油加热至周边冒泡就可以了,确保牛奶不能太烫。离火,换一盆水,继续烧。
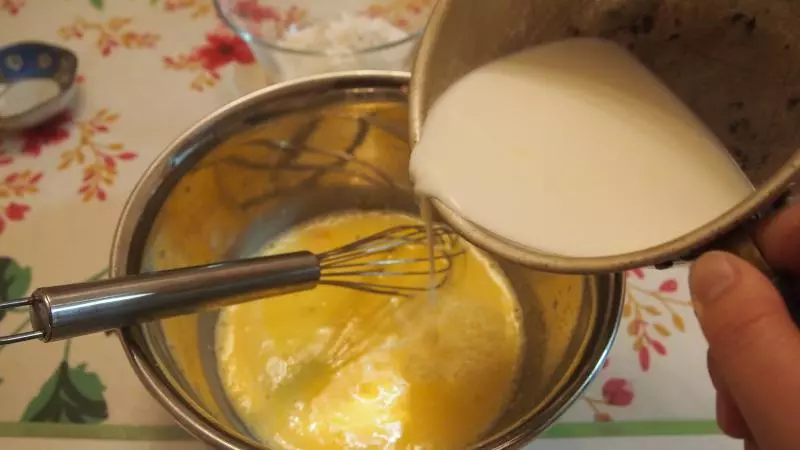
5此间,将4倒入3中,以温柔的手法缓缓地倒入同时搅拌。切勿一下子倒入再搅拌,蛋黄会熟的孩子们。
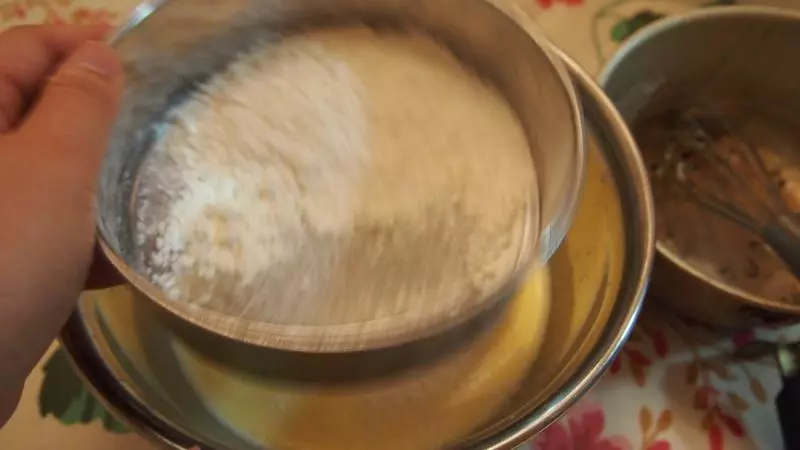
6筛入低粉。
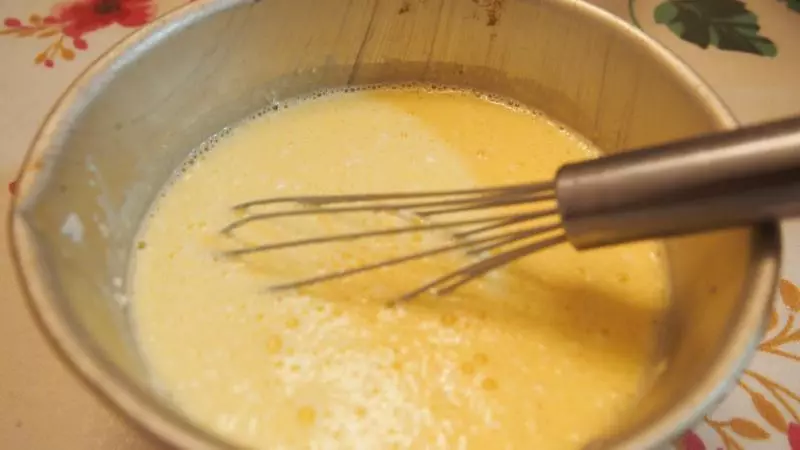
7搅拌均匀,看不见干粉即可停止。
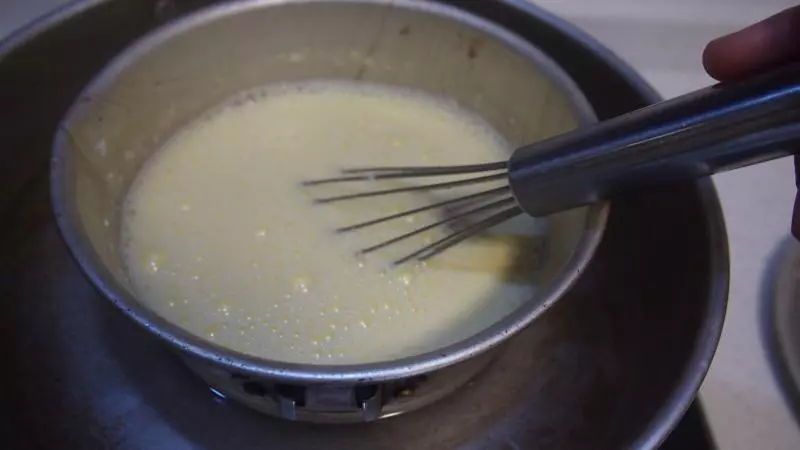
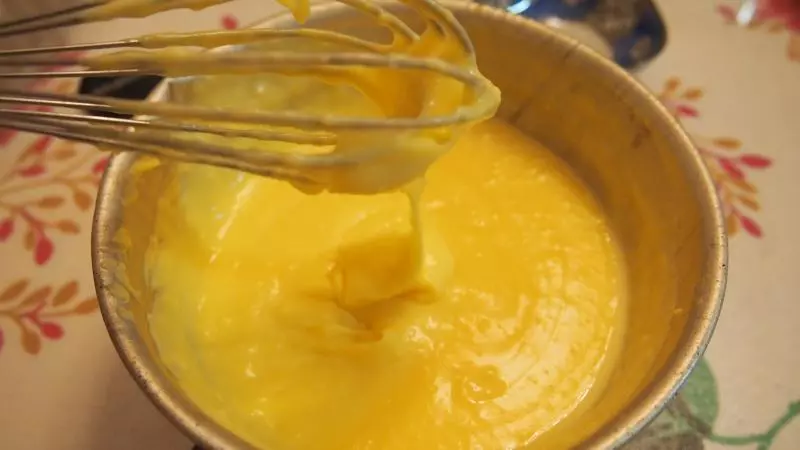
8(这一步开始前拿出冷水放在一边)。 蛋黄糊首先坐入热水中隔水加热,快速搅拌,随着温度的上升,蛋黄糊会越来越用阻力感,搅拌至能看见清晰的纹路立即离水,立即放入旁边冷水中。
9放入冷水中后依然用力搅拌,手伸进去,体感不烫但比手温高,拿出来放一边。
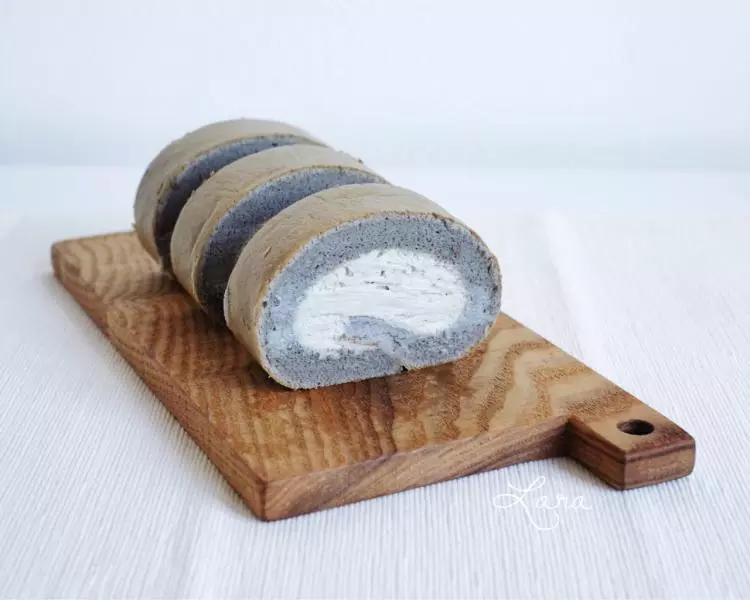
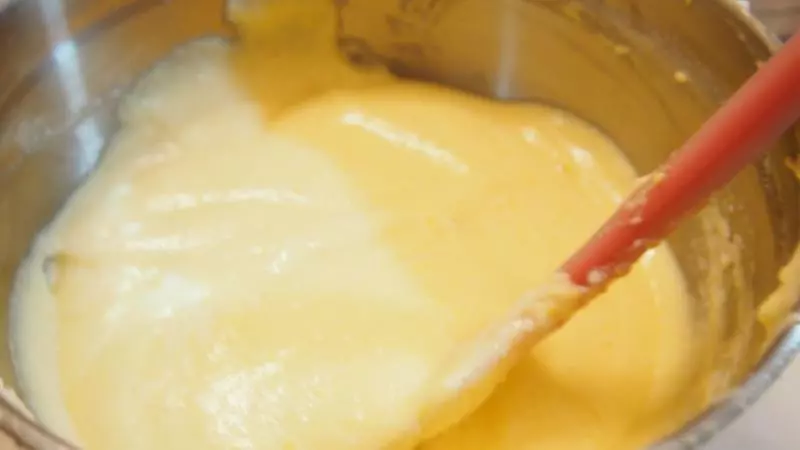
10蛋黄糊最后就是这样柔滑细腻,蛋糕体有弹性全靠它了。
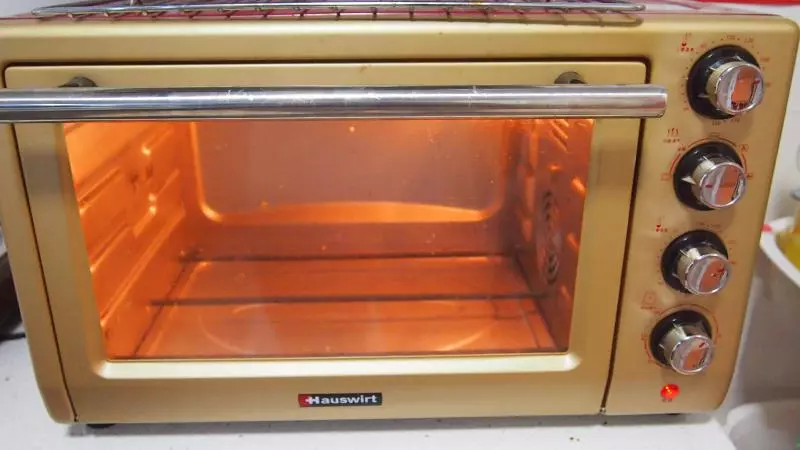
11预热烤箱,170度。
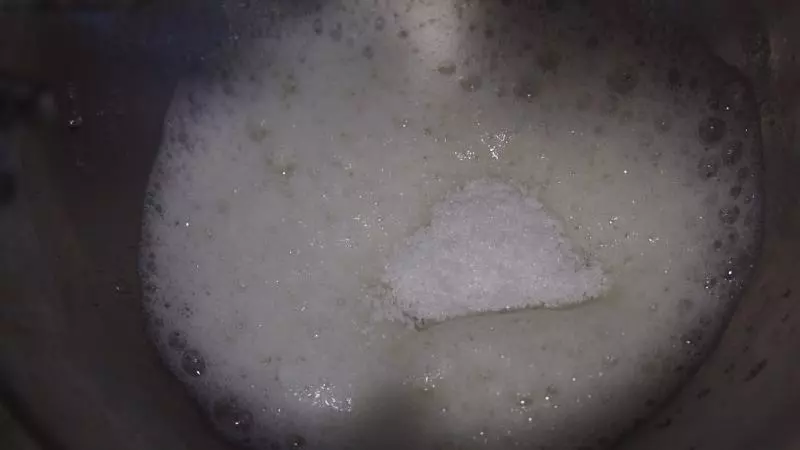
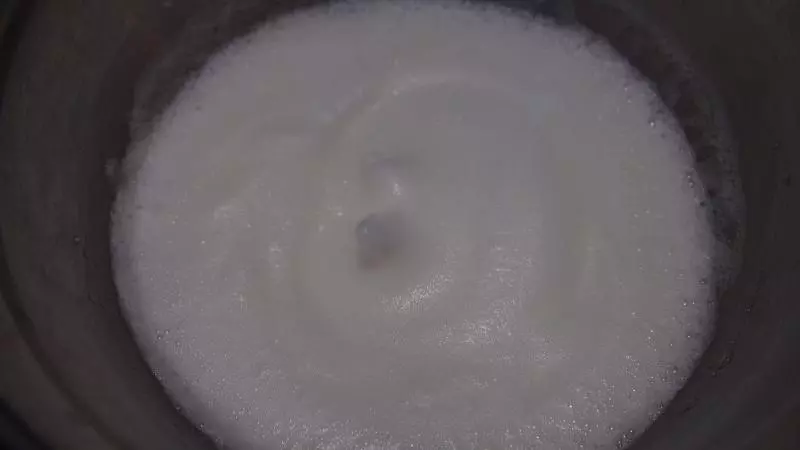
12打发蛋白至粗泡,放入1/3砂糖。
13继续打发有纹路后,放1/3砂糖。
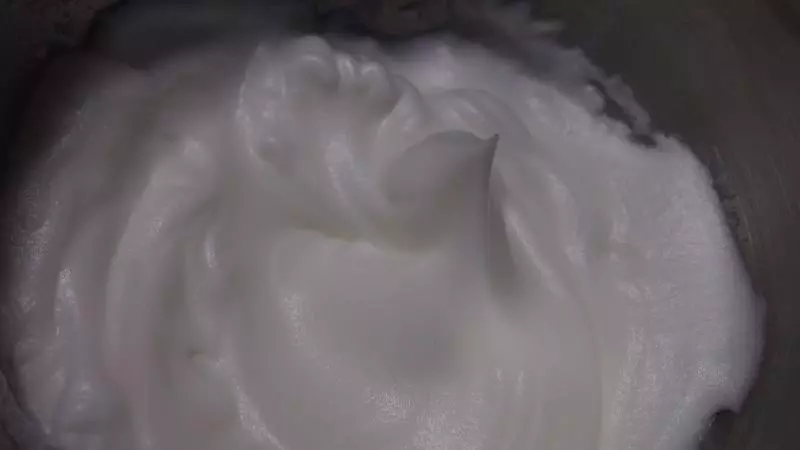
14最后打发至纹路清晰,放入剩下的1/3砂糖,低速打发至出现弯钩。
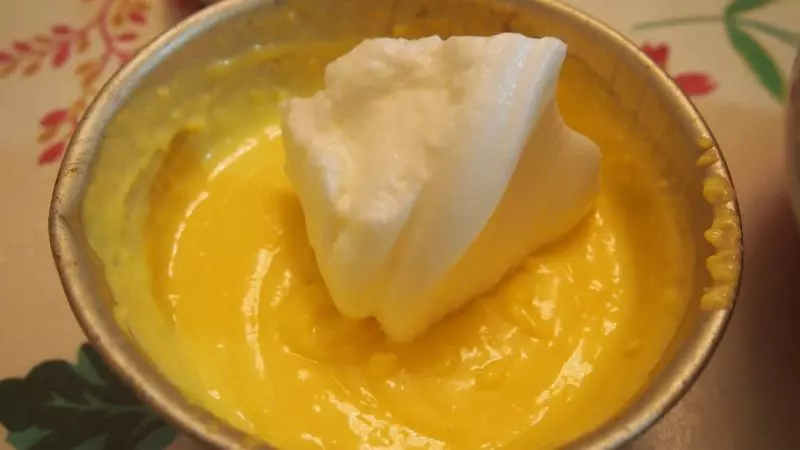
15将蛋白加入蛋黄糊,将刮刀从中间插入,左手转盆伴随右手拿刮刀向四周翻拌。
16翻拌至均匀细滑,时间不要太久,以免消泡。
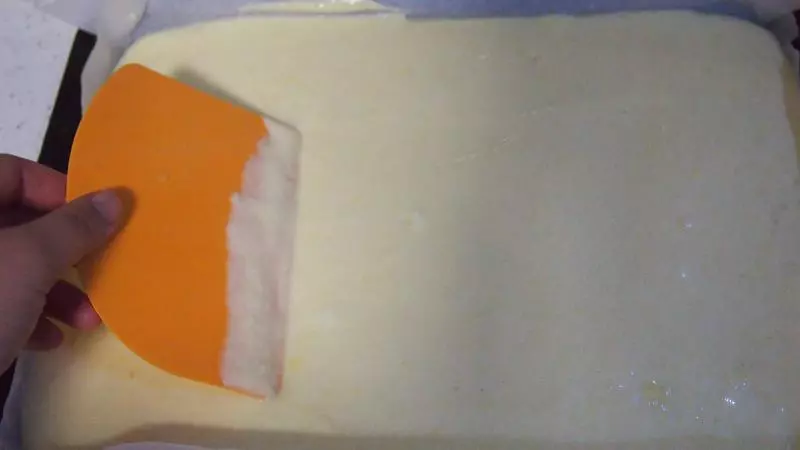
17倒入烤盘中,刮板涂抹均匀。
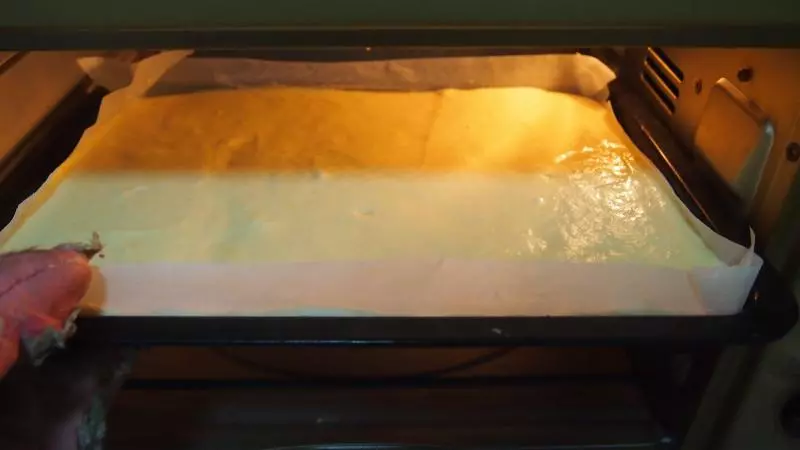
18放入事先预热好的烤箱中,170度30-40分钟。
19到30分钟的时候要时刻关注蛋糕体的膨胀程度及上色度,觉得好了打开烤箱手按一下蛋糕没有明显沙沙声就代表熟了。
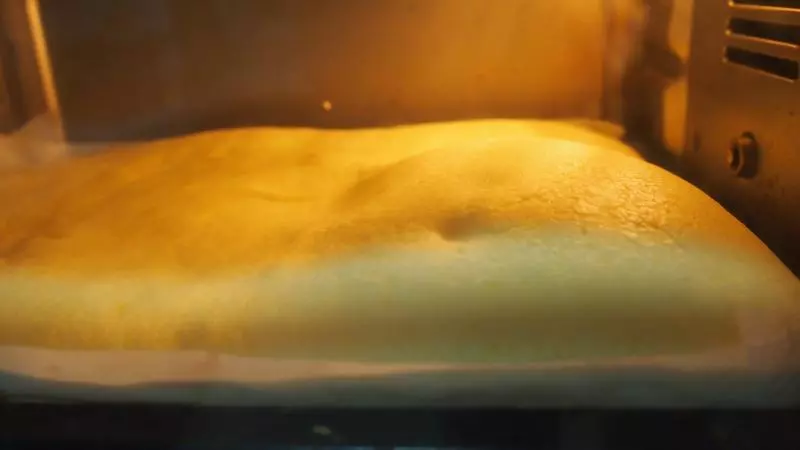
20熟了没?喵—