原料
油皮:: , 中筋面粉: 100g, 糖粉: 15g, 水: 45g, 全蛋液: 2小勺, 猪油: 10g, 酥皮:: , 中筋面粉: 80g, 猪油: 50g, 糯米馅:: , 糯米粉: 70g, 糖粉: 70g, 水: 110g, 猪油: 35g, 装饰:: , 全蛋液: 1只鸡蛋, 白芝麻: 适量
步骤
1糯米粉加水加糖粉加猪油,一起倒入锅里,大火煮沸转小火
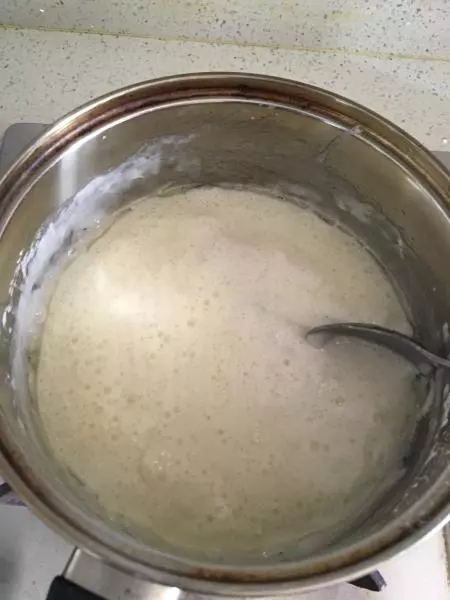
2立刻加入全部糯米粉,搅拌均匀,呈黏稠状,关火

3馅铺在盘子上,放入冰箱冷藏1个小时至不粘手,然后平均分成16份待用

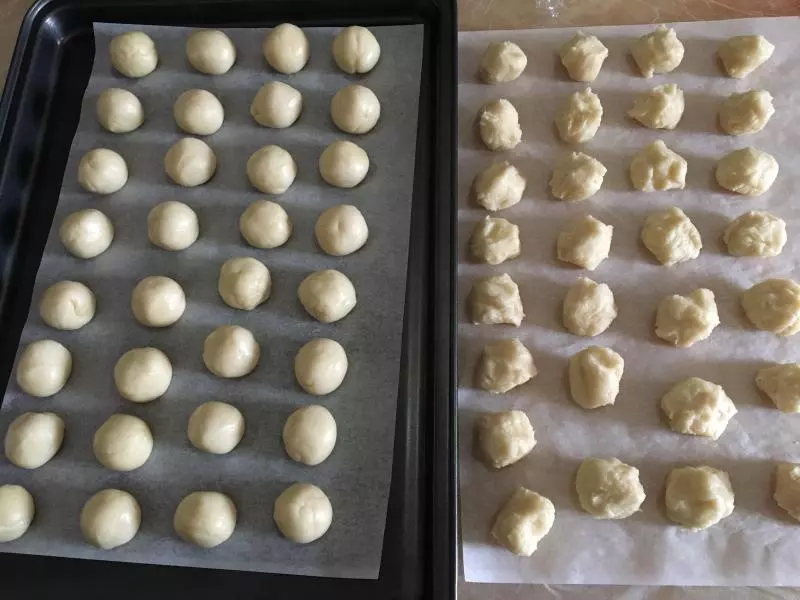
4用料油皮的材料混合揉成团,包上保鲜膜静置松弛(左白团)30分钟 用料油酥的材料混合揉成团,包上保鲜膜静置松弛(右白团) 松弛好的2种面团分别平均分成16份
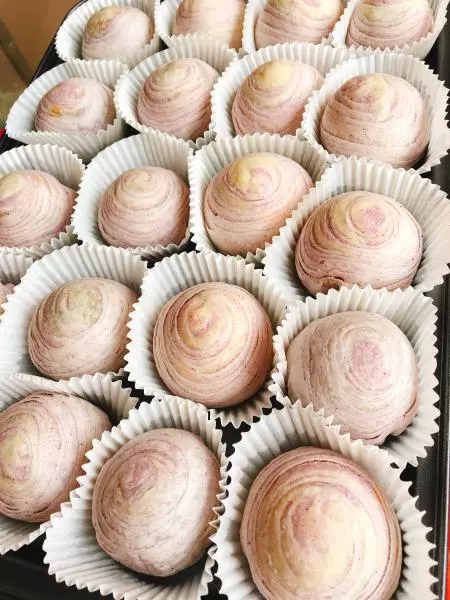
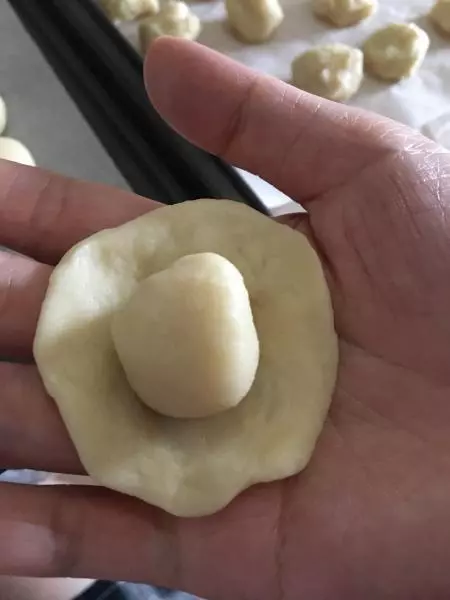
5油皮面团包裹酥皮面团
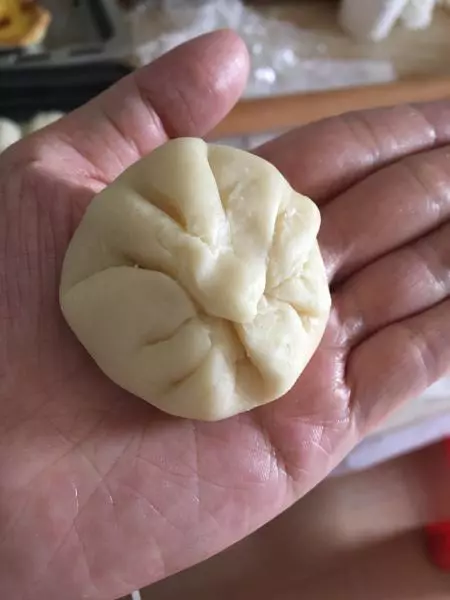
6收口
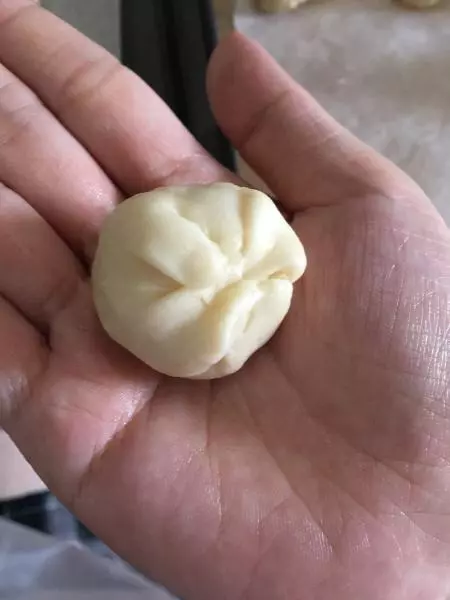
7收口朝下
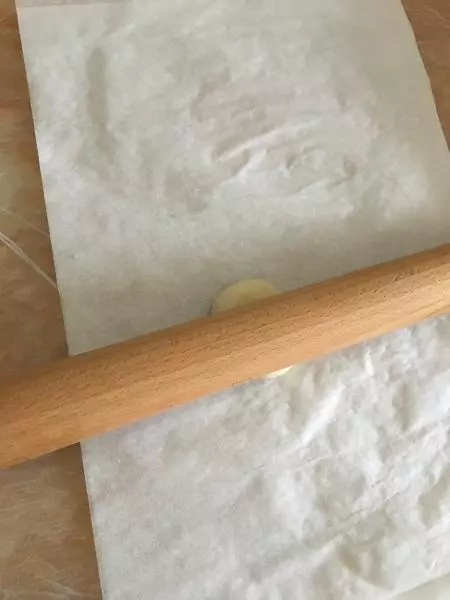
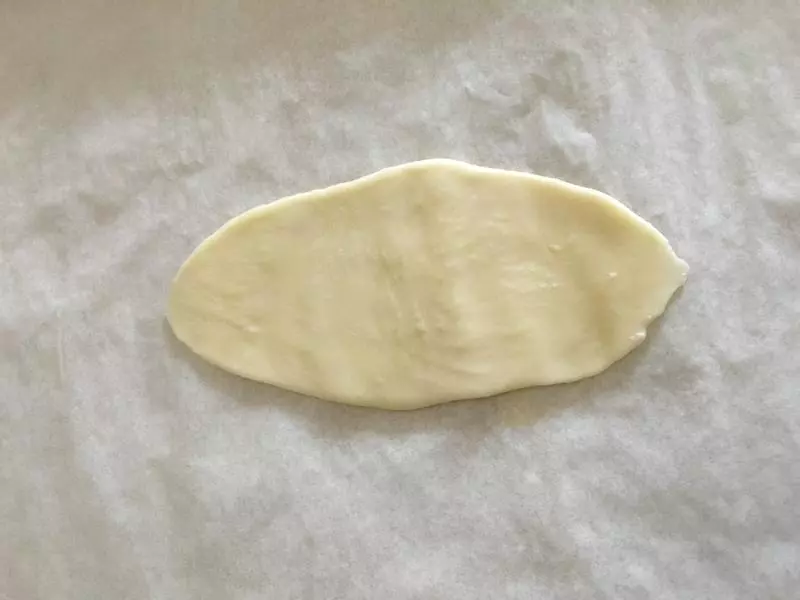
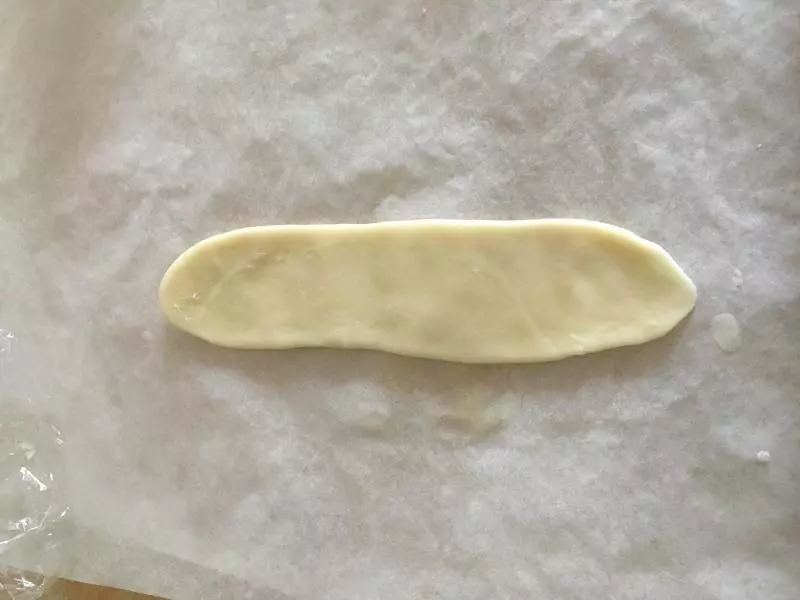
8去面团压扁,擀成长椭圆形
9(๑• ω •๑)
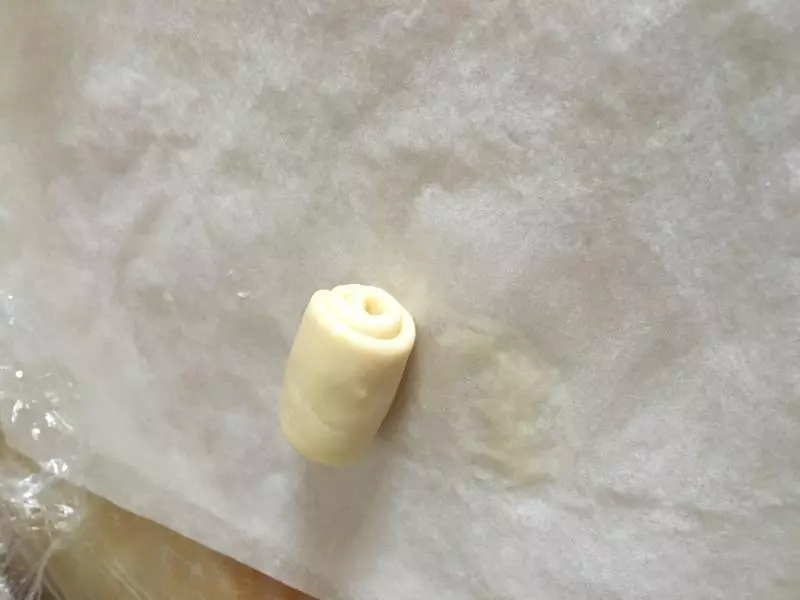
10卷起来
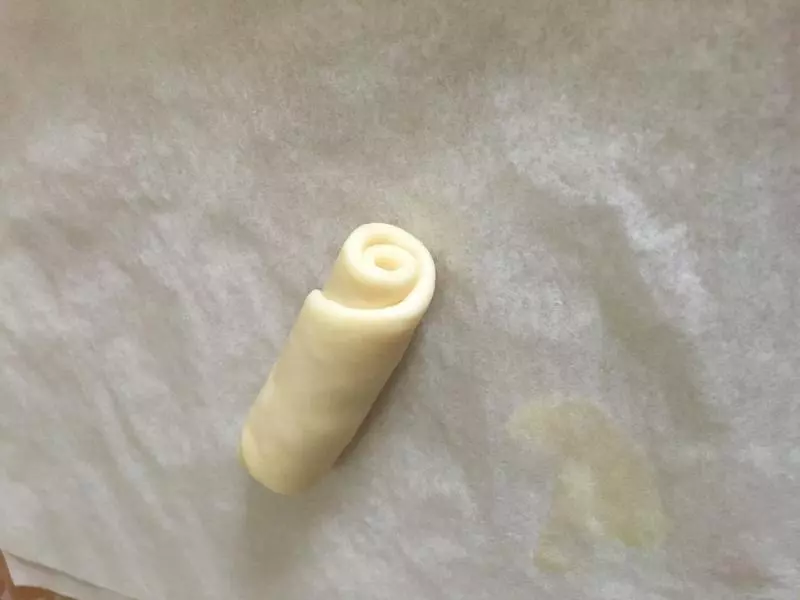
11再擀平
12卷起来
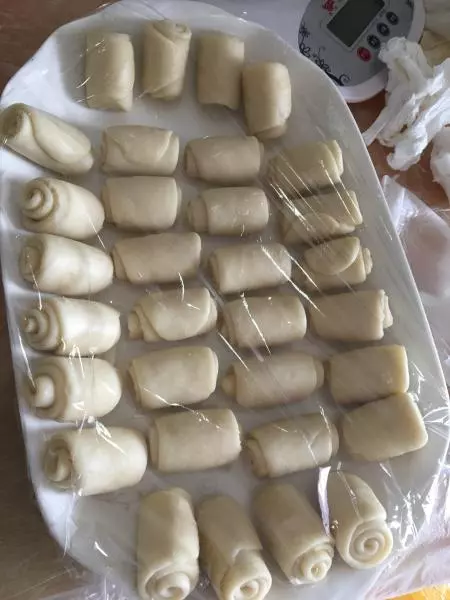
13盖上保鲜膜,静置松弛15分钟
14之后面卷擀平
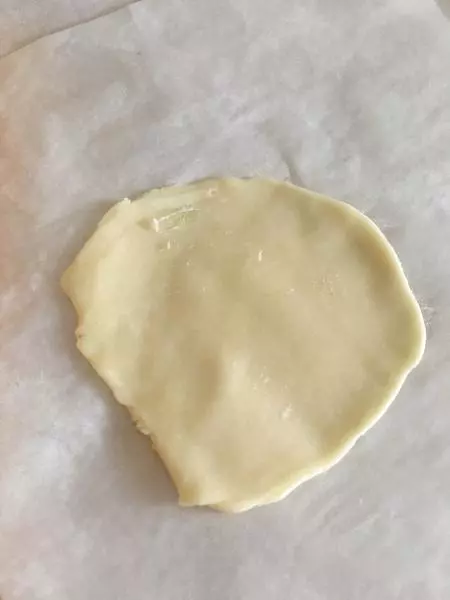
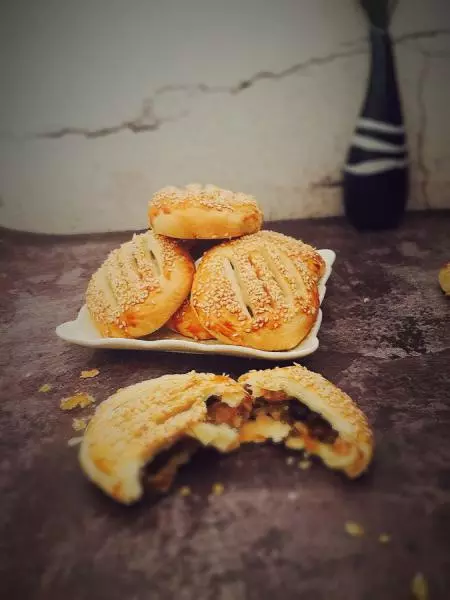
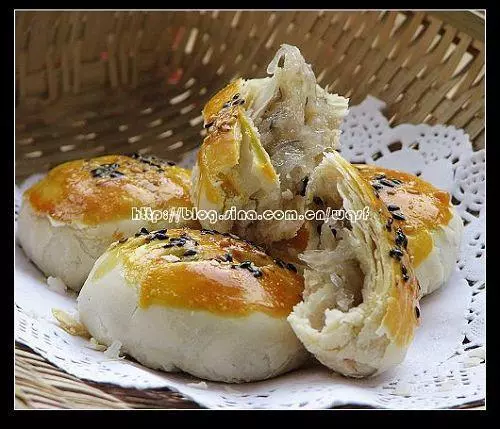
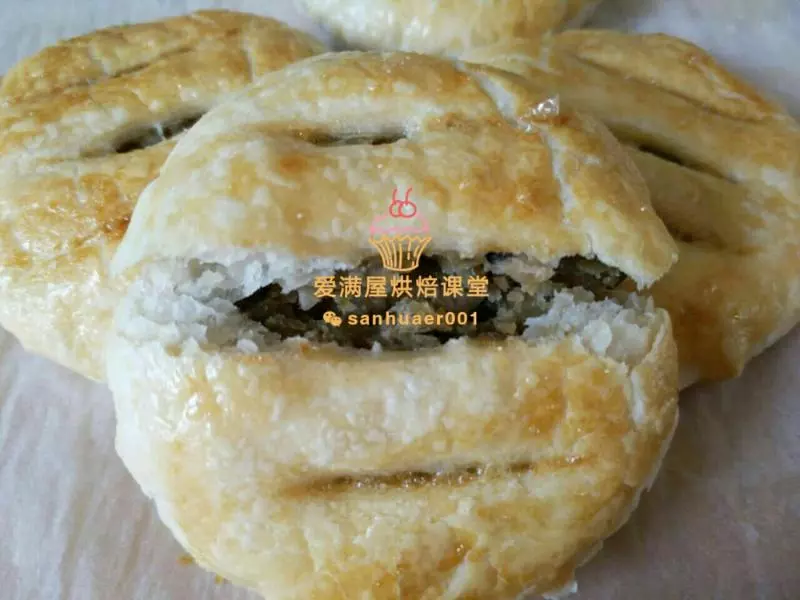
15包裹糯米馅
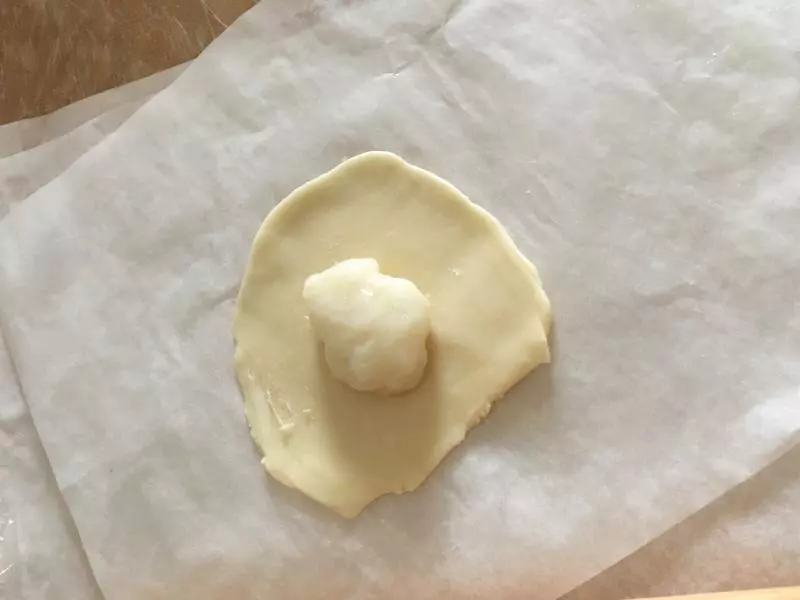
16(灬ºωº灬)♡
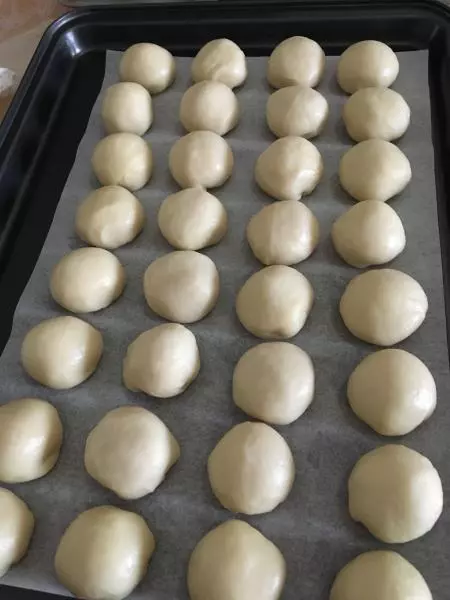
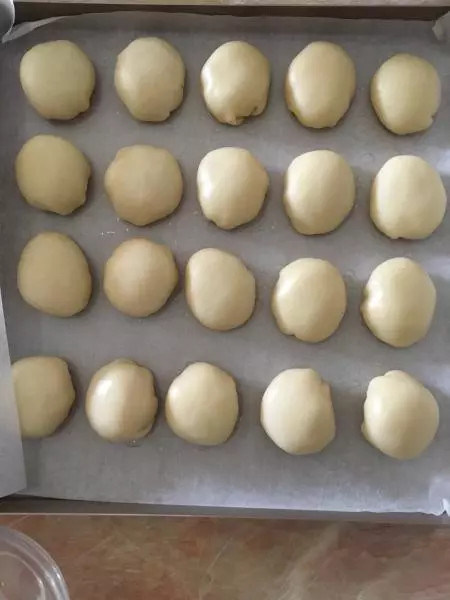
17烤盘刷油,放置烤盘上
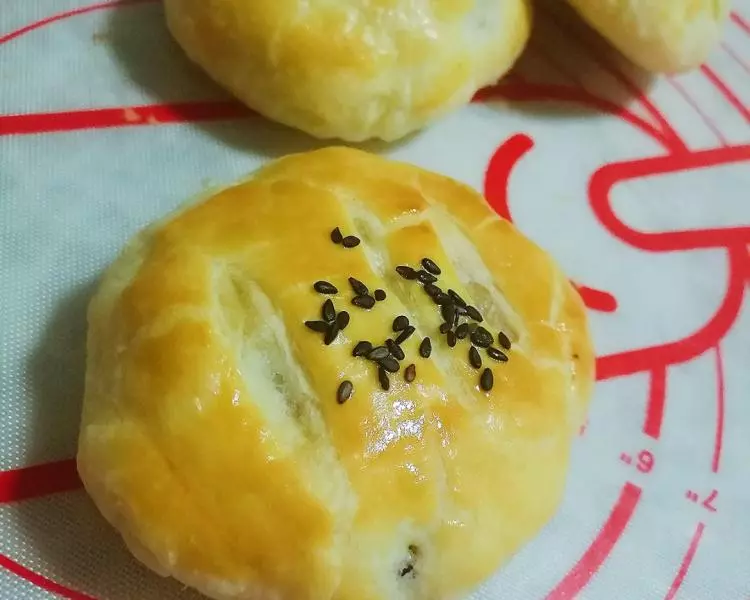
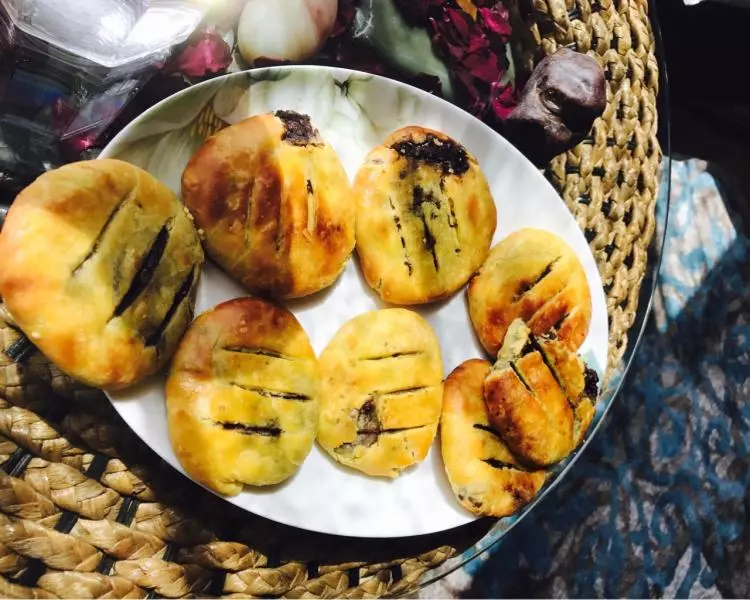
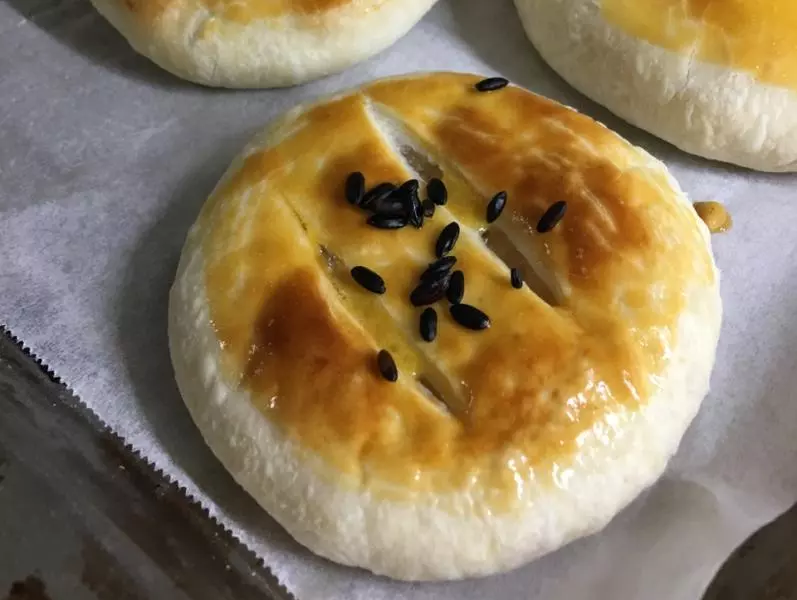
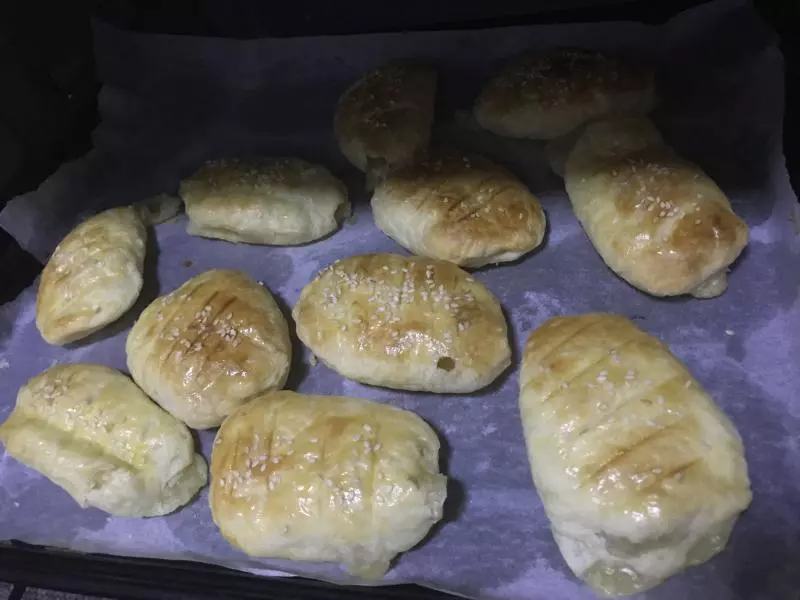
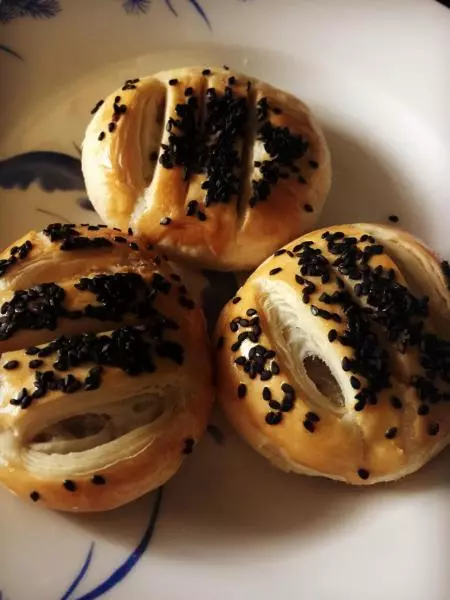
18在表面切3道口
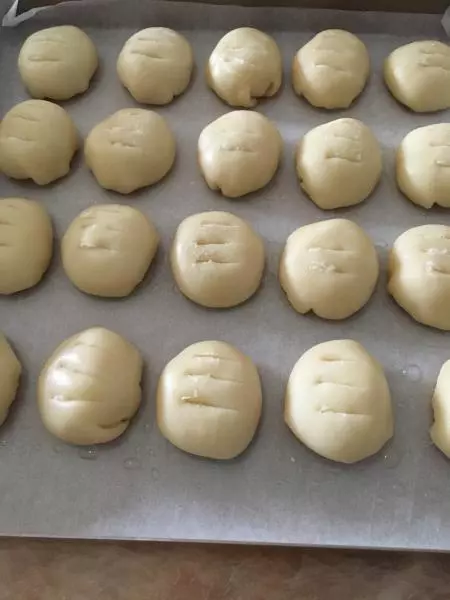
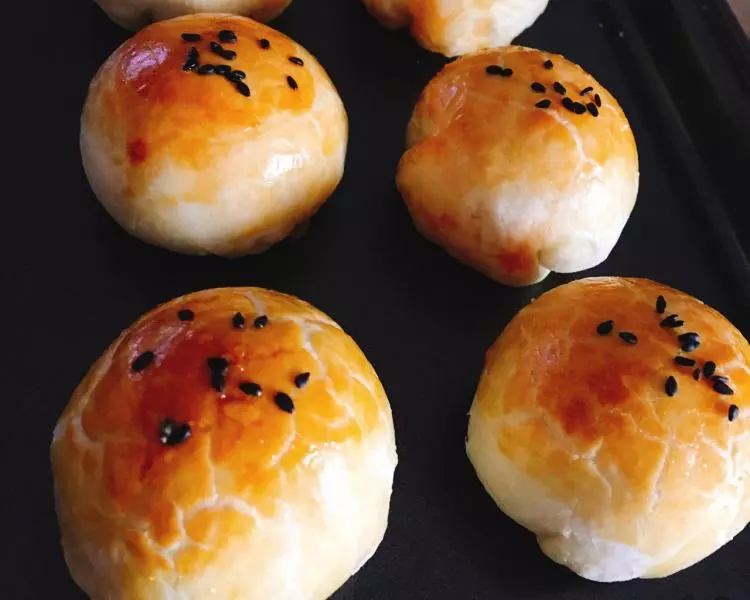
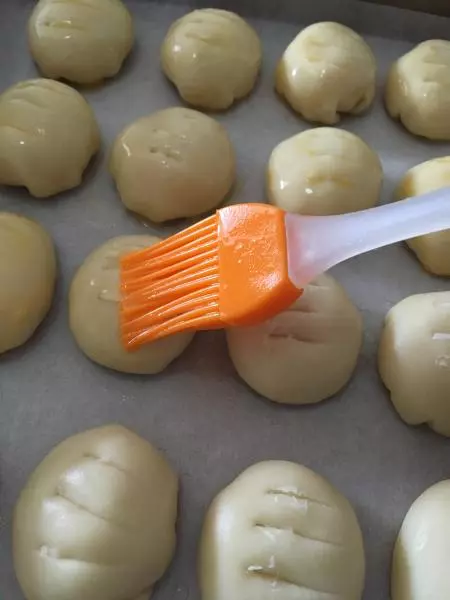
19刷上蛋液
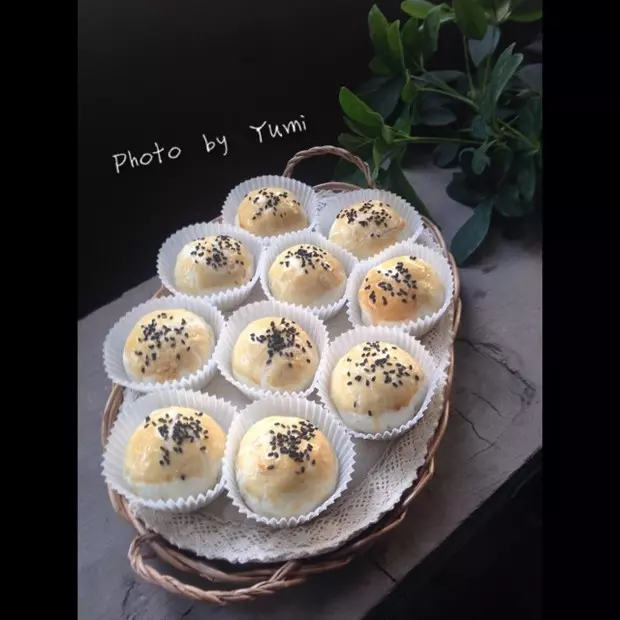
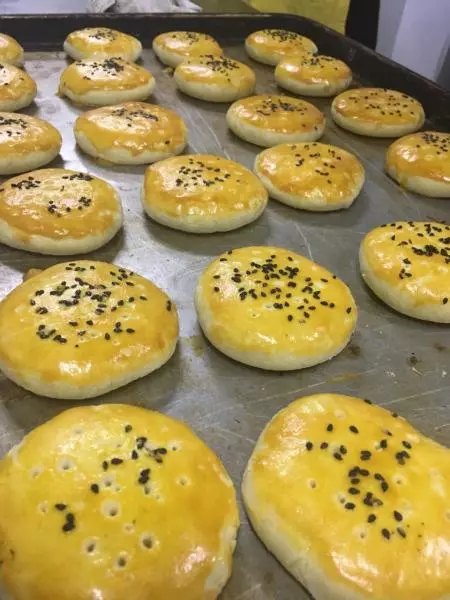
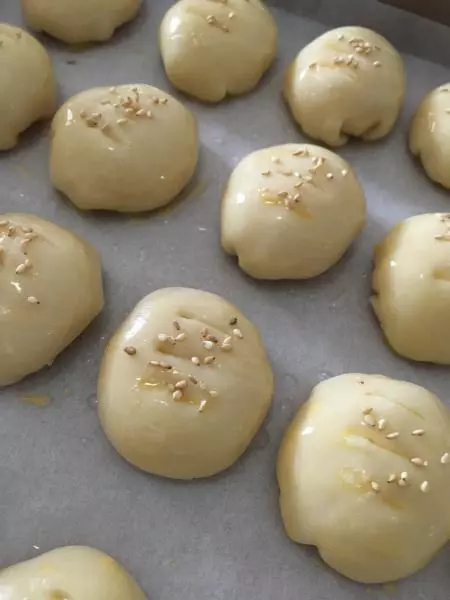
20撒上芝麻,烤箱预热
21200度15分钟
22表面不黄的话就再刷一层蛋液,再烤5分钟
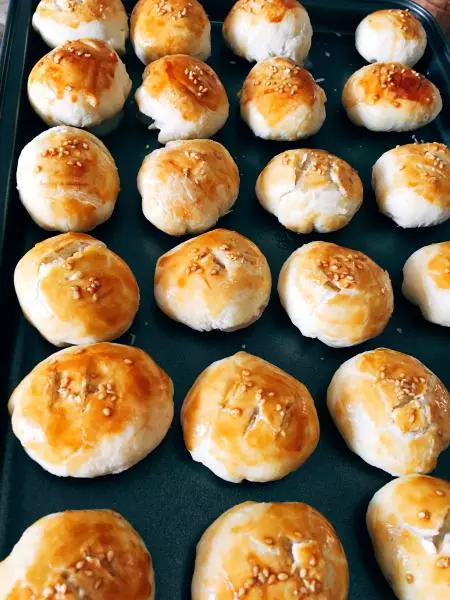
23(๑˃̵ᴗ˂̵)و

小技巧
糯米馅里的糖粉分量味道只有一点甜,喜欢甜一点的可以再加(๑• ω •๑)