原料
低筋面粉: 165克, 枣泥馅: 165克, 黄油: 86克, 糖粉、盐: 65克1克, 全蛋液: 25克, 剩余全蛋液,刷枣泥表面: , 蛋黄液(刷表面): 1个小的
步骤
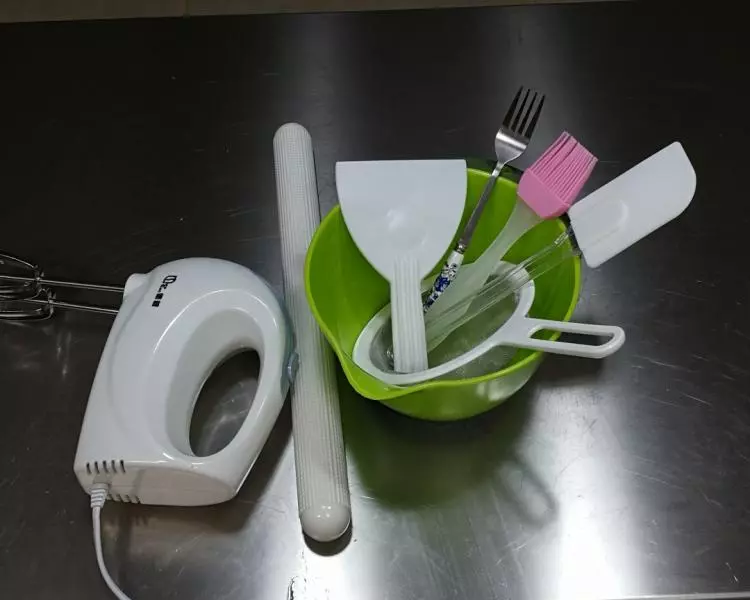
1准备好工具
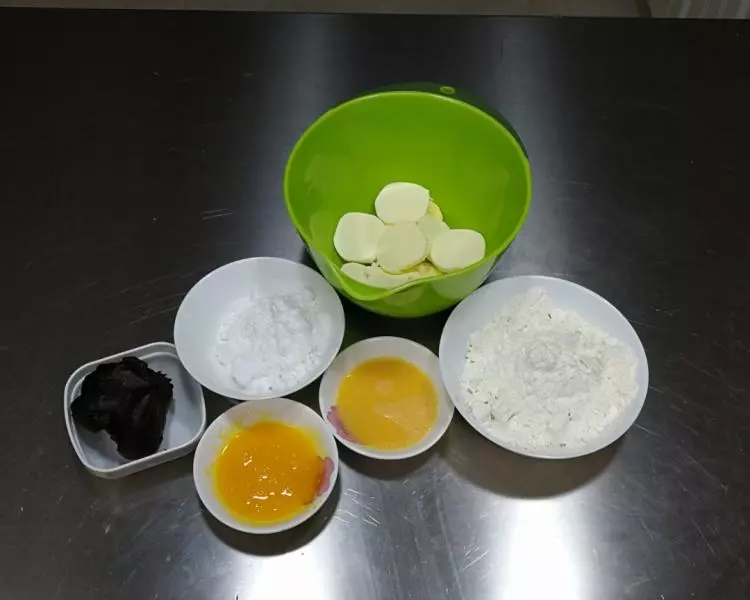
2准备好用料;黄油提前软化(不能是液态)
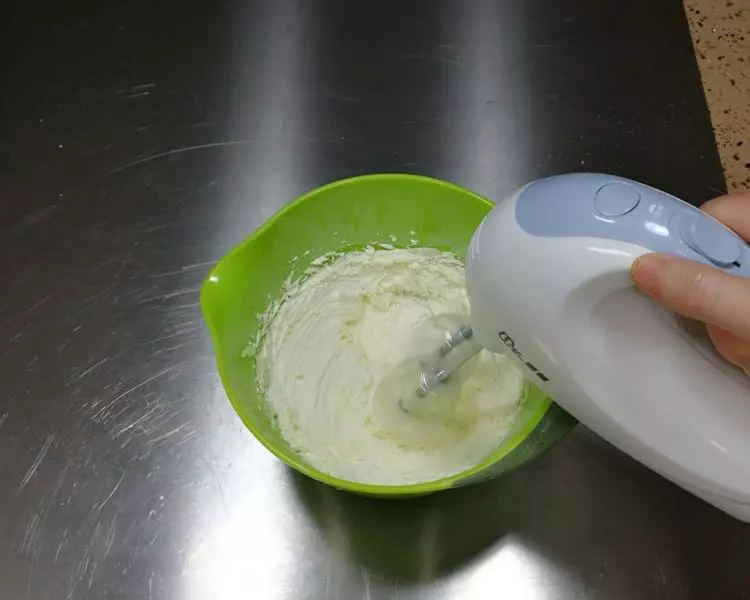
3糖粉和盐过筛在软化的黄油里,用打蛋器打发至体积膨松呈乳霜状
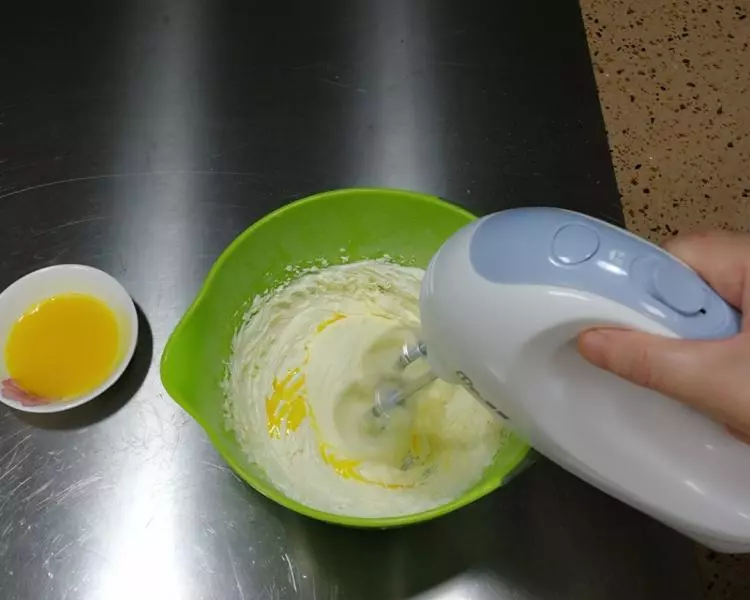
4分三次加入全蛋液,搅打均匀至体积膨松轻盈状态
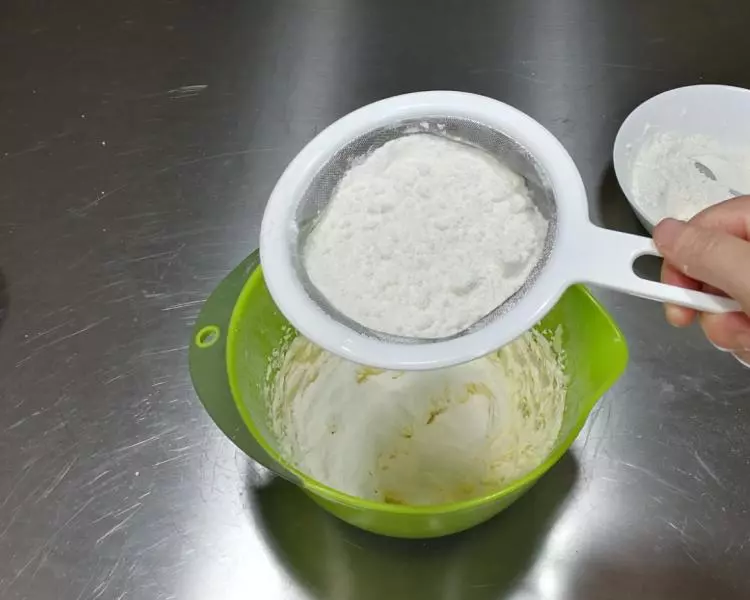
5低筋粉筛进黄油糊里
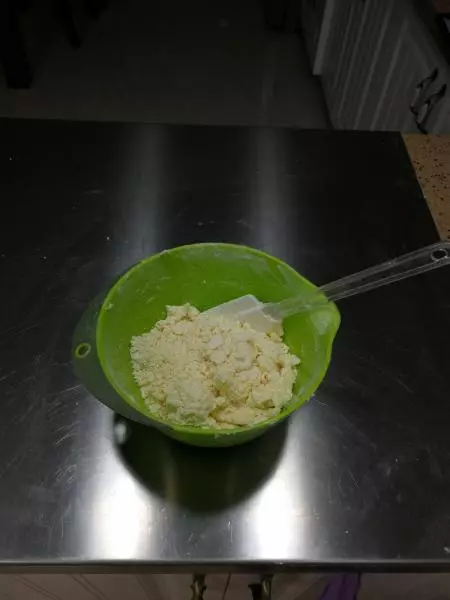
6用橡皮刮刀翻拌均匀,使面粉和黄油糊完全混合
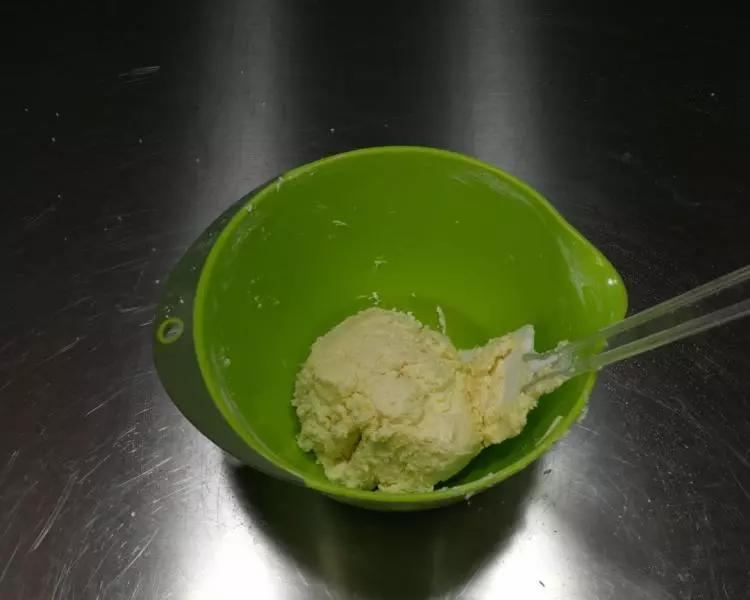
7拌好的面团较湿润,放冰箱冷藏半小时以上
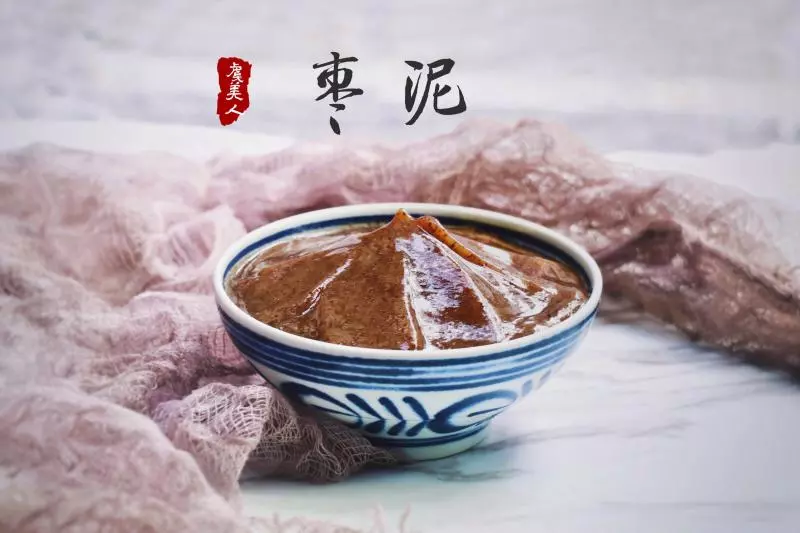
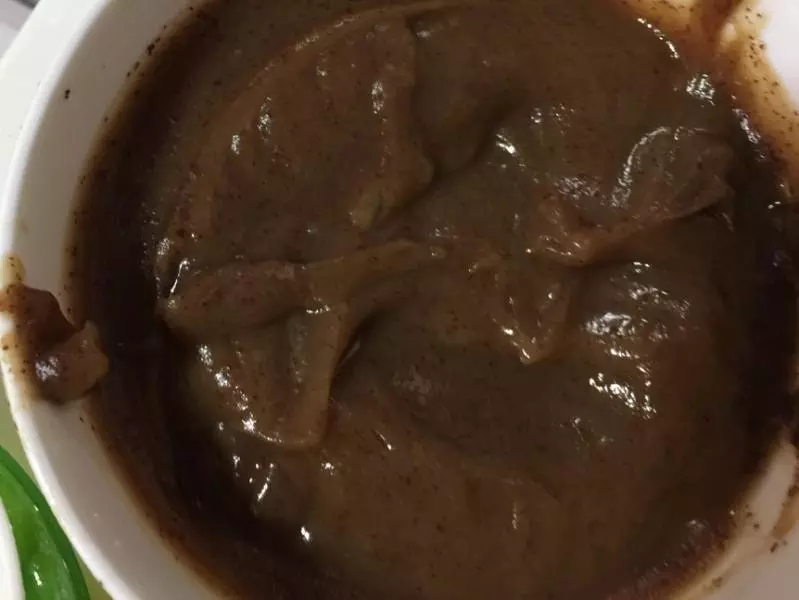
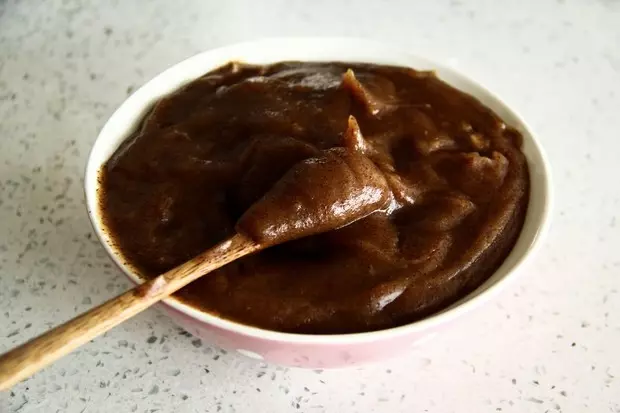
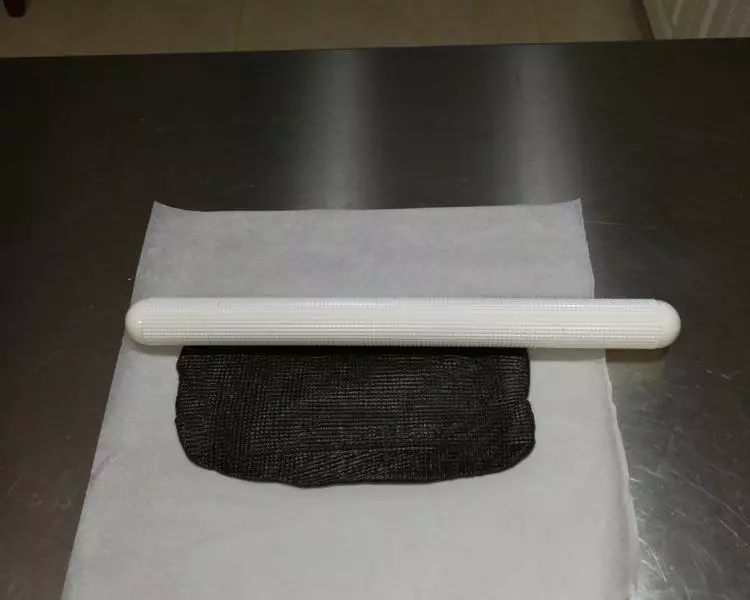
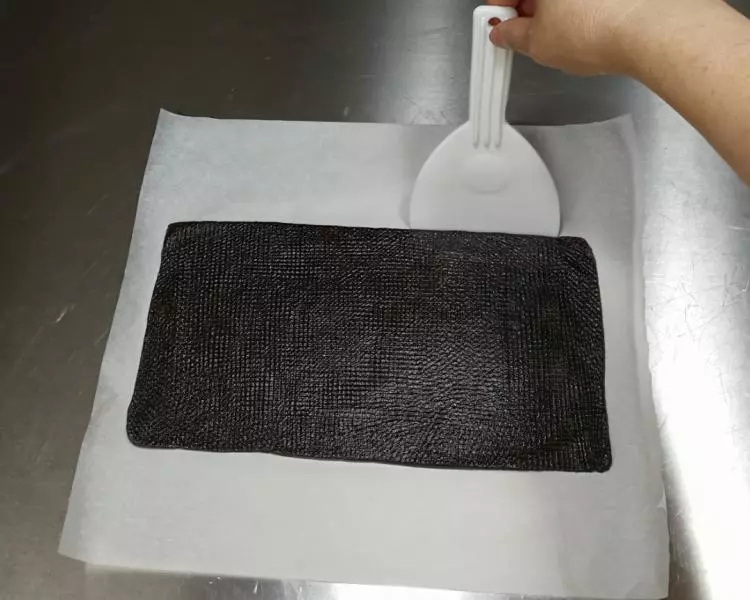
8枣泥馅垫上油纸,捏成长条按扁,再擀开成长26厘米,宽16厘米左右的长方形片状,厚度3毫米(尽量擀得厚薄均匀)枣泥馅不比面皮有延展性,擀的时候不容易一次擀成型,擀成大约长宽度就行,或擀成方形
9然后用刮板将四方边缘推推整齐,觉得不好整形,就用刮板切掉不规整的来填补空缺部位,整形好后放冰箱冷藏待用
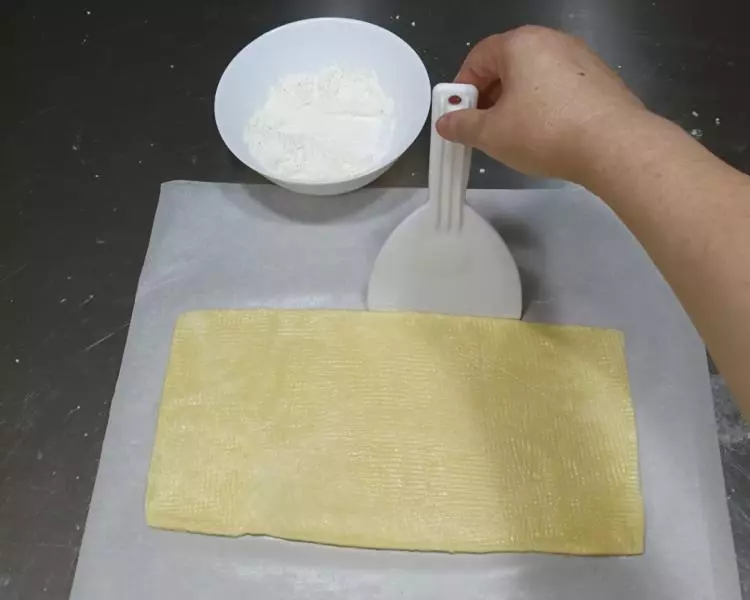
10冷藏后的面团分成两份,一份面团垫上油纸,盖上保鲜膜,擀成与枣泥馅片一样长宽,但厚度约4毫米

11用刮板蘸点面粉往中间推推整齐
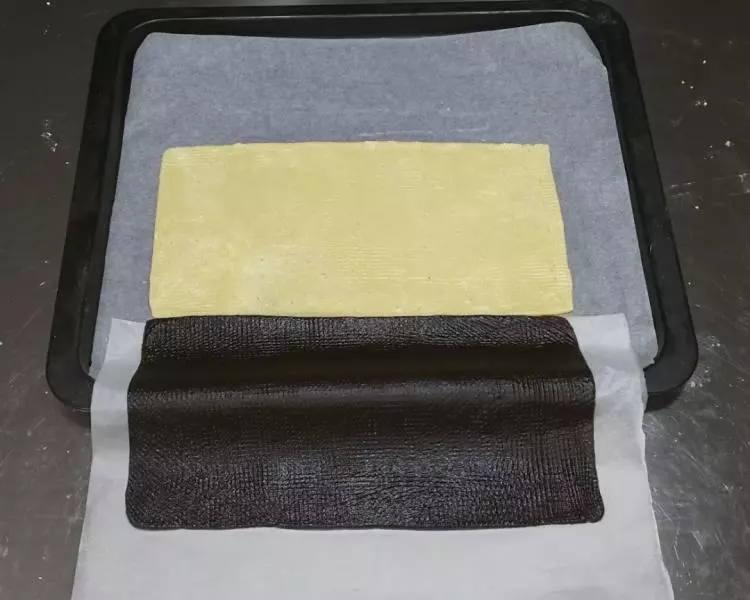
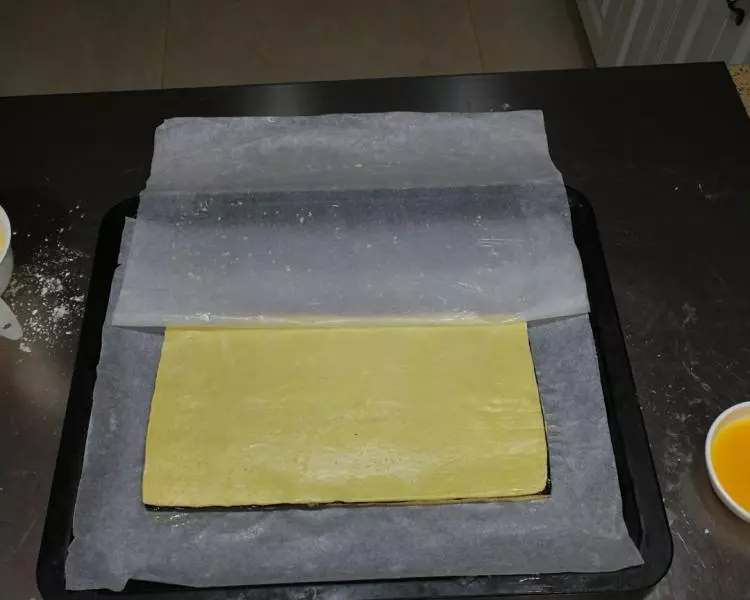
12面片移入烤盘,用牙签扎数个眼,从冰箱取出枣泥片,将前端油纸往下卷,使枣泥片与面片平齐(如图)提起油纸两端盖在面片上,轻轻撕掉油纸
13枣泥片刷上全蛋液,第二张面片擀好平齐枣泥片(如图)
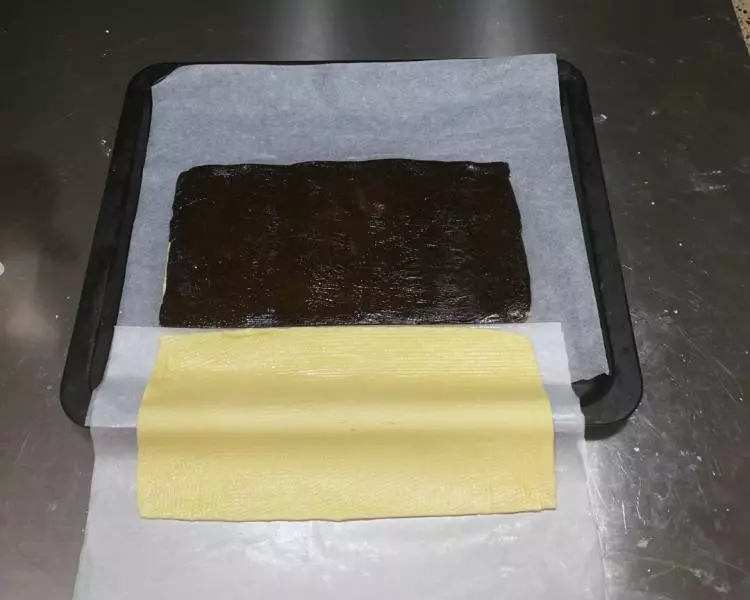
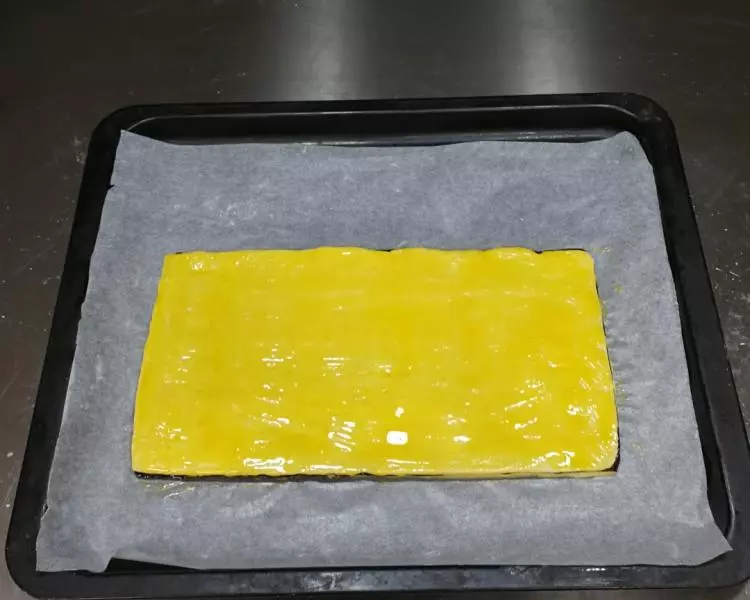
14然后将面片盖在枣泥片上,撕掉油纸,三张皮就盖完组合好了。这时可以预热烤箱(上下火185度)
15最后在面片上刷满蛋黄液
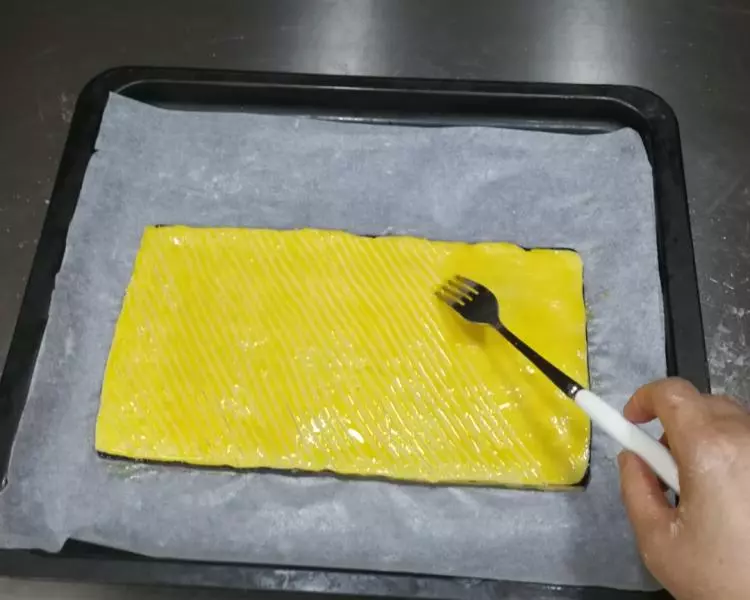
16用叉子在蛋黄液从上至下拉出斜线条
17放进预热烤箱中层,上下火185度,烤28分钟左右呈金黄色即可!
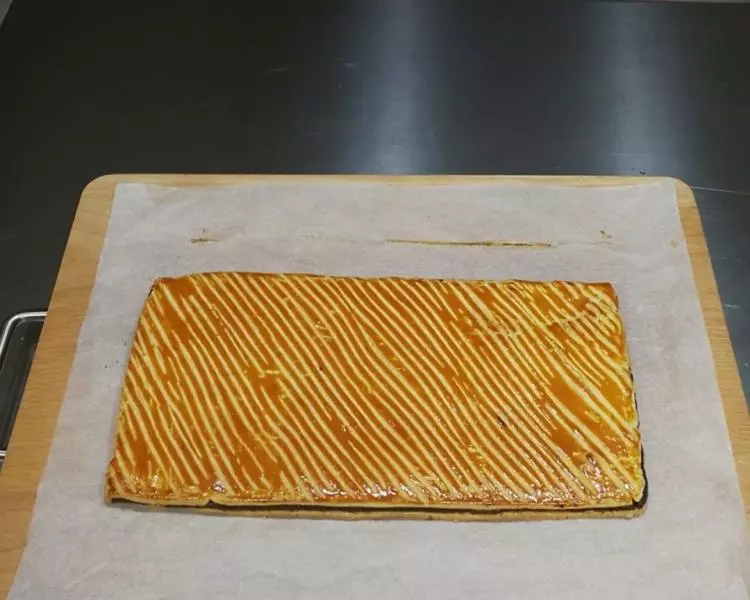
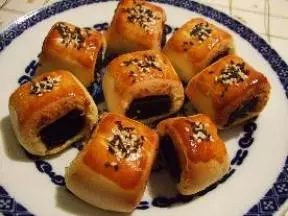
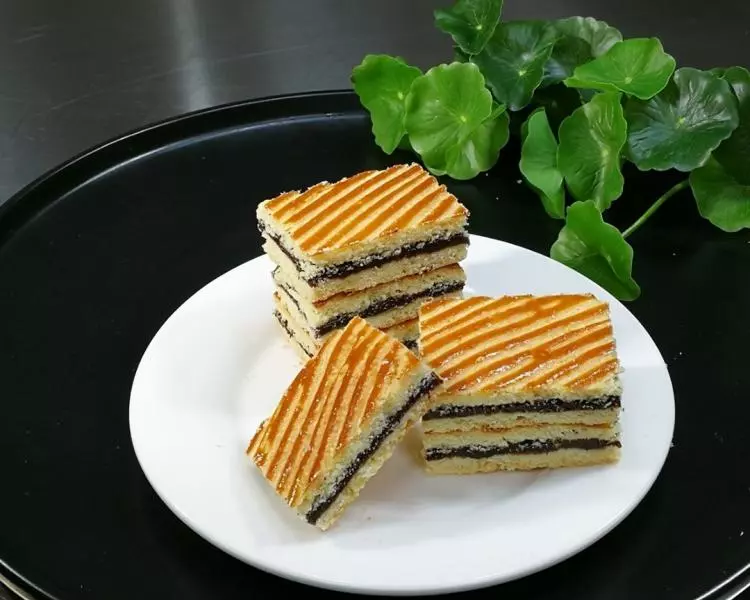
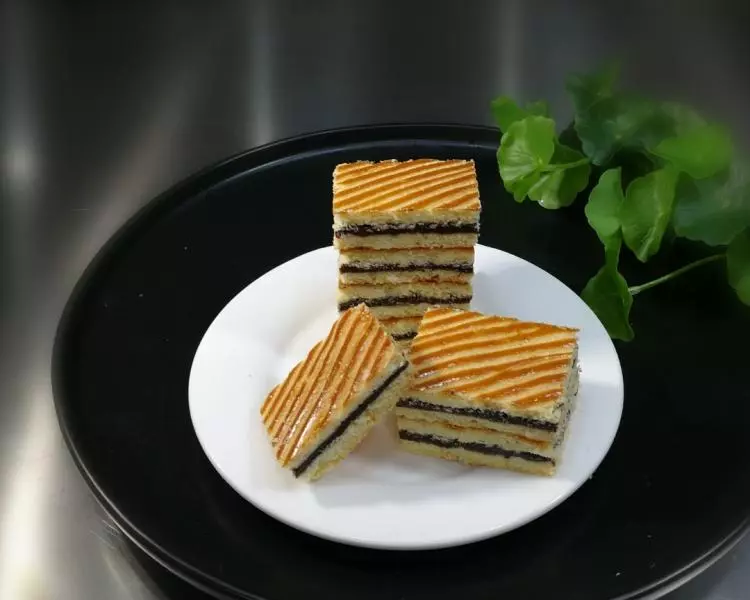
18冷却后切去边角,再切成24块

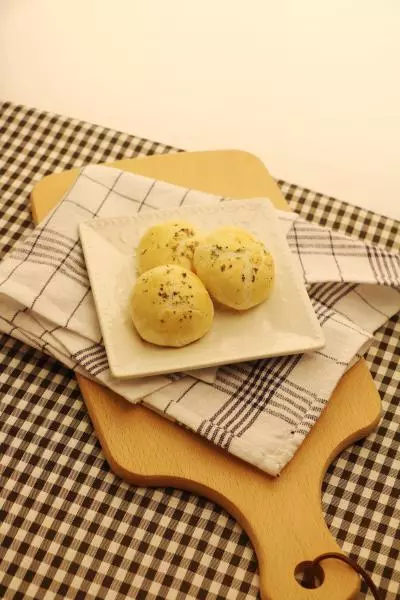
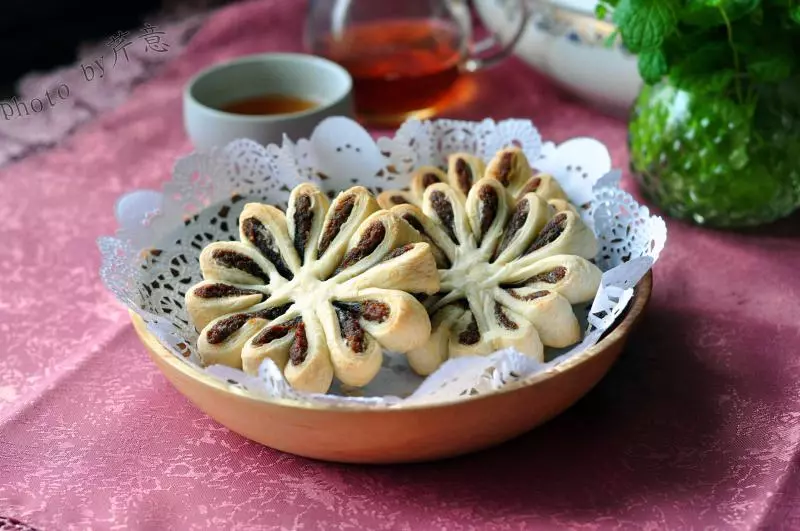
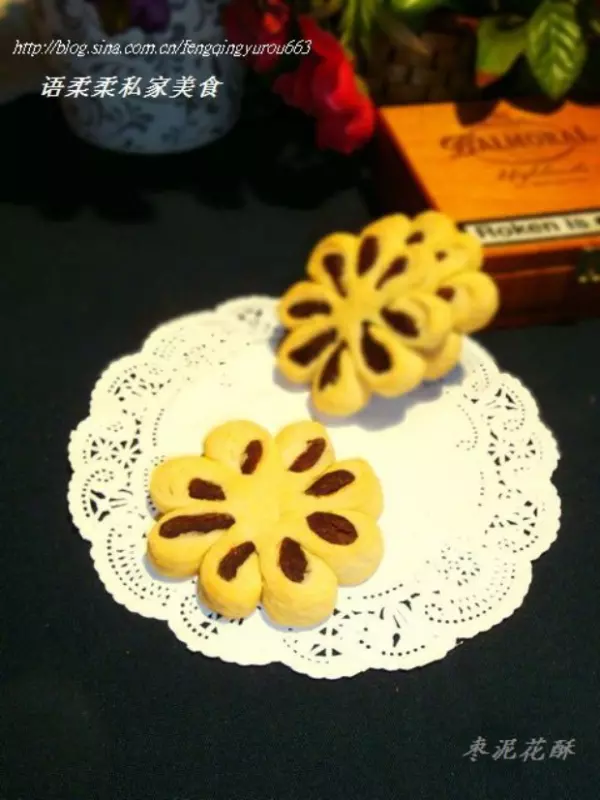
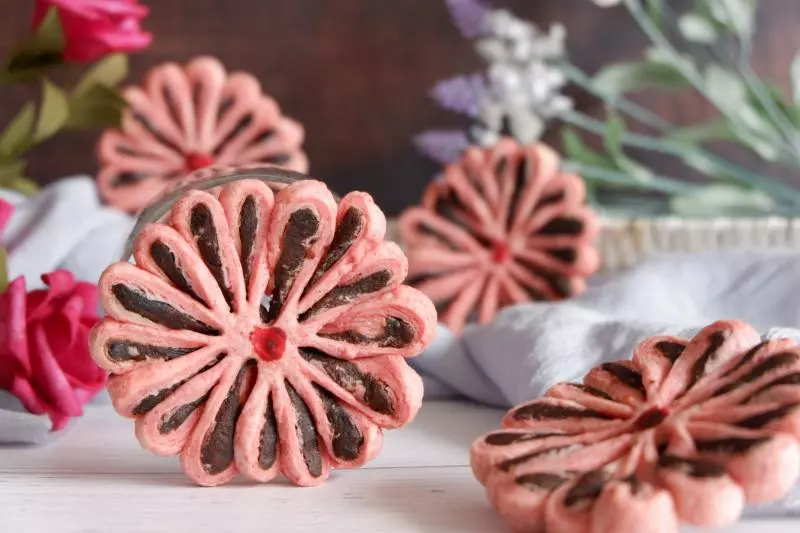
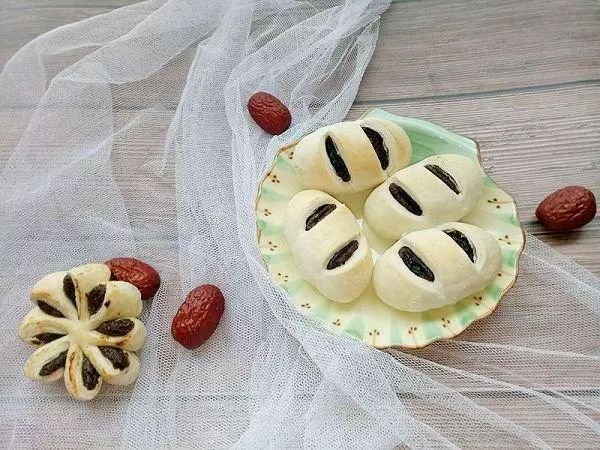
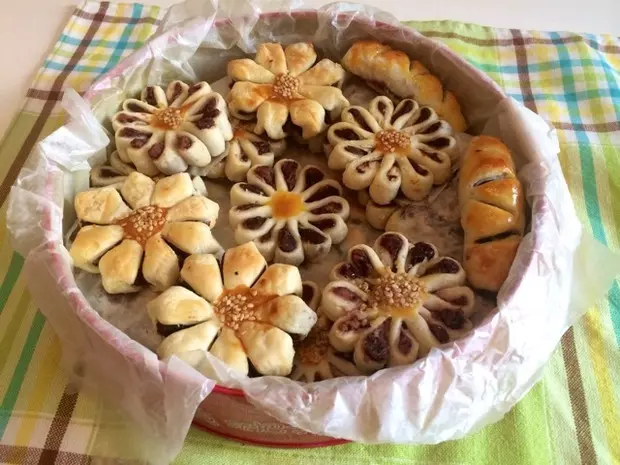
19枣泥夹心酥,香酥美味!
小技巧
枣泥馅是软的,先擀好放冰箱冷藏后有点硬,可轻松盖在面片上。