原料
韭菜: , 小茴香: , 鸡蛋: , 虾皮: , 粉条: , 面粉: , 香油: , 盐: , 十三香: , 生抽: , 耗油:
步骤
1面粉加水搅拌均匀成絮状

2和成面团,用湿布盖上,醒半个小时

3醒面的时候开始准备馅料,鸡蛋几个都行

4虾皮泡一下,不然会咸的

5韭菜切碎

6小茴香切碎

7葱姜切碎

8鸡蛋炒成碎块儿块儿,边炒边快速用筷子搅拌

9粉条煮熟,用凉水过一下剁碎(忘记拍粉条了呵呵~)将所有的菜、料放在一起搅拌均匀

10将面团揉光滑

11取醒好的面

12用手心握住揪成一样大小

13将皮擀成椭圆形,越薄越好

14将拌好的菜均匀地铺在面皮上

15从下端卷起

16卷到面皮顶端在最下面

17将两端的口压一下,避免露馅

18两手压住两端面皮往中间聚拢

19水开后开蒸,10到15分钟均可,

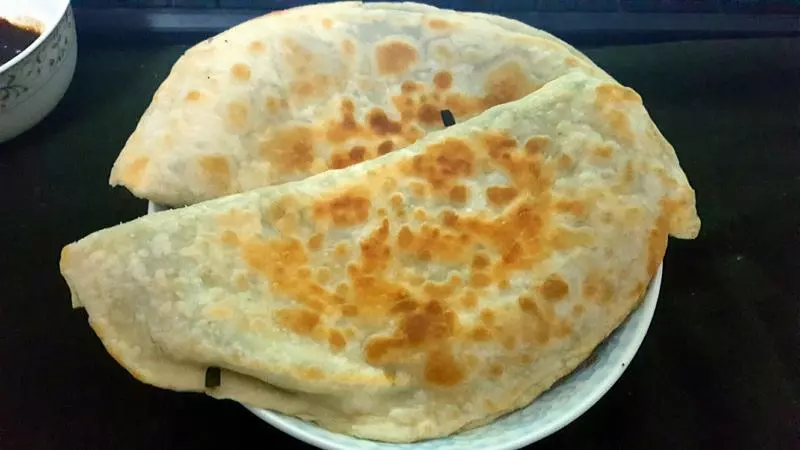
20冒着热气的胖嘟嘟的菜莽出锅了?

21瞬间一锅进肚?

小技巧
放韭菜之前要先用香油把韭菜拌一下,这样不会出水,蒸出来颜色也好看,口感也好。