原料
自制无糖酸奶: 230克, 炼乳: 38克, 低筋粉: 50克, 蛋黄: 4个, 自制香草精(可以用柠檬汁代替): 几滴, 蛋白: 4个, 细砂糖: 42克
步骤
1模具垫油纸,四周抹黄油,不沾模不用抹。
2称取230克酸奶,38克炼乳,搅拌均匀。

3筛入50克低筋粉。

4用打蛋器Z字搅拌均匀。

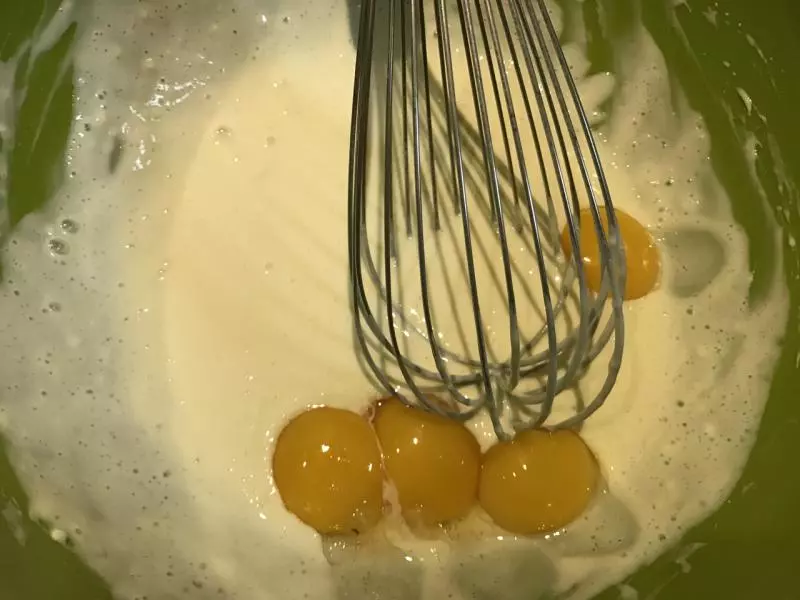
5加入4个蛋黄,继续Z字搅拌均匀。
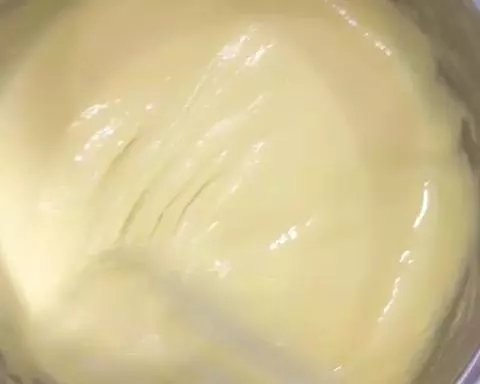
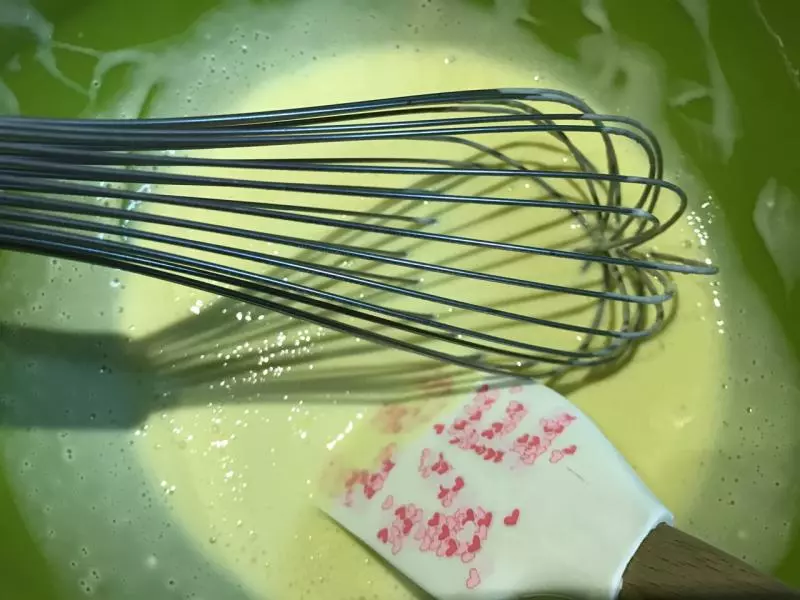
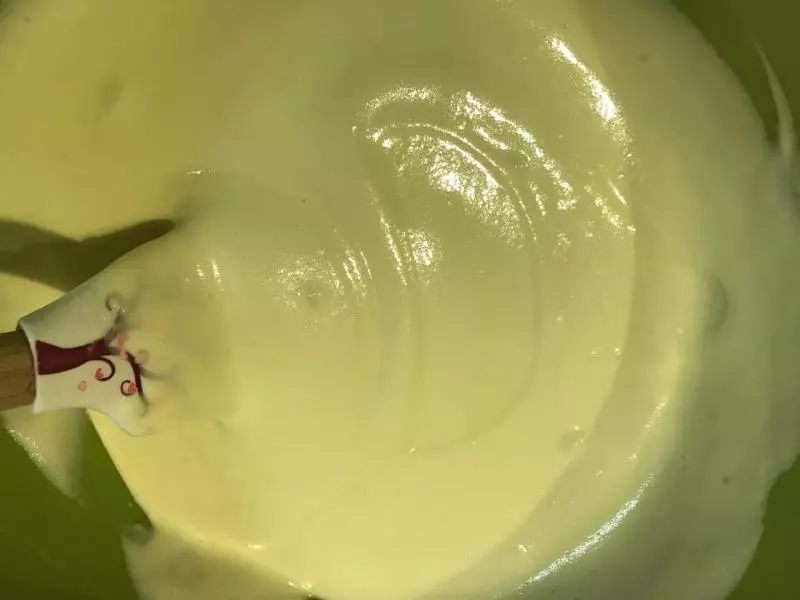
6可以用刮刀辅助按压拌匀,得到非常细腻的蛋黄糊。
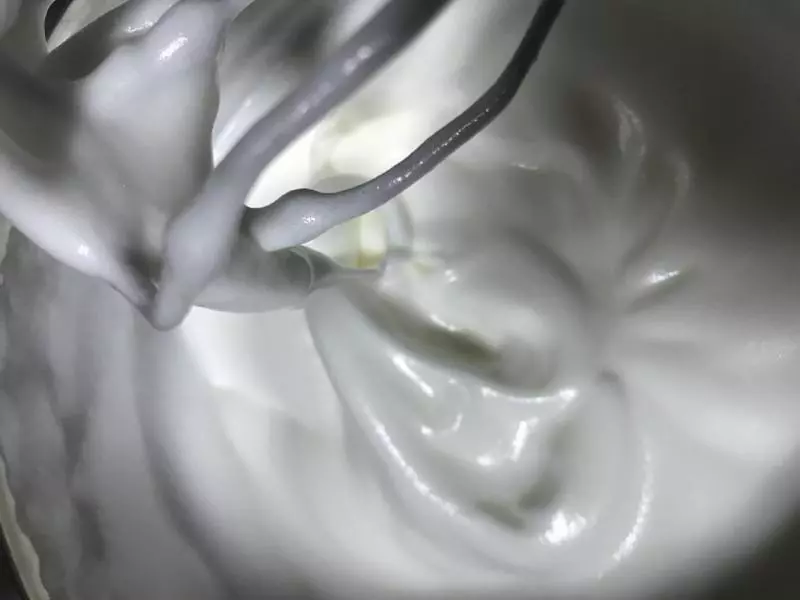
74个蛋白中速打到粗泡,转高速,分3次加入42克细砂糖,打到有纹路转慢速,整理气泡打到湿性,得到非常细腻光滑的蛋白霜。 Ps,蛋白里可以加几滴自制香草精或者柠檬汁去腥,鸡蛋新鲜的话不加也可以。
8取一刮刀蛋白霜加入蛋黄糊,用打蛋器无规则拌均匀,拌匀就好,这一步不在乎什么手法,搅拌同时可以用刮刀辅助。
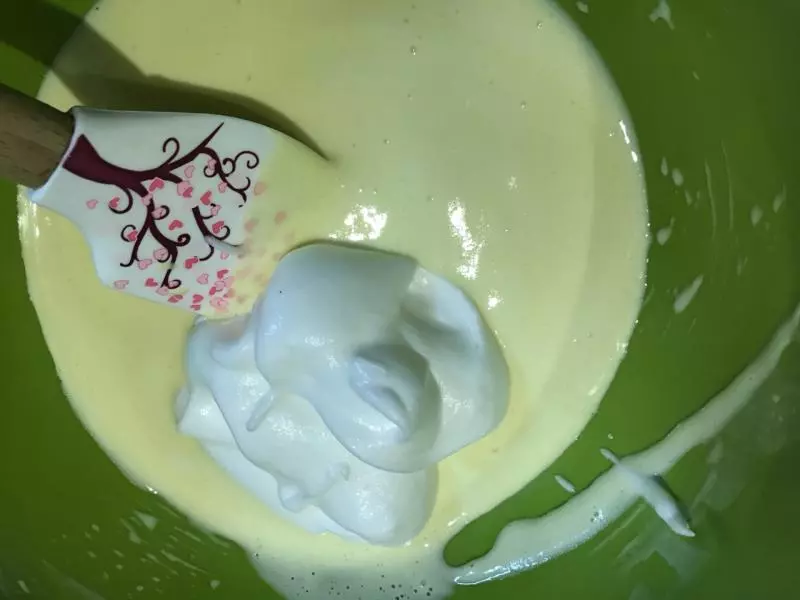
9再分两次倒入剩下的蛋白霜,和蛋黄糊快速切拌均匀。
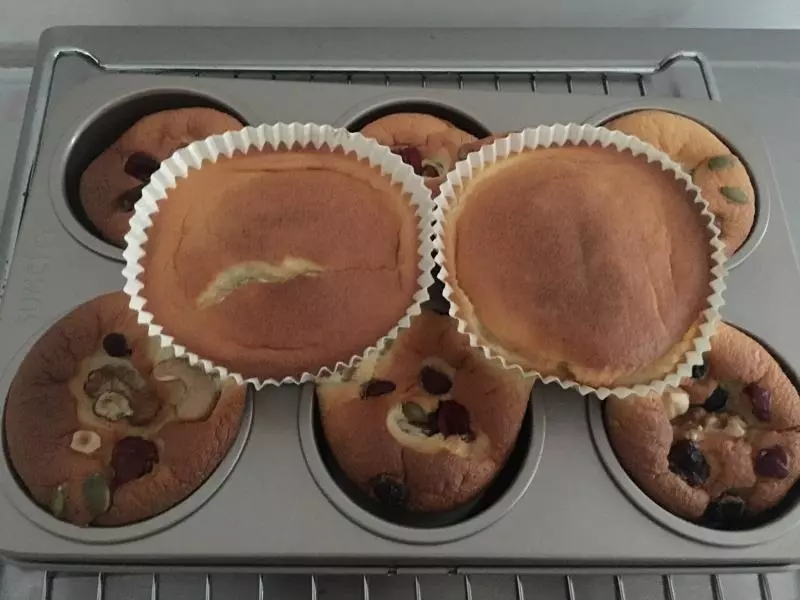
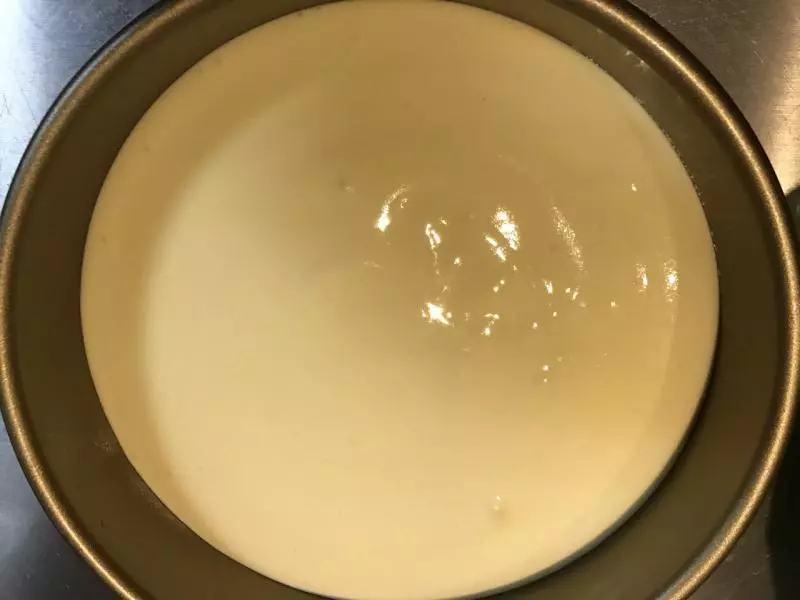
10倒入模具轻震出气泡。
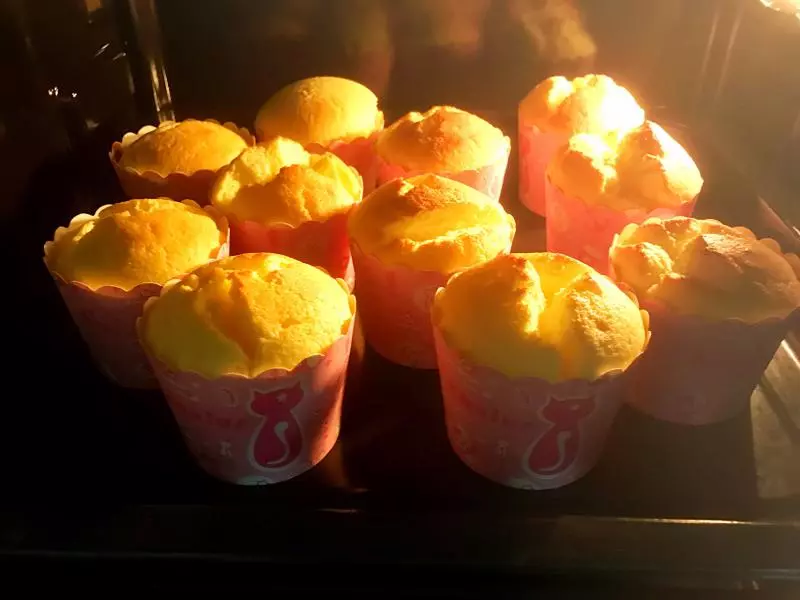
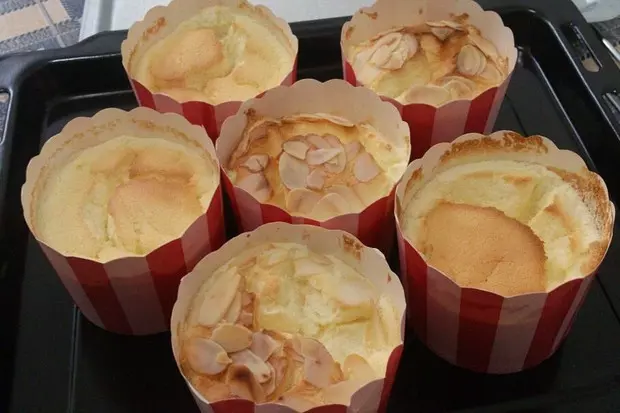
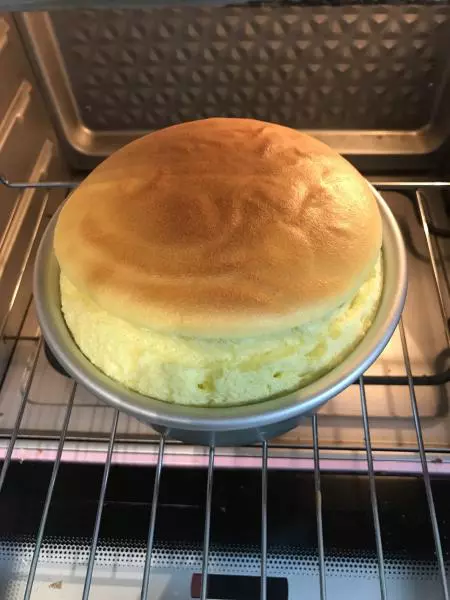
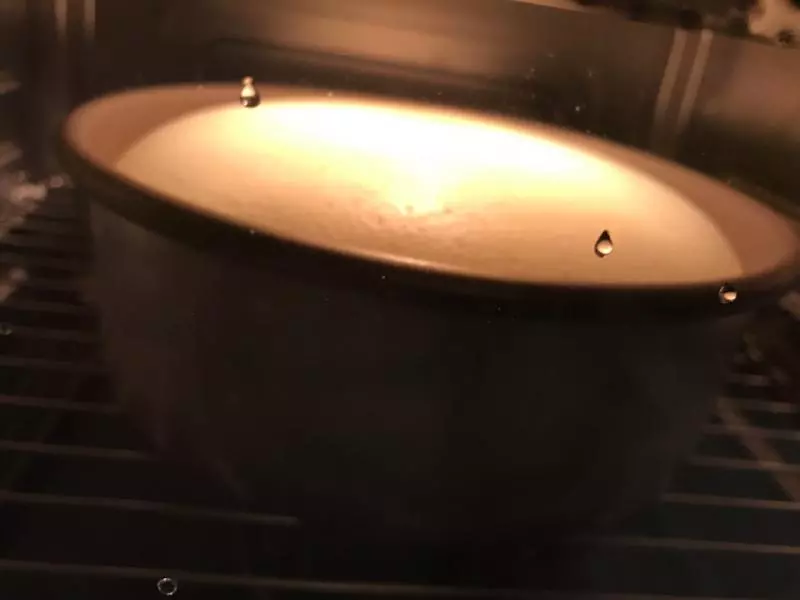
11入烤箱中下层,无需预热,120度嫩烤模式10分钟。

12十分钟后再转110度烤70分钟。烤的时候该干啥就干啥去吧,我是跑步去了,跑一个小时蛋糕也烤好了,什么都不耽误。 Ps,普通烤箱的话水浴160度一个小时左右,如果发现要开裂的话再把温度调低点。
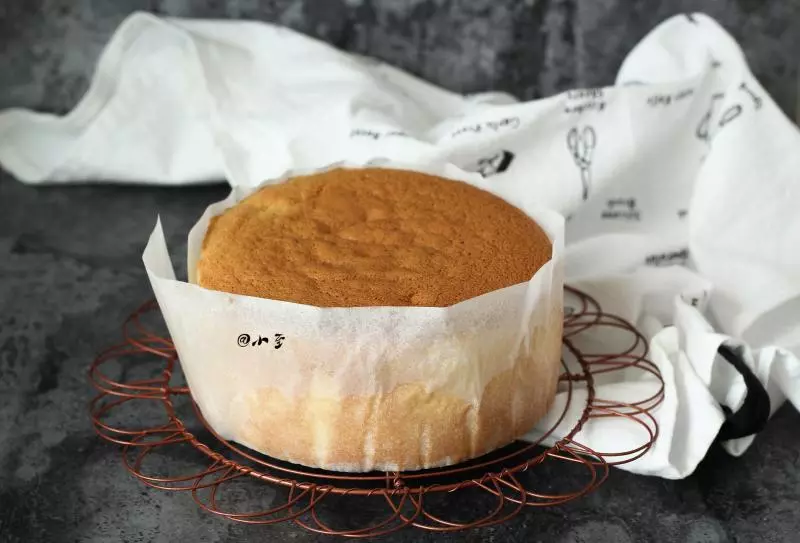
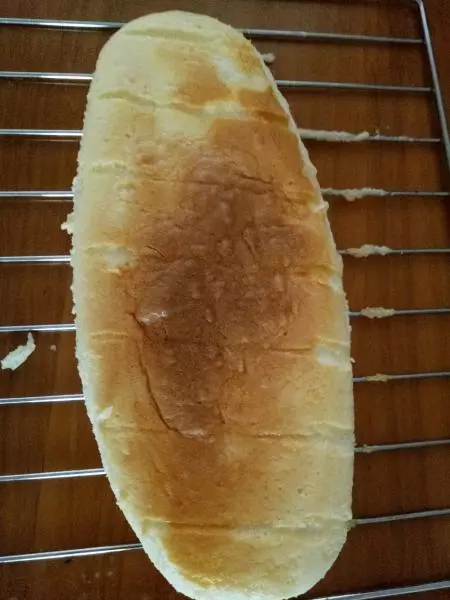
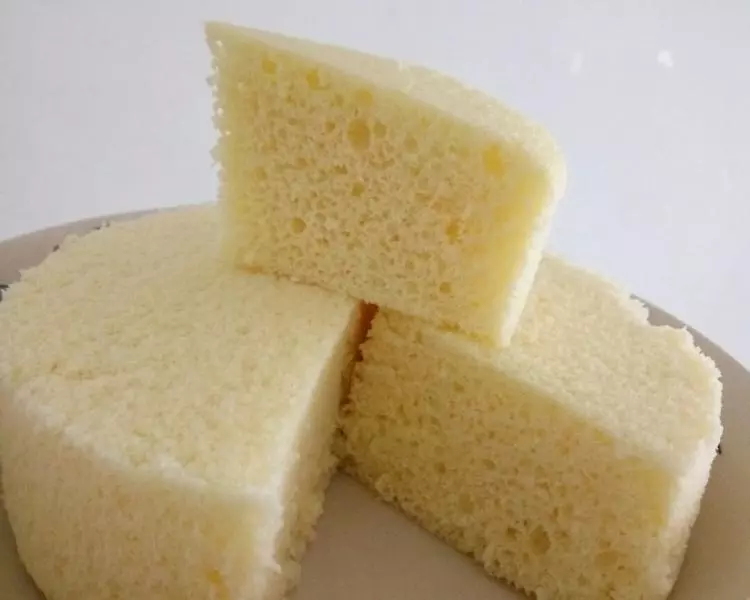
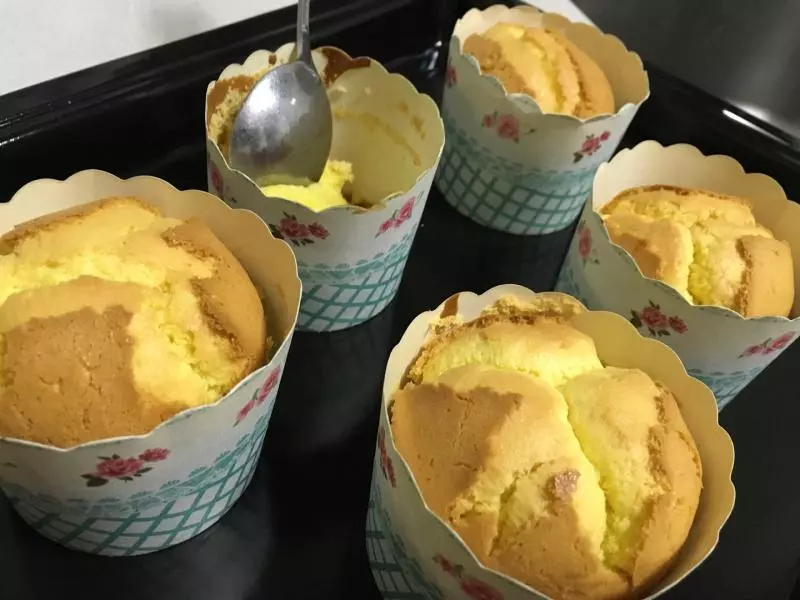
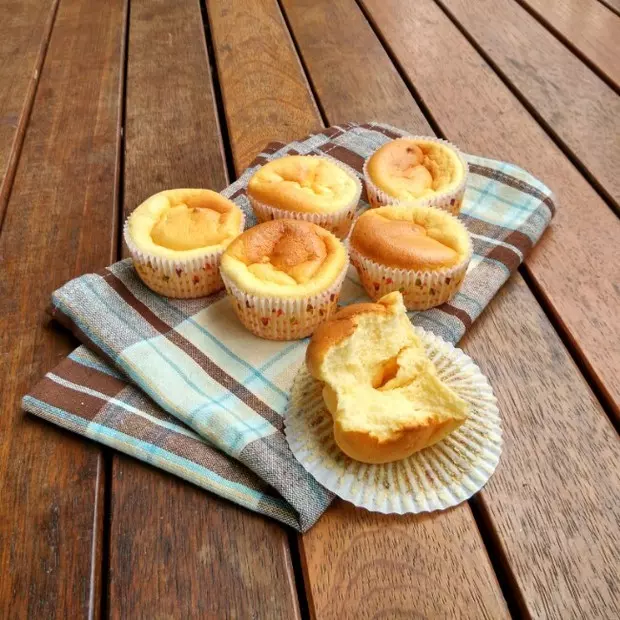
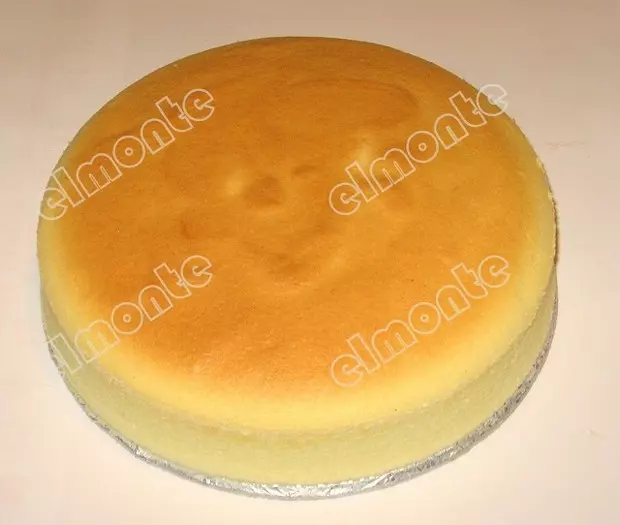
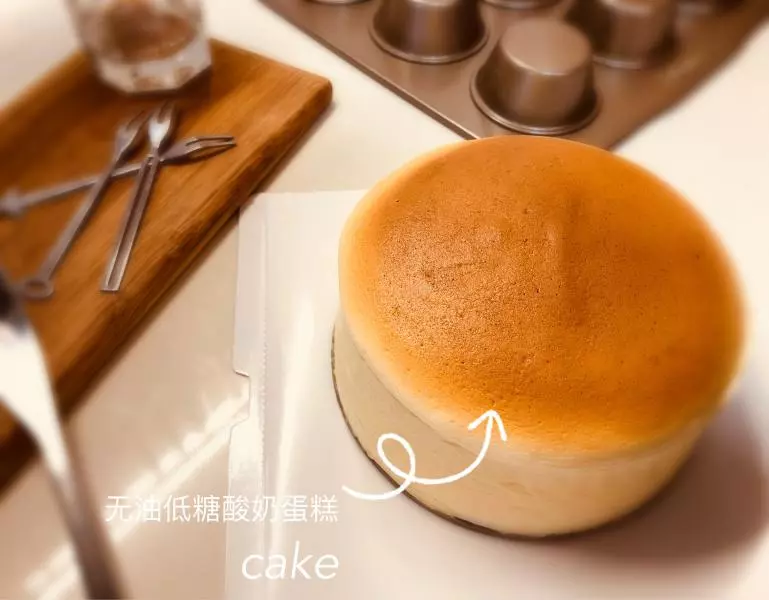
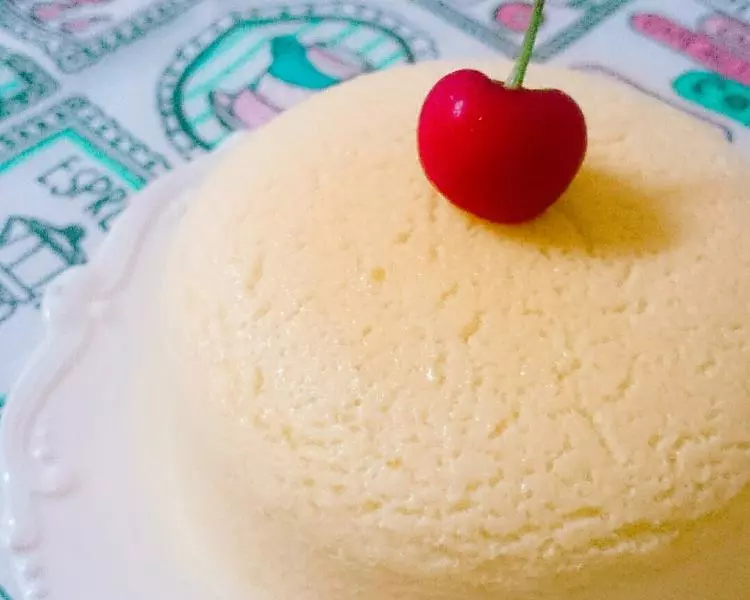
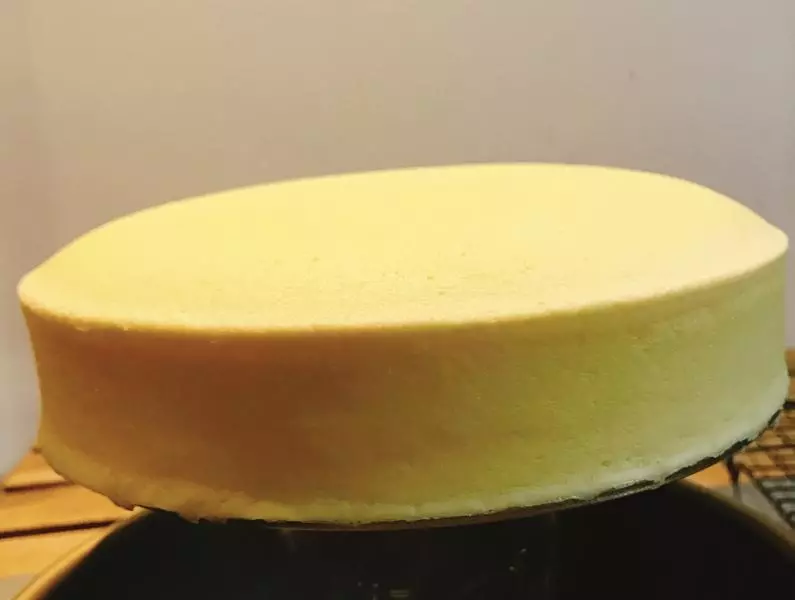
13在烤箱闷12分钟再取出。 几分钟后蛋糕体会自然回缩,脱离模具。 活底模就直接像这样可以取出来了。 固底模的话准备两个盘子,把蛋糕倒扣在一个盘子上,再翻转在一个盘子上,蛋糕面就冲上了!冷却后装盒冰箱冷藏一下口感更好!

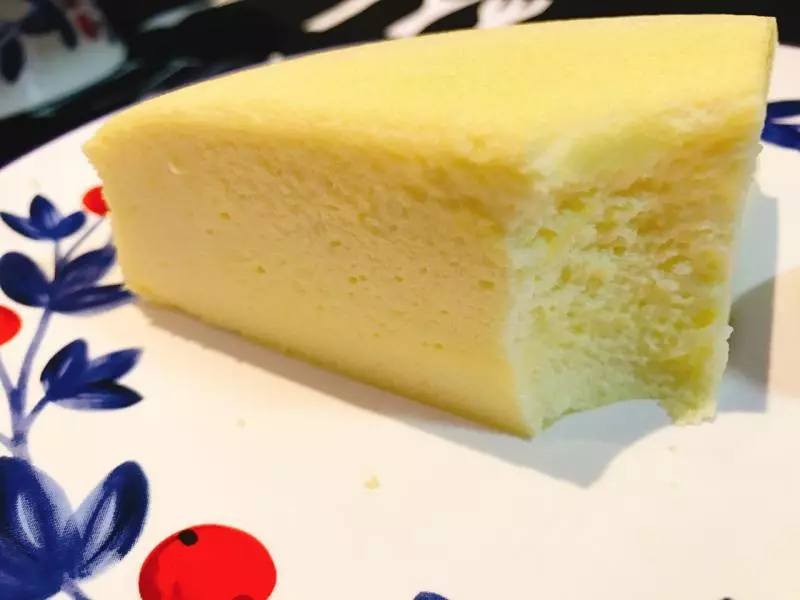
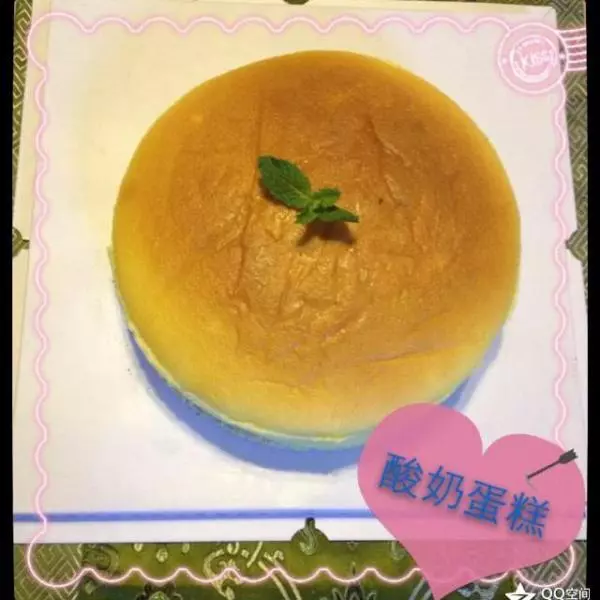
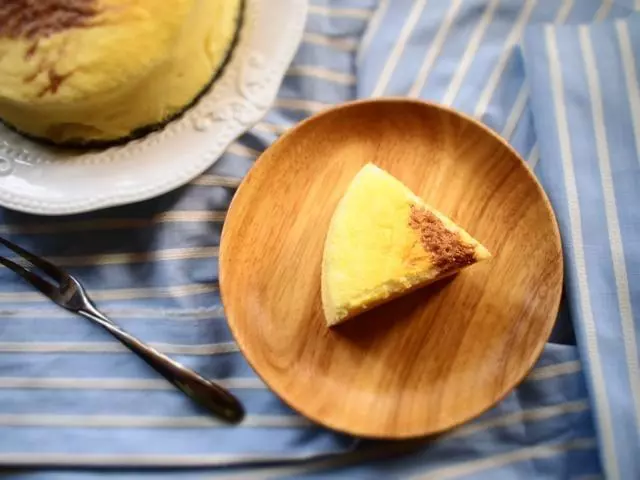
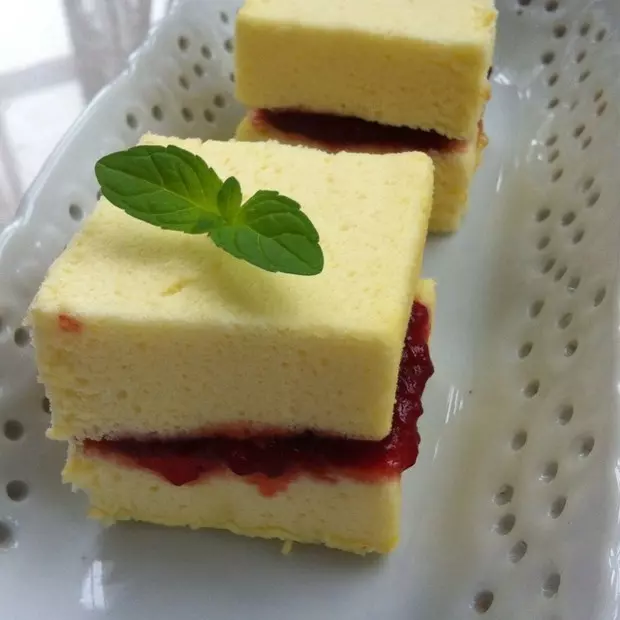
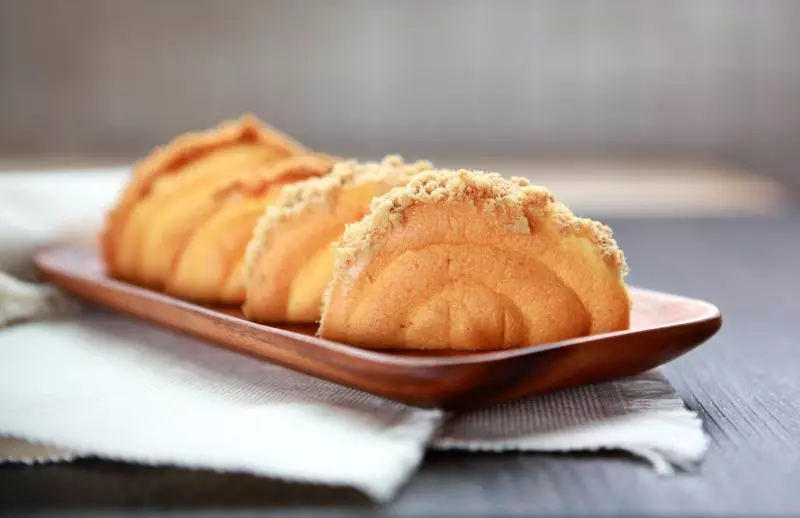
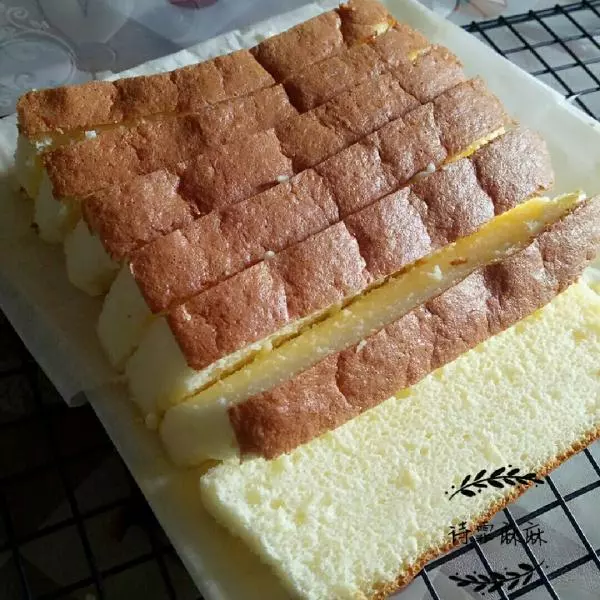
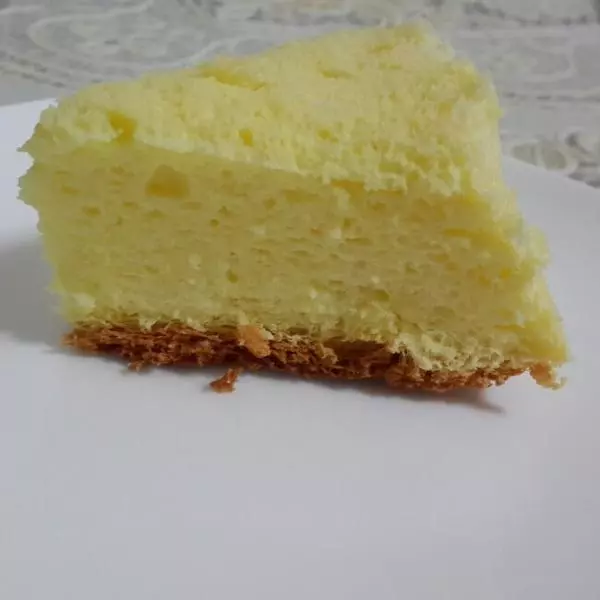
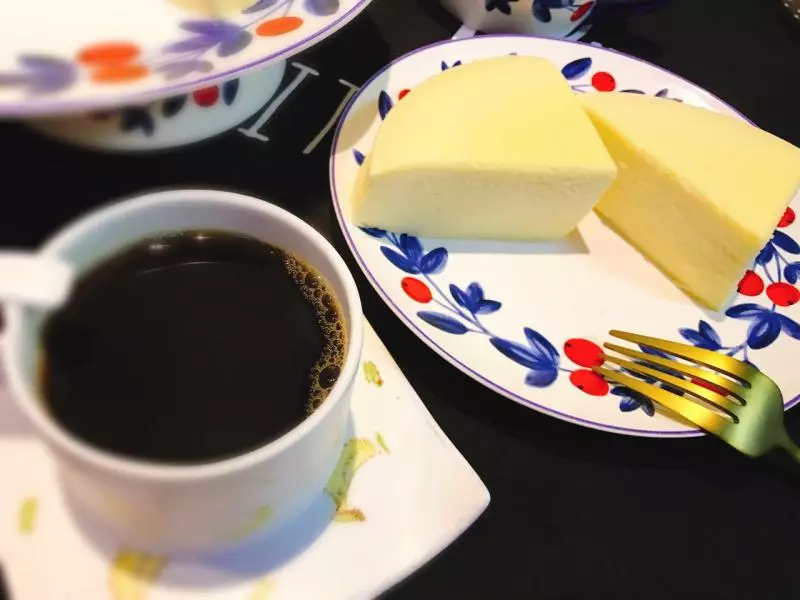
14入口即化的口感~~ 刀用开水烫一下擦干,抹点黄油再切,会比较好看。