原料
无盐黄油: 180克, 糖粉: 110克, 盐: 1勺半, 杏仁粉: 20克, 蛋黄: 1个, 低筋面粉: 190克, 泡打粉: 1.5克, 蛋液用料如下: , 蛋黄: 1个, 水: 1勺, 盐: 1/5勺, 砂糖: 1/5勺
步骤
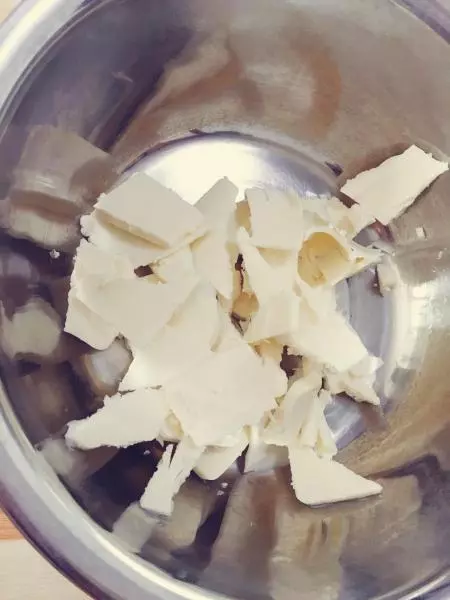
1黄油回温到20℃左右。
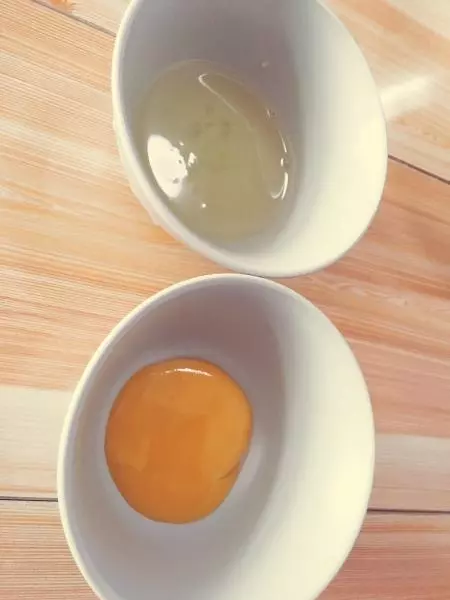
2蛋清蛋黄分离
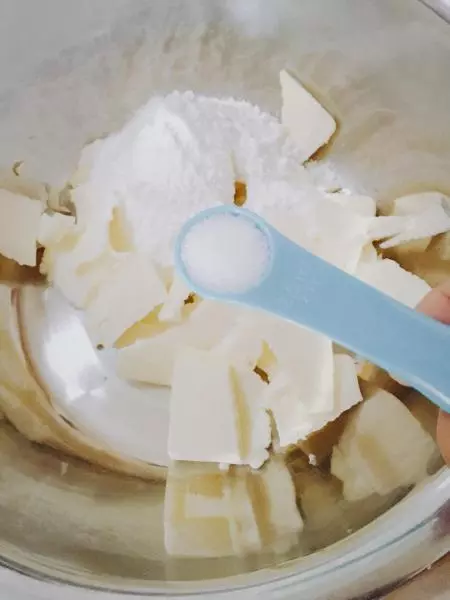
3将糖粉加入黄油中
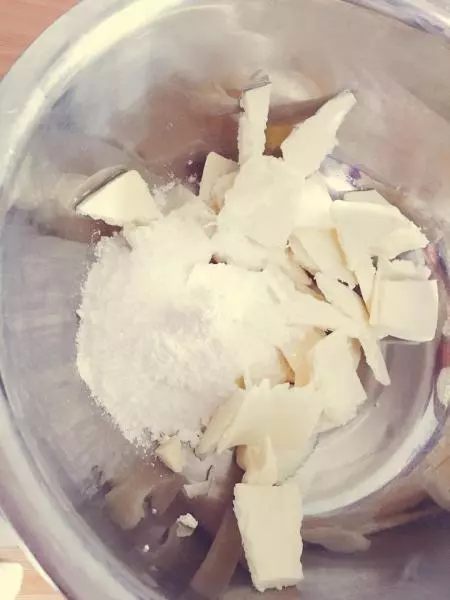
4再加入盐
5用刮刀微微搅拌至材料均匀。

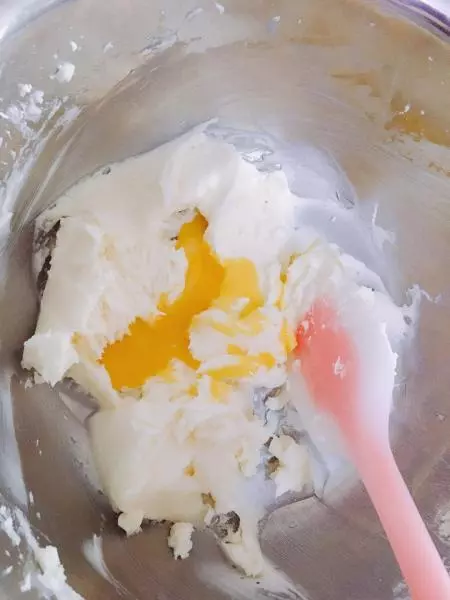
6用打蛋器将黄油混合物打到白为止。分2次加入蛋黄,搅拌均匀,但不要搅拌过度。
7加入杏仁粉
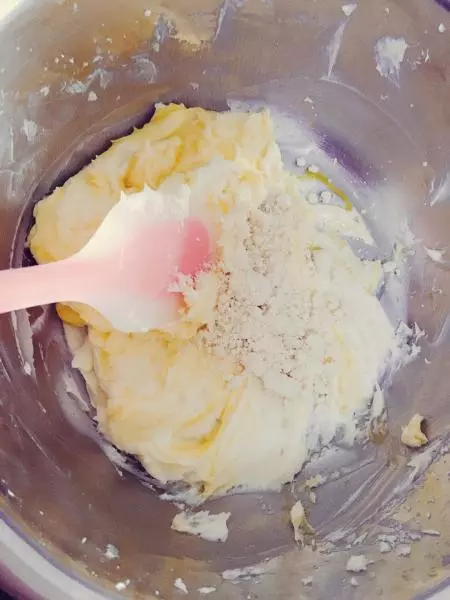
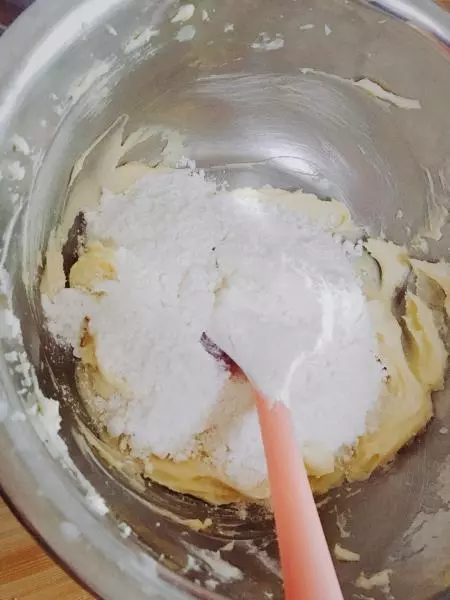
8加入低筋面粉和泡打粉,用刮刀搅拌均匀。
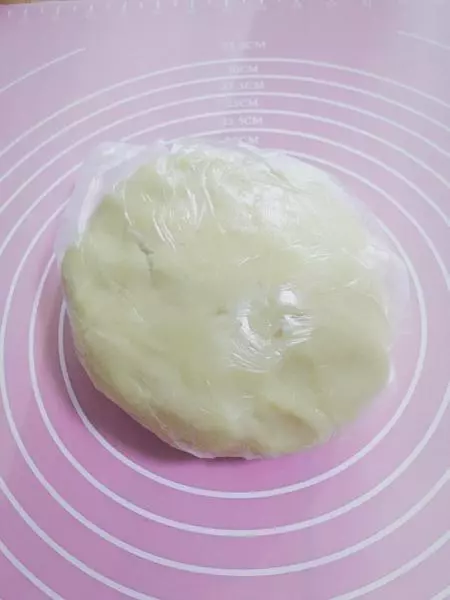
9将面团好保鲜膜,放冰箱冷藏两小时。
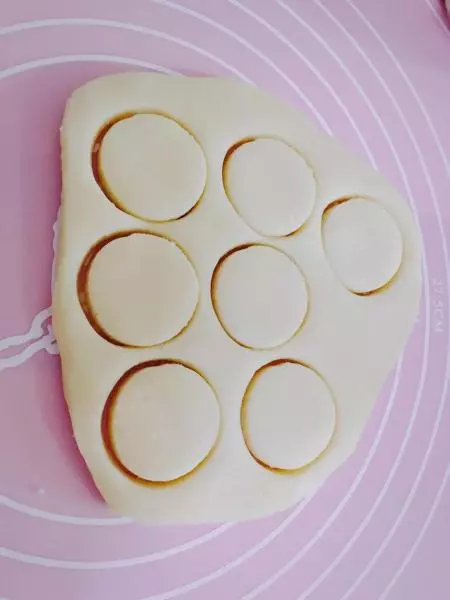
10取出面团,在面团冷硬的情况下,擀成1cm左右的薄饼,然后用3-4cm左右的模环扣出型。剩余面团重新揉一下,再次扣出圆形坯。如果面团变软,就再冷藏一下再扣。烤盘放不下时,可以把剩余面团冷藏,
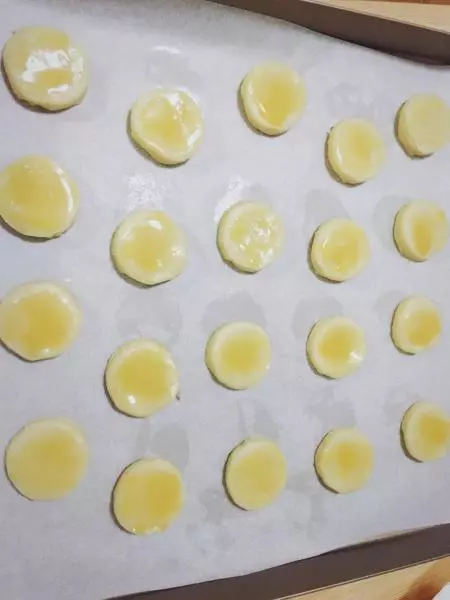
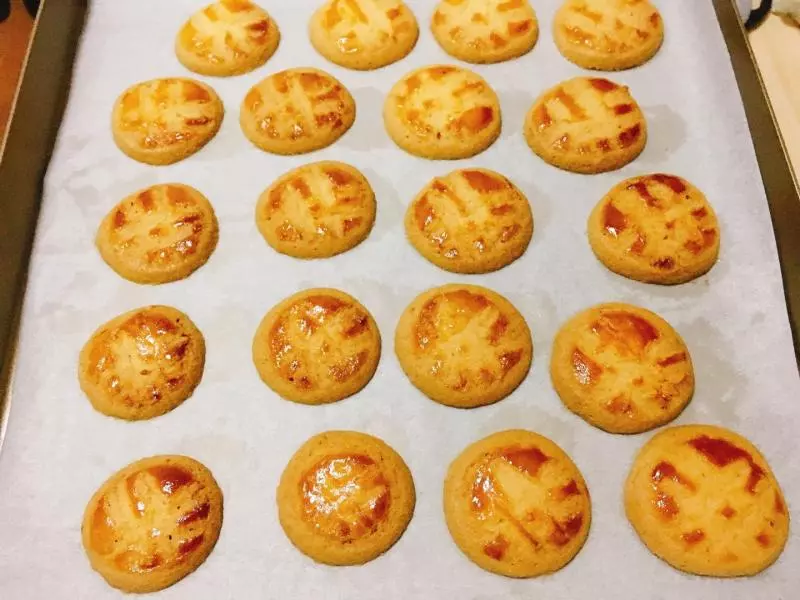
11将扣好的饼坯放入铺好油纸的烤盘中。然后刷蛋液。(为防止蛋液流淌下来,涂蛋液的时候要在饼周围留一点空隙不要涂,否则蛋液会流到烤盘上。)
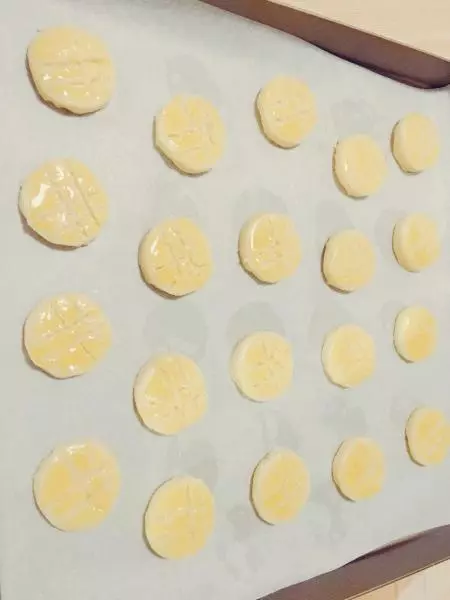
12刷完第一次后放置15~20分钟后,等表面干燥。再刷第二次蛋液,然后用牙签画出纹理。
13将烤箱预热至180℃。等饼坯表面干燥到不粘手的程度,放进烤箱。烘烤20分钟左右,至表面变色,取出。冷却。
小技巧
1.蛋液一定不要刷至边缘。 2.由于没有模环,烤出来的有些变形了,但不影响口感。 3.烤箱温度根据自家实际情况设定,每次可先烤15分钟左右,如果没上色再继续烤,防止烤过度。 4.按这个大小可做40个左右


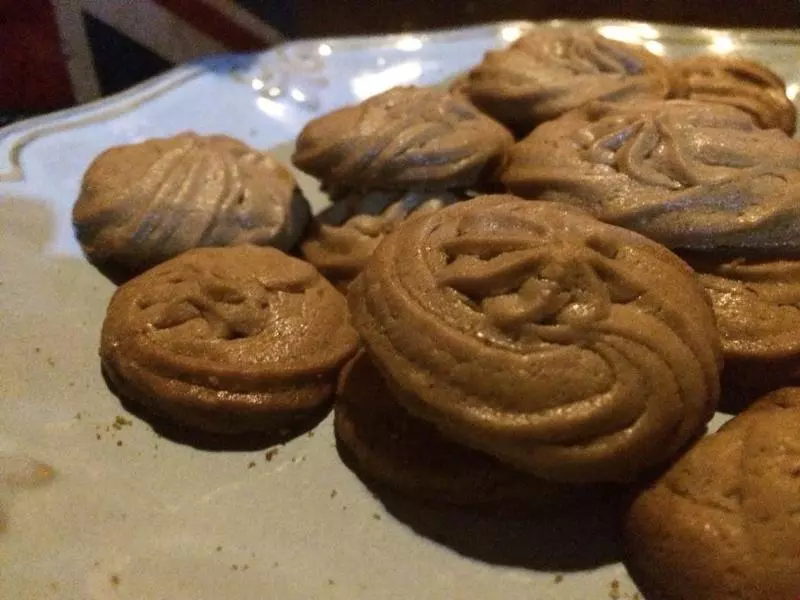
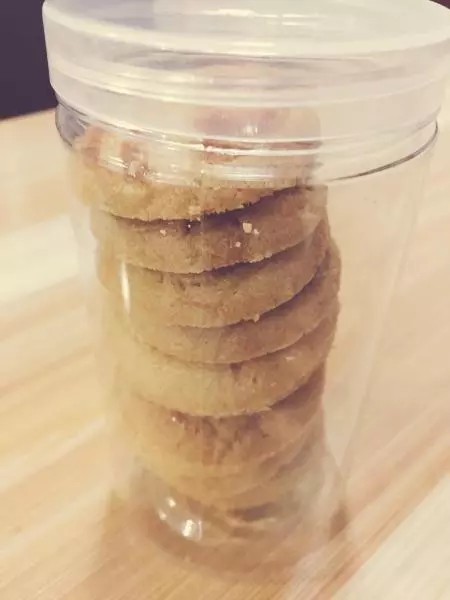
![布列塔尼黄油蛋糕/面包 Kouign-amann [,kwiɲˈamɑ̃nː]](/images/node/32/325884.webp?1638109432)