原料
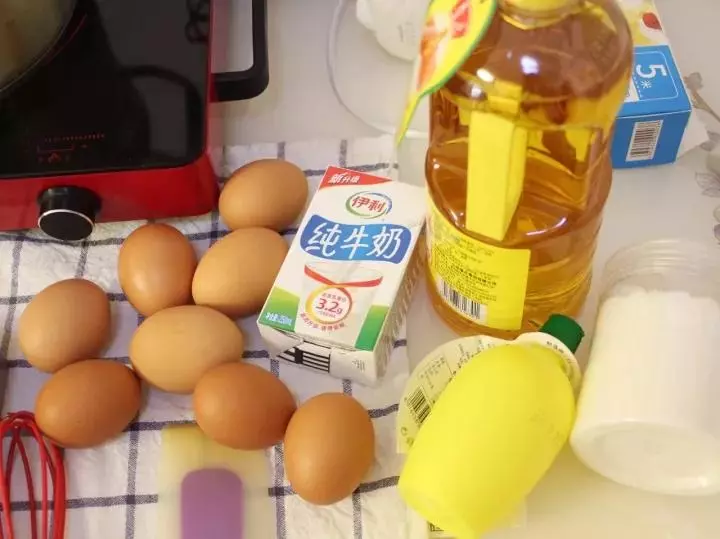
鸡蛋: 8只, 纯牛奶: 99g, 玉米油: 90g, 细砂糖: 18g, 低筋面粉: 126g, 加入打发蛋白的细砂糖: 72g, 柠檬汁: 2-3滴
步骤
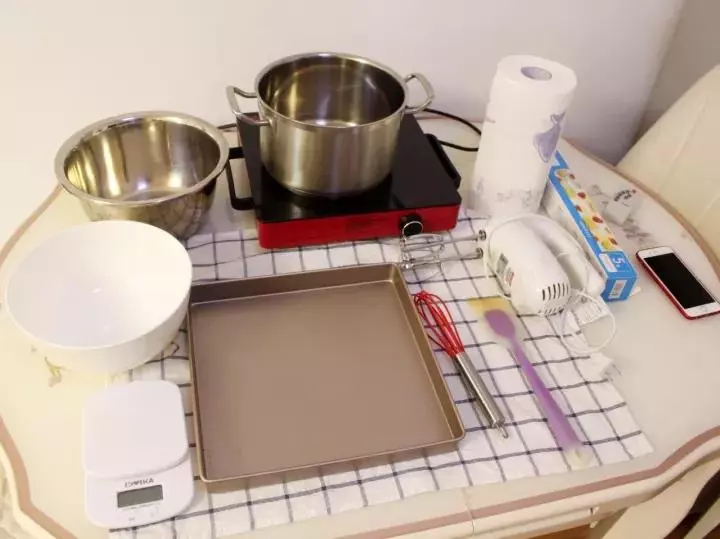
1准备所需工具 奶锅一只 打蛋盆两个:分别装蛋白和蛋黄 28*28厚度3cm方形烤盘(这个方子的量也适用于24*24厚度5厘米的方形烤盘) 厨房电子秤 打蛋器、电动打蛋器 刮刀、油纸、面粉筛奶锅一只
2鸡蛋:大约8只(每只带壳约65g) 纯牛奶:99g 玉米油:90g 细砂糖:18g 低筋面粉:126g 加入打发蛋白的细砂糖:72g 柠檬汁2-3滴(没有可不加,也可以用白醋代替) 柠檬汁的作用可以去腥,并且稳定蛋白,更容易打发。
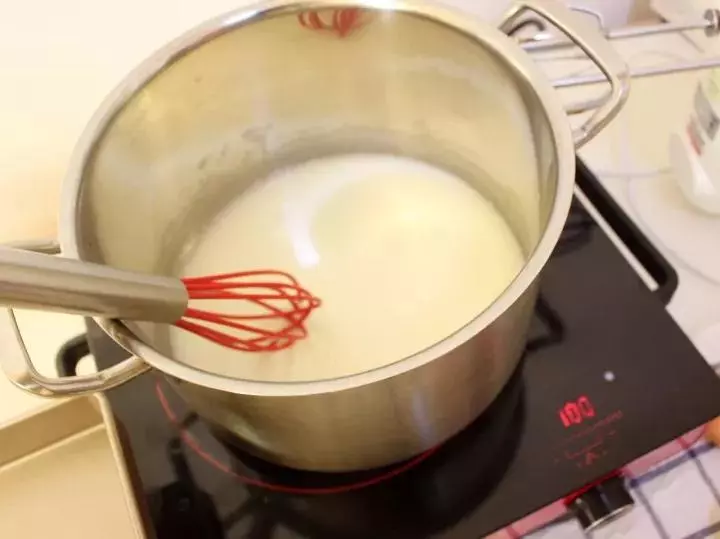
3依次将纯牛奶、玉米油和白砂糖倒进奶锅中。
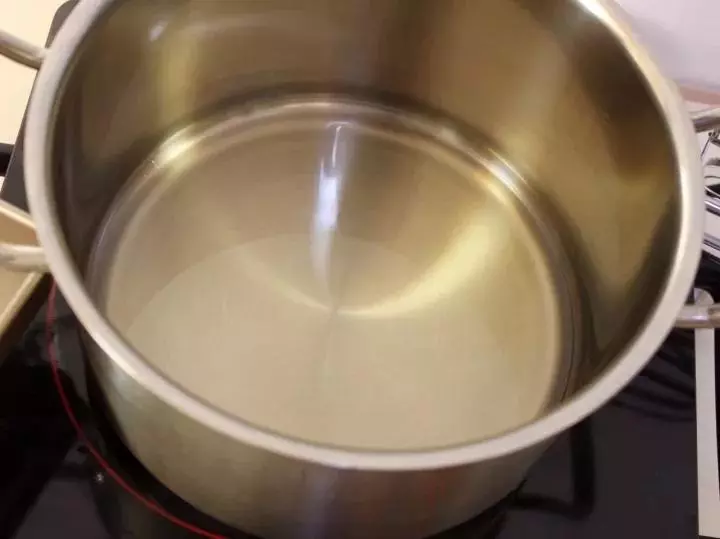
4牛奶
5白砂糖
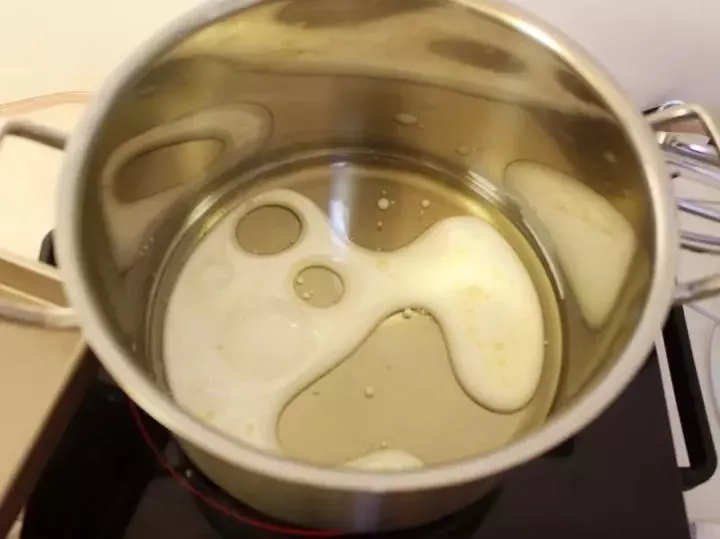
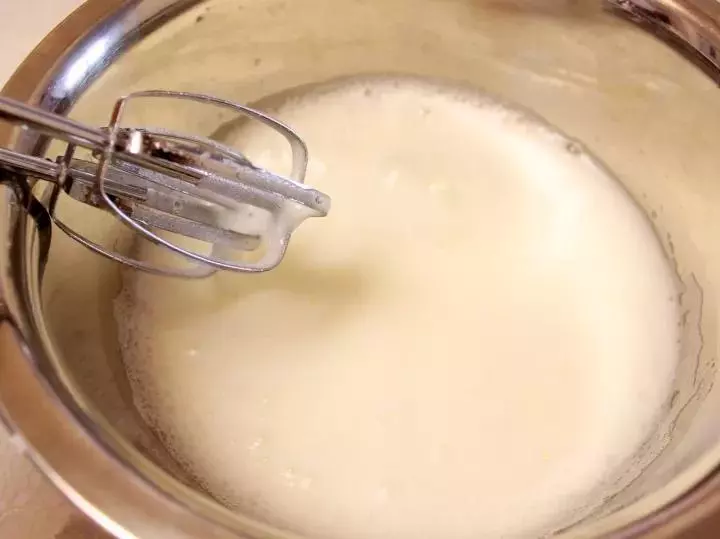
6用手动打蛋器搅拌均匀
7奶锅起火,中小火,边搅匀边加热(也可以放在器皿里进微波炉加热2分钟左右)不要等液体沸腾开锅,只要边缘起小泡泡就可以了,不然会烫熟面粉起疙瘩。
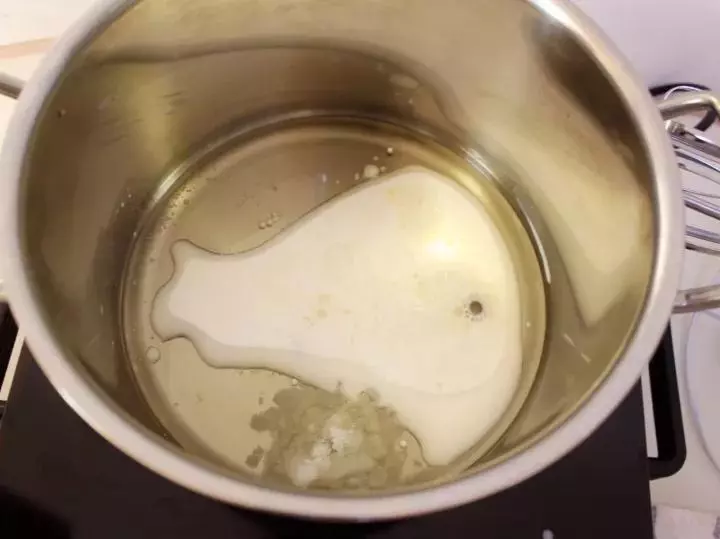
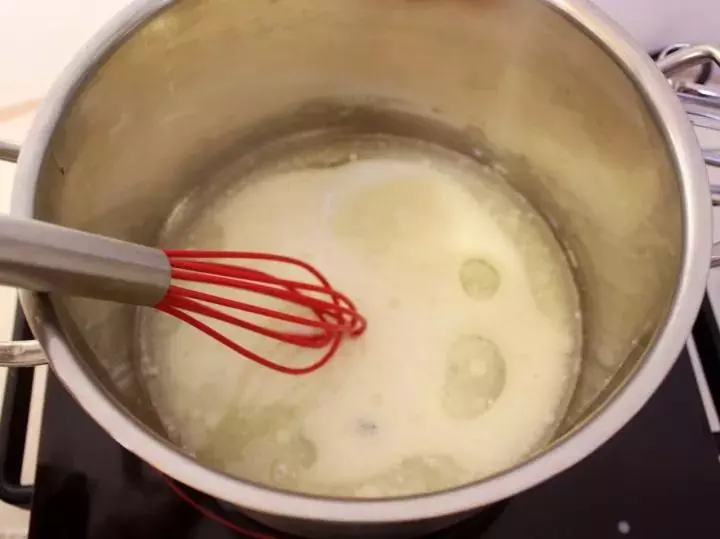
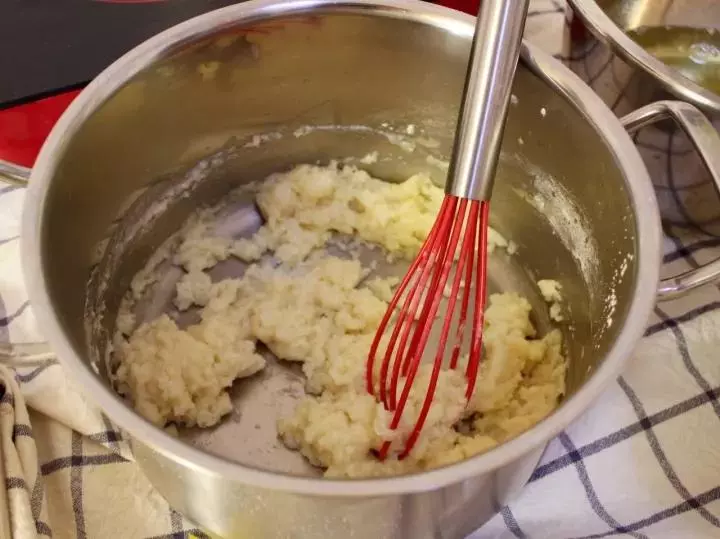
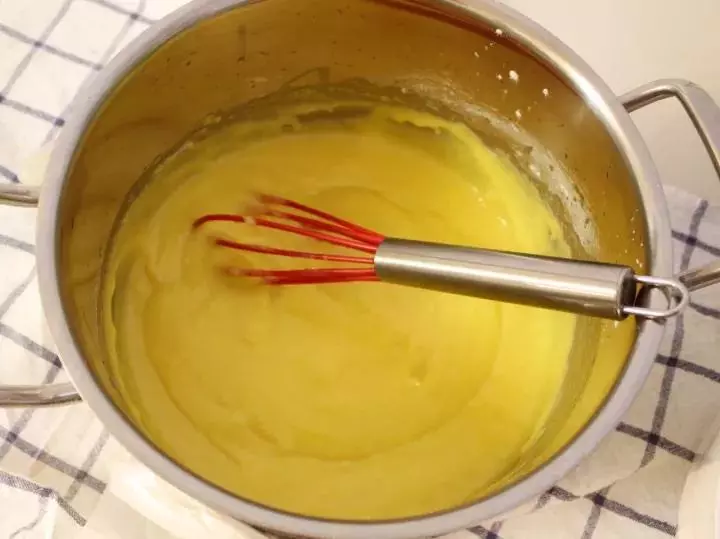
8将低筋面粉筛入锅中,迅速搅拌均匀

9凉一会
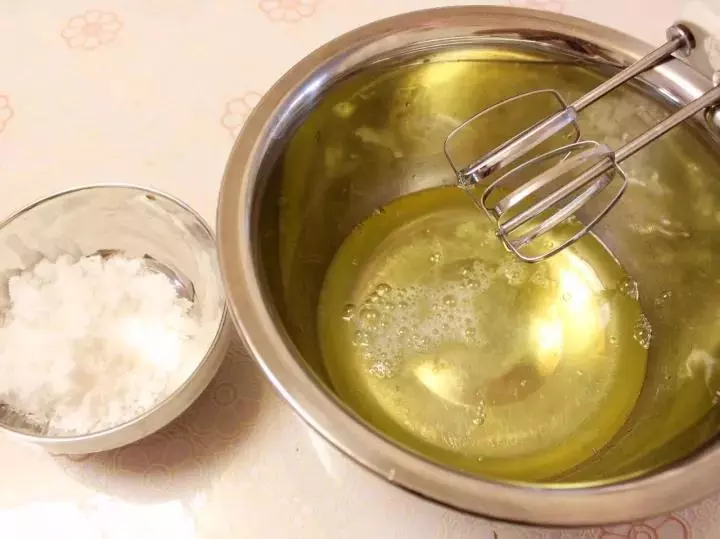
10这个时候将鸡蛋蛋清分离,先打发蛋白,并且分三次将糖加入。
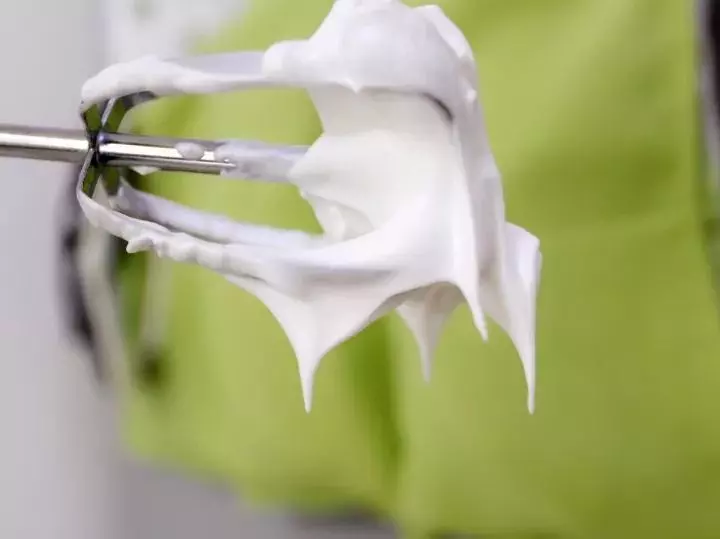
11第一次加糖:蛋白出现大泡泡
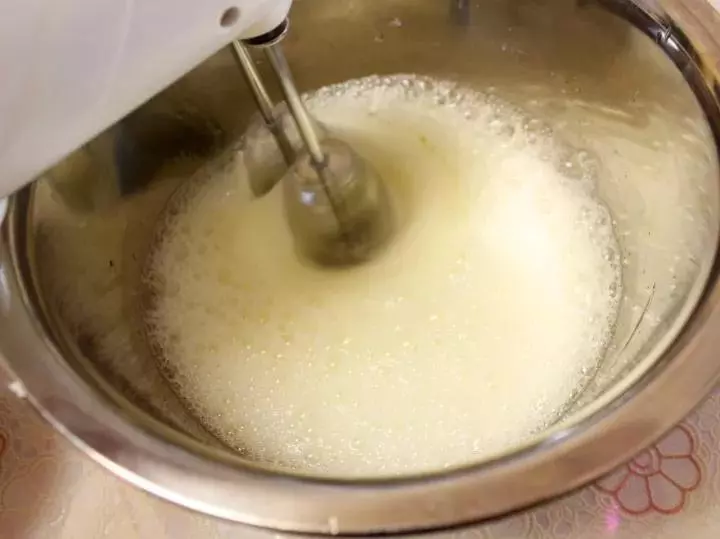
12第二次加糖:蛋白变得细腻
13第三次加糖:蛋白可以出现弯钩
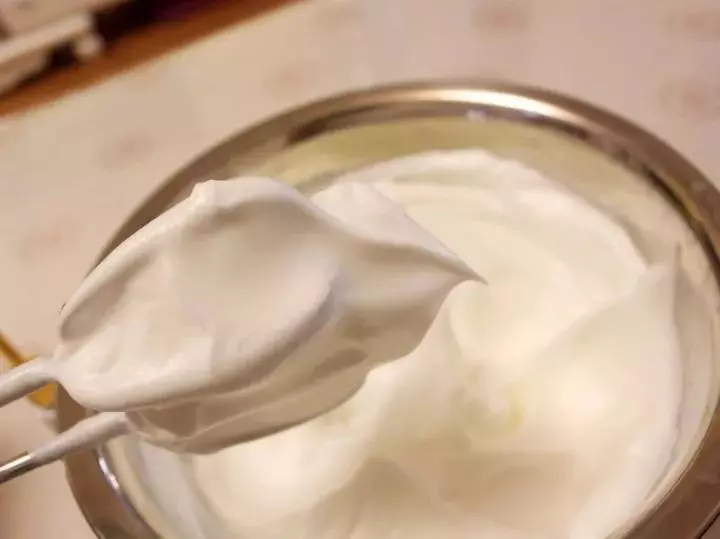
14打好的状态是细腻光滑且出现尖勾
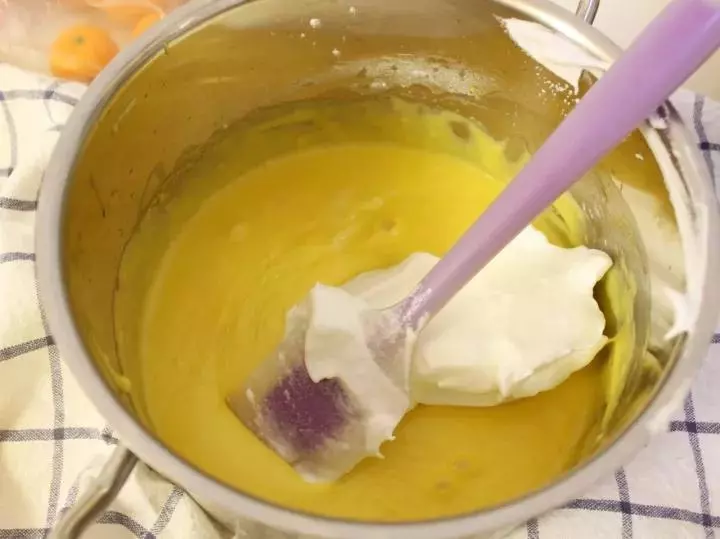
15打好蛋白把分离的蛋黄加入到凉好的面糊中
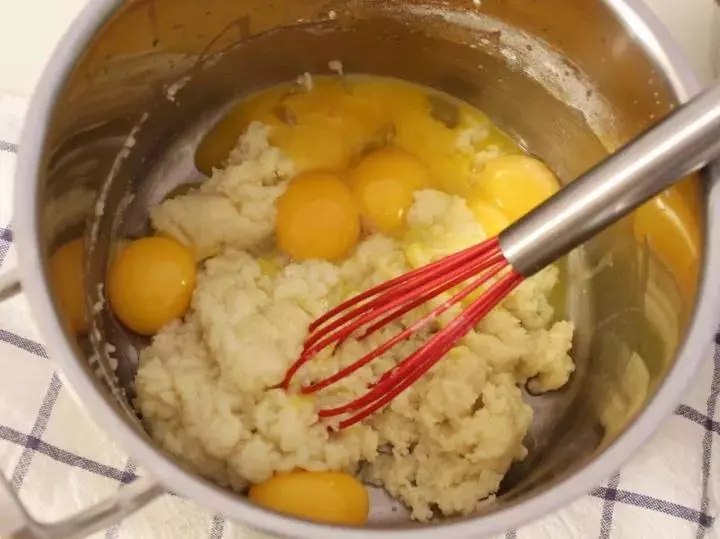
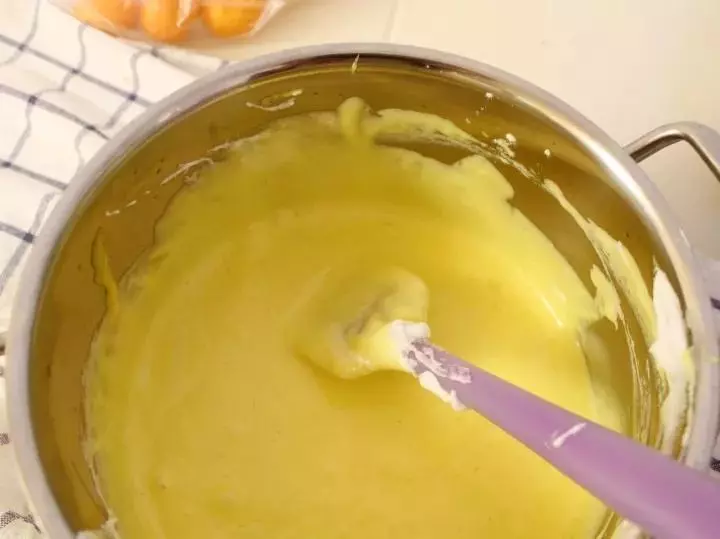
16蛋黄和烫面糊糊充分搅拌均匀
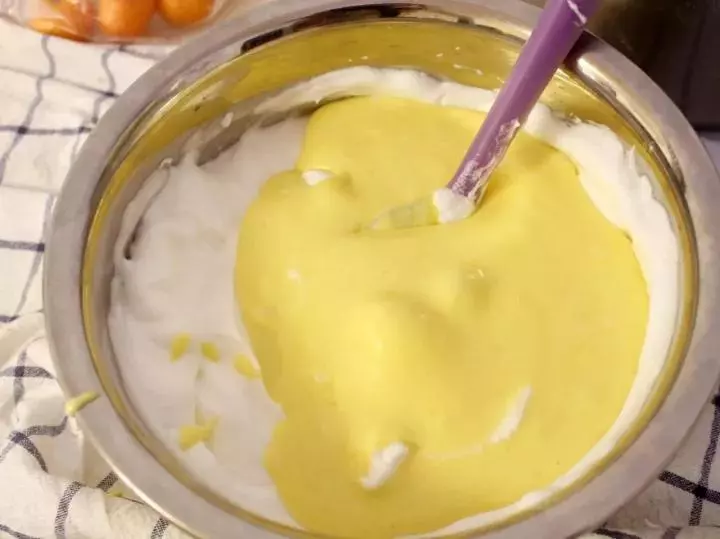
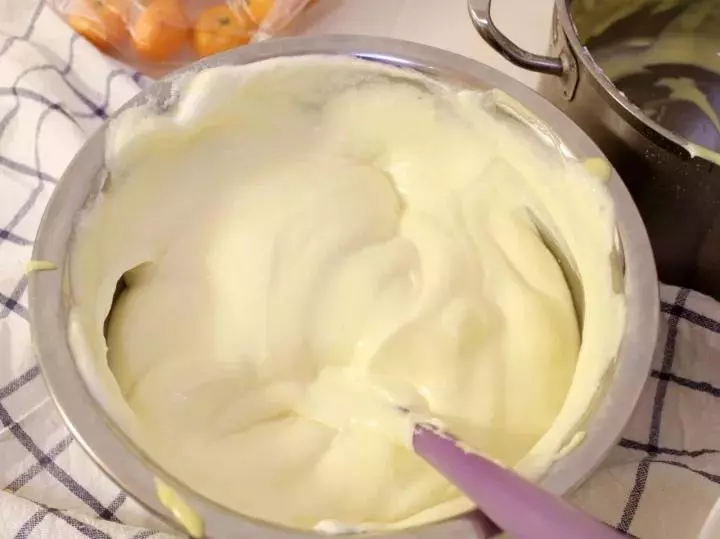
17将一大块蛋白加入到蛋黄糊中,用翻拌法翻拌均匀(不可画圈搅拌)
18搅拌完成
19翻拌均匀的蛋黄糊倒回到蛋白盆中,继续翻拌均匀
20翻拌完成
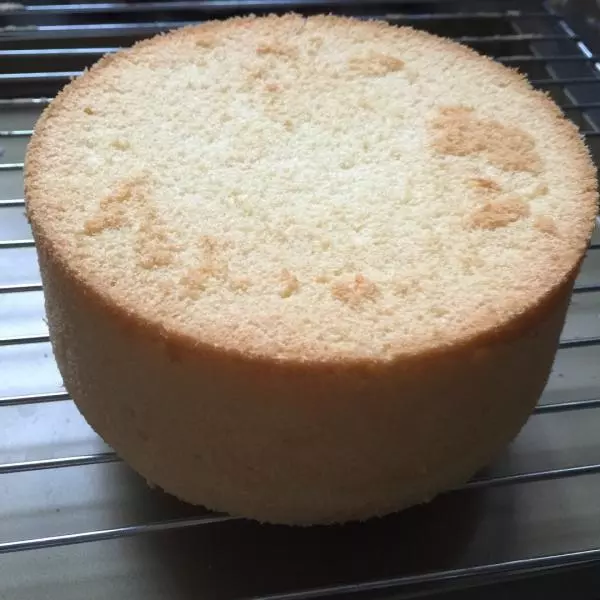
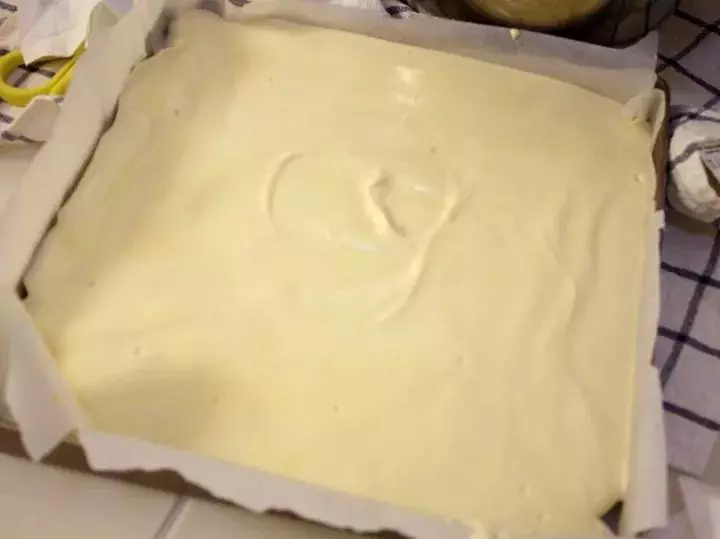
21准备好的烤盘铺上油纸,将糊糊举高倒进烤盘中,轻轻震出表面气泡,并用抹刀抹平。
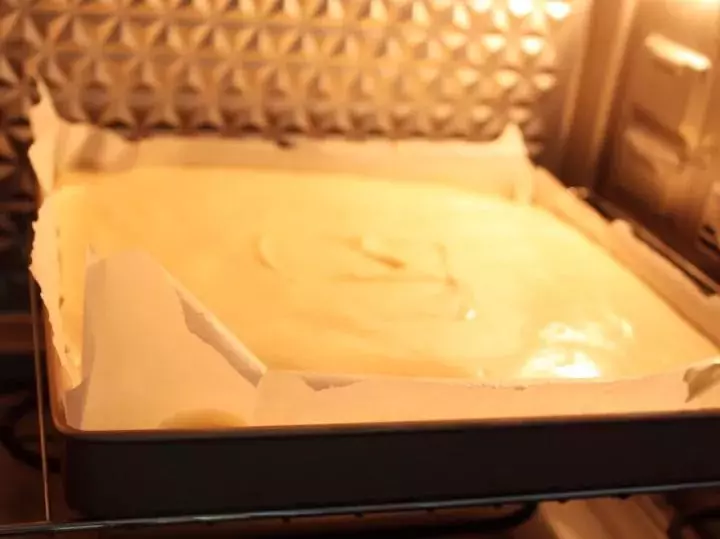
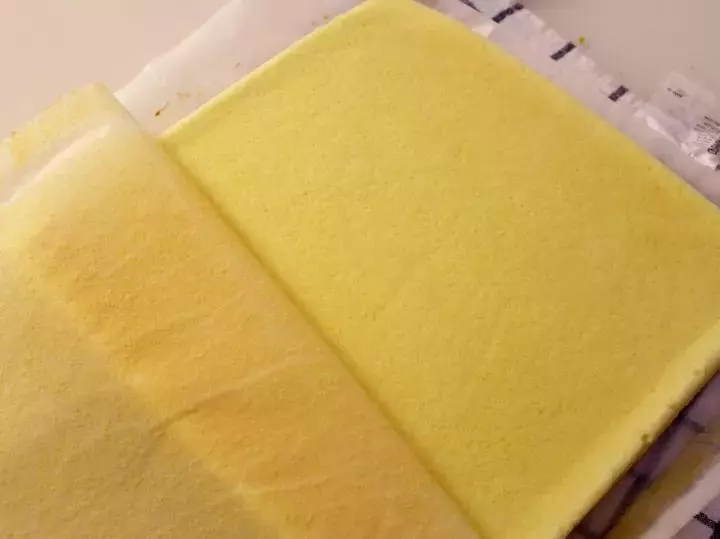
22准备送入预热好上下火150度70分钟的烤箱里。 注意这个时候我是干烤的,很容易因为温度高像戚风一样顶部裂开,会影响美观,后来我坚持使用了水浴法。(具体操作为把方形烤盘放进更大的一个烤盘里,大烤盘中加些水,将方形烤盘浸泡在水里,以降低下火温度防止顶部开裂黑糊)
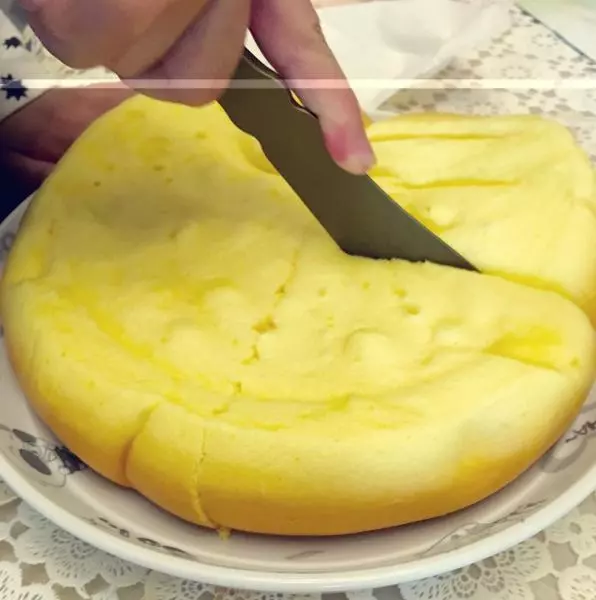
2370分钟后取出
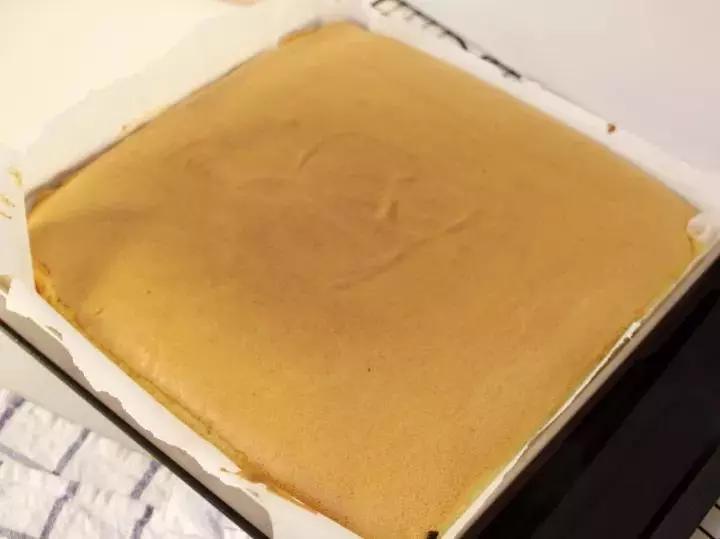
24趁热提溜着油纸把蛋糕取出来,撕开油纸
25晾凉后切成自己喜欢的大小即可
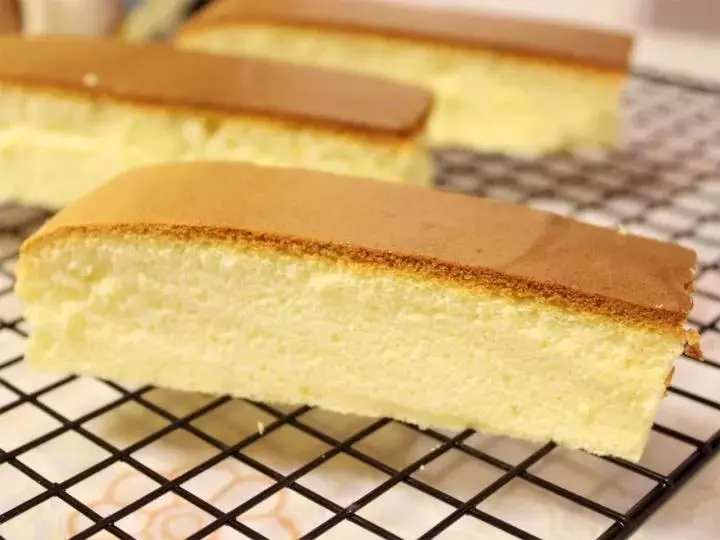
26完成

小技巧
进烤箱的是凉水 预热完再放水 玉米油不可以用黄油代替,用花生油会有很大一股花生油的味道 热油时油温千万不要过高 这款蛋糕不需要倒扣晾凉 切得整齐要用锯刀,我用陶瓷刀切得不好看,当时西西急着要吃(白眼脸) 不做水浴法会开裂 温度和时间根据自己的烤箱调整 西麻织围脖:西妹儿-