原料
戚风蛋糕胚: 1.5个, 鸡蛋: 4个, 牛奶: 40克, 细砂糖: 50克, 低筋面粉: 70克, 玉米油: 32克, 柠檬汁: 5滴(可省略), 夹心水果:: , 奶油馅:: , 蓝风车奶油: 400克, 砂糖: 30克, 火龙果: 适量, 草莓: 适量, 芒果: 适量, 装饰水果: , 草莓: 4个, 芒果: 适量
步骤
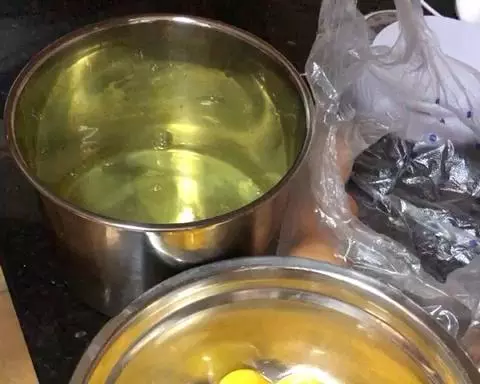
1准备两个无油无水的盆,将鸡蛋的蛋清和蛋白分离放入两个盆内备用
2打蛋器高速档打发至有鱼眼状气泡
3加入细砂糖
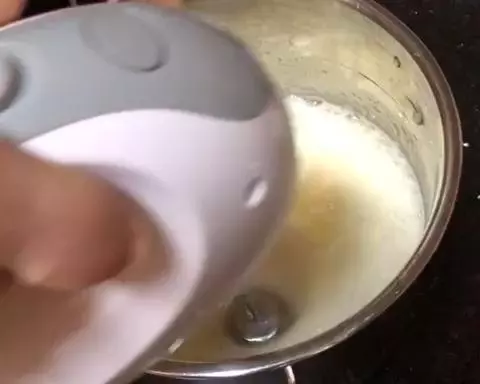
4继续搅打,蛋白会越来越膨胀越来越细腻
5打发至至细小气泡的时候再次加入细砂糖
6搅打后加入剩余细砂糖

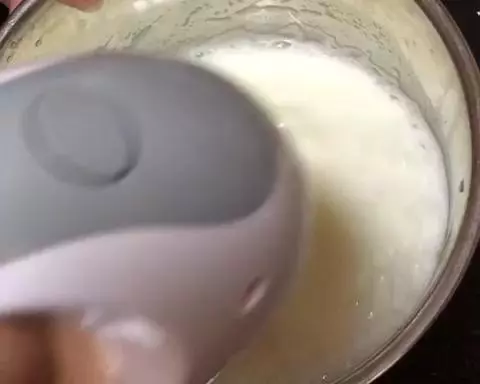
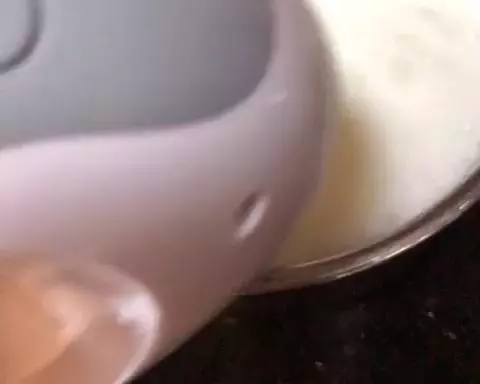
7打至干性发泡——打蛋器提起后可以拉出直角 放在一边备用
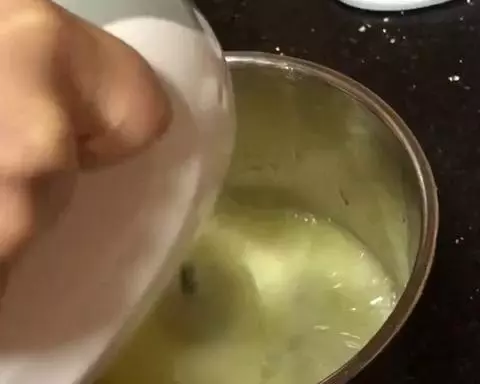
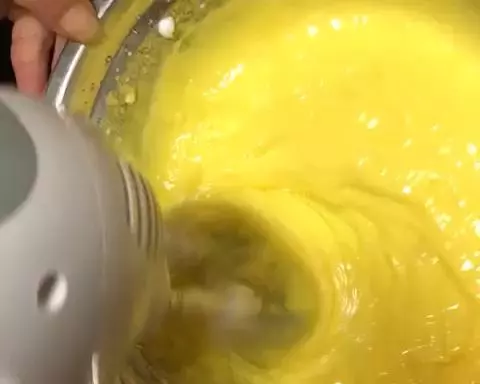
8蛋黄加入白砂糖打散
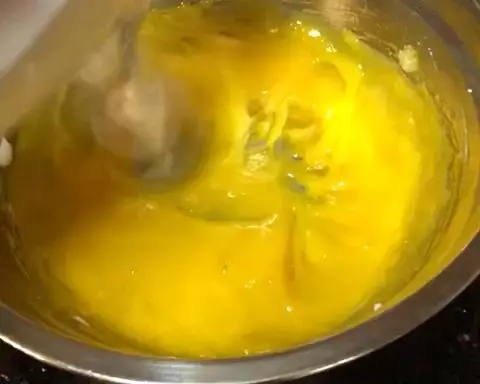
9分三次加入玉米油 ,每次都要搅打到充分乳化后再次加入,直到颜色变淡体积微微膨胀即可
10加入牛奶,搅打均匀
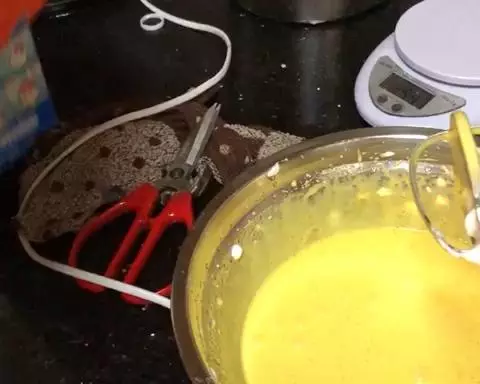
11低粉过筛
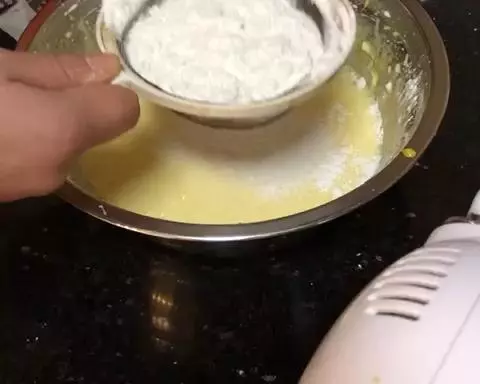
12翻拌均匀后成为细腻柔滑的面糊
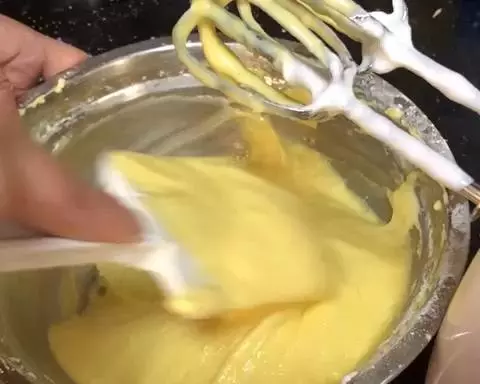
13把打发的蛋白取1/3放入面糊中翻拌均匀
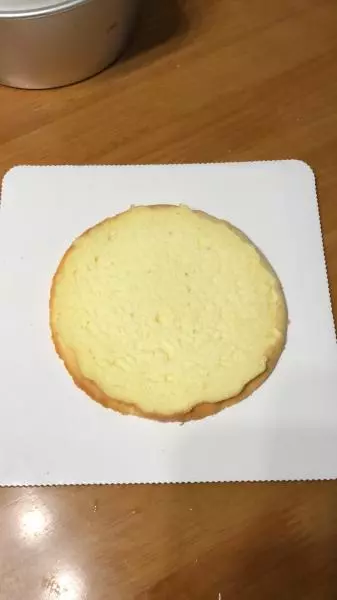
14再将剩余的蛋白倒入面糊翻拌均匀
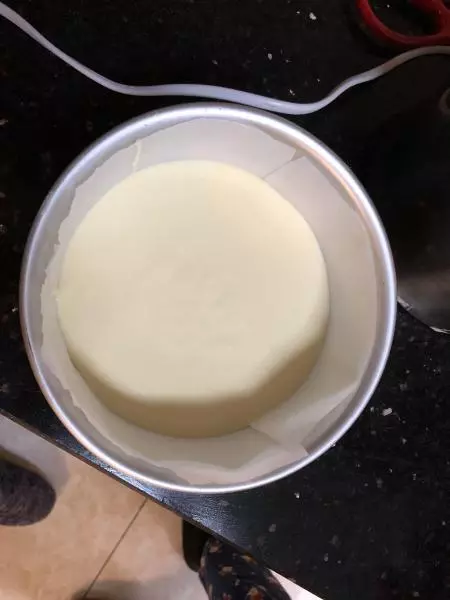
15将蛋糕糊倒入6寸蛋糕模 倒入至一半处,放入预热好170度的烤箱中层
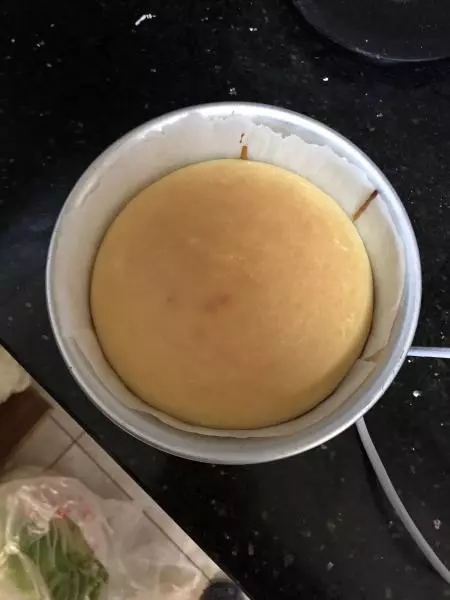
1610分钟后蛋糕烤好 取出放凉 脱模(同样步骤再次重复烤一次)
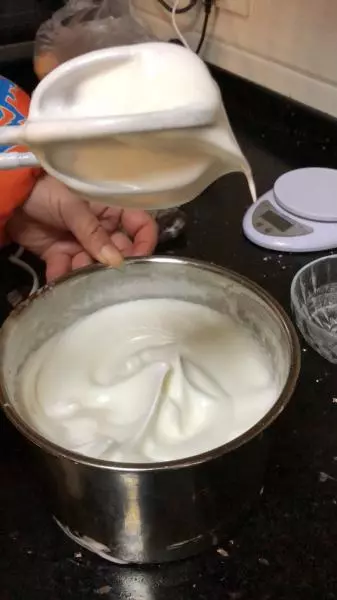
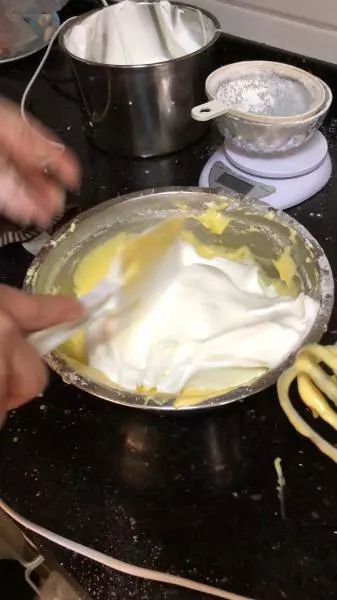
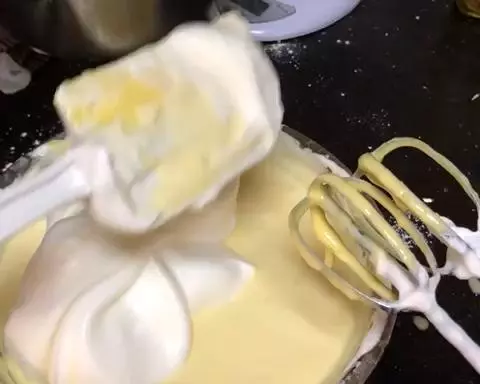
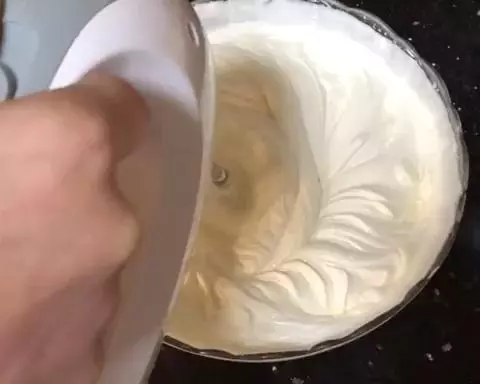
17400克的奶油加入30克细砂糖,高速打法至纹路清晰,提拉出尖角状即可
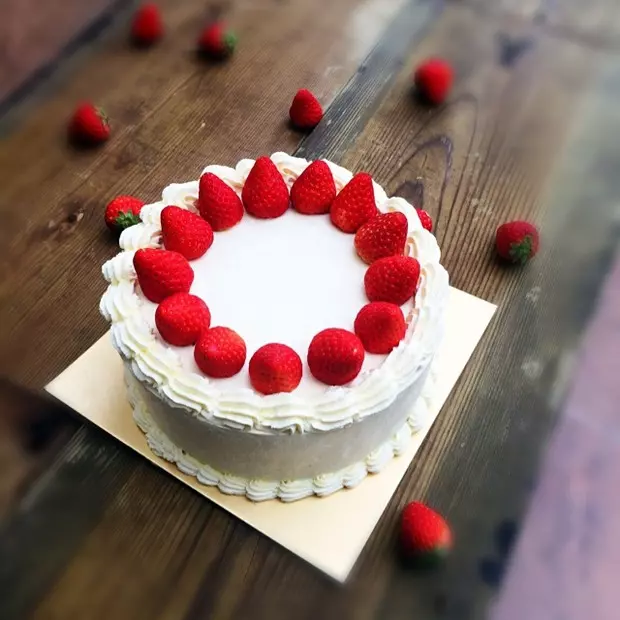
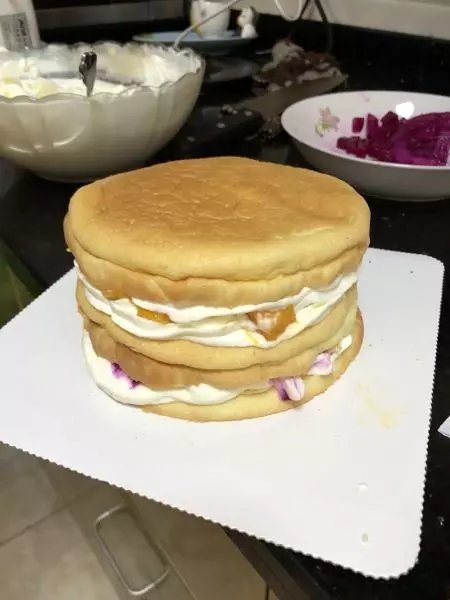
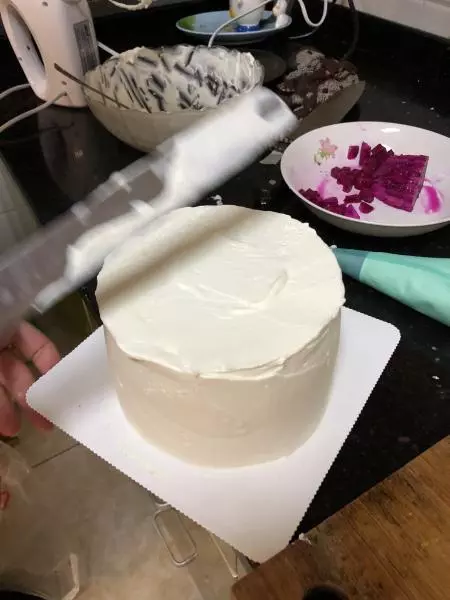
18将蛋糕分成四片
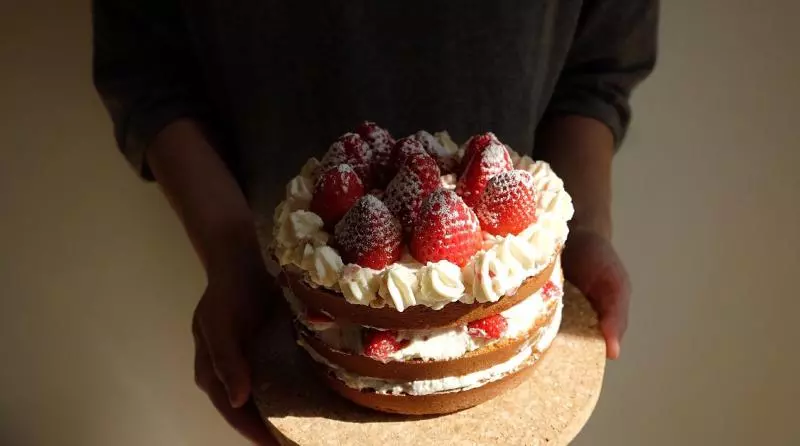
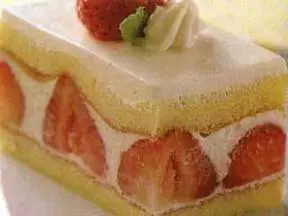
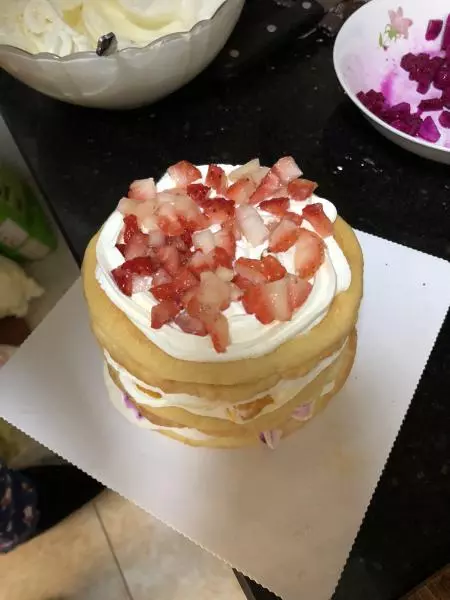
19一层蛋糕一层奶油水果夹心,一共三层夹心
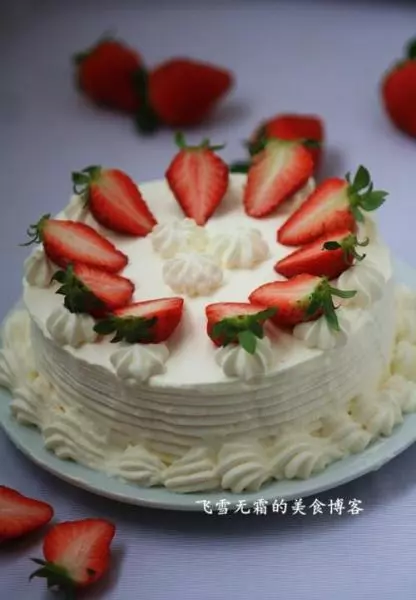
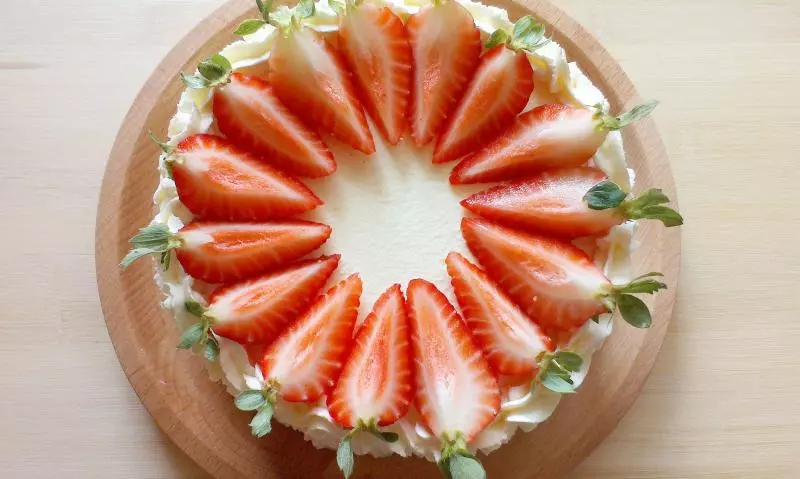
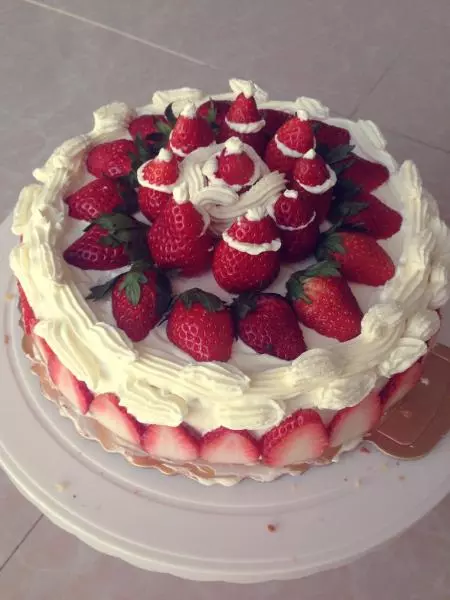
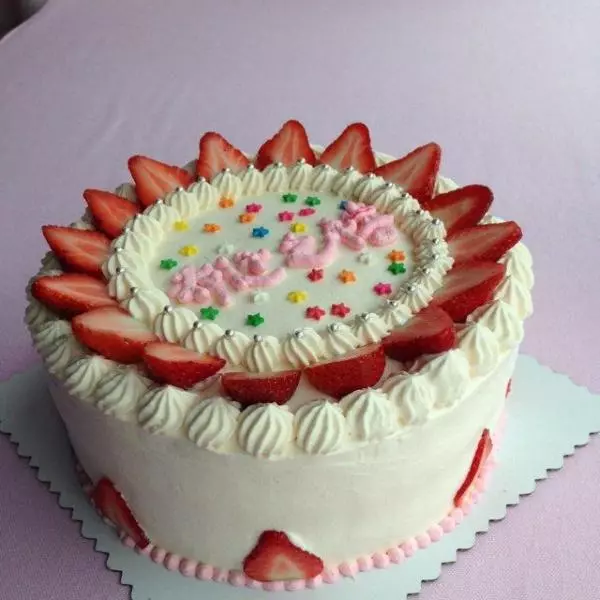
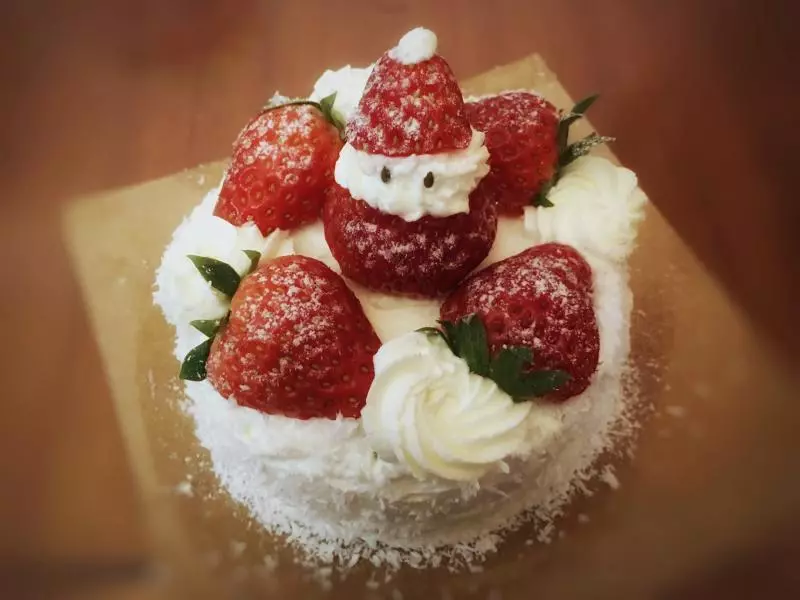
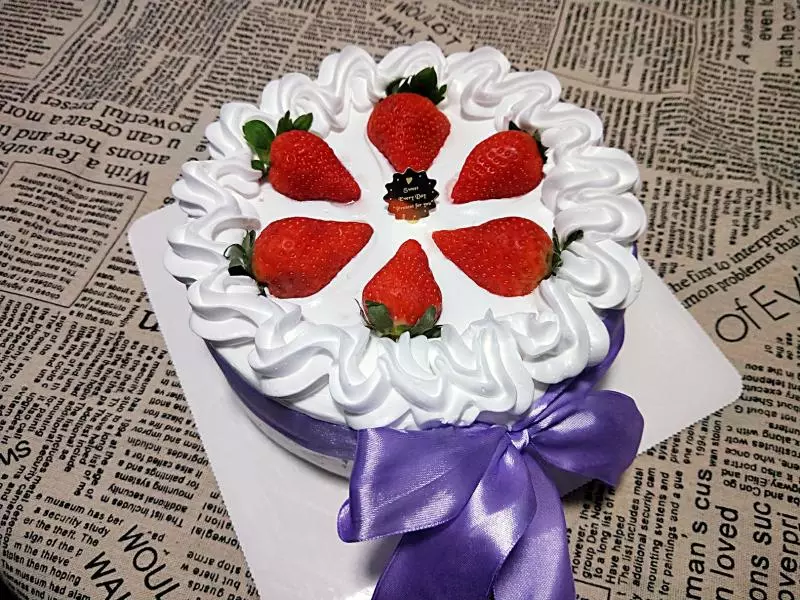
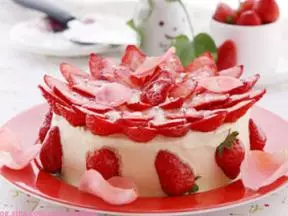
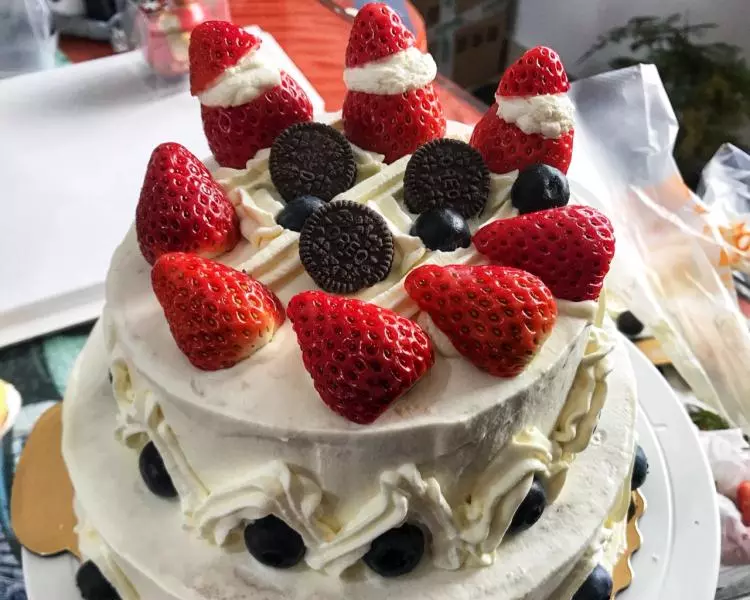
20开始抹面
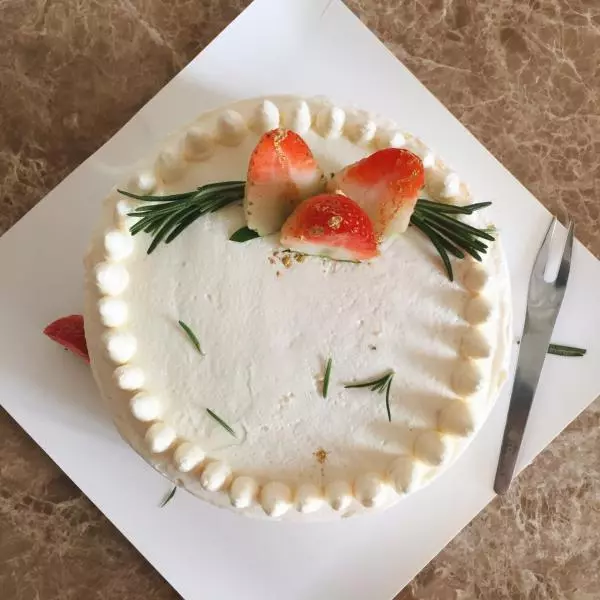
21抹面完成
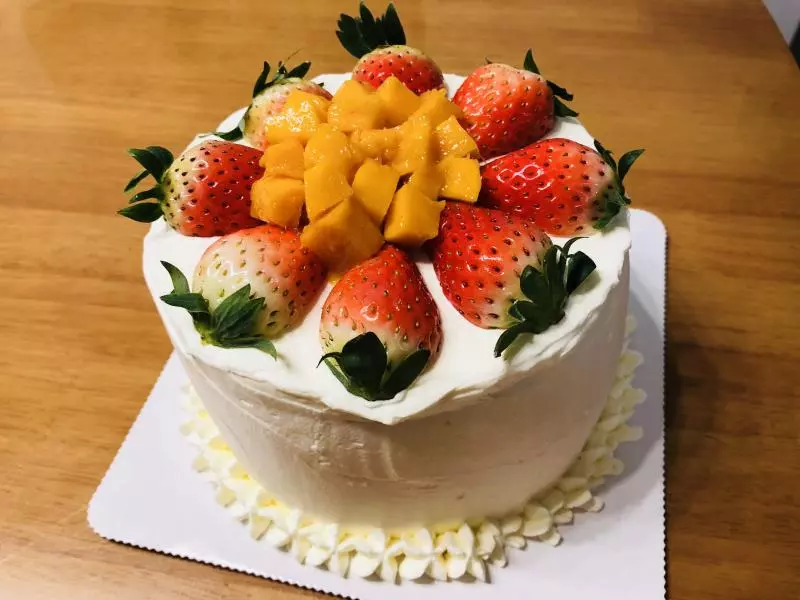
22摆上水果后 蛋糕完成
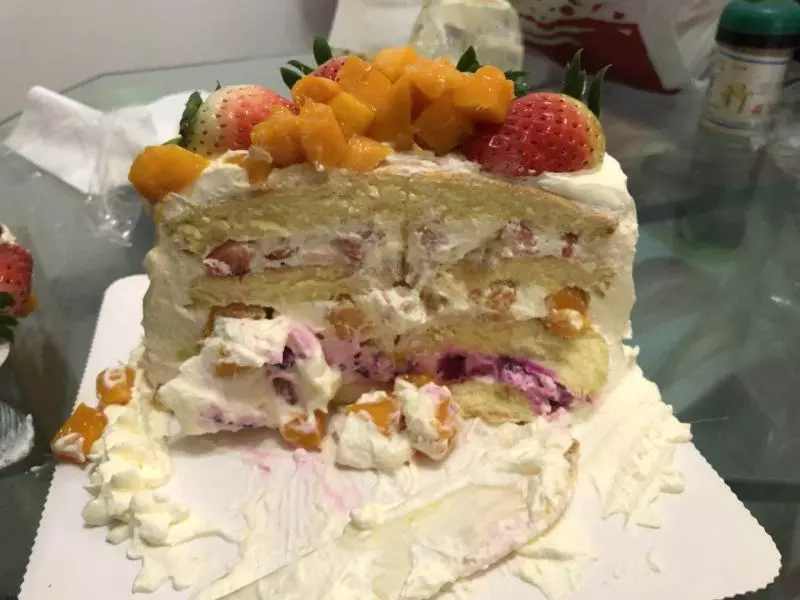
23切开后蛋糕内里层次丰富,色彩鲜艳,馅料十足哦
小技巧
1、奶油要冷藏,奶油和细砂糖的比例8%-10%,盆也是无油无水,否则不易打发,夏天打发奶油需要放在冰盆里坐浴打发 2、鸡蛋需要常温打发,如果冰箱里拿出来需要回温后再打发,否则很难打发