原料
低筋面粉: 120g, 糖粉: 适量(筛围边上), 蛋黄: 4个, 细砂糖: 45g, 蛋白: 4个, 细砂糖: 45g, 可可粉: 5g, 巧克力: 45g, 鲜奶油: 60g, 细砂糖: 10g, 黄油: 30g, 牛奶: 20g, 鲜奶油: 20g, 冷冻树莓: 75g, 动物性鲜奶油: 75g, 细砂糖: 15g, 细砂糖: 20g, 吉利丁1片: , 新鲜无花果: , 新鲜树莓: , 绑带: , 插排:
步骤
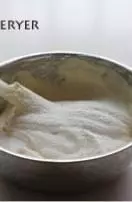
1蛋糕围边及蛋糕片:分离蛋黄蛋白,蛋黄 45g细砂糖打至膨胀,粘稠,发浅黄,备用
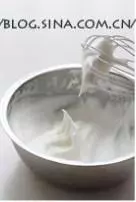
2蛋白分3次加入45g细砂糖打到能拉起直角尖
3将蛋黄糊倒入打好的蛋白糊中,用橡皮刮刀翻拌均匀;然后一边筛入低筋面粉,一边将面粉与蛋糊混合,直到混合均匀,完全看不到干粉
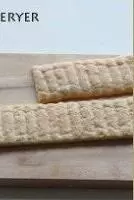
4使用直径1cm圆形裱花嘴,将面糊装入裱花带中,在铺有不沾布的烤盘中,竖着一条条的挤出蛋糕围边。挤好后在表面筛上2层糖粉,马上放入预热好的200度烤箱烘烤,约10-15分钟

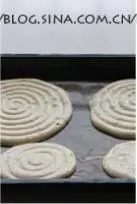
5接着仍使用刚才的裱糊袋,在烤盘上挤出2个螺旋状的圆片,直径至少要与模具的直径相当,或比模具的直径略大,时间温度同上
6烤好后,围边的底边切齐,1条不够围住模具内部,就要准备2条
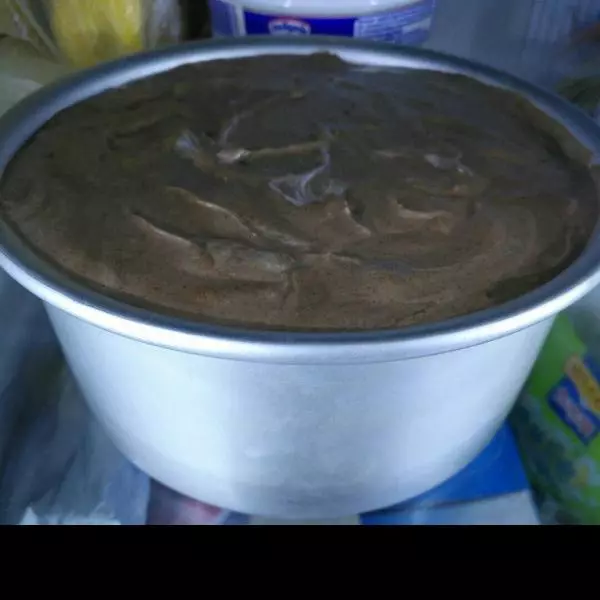
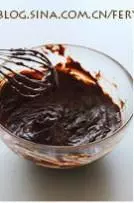
7制作巧克力慕斯:牛奶 鲜奶油放在锅中同煮

8煮沸后熄火加入可可粉搅拌均匀,然后放在火上再次煮沸

9将煮沸的可可牛奶溶液,倒入切碎的巧克力中
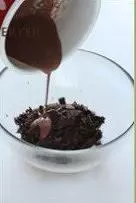
10利用可可牛奶溶液的热度,将巧克力融化,拌匀
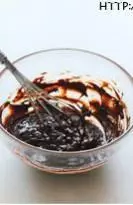
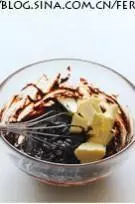
11加入彻底软化的膏状黄油搅拌均匀
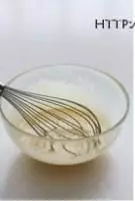
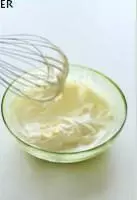
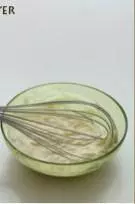
12鲜奶油 20g细砂糖打至7分发
13接着将鲜奶油加入步骤14中

14彻底搅拌均匀,这样巧克力慕斯就做好了
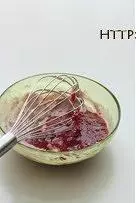
15制作树莓慕斯:冷冻树莓解冻,将树莓和它解冻融化的汤汁,一起捣碎,并加入30g细砂糖拌匀
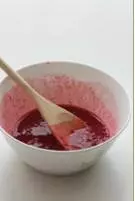
16取少部分树莓浆加热,与泡软的吉利丁混合均匀
17再将少部分树莓浆与大部分树莓浆混合均匀
18鲜奶油 20g细砂糖打到7分发
19鲜奶油与树莓浆混合均匀,这样树莓慕斯就做好了
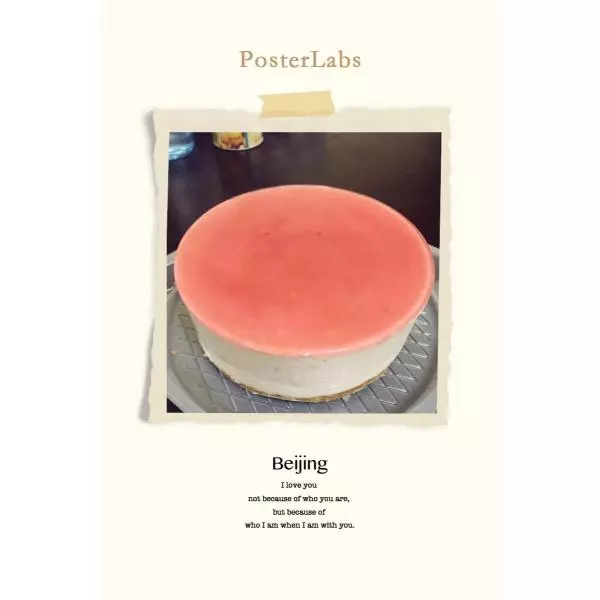
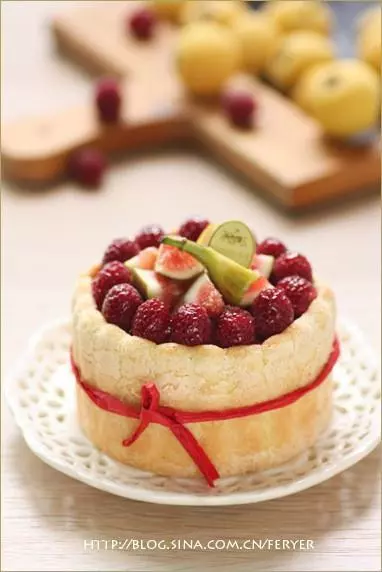
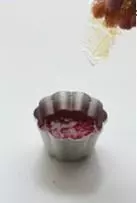
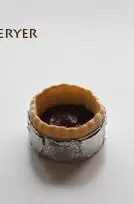
20将慕斯圈用锡纸包住底部,将准备好的慕斯围边围在模具内壁上,然后将一片裁剪到适当大小的蛋糕片铺于底部

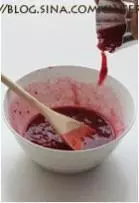
21倒入巧克力慕斯约1半的位置
22再铺入一片蛋糕片

23倒入树莓慕斯约9分满
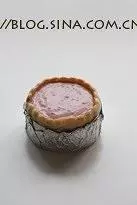
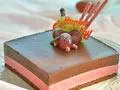
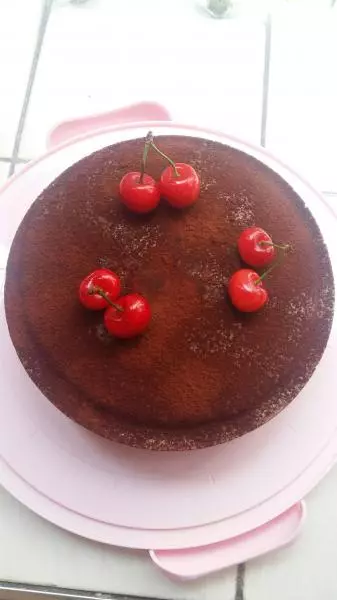
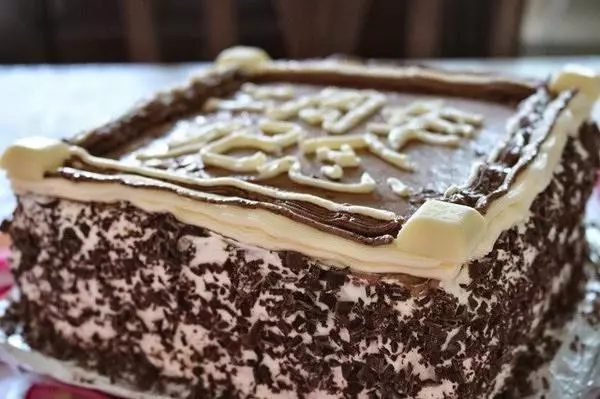
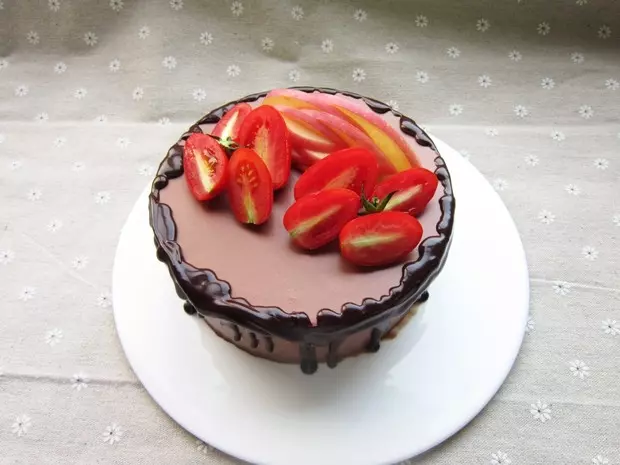
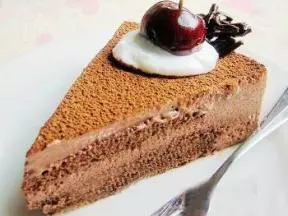
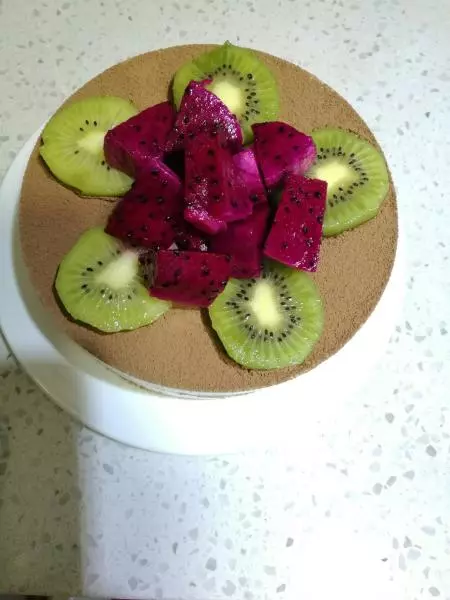
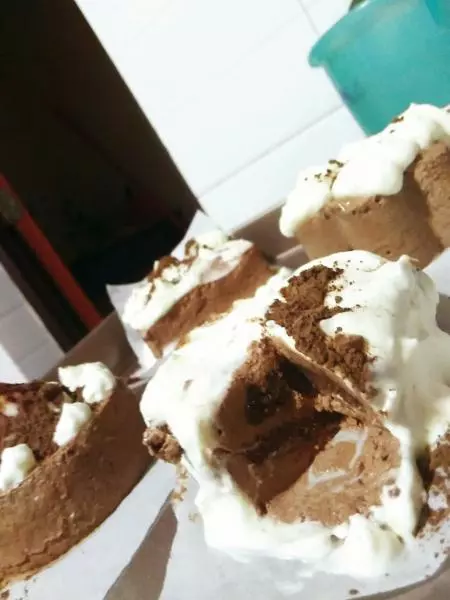
24冷藏3-5个小时至凝固后,再来做装饰;切块食用