原料
高筋面粉: 260克, 低筋面粉: 110克, 温水: 170克, 黄油(可用玉米油): 30克, 盐: 5克, 酵母: 6克, 白糖: 30克
步骤
1我是用面包机揉面,所有材料投进面包机选和面30分钟,然后发酵,现在是夏天我选择在面包机里自然发酵,可能天气比较热,二十分钟不到就发酵好了,用手指按下不回弹即可。 手揉的就揉到光滑就行如图1,然后发酵。

2发酵好后,拿出排气 排好气,用称平均分三份。我做的比较慢,先擀一个,其余两个用保鲜膜盖住免得表皮干裂。擀成9寸批萨盘一样大小就行。

3图3这个花边批萨这里没有写步骤,下次有空我再补上。大家可先做图4的批萨皮

4先把烤箱预热。擀好的皮个人觉得不需太厚,也不用刻意去卷边,如图就行,用叉子均匀的扎好小孔,就可以送进烤箱烤了,批萨盘选浅的好,我这个是一套的也就将就用了。批萨底大概烤个十五分钟就行了,温度根本自己烤箱脾气。看颜色微微上色就行,因为这只是饼底,待会还要加很多食材上去再烤的,太硬口感就差了。

5饼皮先烤一下等会会更好操作,也可以不烤直接放食材,看个人习惯。

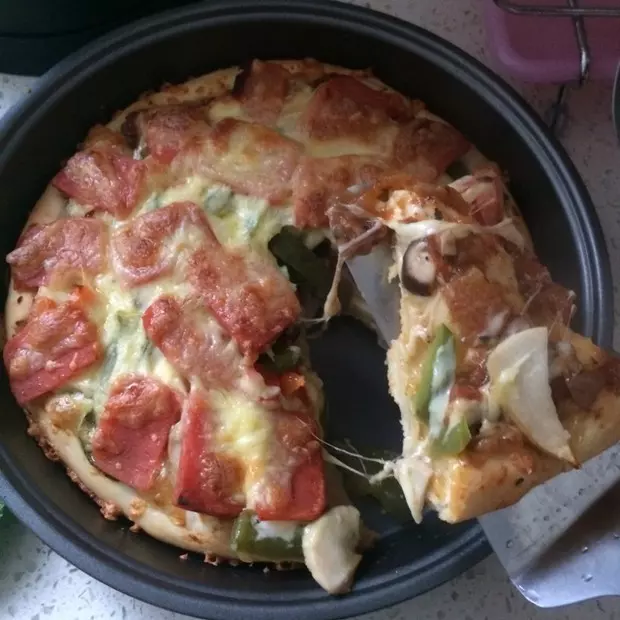
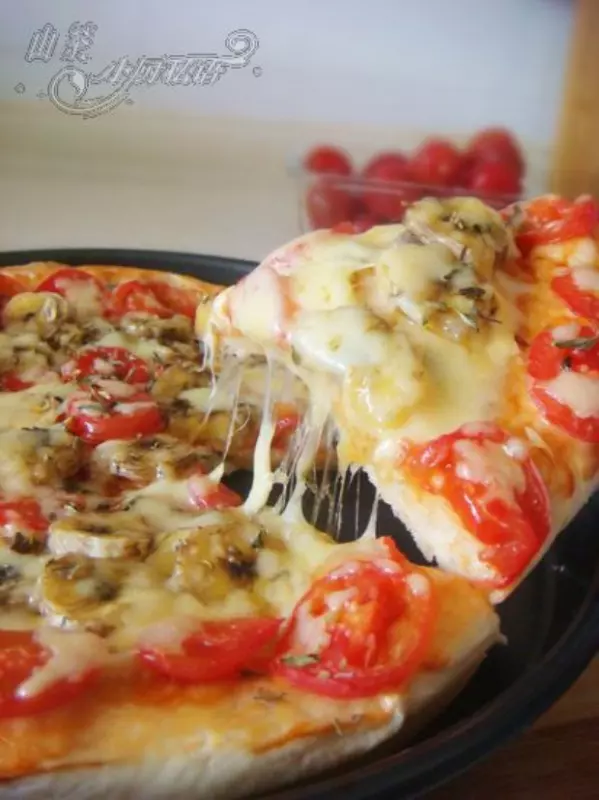
6烤好批萨趁热脱膜

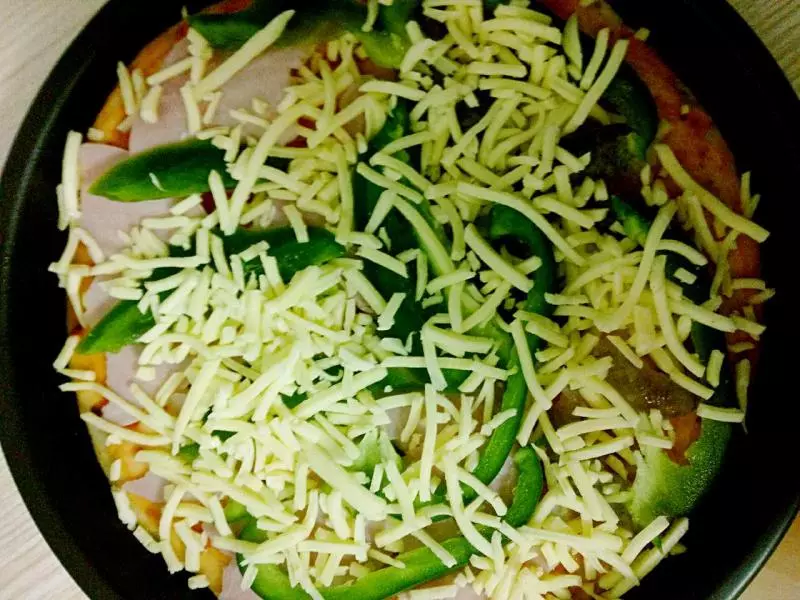
7肉类跟蔬菜有水分可先进烤箱烤一会,看到微干就行,这样等会撒上芝士才不会因为水变的不拉丝。