原料
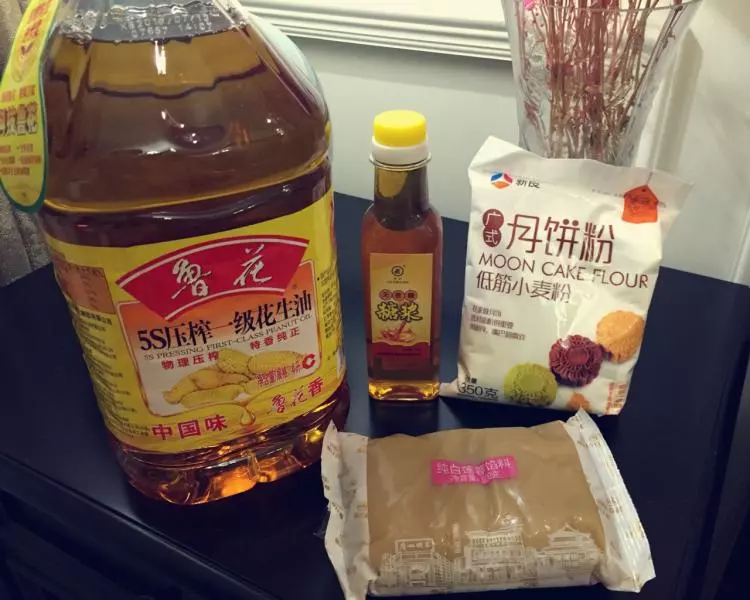
面皮如下: , 中筋面粉: 270克, 转化糖浆: 189克, 花生油: 78克, 枧水: 6克, 馅料如下: , 咸蛋黄: 17个, 白莲蓉: 500克, 刷液如下: , 蛋黄: 1个, 蛋白: 1/4个,约8克
步骤
1我刚才提到了,材料要好,花生油我是买的鲁花花生油、面粉我买的月饼粉,用中筋粉也可以,白莲蓉馅料,我买的是广州酒家的利口福白莲蓉馅料,味道好就是这个馅料起到最大的作用
2这包馅料500克,我是按照这包馅料的重量配比面皮的,因为馅料打开了容易坏,还是一次都全部用掉算了。
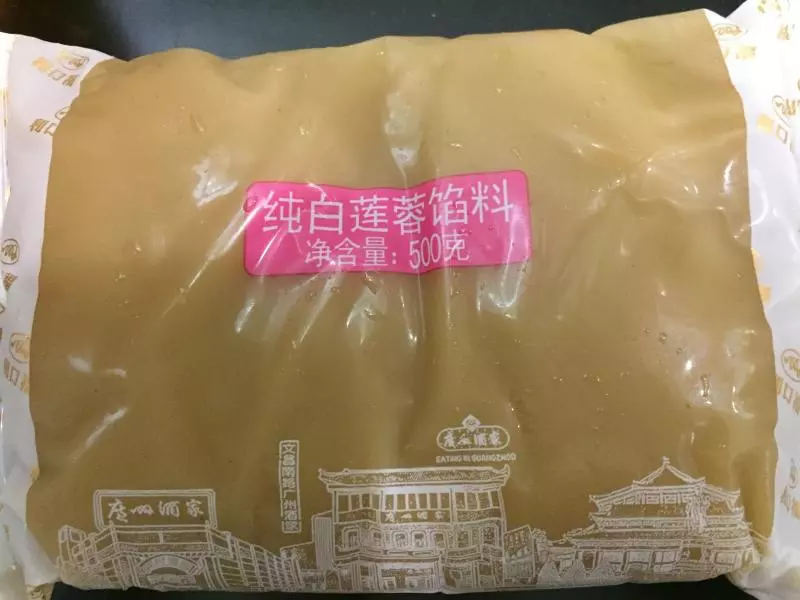
3广州酒家利口福的馅料无添加,并且用的花生油,这两点比较好,对于口感来说不是太甜,不会吃得很腻。
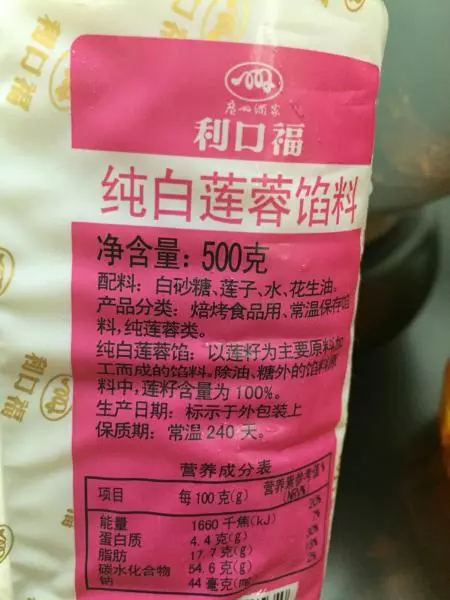
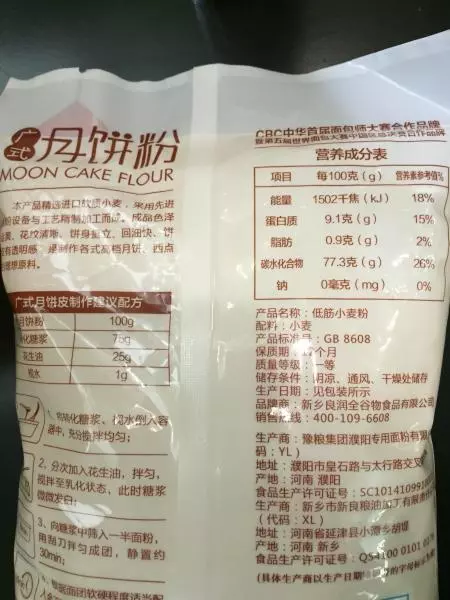
4不管你买的月饼粉还是中筋粉都要看配方,只有小麦,其他没有
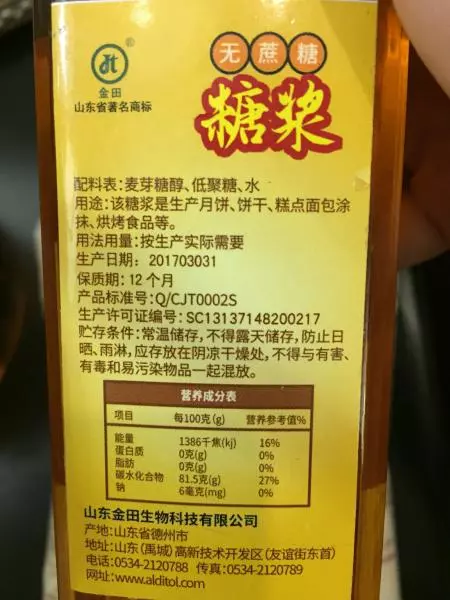
5转化糖浆也是无添加,我买的无糖,不希望那么甜的也可以买这个无糖
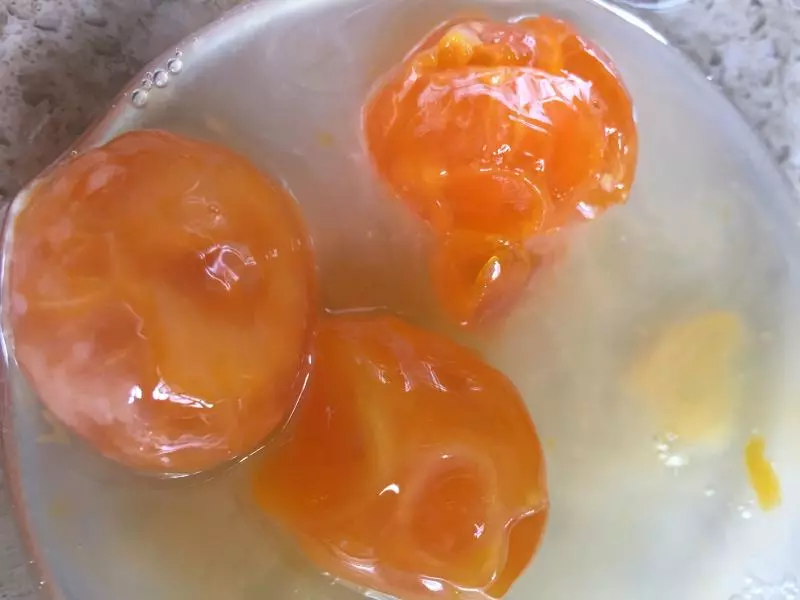
6咸鸭蛋我买的裹黄泥那种,洗干净了,自己剥,不是那种成品咸蛋黄
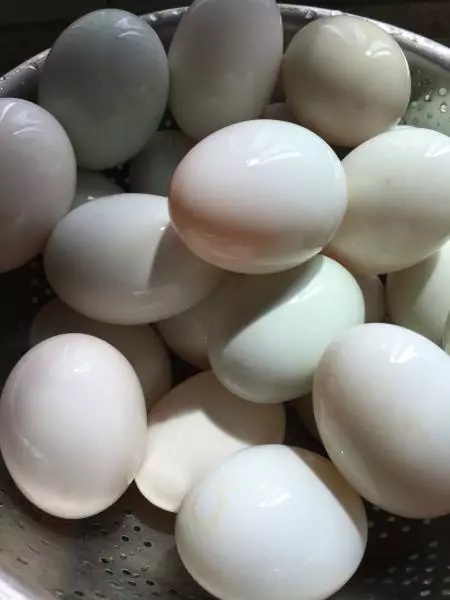
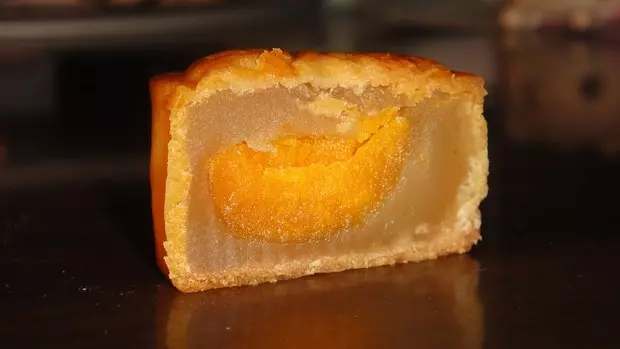
7剥出来的蛋黄挑选这样红透透的、硬硬的,这种出油了起纱了才好吃

8这样的软软的,颜色偏浅的,不能做月饼,就只能做菜吃了,不能浪费了
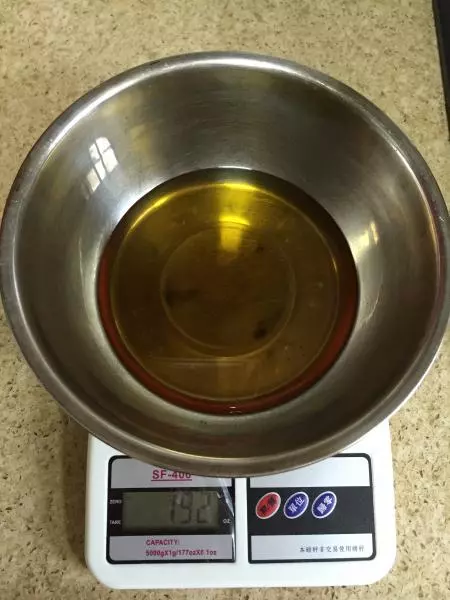
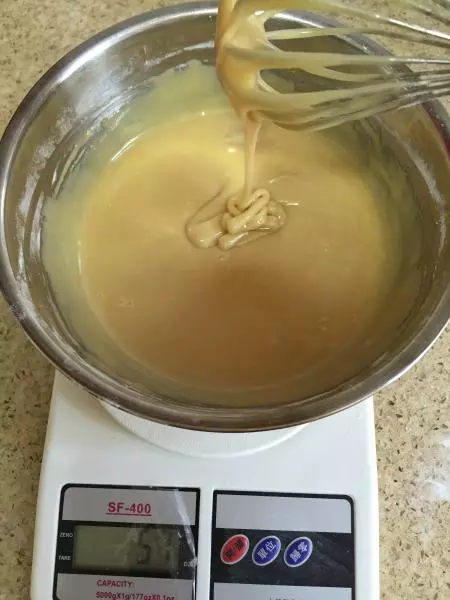
9准备好了材料,我们开始把材料称重,先放糖浆,然后放枧水,搅拌均匀
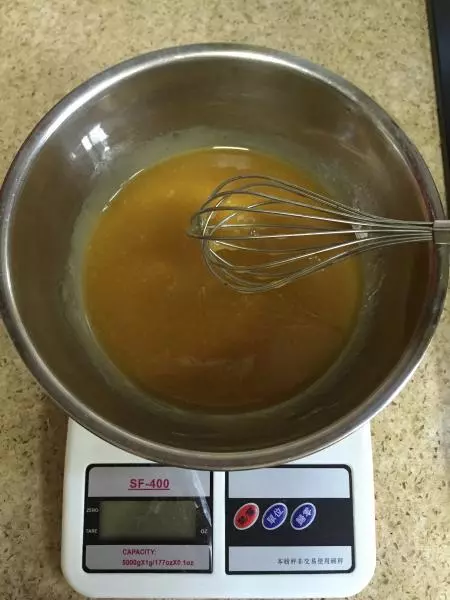
10然后分三次放花生油,这是第一次放,充分搅拌
11放了三次后,三次搅拌后变白了一些
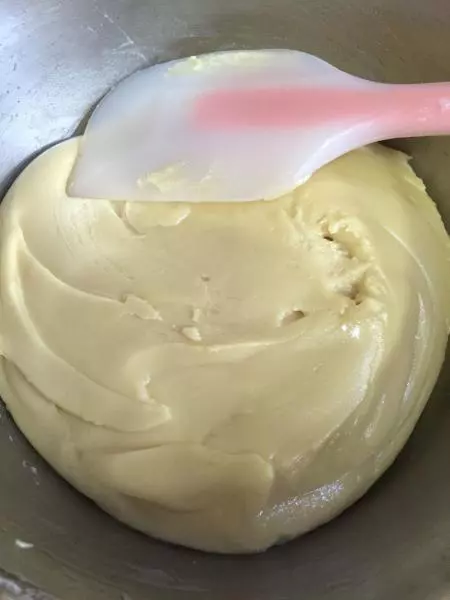
12然后放面粉,用刮刀拌匀,比较难使劲,慢慢来
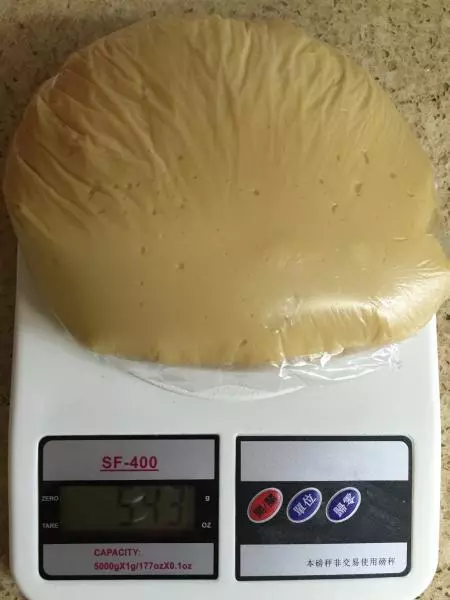
13搅拌完,放保鲜袋或者保鲜膜里室温下醒面,放置2-4小时,不能少于2小时,不能多余4小时,时间一定要把控好。一定不要放冰箱,一定室温下醒面。
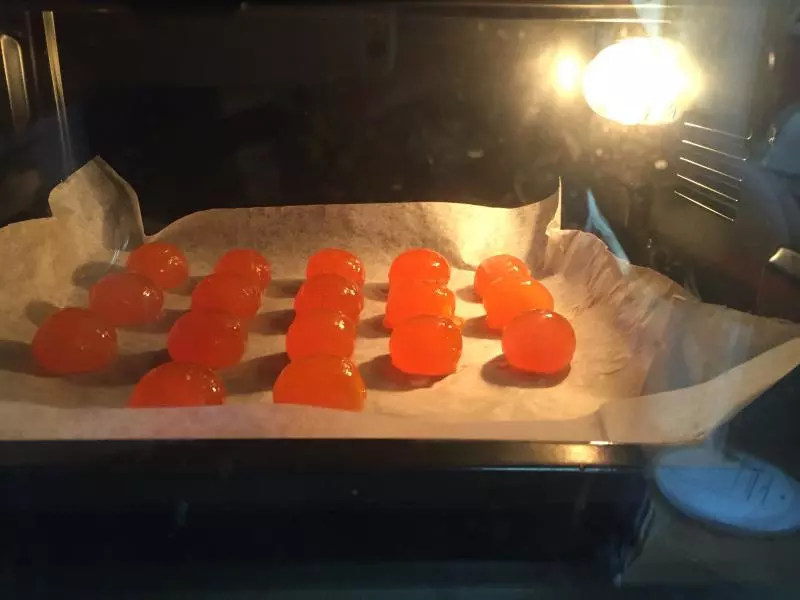
14现在我们可以烤蛋黄了,滚一点高度白酒,放烤箱里120度烤八分钟
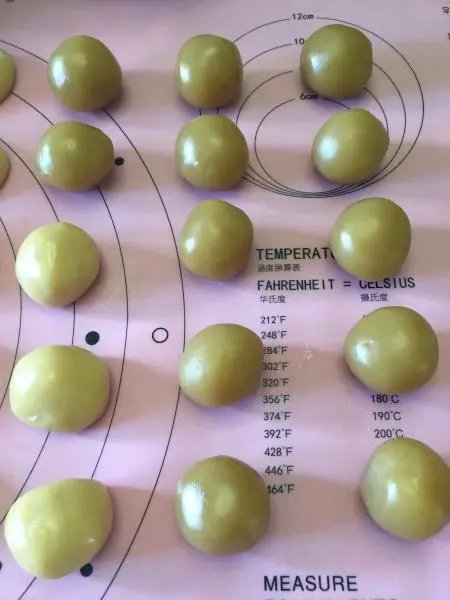
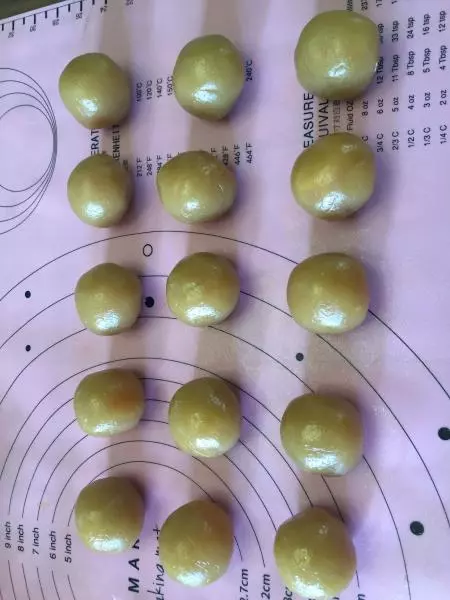
15醒好面,把皮和馅,都称好重量,皮30克,白莲蓉馅29克,搓成圆形,这些都是我女儿搓的,她最喜欢跟着我做烘培
16右边几个大的包上了蛋黄,包法:把莲蓉馅按瘪,把蛋黄放进去,然后馅一点一点推上去盖住蛋黄,很简单,我女儿第一次就会包好,再搓圆,包面皮也是如此
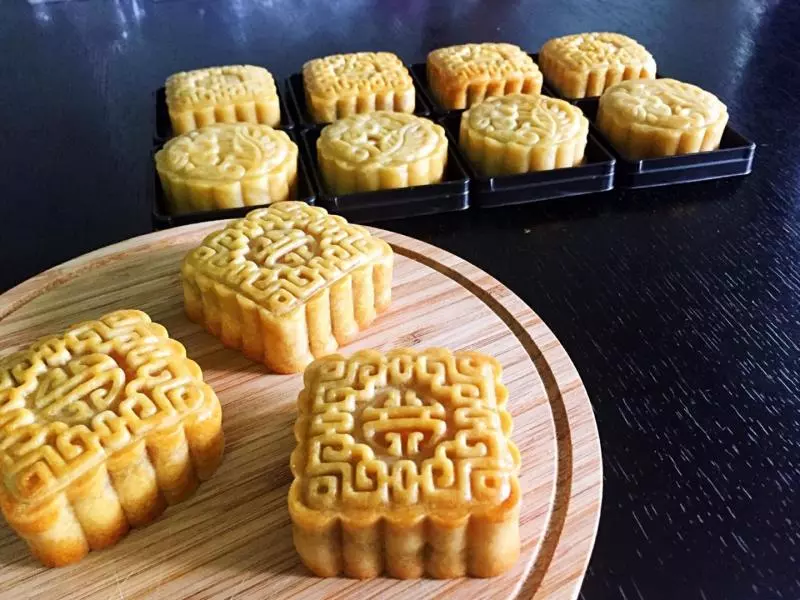
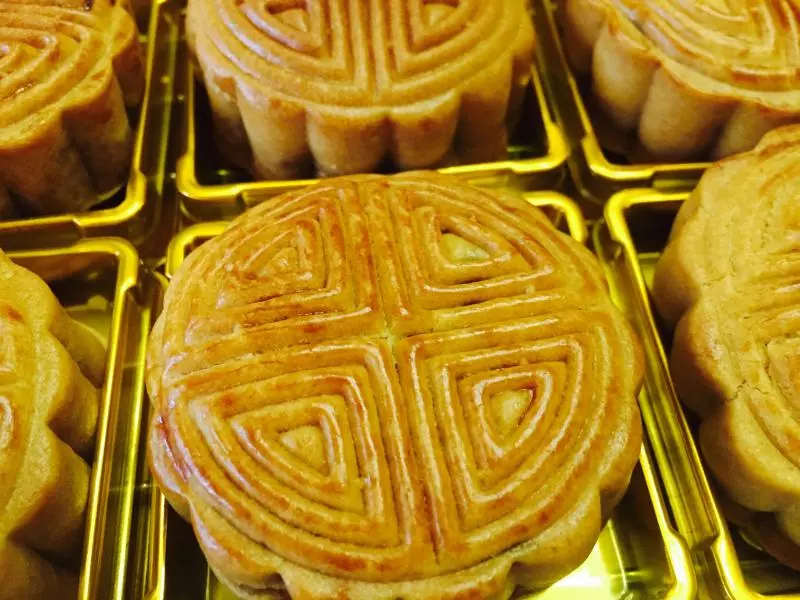
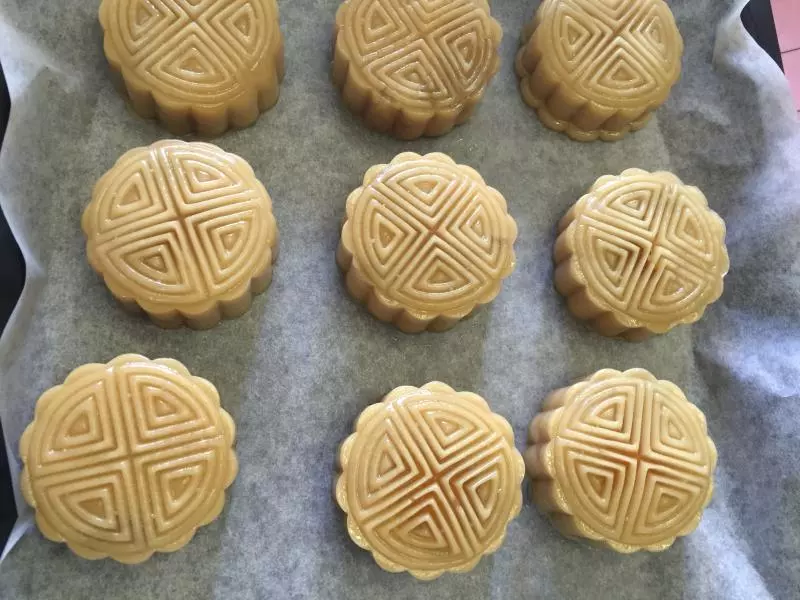
17然后用模子压出来
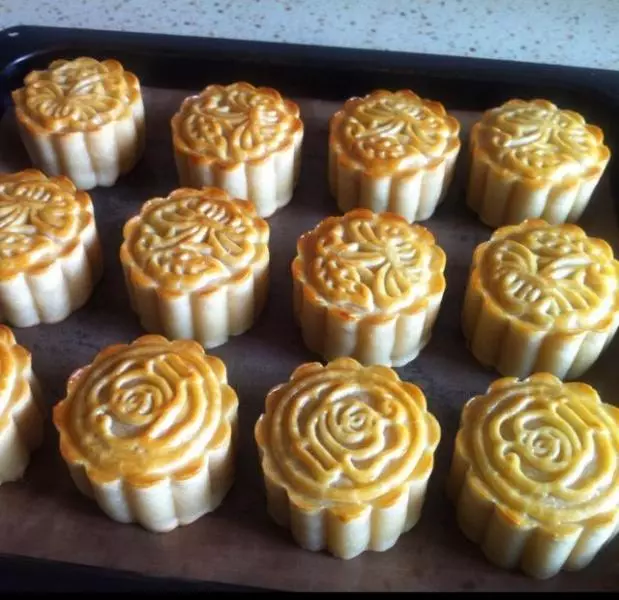
18烤箱180度预热五分钟,然后放进去烤五分钟,也是上下180度
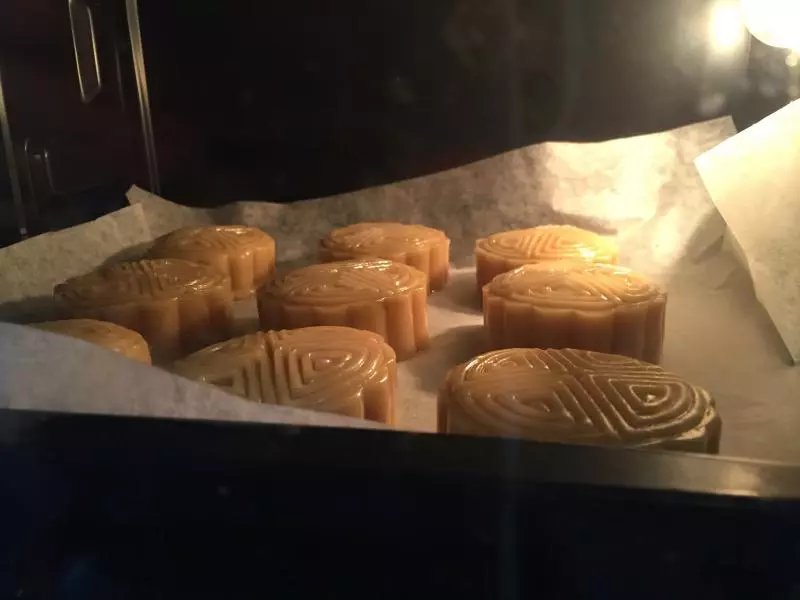
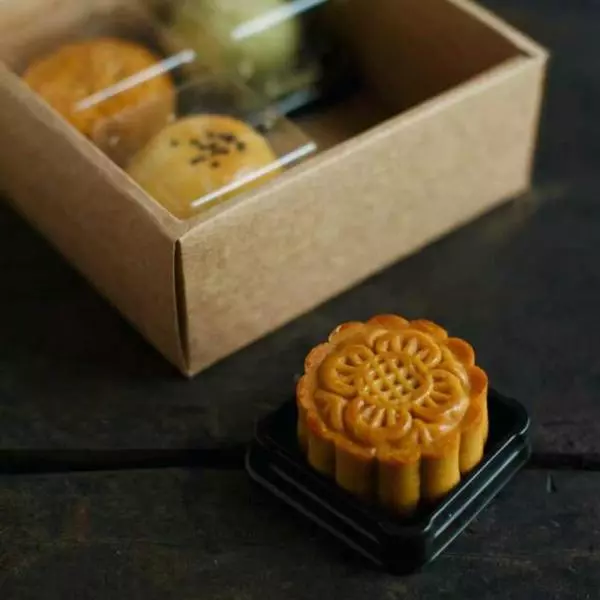
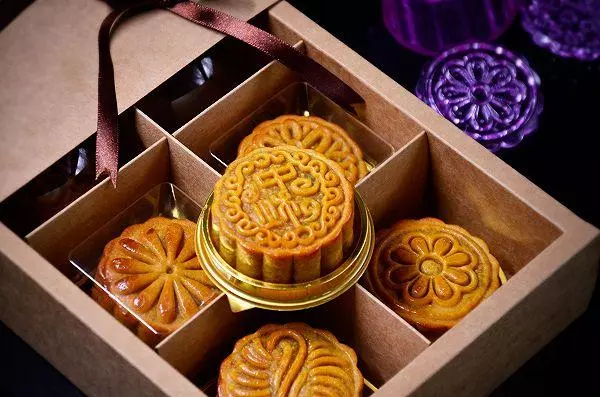
19然后拿出来刷蛋黄液,记住一定薄薄的,这样烤出来才不难看,再放烤箱同样温度15分钟。

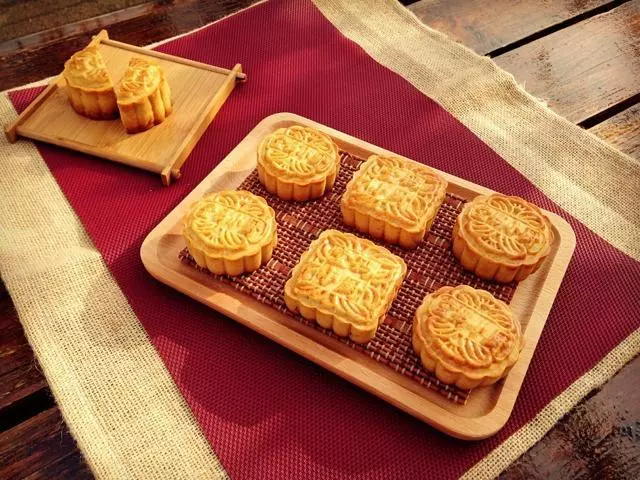
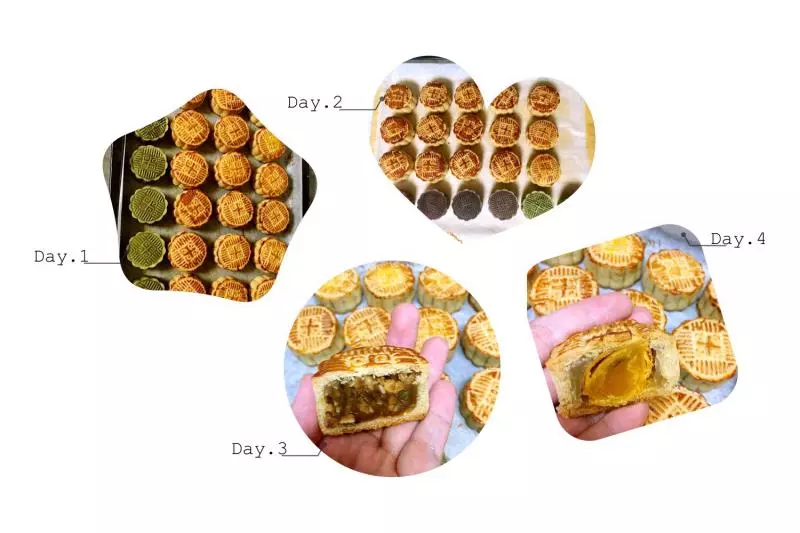
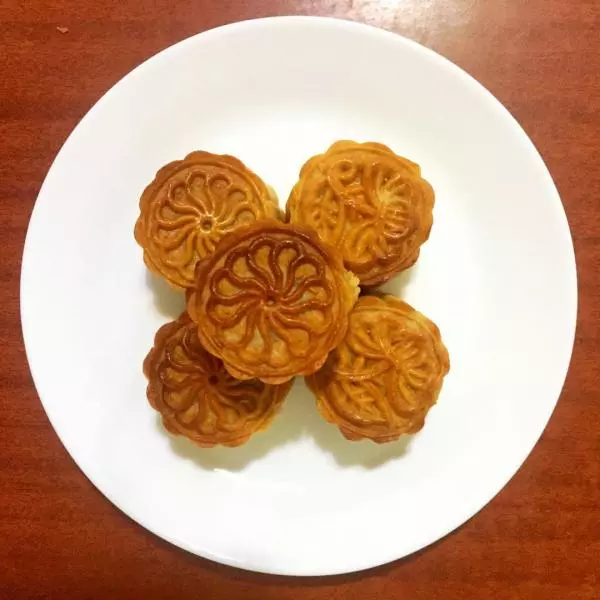
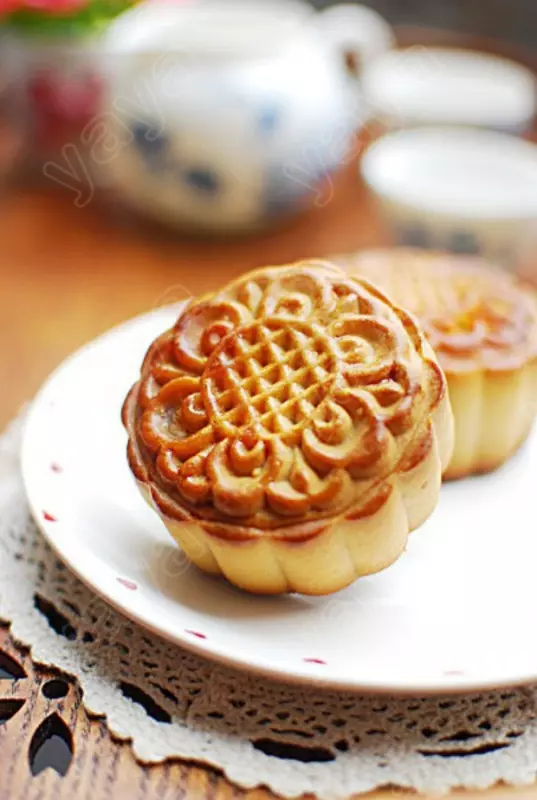
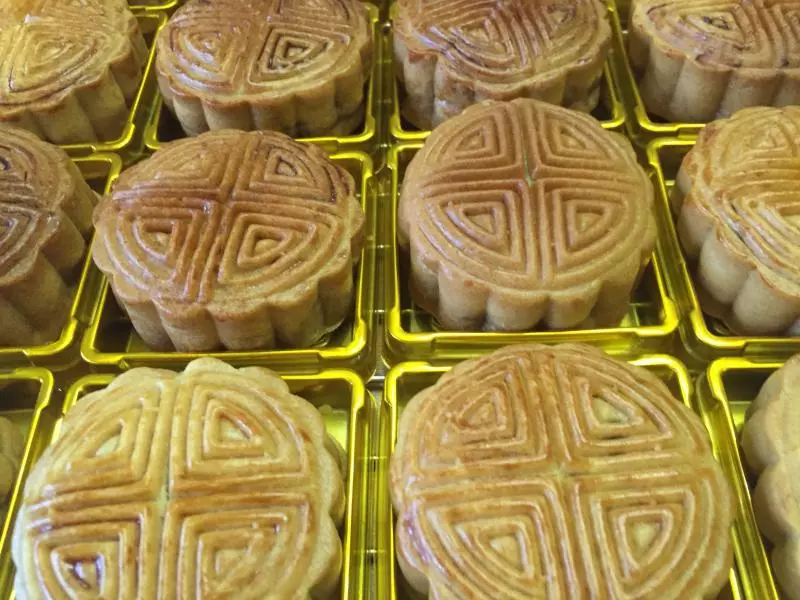
20烤出来拿出来晾冷了
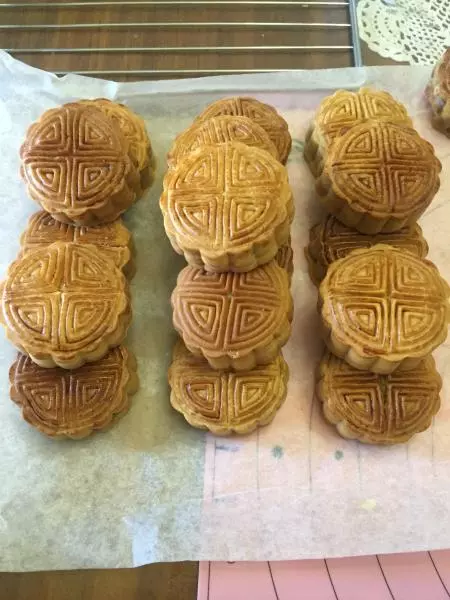
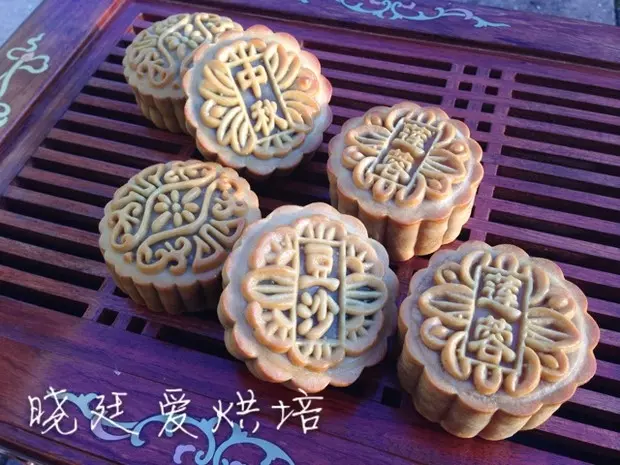
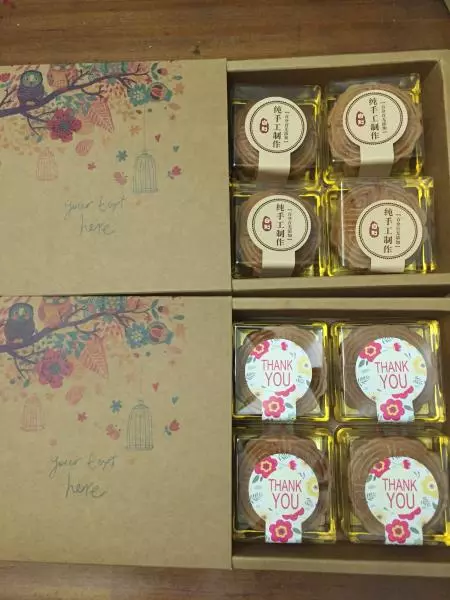
21装盒,有些颜色深的,第一炉放高了一点,下次就放中层
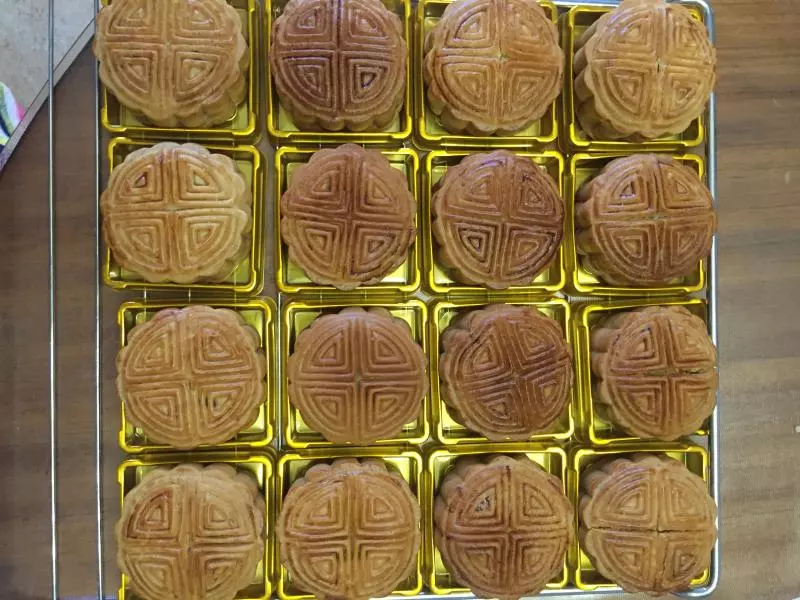
22近距离看也还行
23送一些给朋友分享
24放两天,回油了口感更好

小技巧
1、如果买的500克的白莲蓉馅料,也是做75克月饼,就按照我这个配比,做出来是17个月饼 2、新手馅料不要自己做,先买点试试,增加信心 3、蛋黄要买新鲜的 4、从馅料到皮都要花生油 5、火候要掌握,根据自己烤箱来,每种烤箱温度不太一样,烤的时候多观察