原料
小排: 16个左右, 蒜: 1头半, 蒸鱼豉油: 3大勺, 耗油: 1大勺, 糖: 3小勺, 干辣椒: 2个, 锡纸: 适量
步骤
1选用小排,挑取差不多大小16块左右。需要说明的是这次用的小烤箱,因为做的是两人量,所以没用大烤箱。我做过实验,上下两层烤的话,30多块不成问题!小排挑好后浸泡半个小时泡出血水,洗净待用。

2这道菜蒜是主题!这么多的排骨量需要1头半左右。(随着排骨量增加蒜的比例也要增加)先取整个蒜用量的一半切碎拌在排骨,另一半切碎待用。

3一头半蒜的一半切碎拌在排骨里

4下面我们要调腌料了!首先添加图中蒸鱼豉油3大勺!

5大勺如图!(我尽量把每步都写的很细,希望大家不要烦我,嘻嘻)

6如图耗油1大勺(注意不要加多了,很咸)

7耗油用量如图

8糖,3小勺 如图

9最后加干辣椒2个

10拌匀如上调料排骨,腌制4小时以上,接下来做下面的步骤

11还记得刚才有1头半的蒜我们只使用一半了吗?我们把剩下的蒜用油爆香,炸至金黄,如图,备用

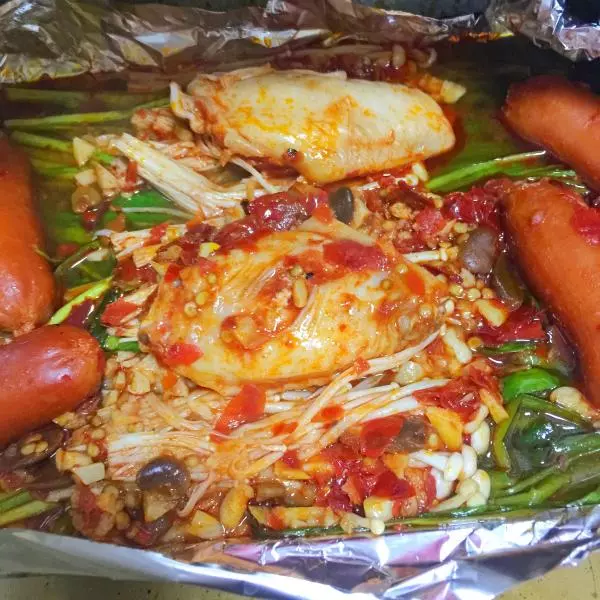
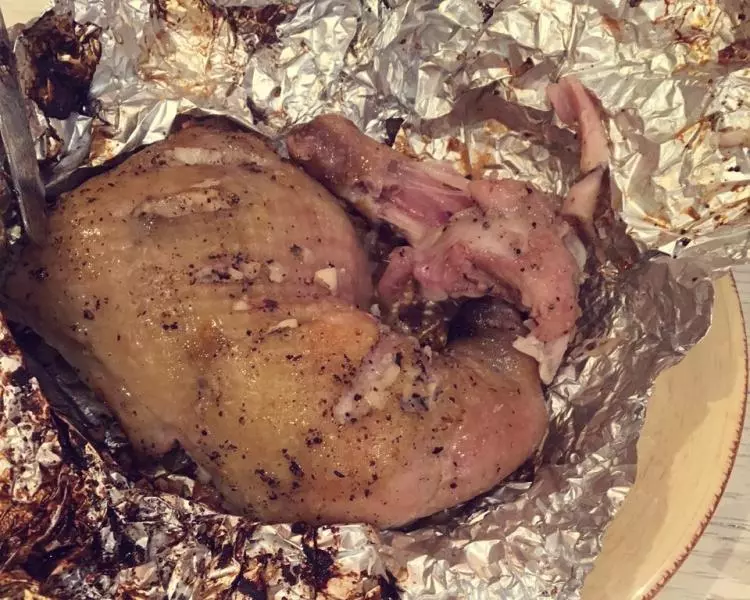
12排骨已经腌制4个小时了,拿出烤盘铺上锡纸,把排骨码上,撒上之前炸至金黄的人蒜末。上面在盖上一层锡纸(包好)

13烤箱预热到230度,烤25分钟(我用的小烤箱,大家自己根据自己家烤箱设定)

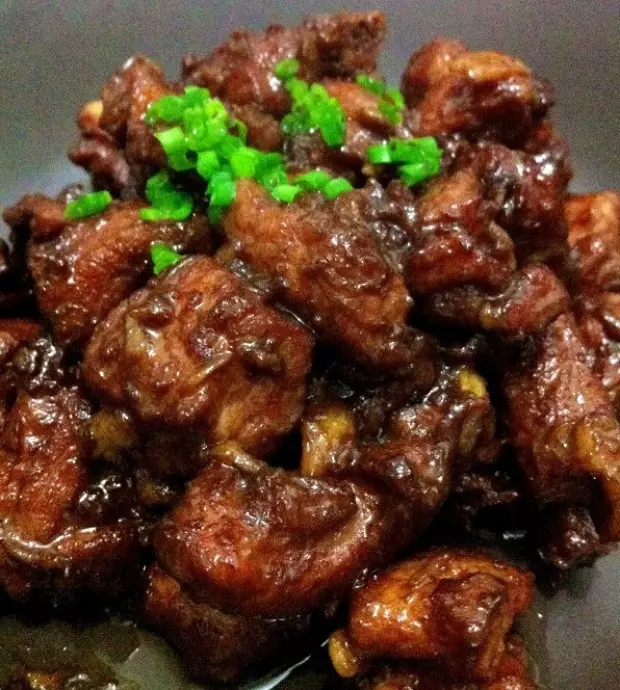
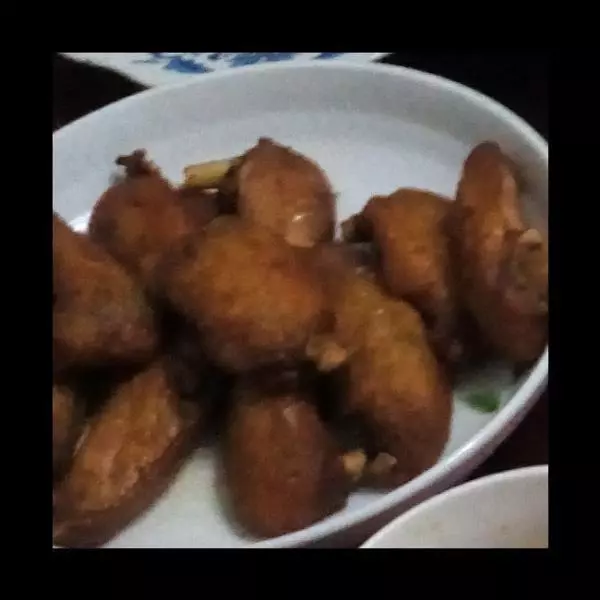
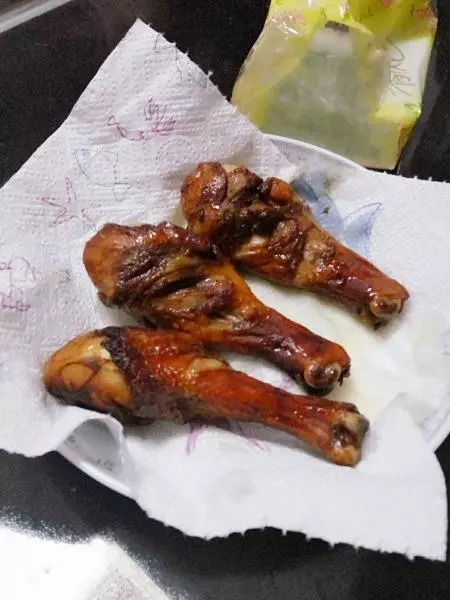
14到时间拿出来这个样子的,翻一面,不盖锡纸继续230度烤15分钟。

15如图!不要盖锡纸,记得翻面再烤哦!么么哒!注意烤的变化,不要把面烤糊了!

16最后的成果!请大家试一试吧!谢谢大家耐心阅读!有问题直接问我

17成品

小技巧
请大家一定不要吝惜大蒜,并且注意自己家烤箱温度。我这回用的是便携烤箱,大家都可以用到的!