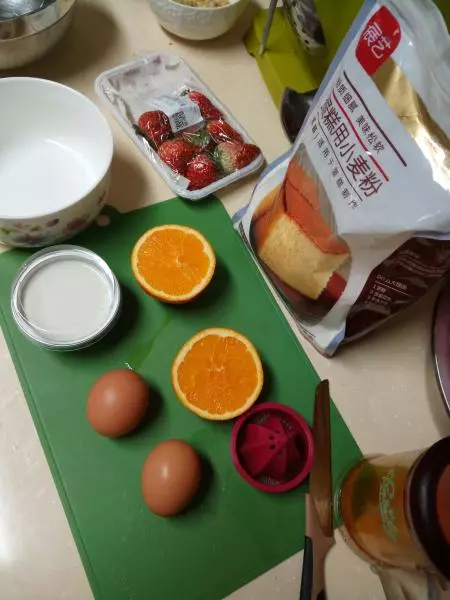
原料
橙子: 1个, 低筋面粉: 45克, 细砂糖: 10克, 奶酪: 1盒, 鸡蛋: 2个
步骤
1准备食材,香橙榨汁备用
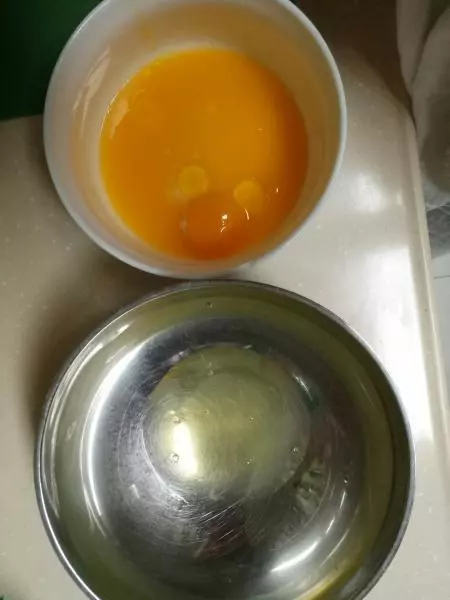
2准备无水无油容器,分离蛋清和蛋黄,蛋黄与植物油橙汁混合搅打均匀放置一边乳化
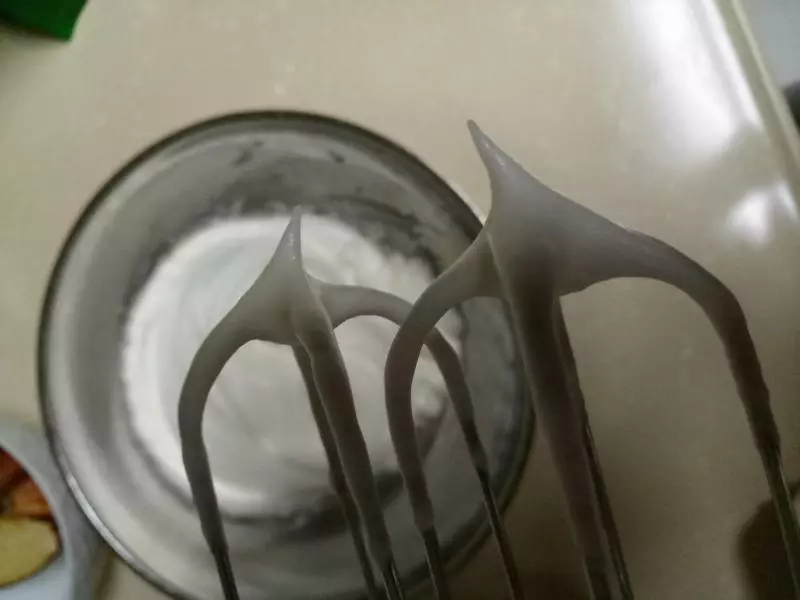
3打发蛋白,分三次加入细砂糖,打到这种湿性泡发有勾的状态
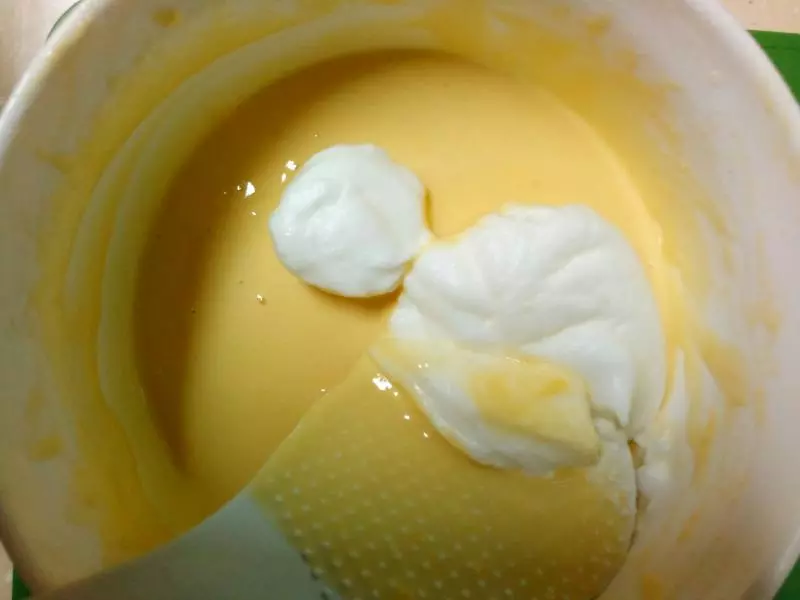
4分三次混合蛋黄与蛋白,轻柔翻拌均匀
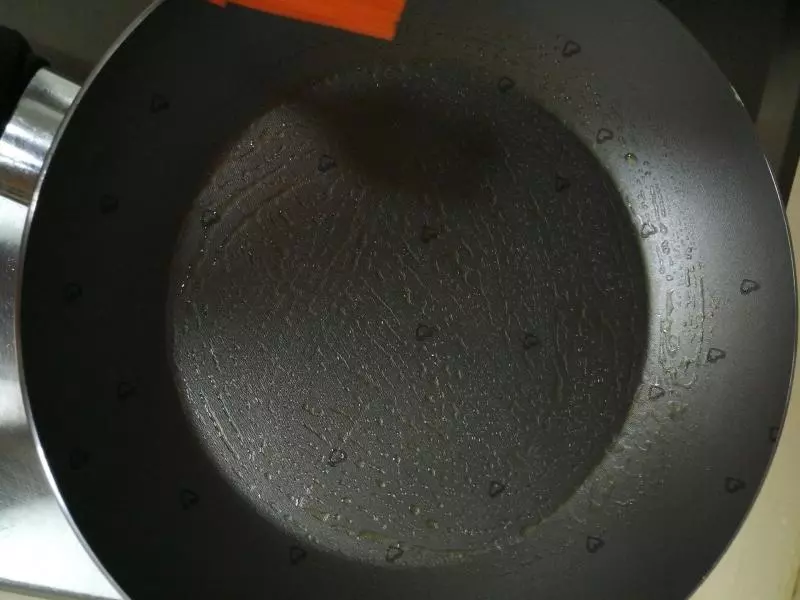
5平底锅刷一点点油,这步不开火
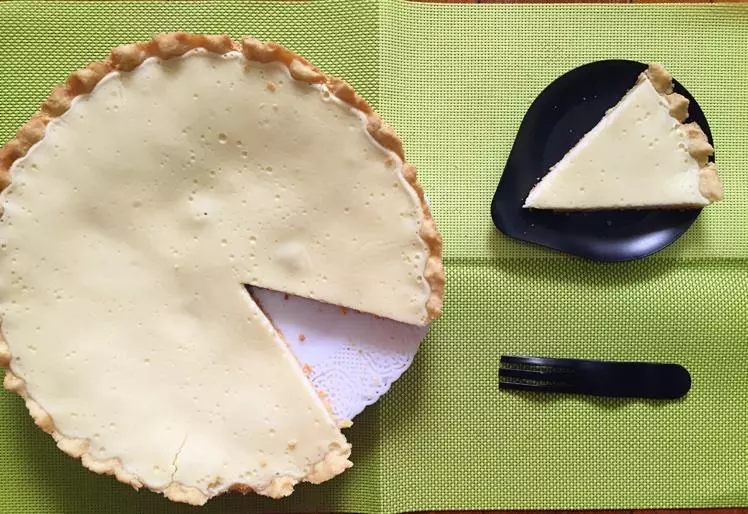
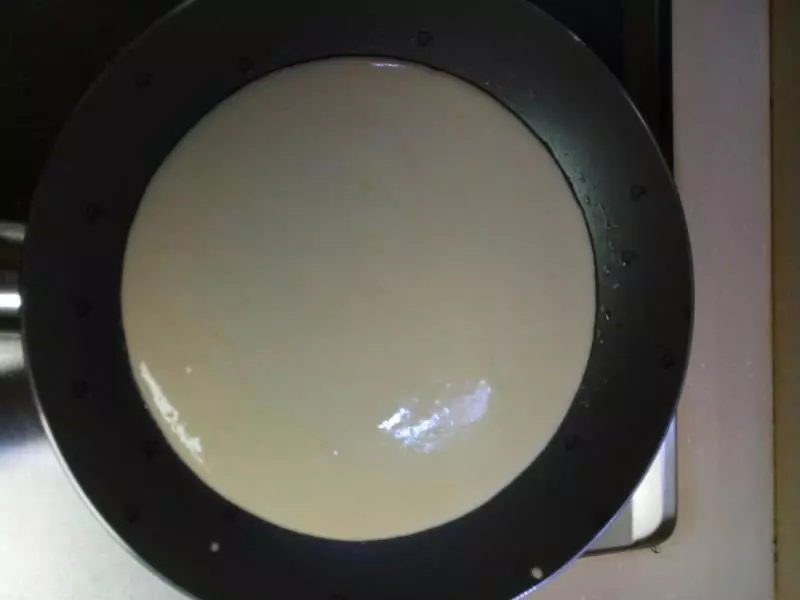
6倒入面糊,轻震气泡,磨平表面之后开火
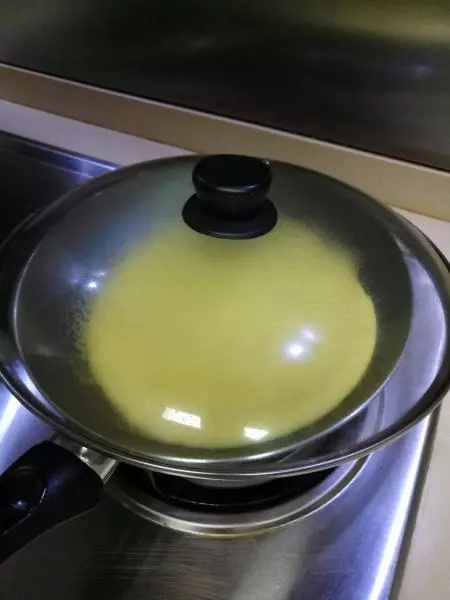
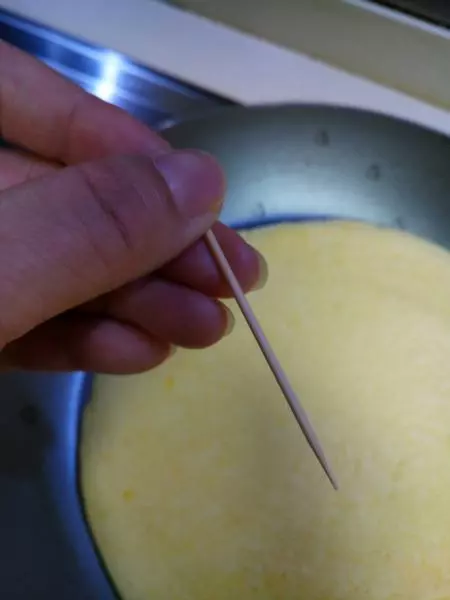
7小火焖煎3分钟左右,然后翻面再焖三分钟左右(根据自己容器和火候大小调节时间,不确定熟不熟就用牙签试一下,没有湿面带出来就熟了)
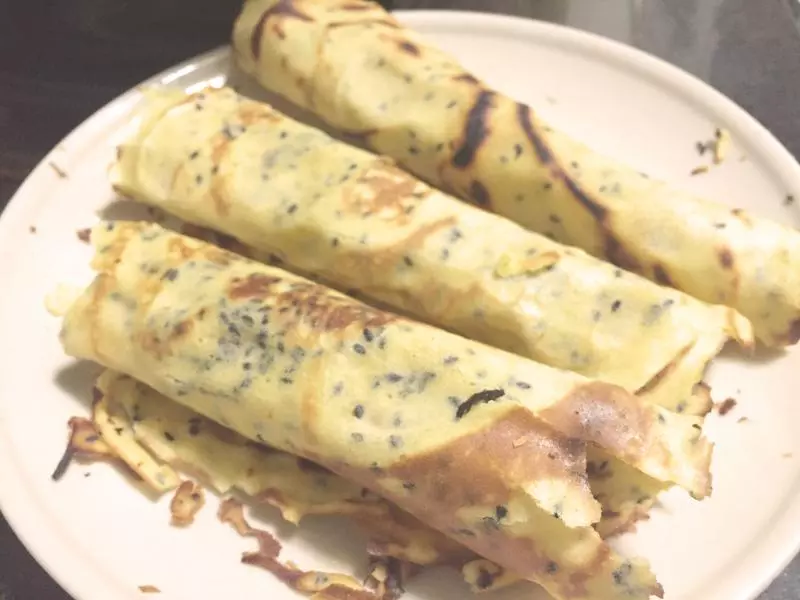
8就这样
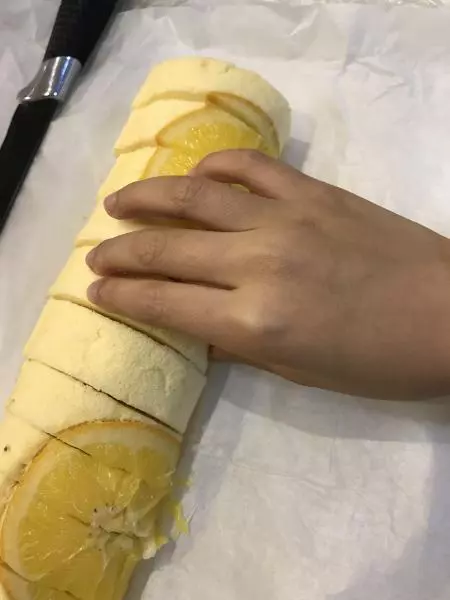
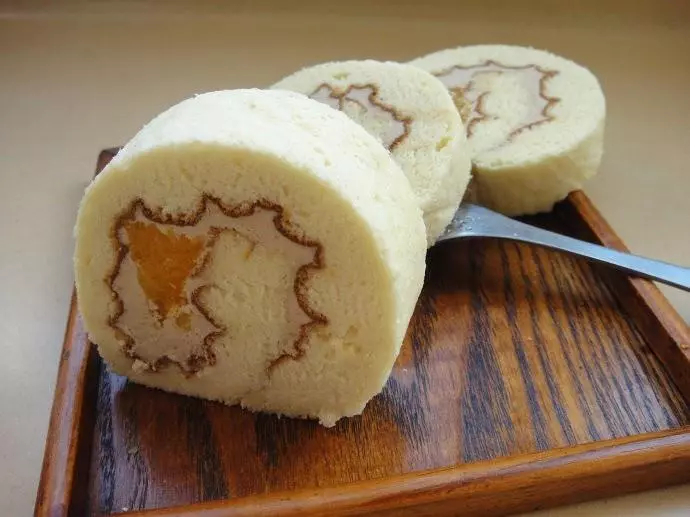
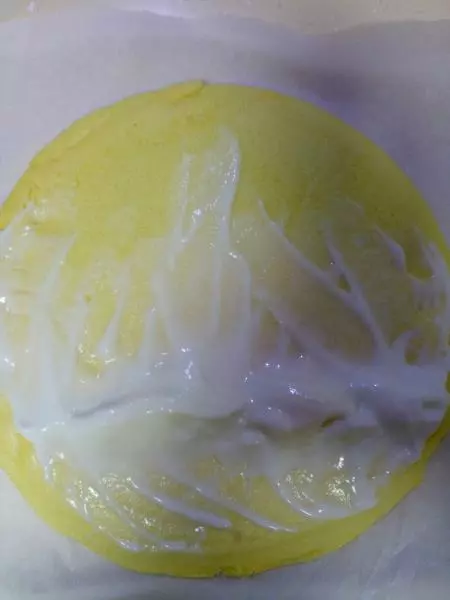
9然后出锅抹上奶酪,趁热卷上,放凉定型再切块
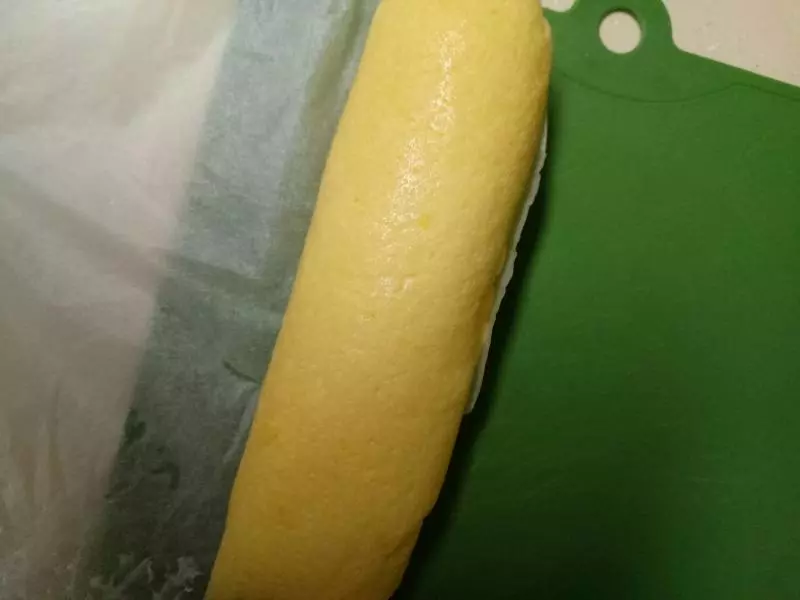
10像这样烘焙纸包裹

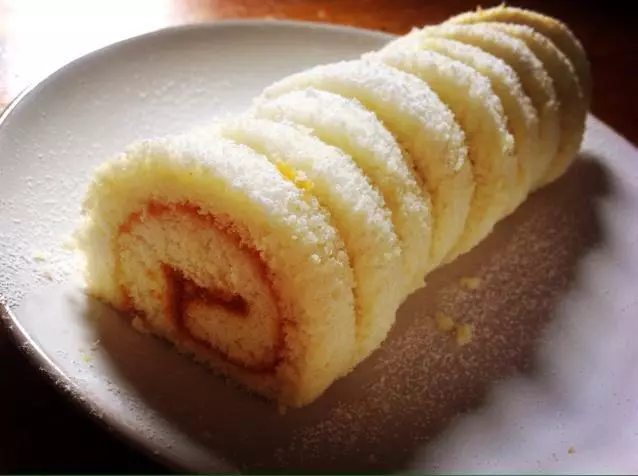
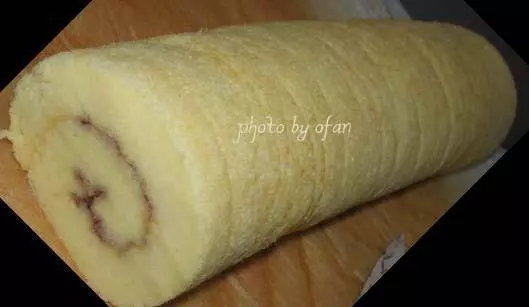
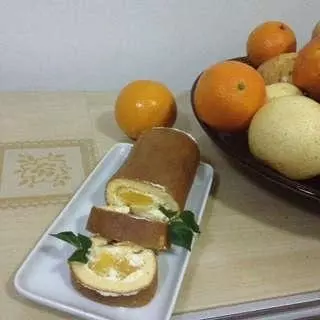
11成品
小技巧
我给小朋友吃的,放的糖相对少 ,夹馅可以改成奶油酸奶之类的。