原料
鸡蛋: 4个, 细纱糖: 50克 其中10克放蛋黄里, 玉米油: 40克, 牛奶: 40克, 低筋面粉: 60克, 细盐: 0.5克, 柠檬汁或白醋: 1滴, 奶油: 250克, 糖粉: 25克, 芒果小块: 适量
步骤
1蛋黄蛋清分离

2蛋黄加入10克细砂糖 玉米油 盐 用手动打蛋器搅拌均匀 加入牛奶 打匀 加低粉搅拌均匀备用 蛋白打起大泡加柠檬汁 分三次加入40克砂糖 打发到硬性发泡

3打好蛋白分两次拌入蛋黄糊里 把搅拌好的面糊倒入垫好油纸的烤盘 刮板刮平

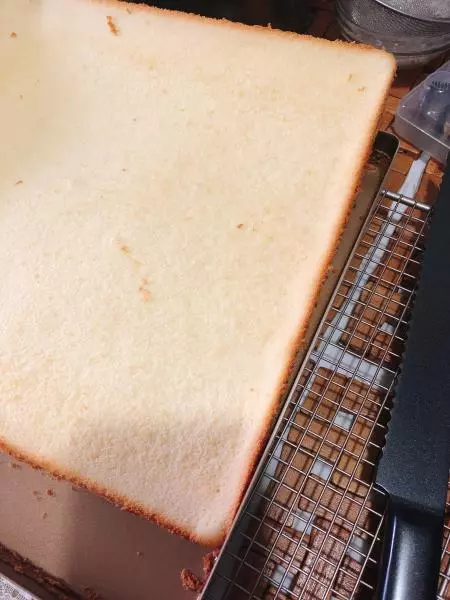
4预热十分钟 170度20分钟 连带油纸从烤盘取出放凉

5切成自己想要的尺寸(2~3片同等尺寸)

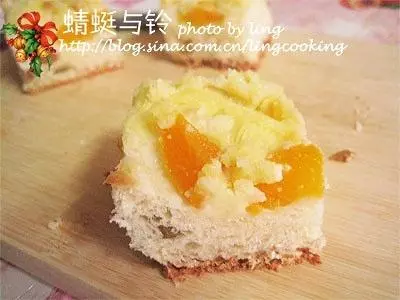
6抹上一层薄薄的奶油后均匀撒上小块芒果粒 再抹一层奶油

7盖上一张蛋糕片用手轻轻按压一下 然后重复一遍

8铺好水果后表面抹一层奶油

9四边切掉修整

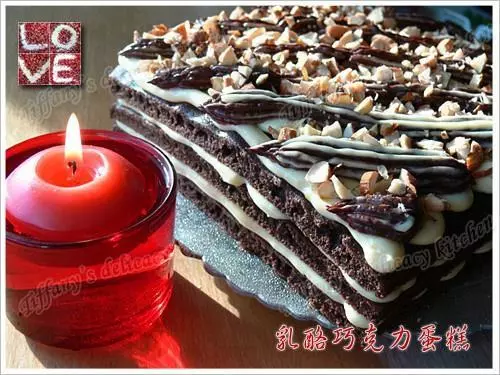
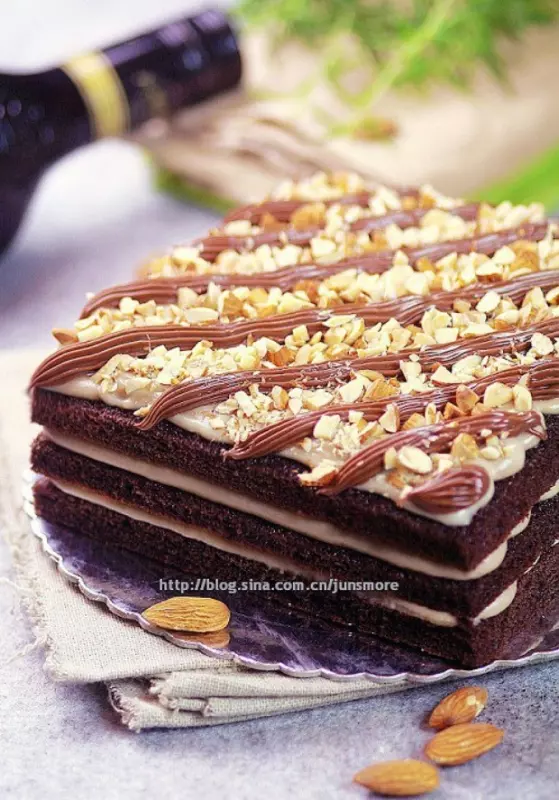
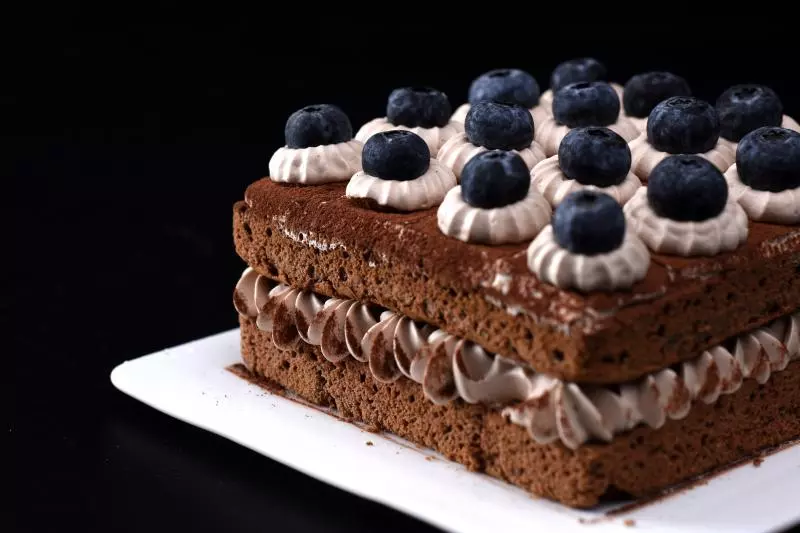
10自己吃 简单裱花 开吃

11也可以放些自己喜欢的水果做个造型