原料
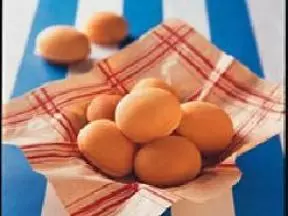
低筋面粉: 60g, 鸡蛋: 2个(100g), 糖粉: 40g
步骤
1材料准备好。再准备一点热水。

2鸡蛋两个打入盆中。

3用电动打蛋器低速打起粗泡,加入40g糖粉。

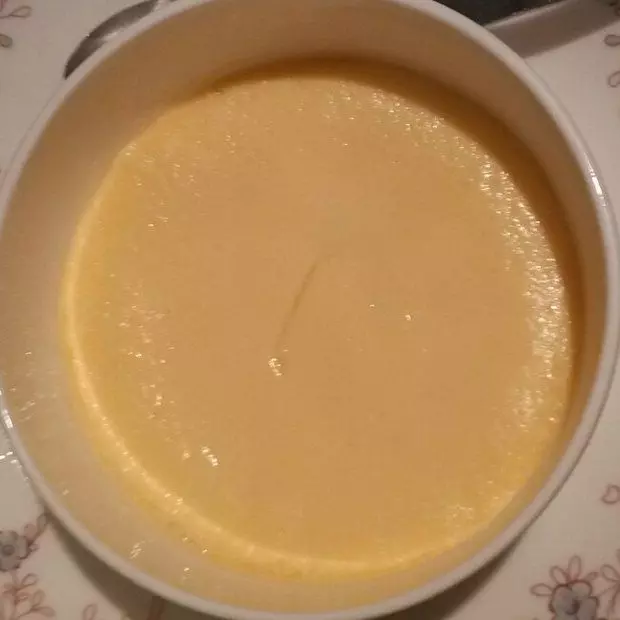
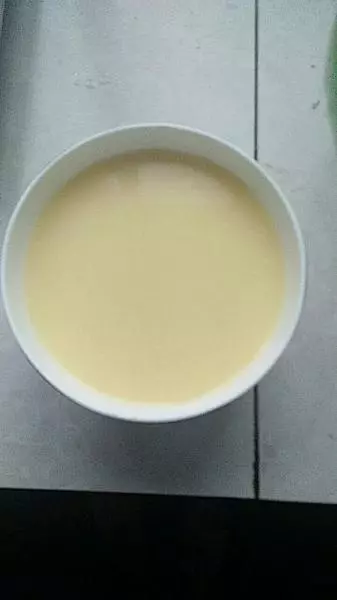
4将打蛋盆坐于60度左右温水中,高速打发至糊化。开始很稀,高速打发越来越厚实。 ?小贴士:全蛋的打发必须打蛋盆下面坐着温水,才好打发起来。

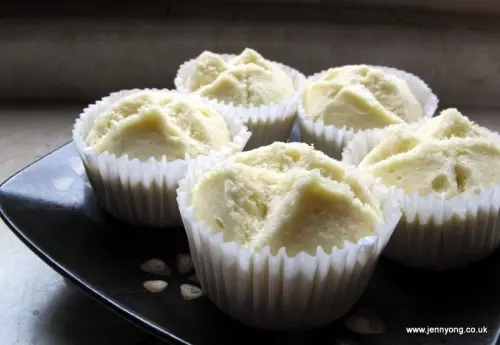
5提起打蛋器,蛋糊呈柱状流下,纹路不会马上消失的状态就是打发好了。打发好后,用打蛋器最低速不碰壁不碰盆地打发30秒,消除些大气泡。最后的鸡蛋糕会很细腻。 ?小贴士:我电动打蛋器高速打发了6分钟,到达下图状态。

6筛入60g低筋面粉。

7用橡皮刮刀以切拌方式翻拌均匀。

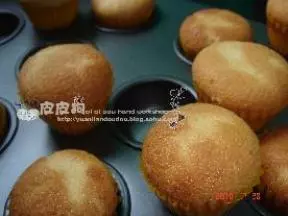
8将蛋糊倒入模具中(没有小模具用6寸模具)。

9蒸之前在表面撒了点白芝麻,是不是更像小时候那种鸡蛋糕? 锅中注水,水开后放入模具。大火蒸10分钟即可。

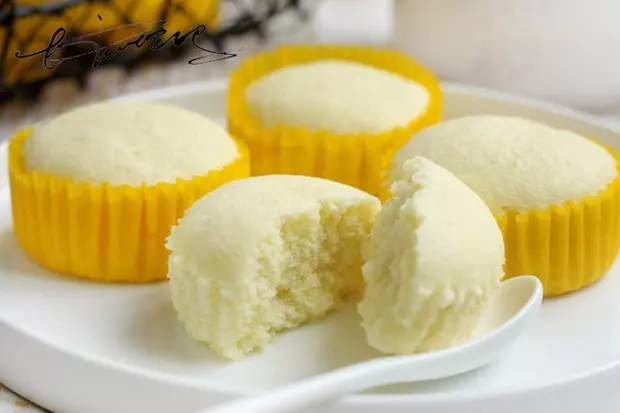
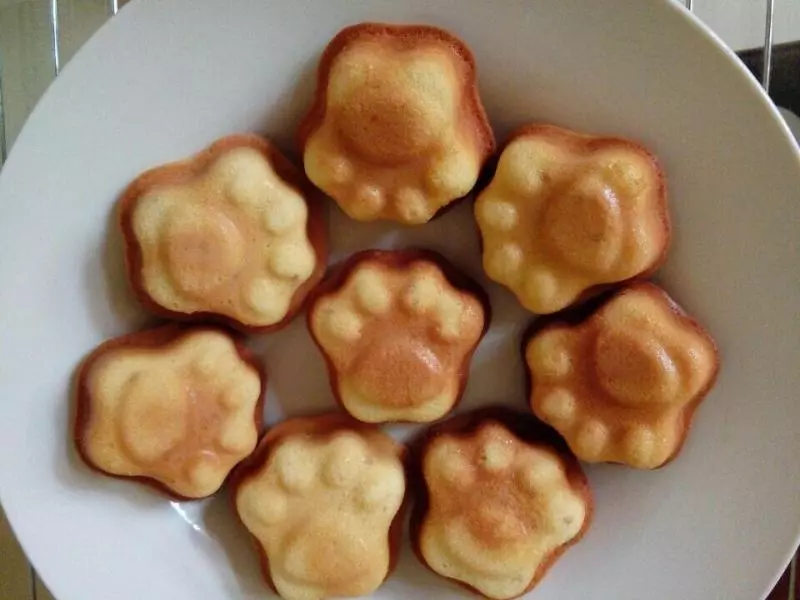
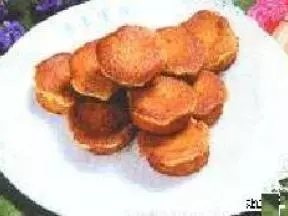
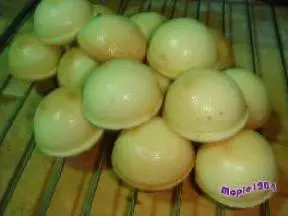
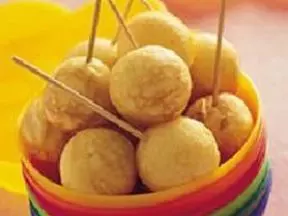
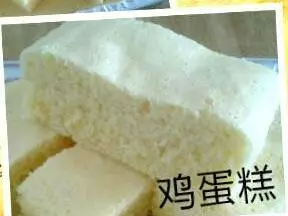
10颗颗饱满。

11重拾儿时的鸡蛋糕,儿时的味道,啧啧啧—— 蒸的,好细腻。

12热的拿出来可直接脱模,很好脱。

小技巧
看我的菜谱有不明白的可以来我的微信公众号“一日五餐辅食”里提问,里面有营养师妈妈做过的500道宝宝营养餐哦,从此不再为宝宝吃啥而发愁。