原料
鸡蛋: 四个, 面粉: 满满四大勺, 白糖: 四大勺(大约100-125克), 牛奶: 小半碗
步骤
1面粉的一大勺就是大概这么多的量

2糖大概就是这么多,四勺

3分离蛋黄和蛋清。蛋清放在无水无油的容器中,而且比较深的容器中,以免打蛋器打时喷溅出来

4蛋清分三到四次白糖打发到硬性发泡,也就直立筷子不到,倒扣不掉的程度

5蛋黄和牛奶慢慢一勺勺加面粉打到黏稠的糊状。PS:我忘记拍照了
6把蛋清分两到三次加到蛋奶糊,用上下的方式搅拌均匀。切不可打圈搅拌。

7搅拌完差不多是这种程度的糊状。

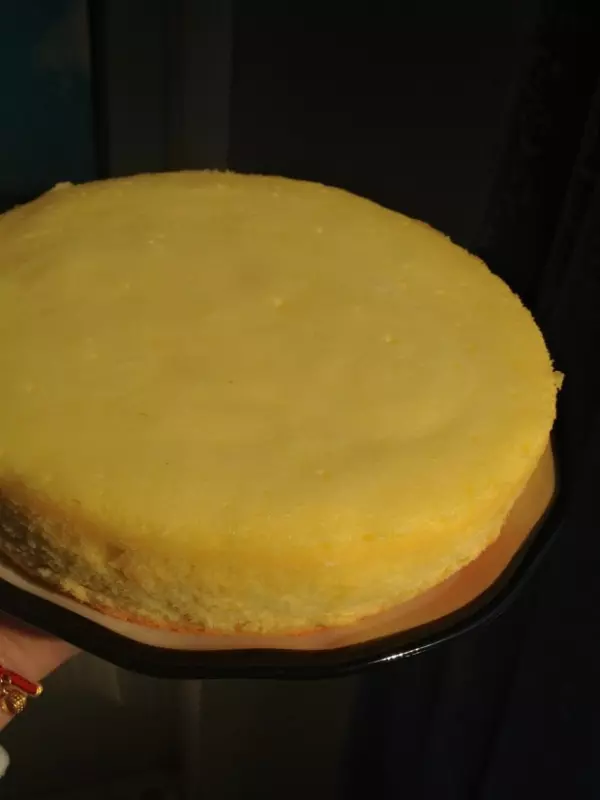
8电饭锅底摸油,倒入蛋糕糊,按下煮饭键。直到跳到保温为止。

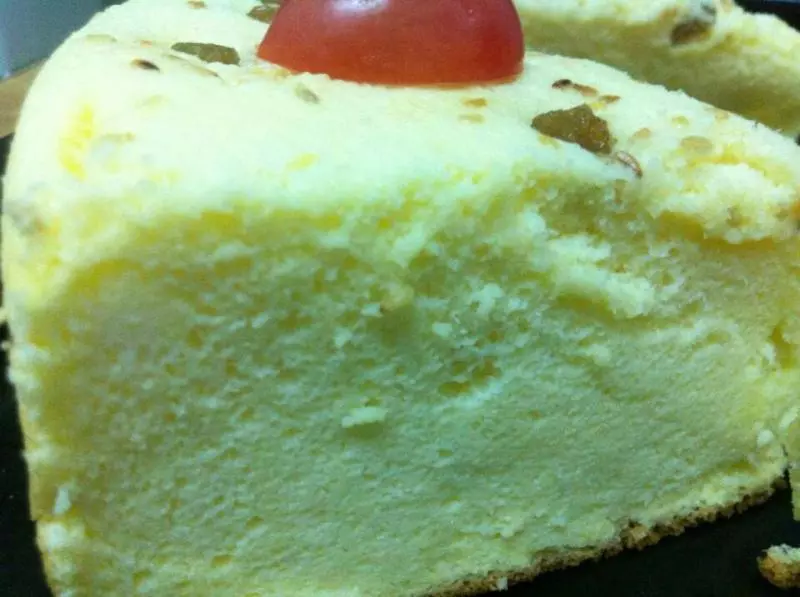
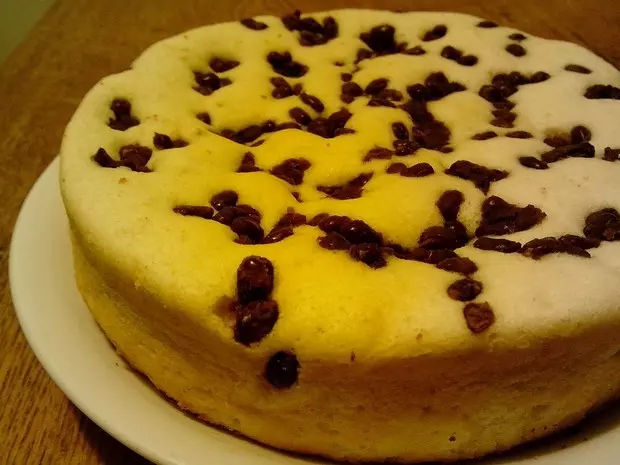
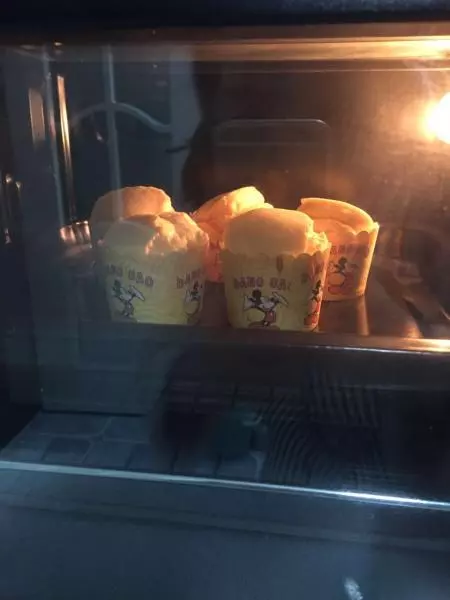
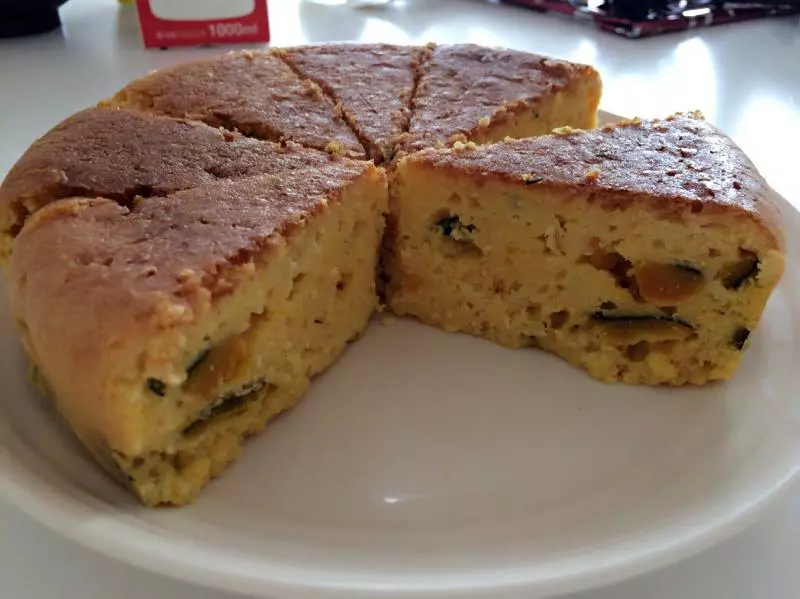
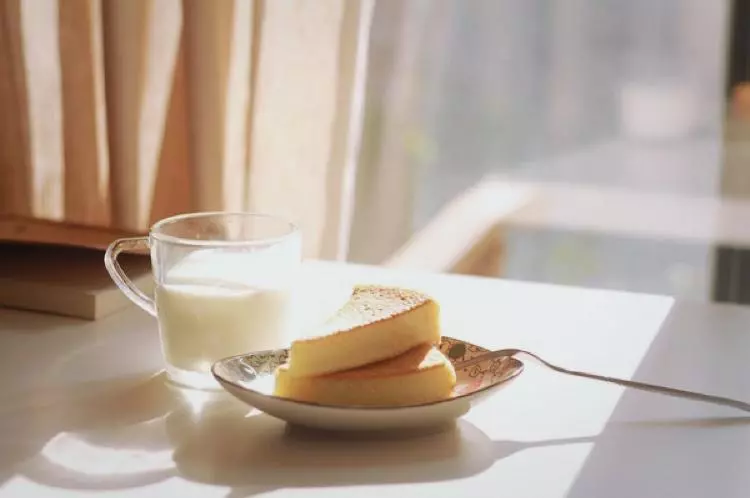
9成品!

小技巧
不同电饭锅可能会有所不同,我家里那台就需要在第一次跳到保温时(可能也就三四分钟)用湿毛巾盖住出气口闷20分钟,需要重复三次大概一个小时做好