原料
饼干部分: , 黄油: 35g, 蛋黄: 1个, 糖粉: 40g, 低筋面粉: 100g, 柠檬汁: 几滴, 香草精: 适量, 装饰部分: , 蛋白: 1个, 糖粉: 150g, 柠檬汁: 几滴
步骤
1黄油软化到手指头能轻松按压出小坑的状态,用打蛋器打发
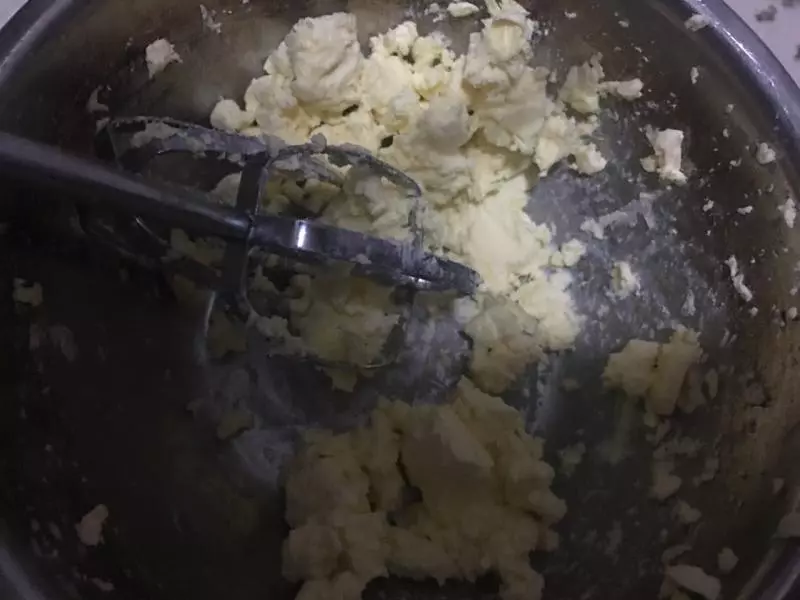
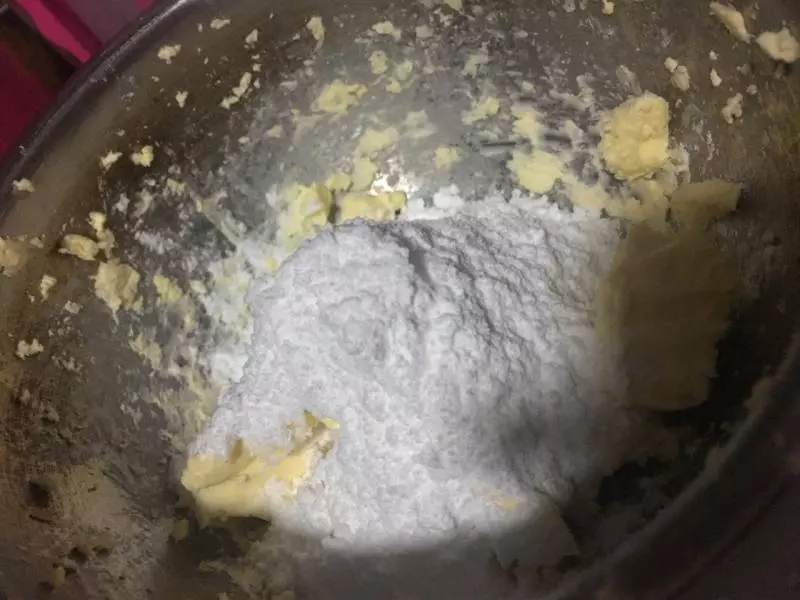
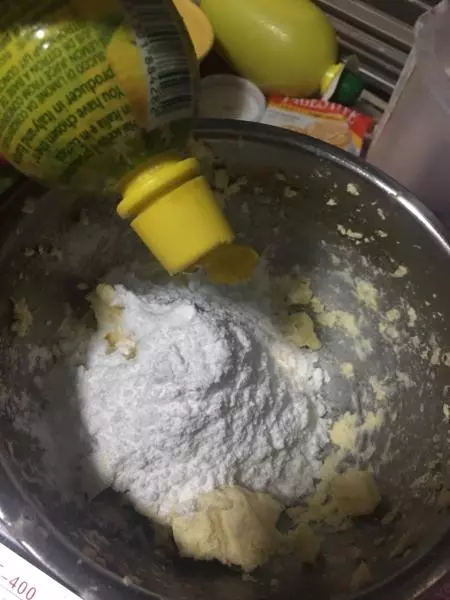
2黄油打发蓬松颜色变浅后分次加入糖粉,继续打发
3滴几滴柠檬汁
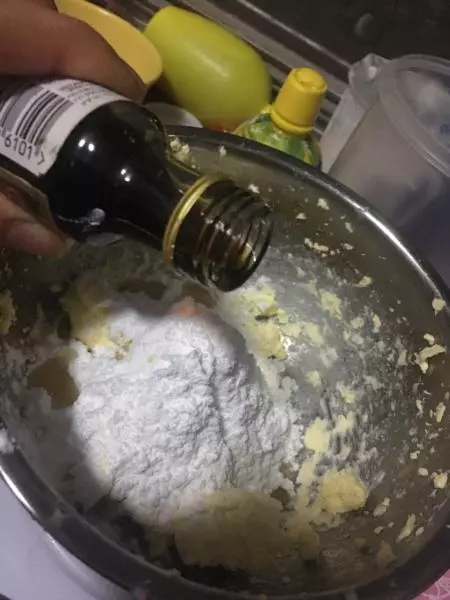
4滴几滴香草精
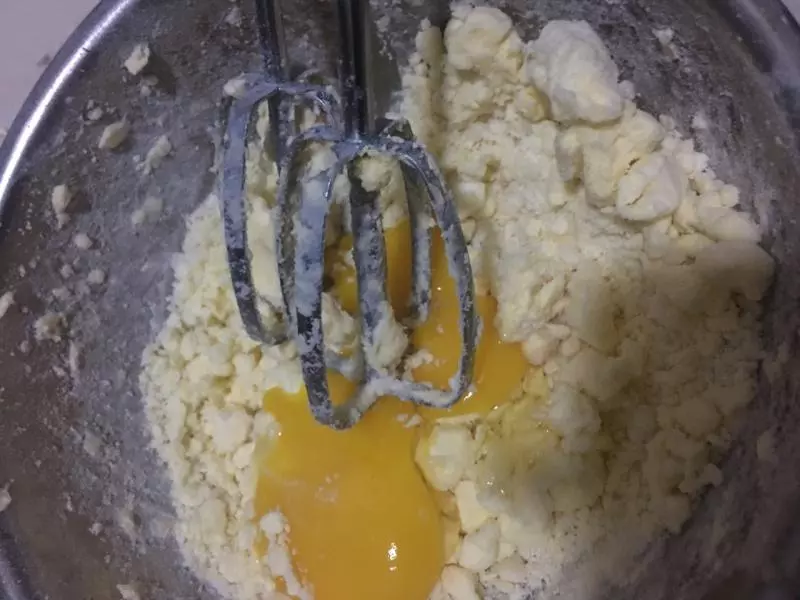
5加入蛋黄,继续搅打均匀
6筛入低筋面粉
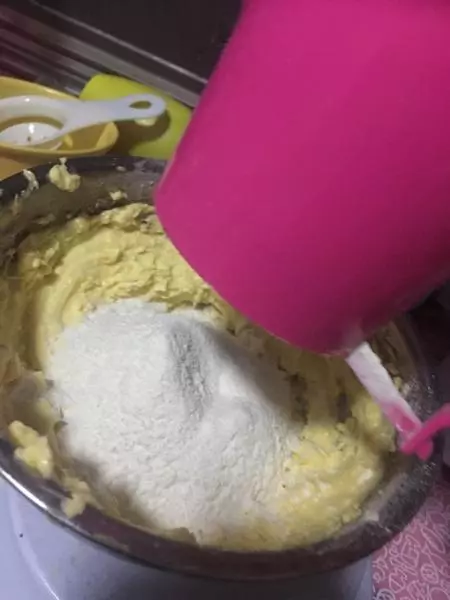
7用刮刀翻拌成无干粉的面团
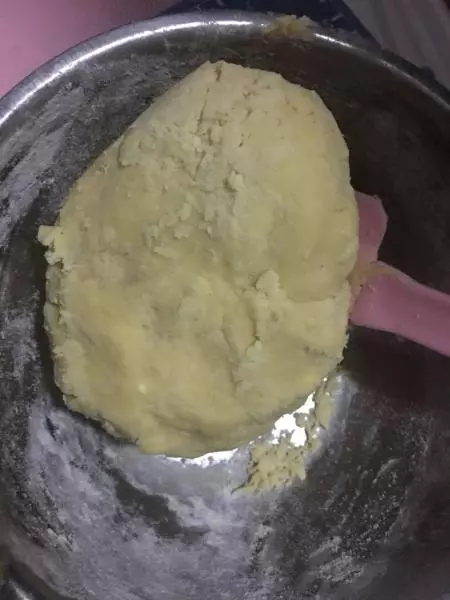
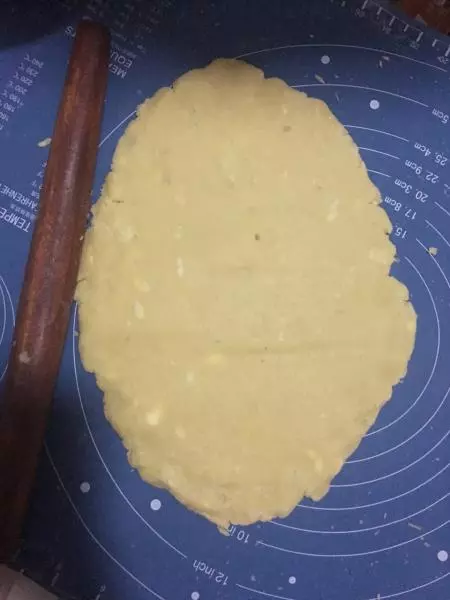
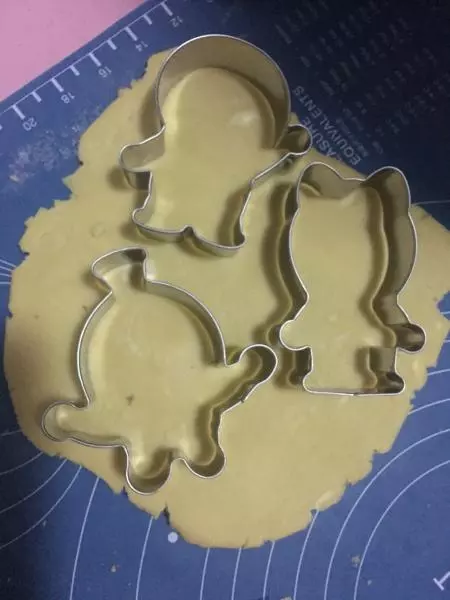
8把面团擀成片状(不要太薄)
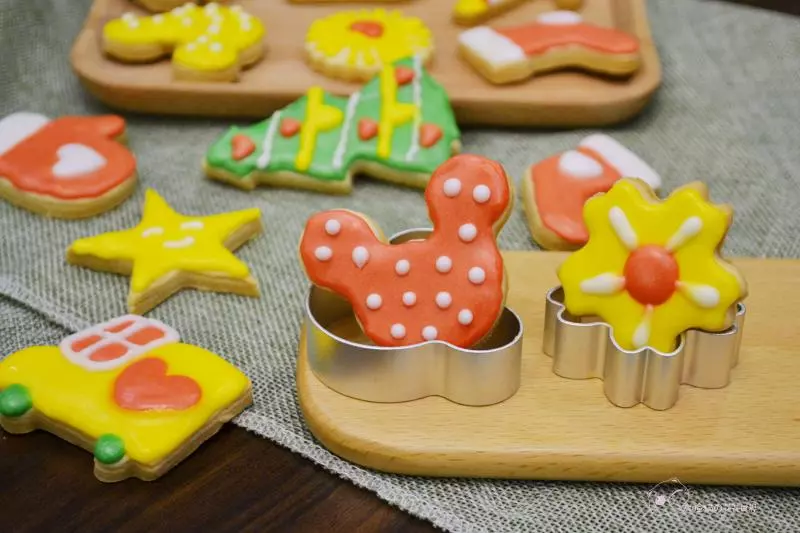
9模具压造型
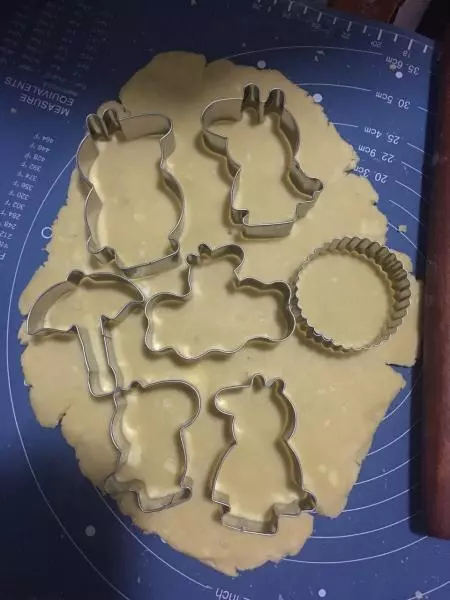
10模具压造型
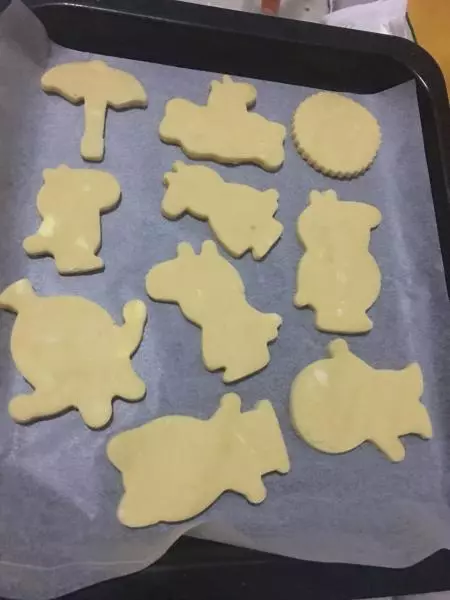
11放到烤盘上
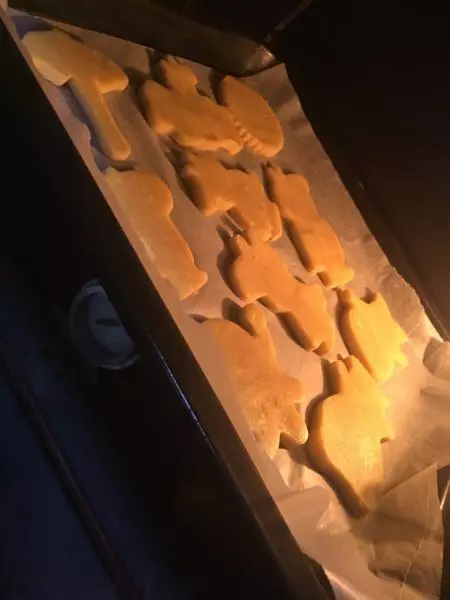
12烤箱预热180度 烤十分钟
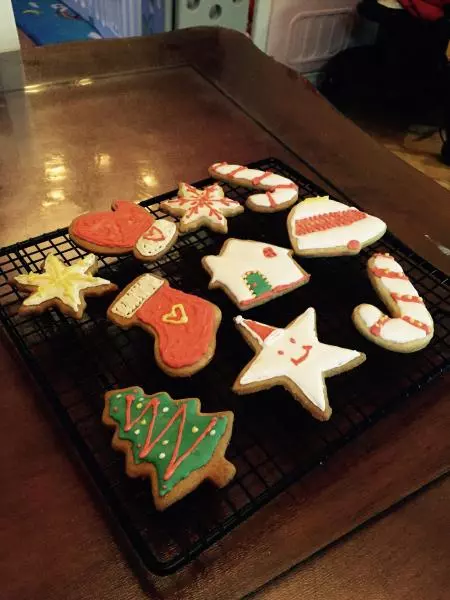
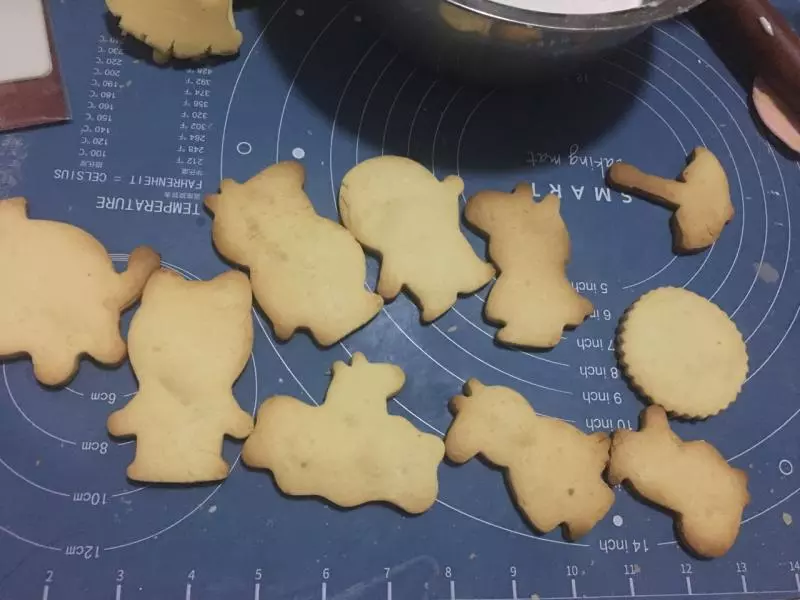
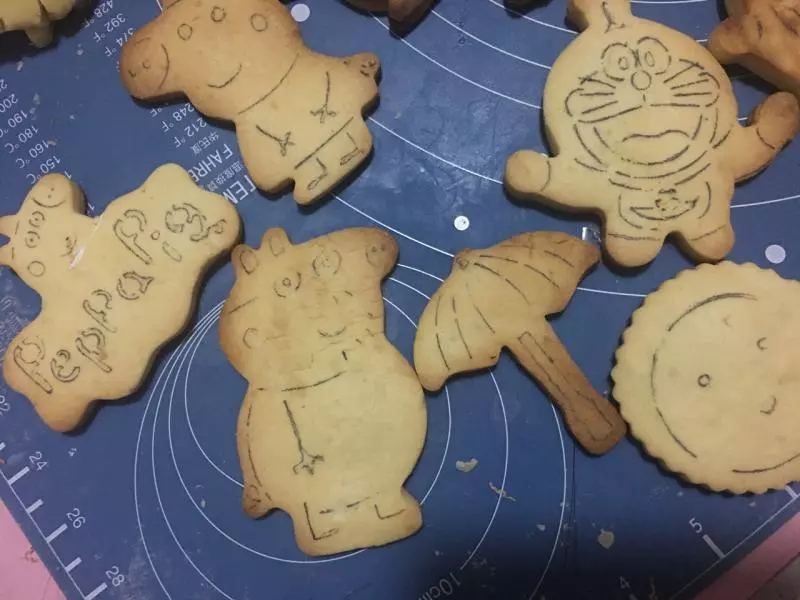
13拿出晾干
14用可食用铅笔画出图案
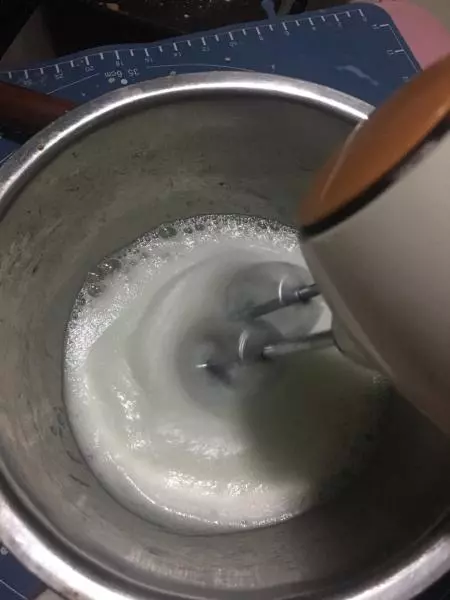
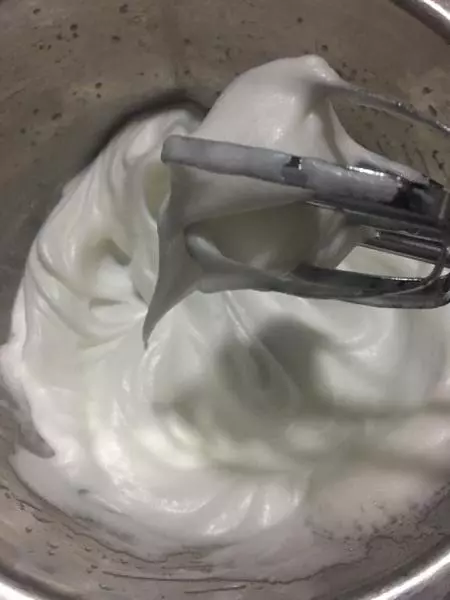
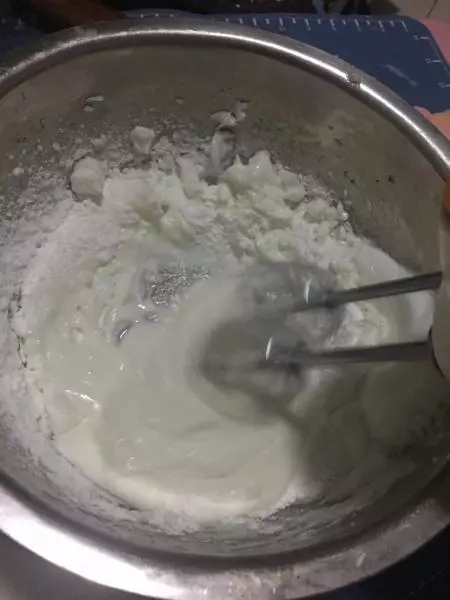
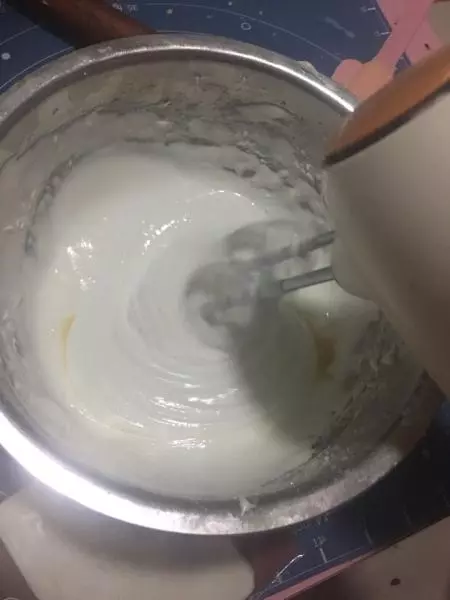
15制作糖霜 蛋清硬性打发
16打发至提起打蛋器有一个尖尖角即可
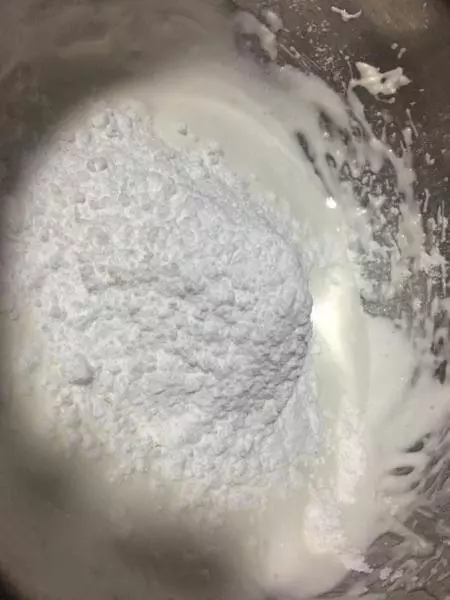
17分两次加入糖粉
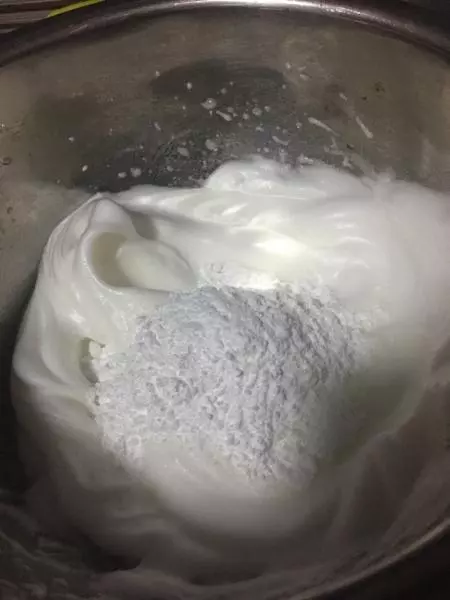
18继续搅打
19再加糖粉
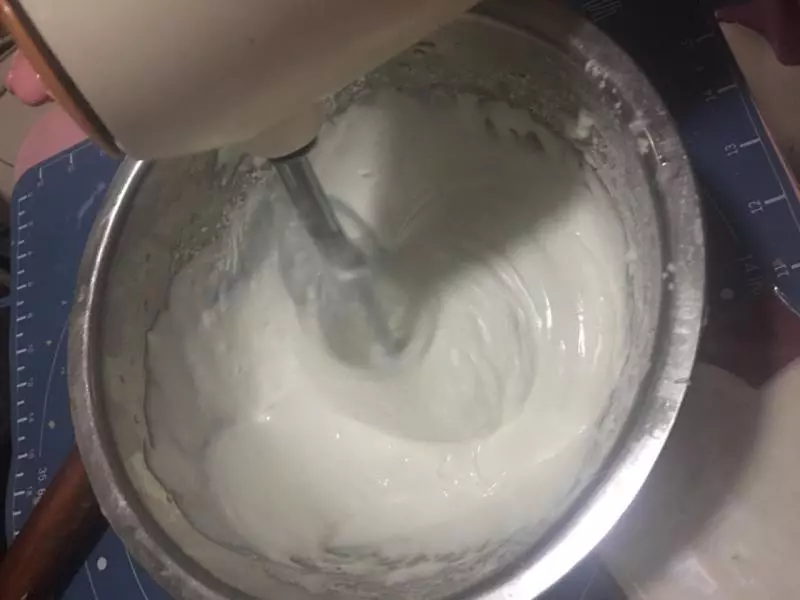
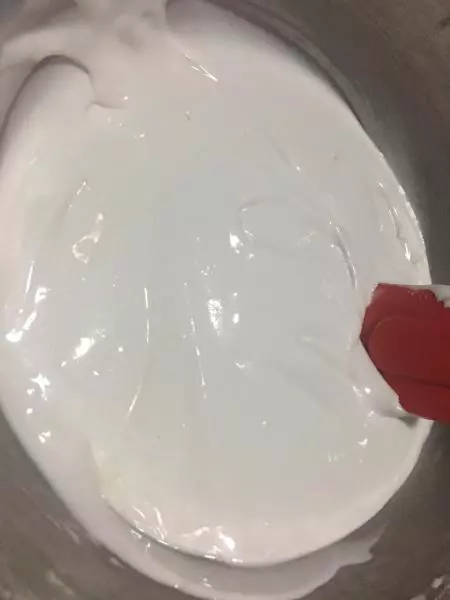
20继续用打蛋器搅打
21添加几滴柠檬汁
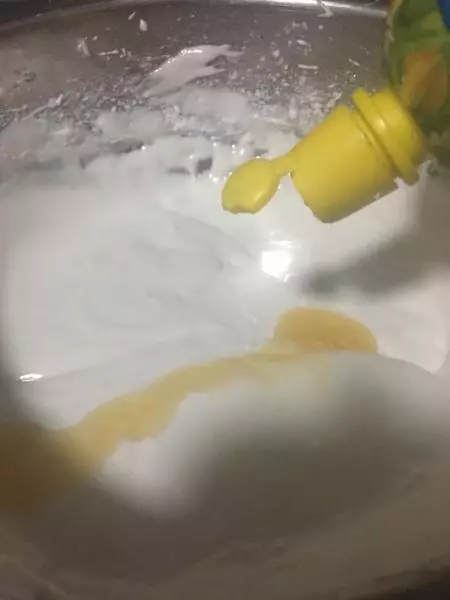
22搅打均匀
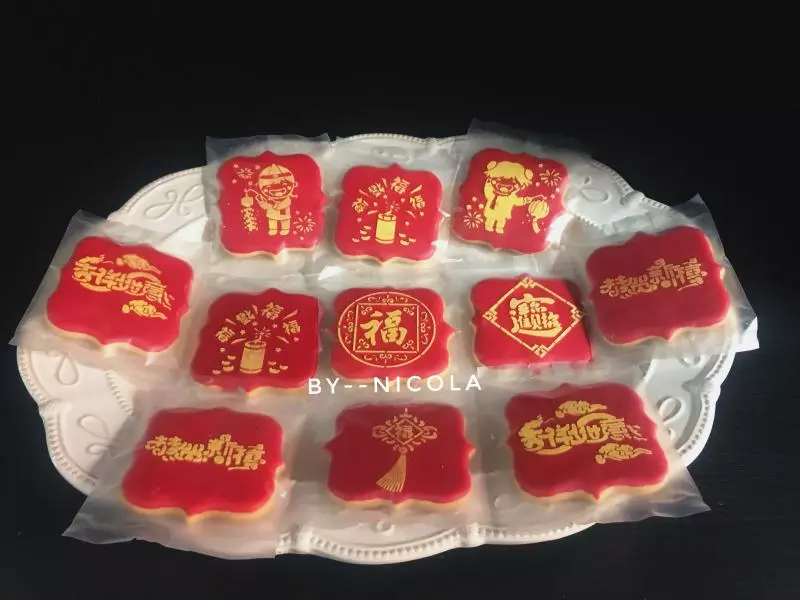
23可以添加自己所需要的色素
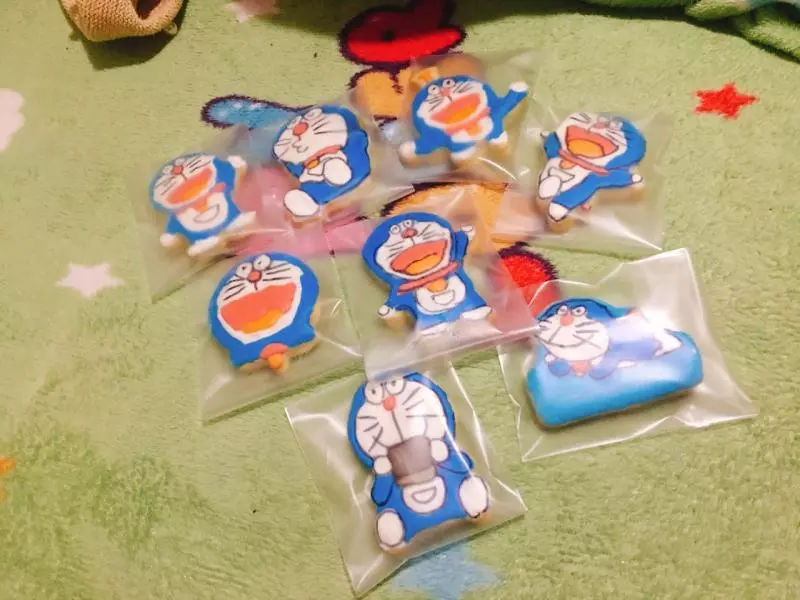
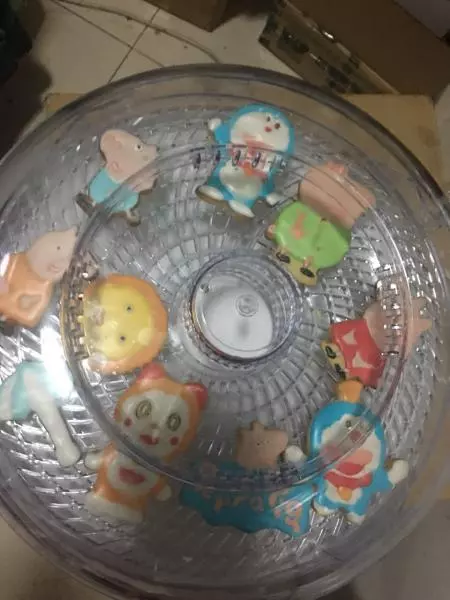
24用裱花袋把所需的挤到饼干上 再放入烘干机中 设置65-70度 两个小时
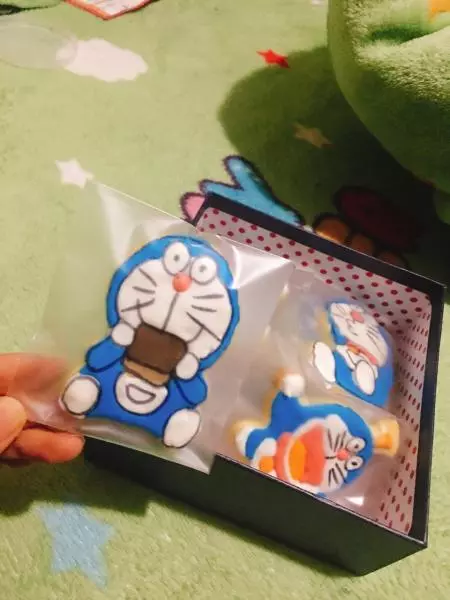
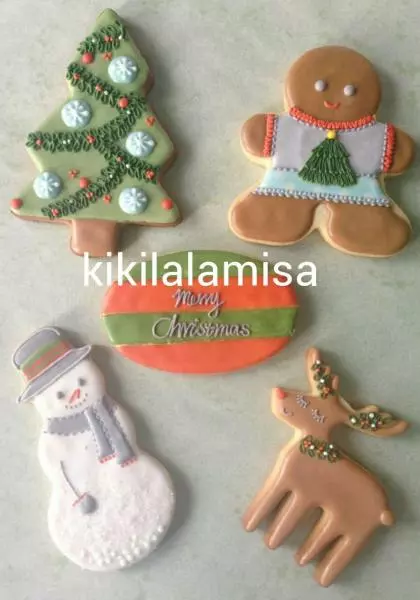
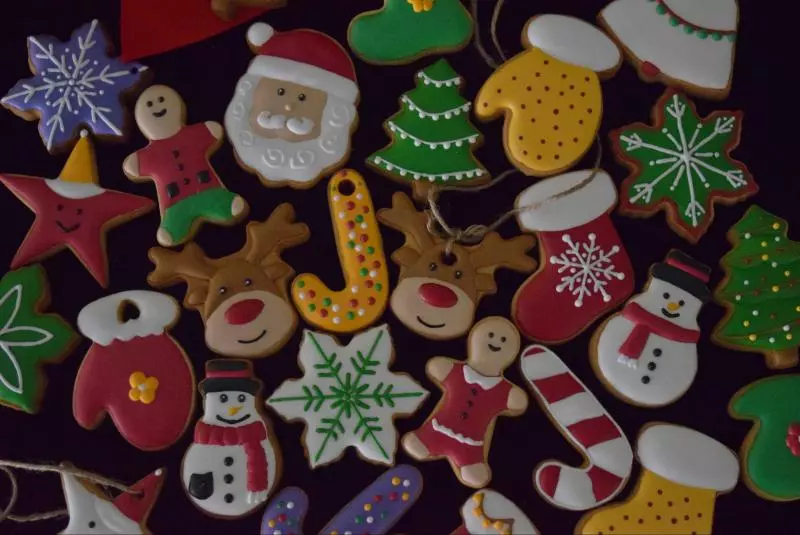
25大功告成
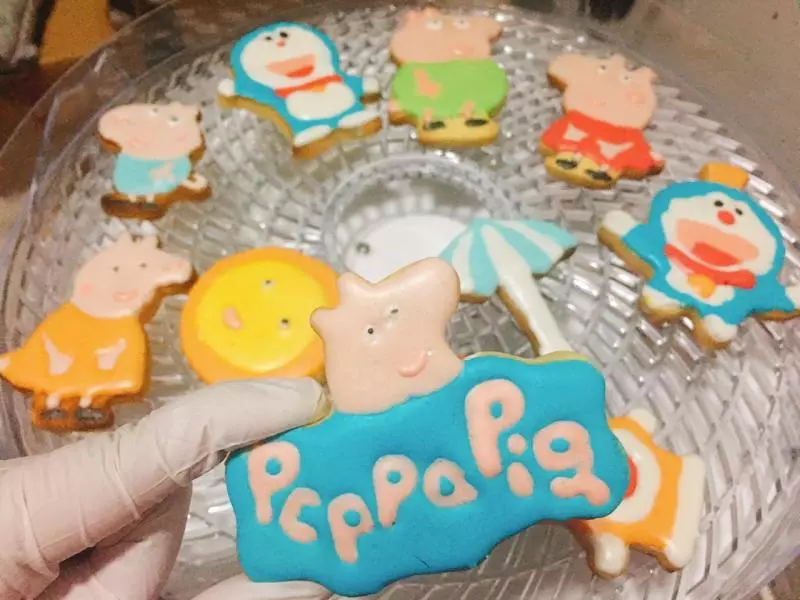
26可以用可食用笔描边