原料
土豆: 500克, 芝士: 100克, 无盐黄油: 80克, 纯牛奶: 80克, 新鲜虾仁: 100克, 盐(煮土豆用): 5克, 脆皮肠: 100克, 盐(土豆泥用): 3克
步骤
1首先把洗干净的土豆下锅,并注入没过土豆的水,

2然后加入食用盐,开大火把水烧开后转小火煮20分钟

3煮土豆的同时,把脆皮肠和芝士切碎,这里我只加入了脆皮肠和虾仁,你还可以根据自己的口味加入培根/洋葱或者是胡萝卜!

420分钟后开盖,用筷子可以轻易撮进去就代表土豆已经熟透了,

5捞出土豆,把土豆放进压泥器里面,把土豆压成泥备用

6加入提前室温软化的黄油和盐

7趁热迅速拌匀,直到黄油完全融入到土豆泥中

8用奶锅中火把纯牛奶煮开马上离开炉子

9煮好的牛奶分三次加入,用翻拌的手法把土豆泥拌匀,每一次都要搅拌均匀后再加入哦!

10接下来热锅起油,倒入切好的脆皮肠,翻炒至表面微微泛金黄色就可以盛出来了

11锅中留底油,导入新鲜的虾仁,快速翻炒,并加盐调味。

12接下来把烤箱上下火220度预热,

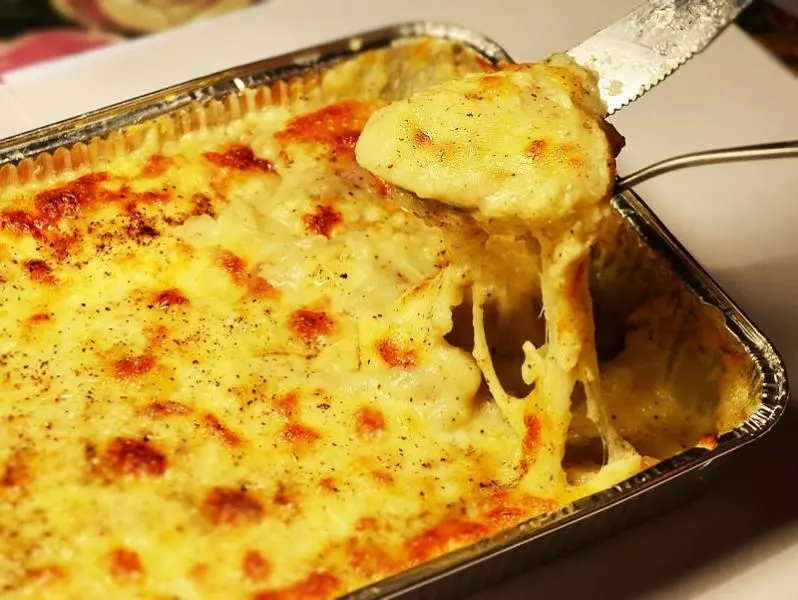
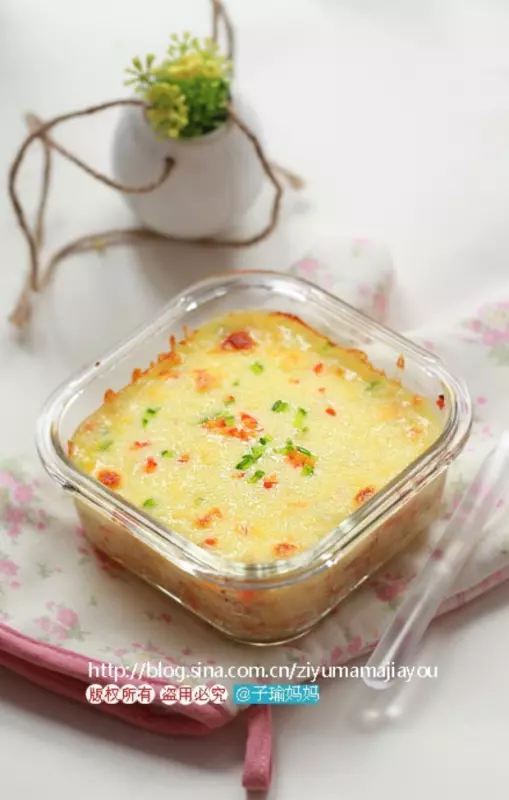
13预热过程中我们正好可以准备土豆泥的装配,今天我做的是六个舒芙蕾碗的量,但是我想做三个舒芙蕾碗装的和一个陶瓷烤盘装的,所以只拿了三个做示范,

14土豆泥装八分满就可以了,后面还要加芝士和配料,否则烤的时候容易溢出哦!

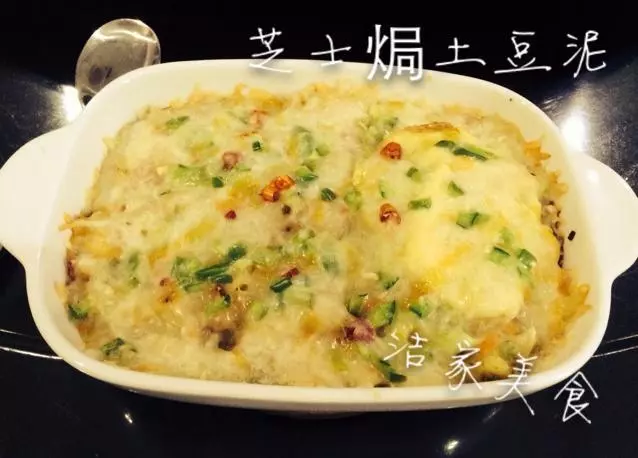
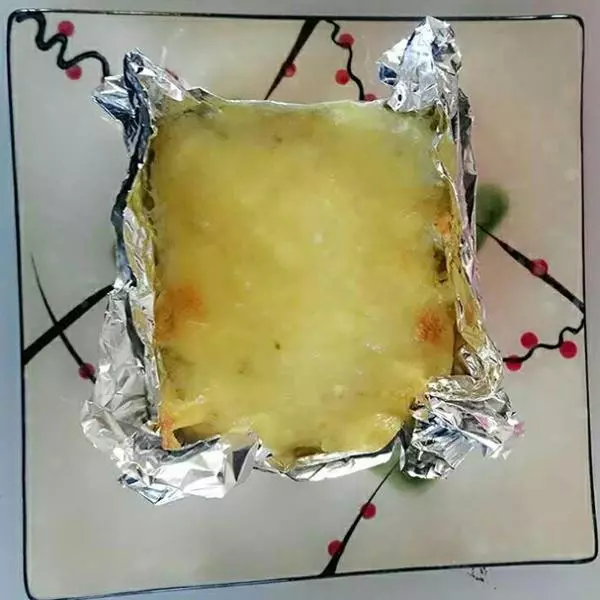
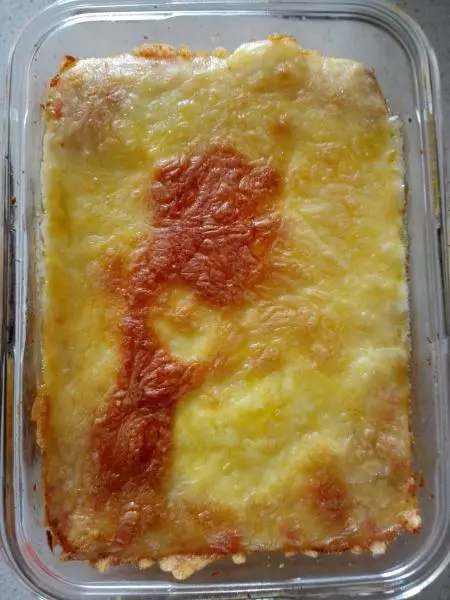
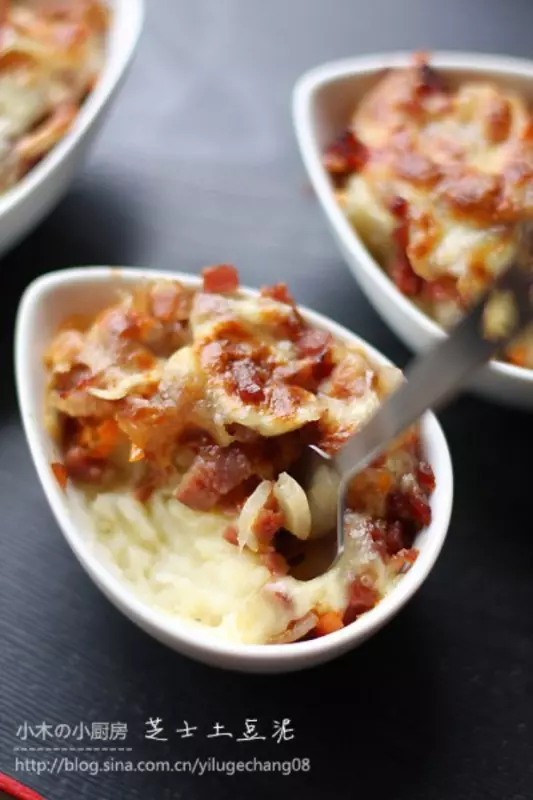
15接着加入炒好的脆皮肠和虾仁,覆盖一层厚厚的芝士即可进烤箱!

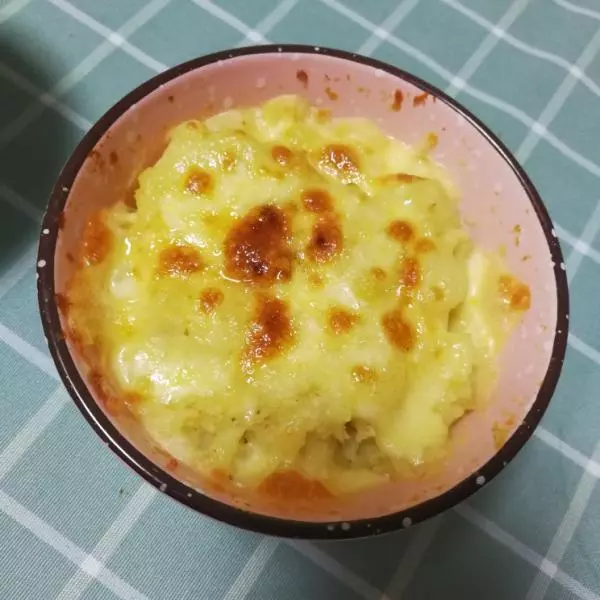
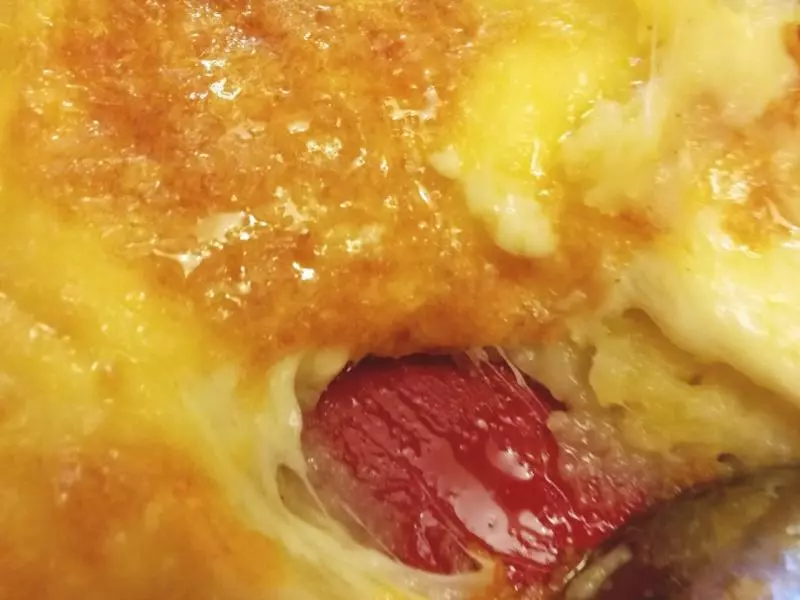
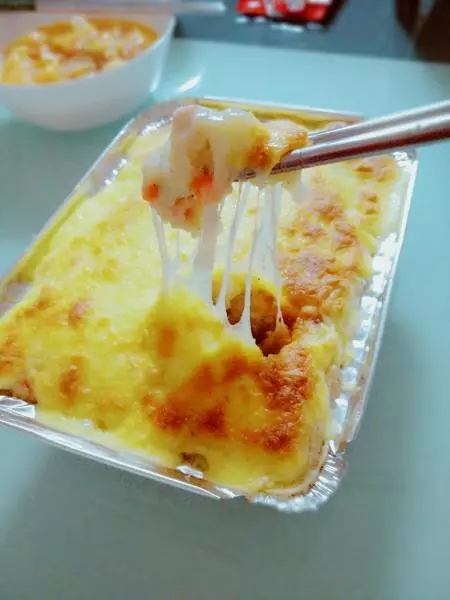
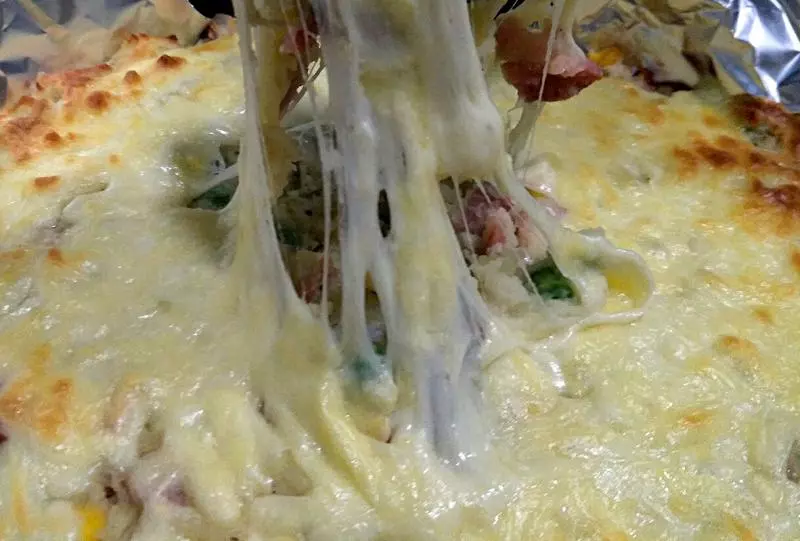
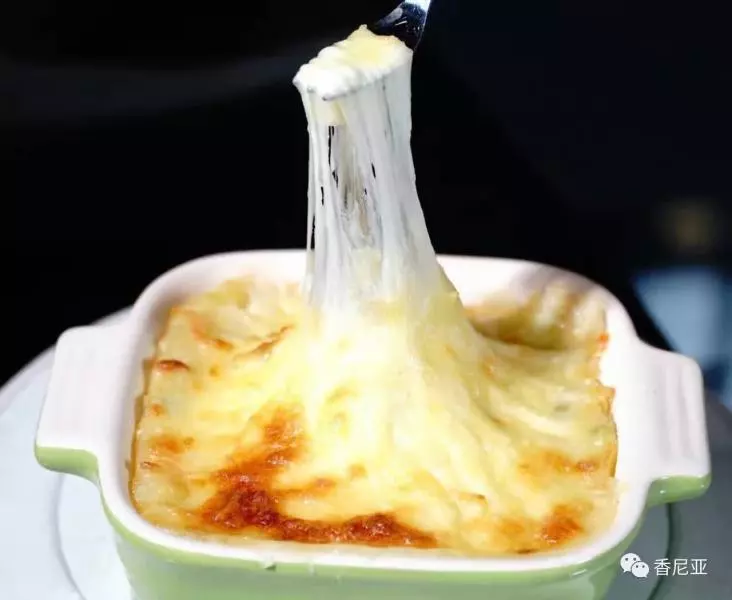
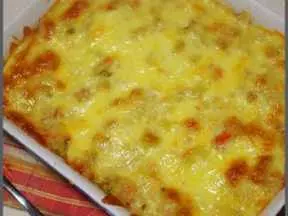
16上下火220度烤十分钟即可出炉,烤好的土豆泥最好趁热吃,这个时候的香气和拉丝效果最好了,

17看着表面金黄,拉丝拉到流口水的感觉是不是特爽啊,你也来试试吧!

18我的微信公众号:研食中还有更多精彩内容,记得关注我的公众号哦

小技巧
一、芝士建议选择马苏里拉芝士,无论是口感或者是拉丝效果都是不错的 二、购买土豆的时候不要买太大的,而且个头大小基本一样 ,还要是带皮煮,否则需要切成小块再煮,土豆的淀粉就散开进水。 三、刚考好的芝士焗土豆泥最好吃了,香气和拉丝效果这个时候最好,吃的时候小心烫到!