原料
鸡蛋: 5个, 抹茶粉: 8克, 低筋面粉: 80克, 细白砂糖: 70克, 玉米油: 40克, 纯牛奶: 40克, 红豆: 适量, 柠檬汁: 几滴
步骤
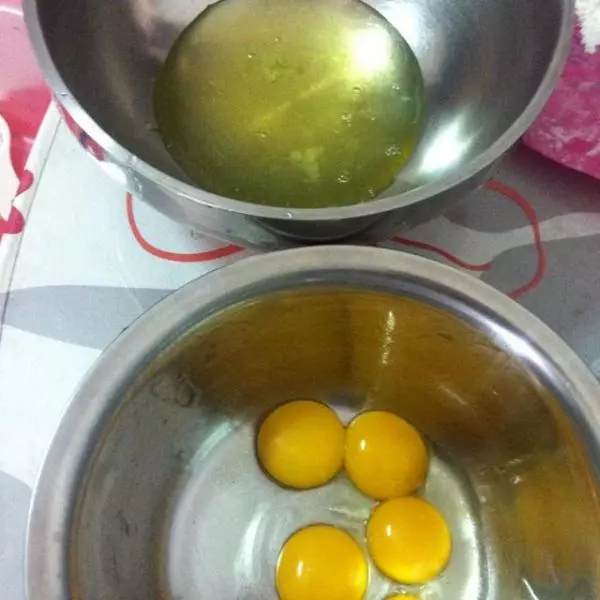
1先把鸡蛋分离到各盆中
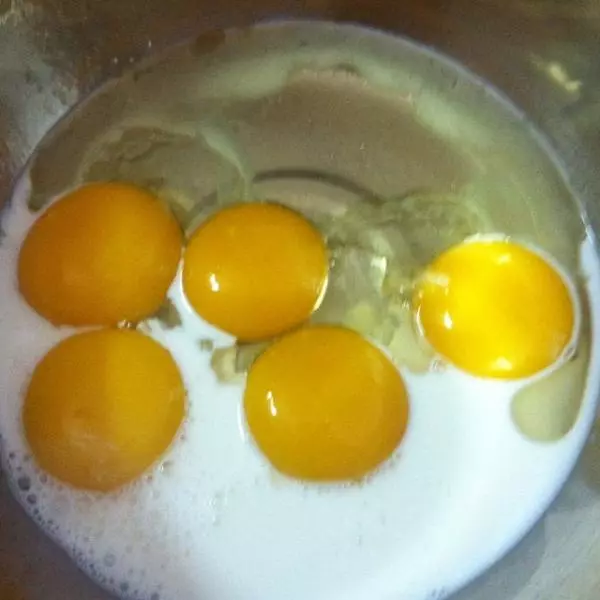
2蛋黄盆中放入牛奶,玉米油搅拌均匀
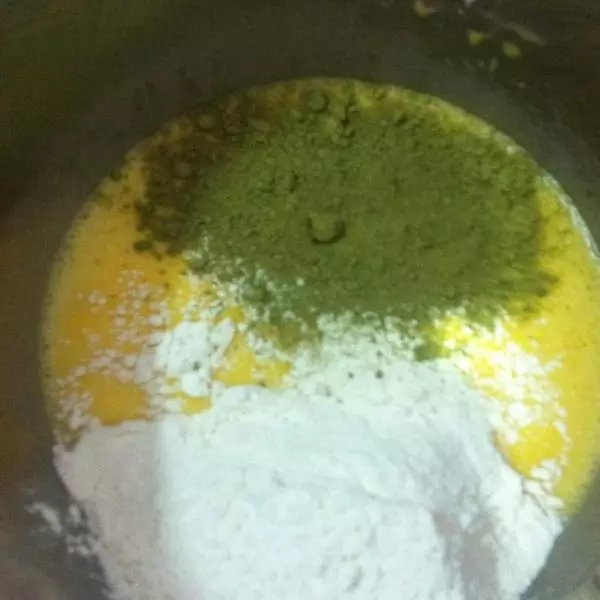
3然后筛低筋面粉,抹茶粉进蛋黄糊中翻拌均匀
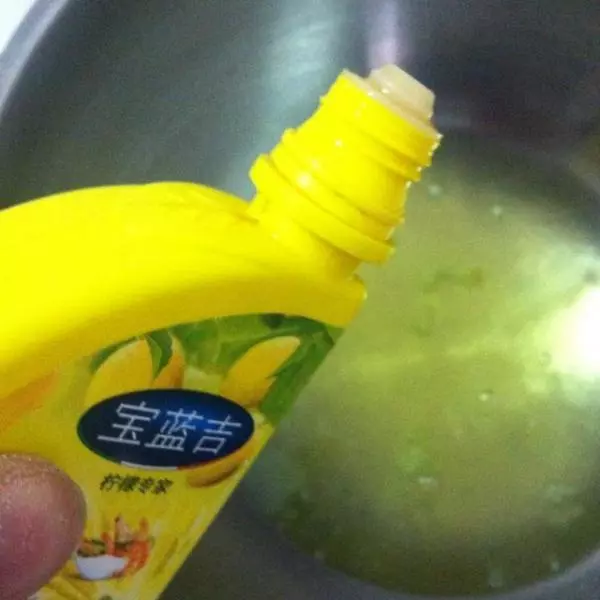
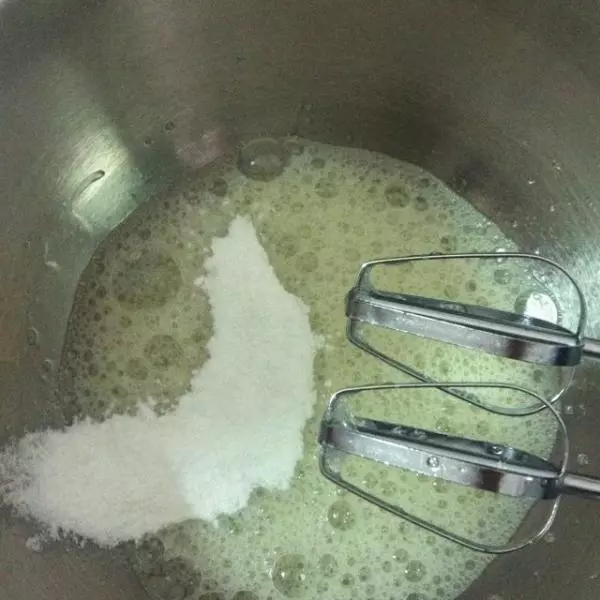
4放几滴柠檬汁打发蛋清
5把细白砂糖分三次加入到蛋清中打发
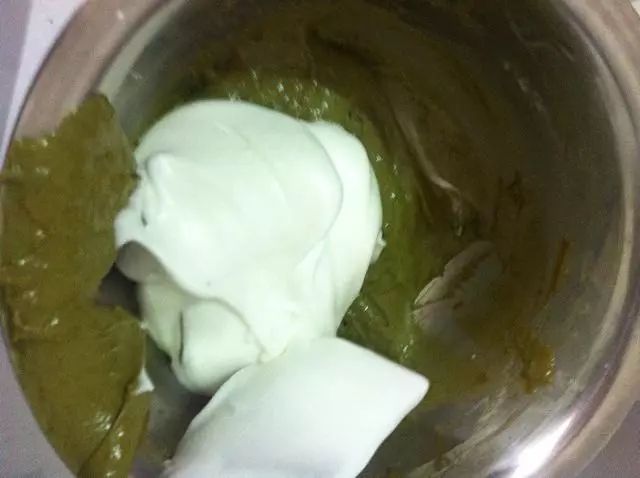
6蛋白霜打发好,拿三分一蛋白霜放进蛋黄糊中翻拌均匀
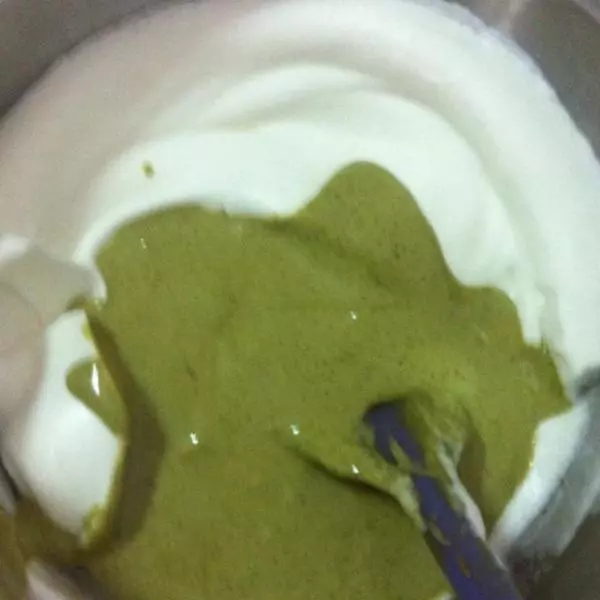
7然后把蛋黄糊全部倒入蛋白霜那里翻拌均匀
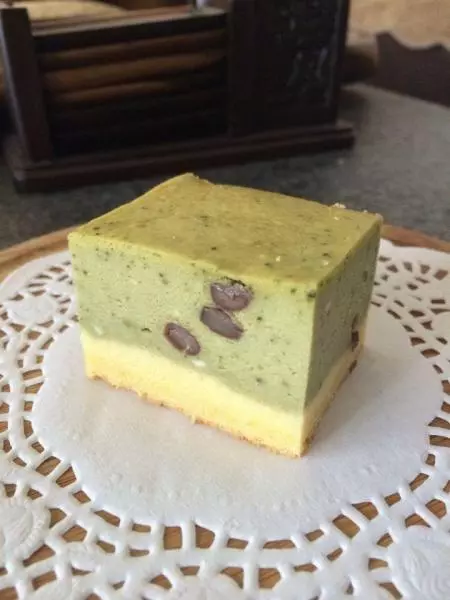
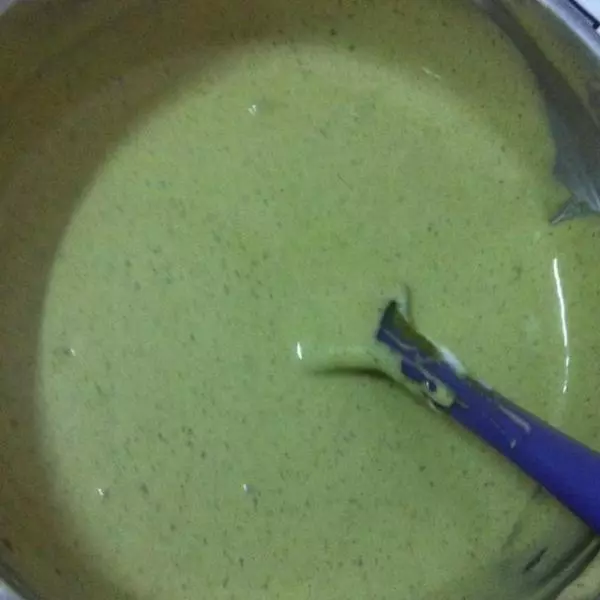
8翻拌好的蛋糕糊
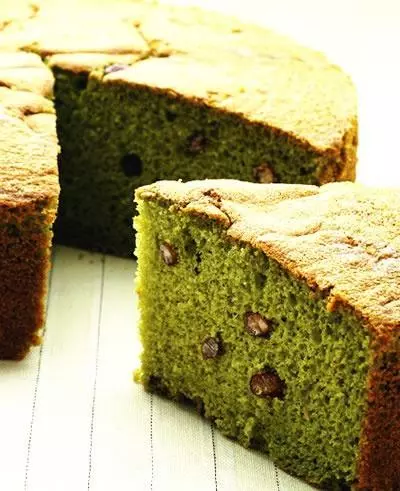
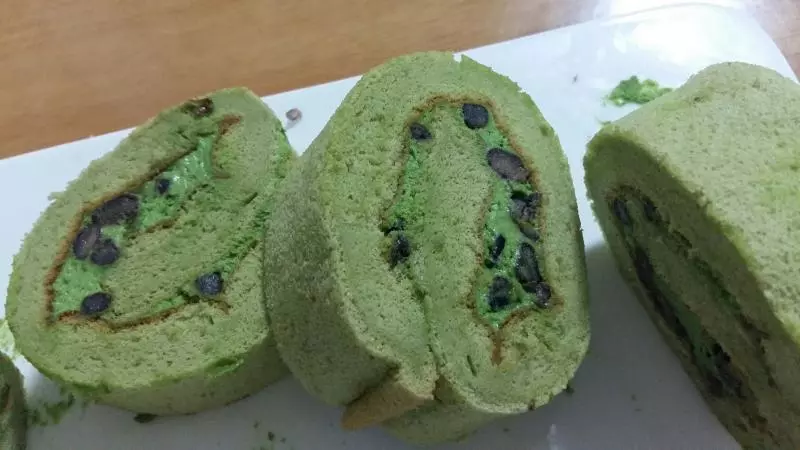
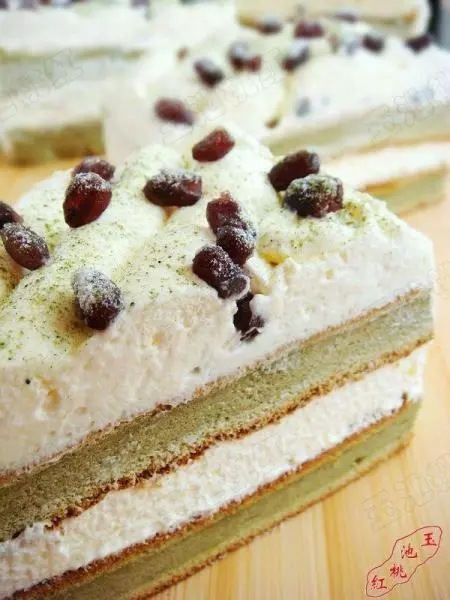
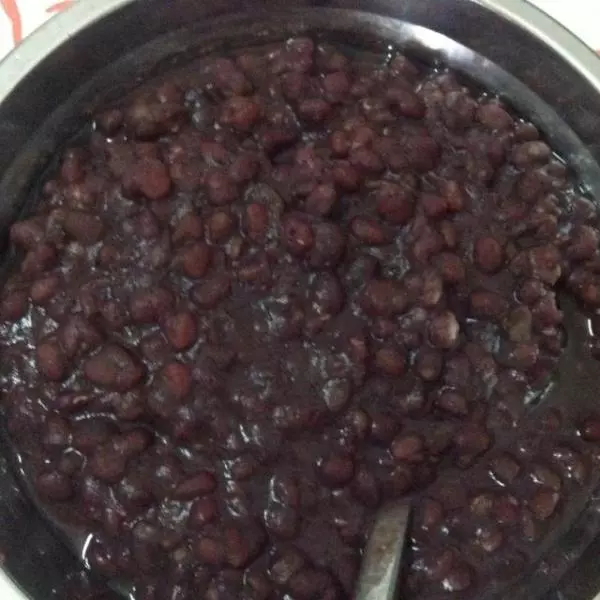
9昨晚熬好的红豆
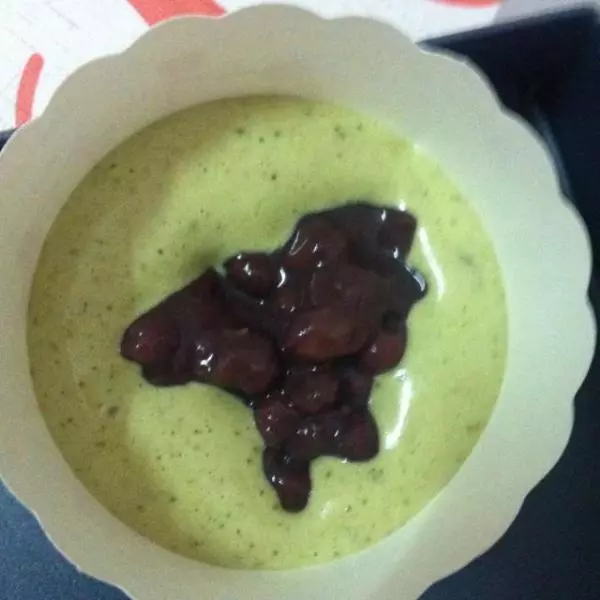
10一层蛋糕糊,一层红豆,然后蛋糕糊倒到九分满
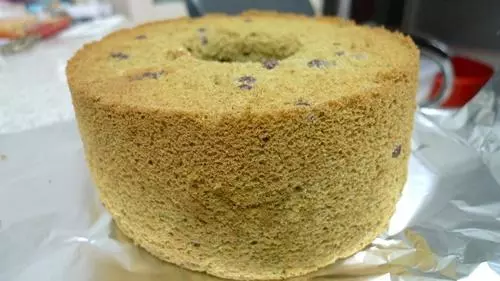
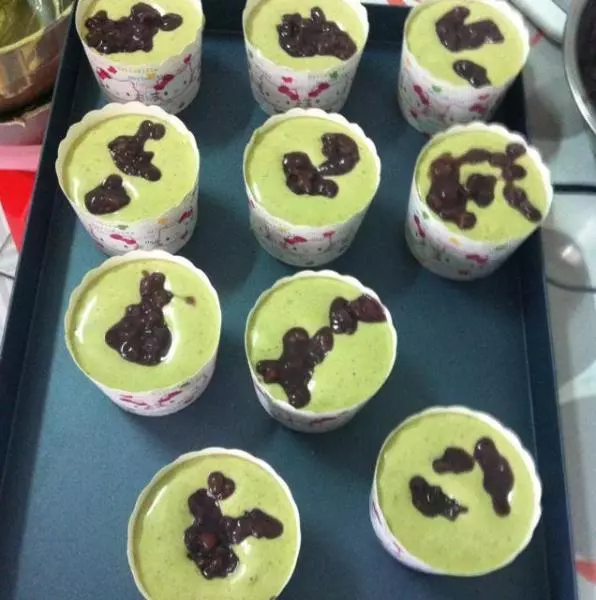
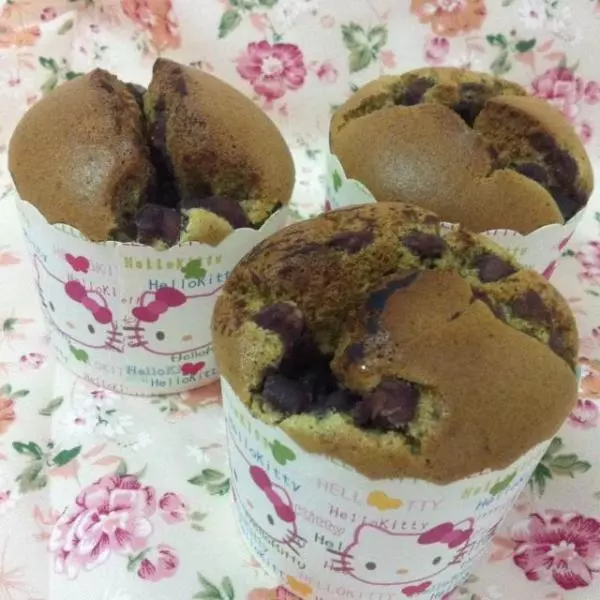
11把蛋糕糊,红豆都倒入杯子里,再表面撒点红豆
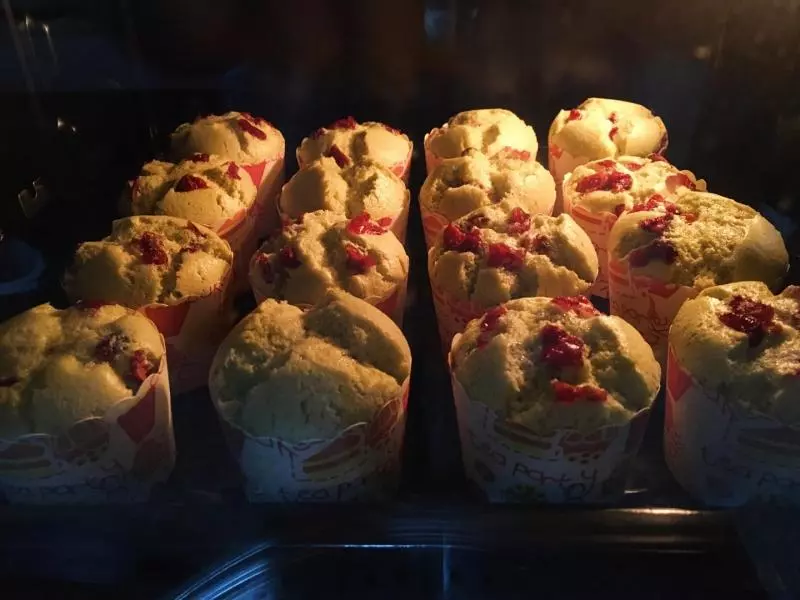
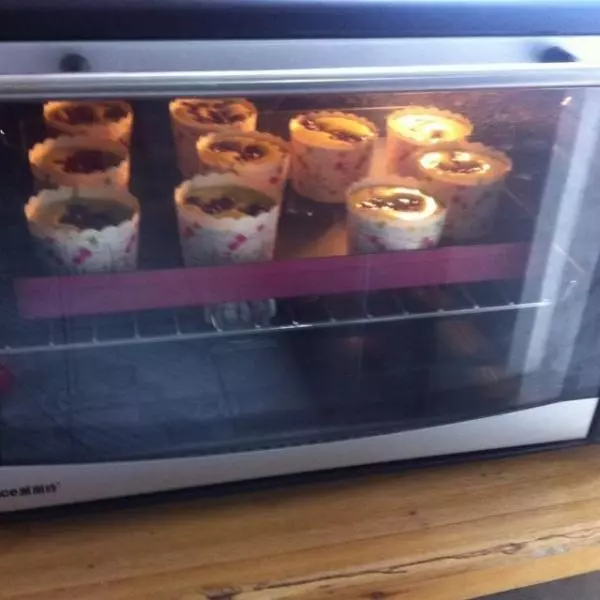
12把蛋糕放入预热好温度的烤箱上下火170度,烘烤40分钟
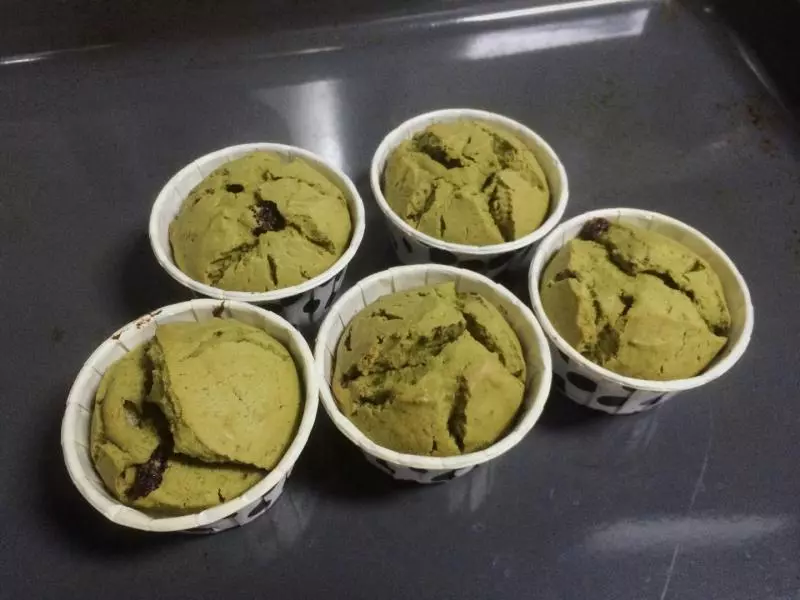
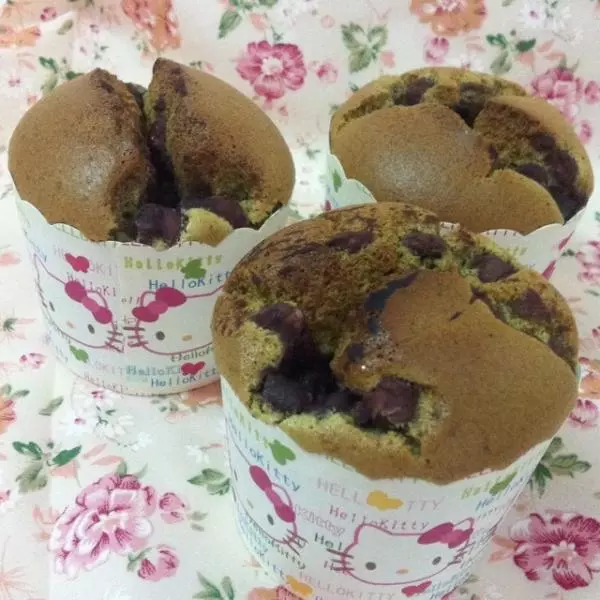
13出炉,好好吃
小技巧
红豆我放水泡一晚,然后第二天放进高压锅压几分钟就已经酥烂了