原料
低筋面粉: 750克, 绵白糖: 240克, 鸡蛋: 2个, 无铝泡打粉: 2克, 苏打粉: 4克, 玉米油: 260克, 黑芝麻: 适量
步骤
1所需材料称好备用。(芝麻提前用微火炒熟,这样会更香)

2鸡蛋倒入大盆中用筷子打撒,倒入绵白糖。(绵白糖易融化,如果是白砂糖就用料理机打成粉)

3倒入玉米油。

4搅拌均匀后,加入苏打粉和泡打粉

5再次搅拌均匀,筛入低筋面粉。

6先用筷子搅拌成絮。

7再按压着和成光滑的面团。(面团会有点点散,压几次就很容易成团了)

8把面团平均分成30克一个的小剂子,放在手心里团成光滑的小圆球

9用刮板压成厚度约一厘米的饼胚。

10周边会有自然的裂纹张开。(避免手掌压的不均匀就用了刮板,很方便哦)

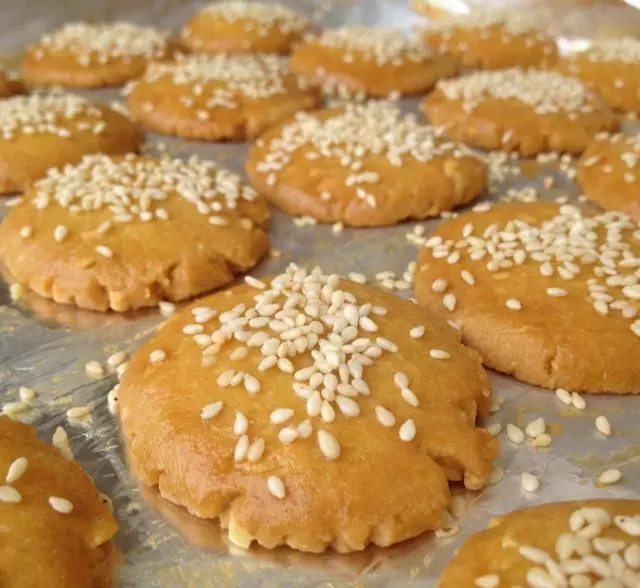
11用刮板把饼胚移到烤盘里,之间要留有缝隙,烤的时候会涨大一些。

12表面均匀的刷上鸡蛋液(分量外)。

13擀面杖的一端沾上少许水,沾上黑芝麻。

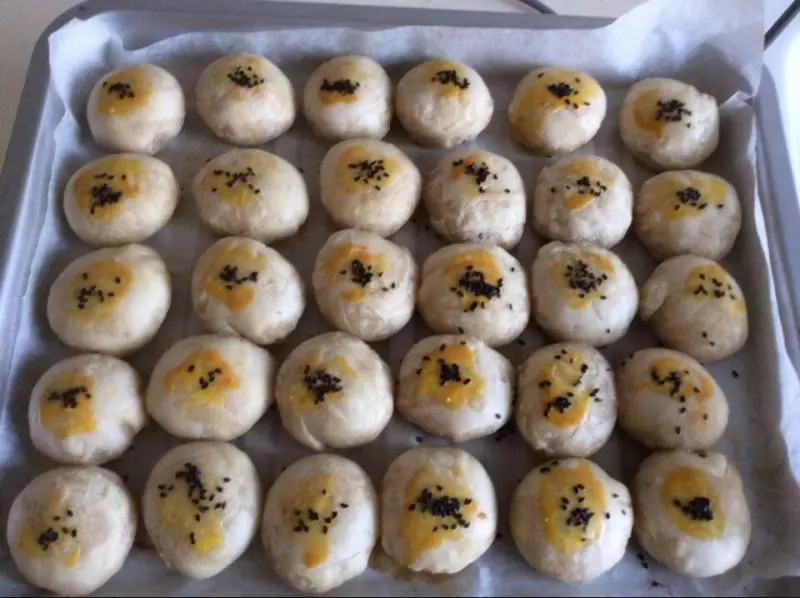
14按压在饼胚中间。

15依次做好。(这个量可以做三大烤盘,共46个桃酥)

16UKOEO猛犸象智能热风炉烤箱,提前预热:170度,烤25分钟。

17不用调上下火哦,热风循环,一键式操作。

18三大烤盘同时烤,非常省事!

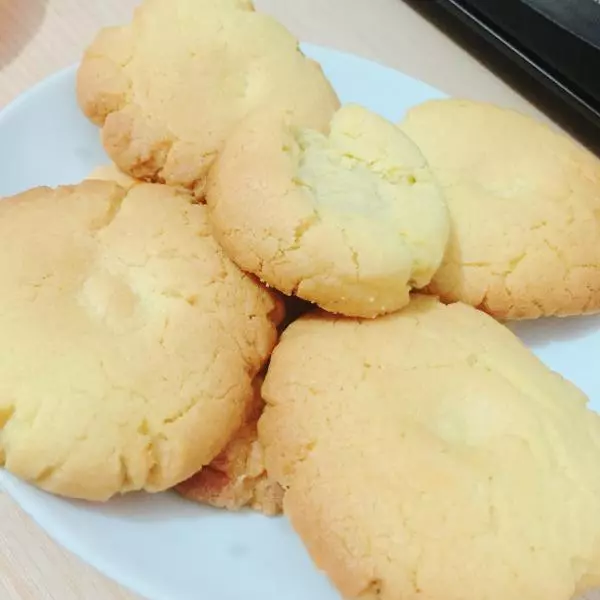
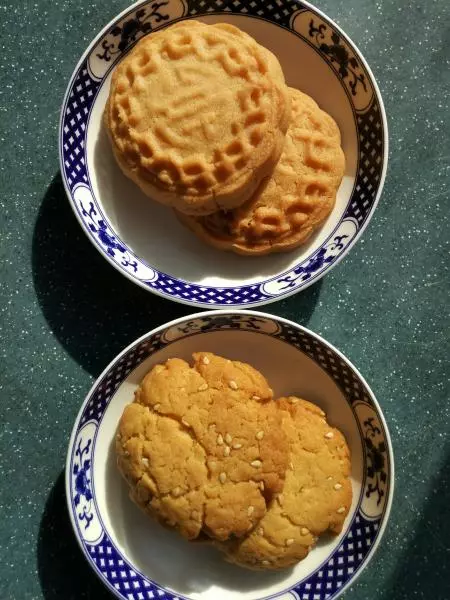
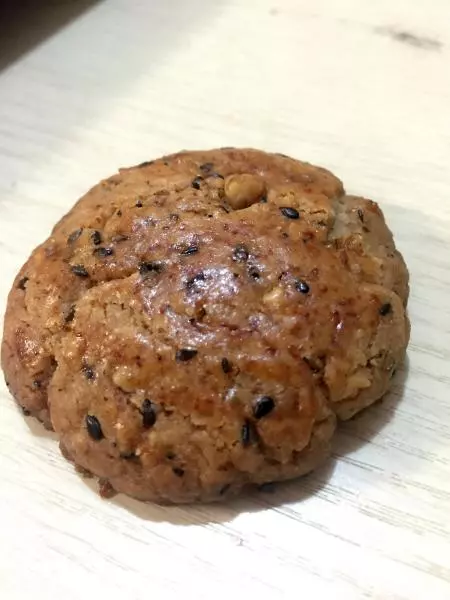
19桃酥出炉啦,上色非常均匀。晾凉后非常的酥脆。

20香香的出炉了

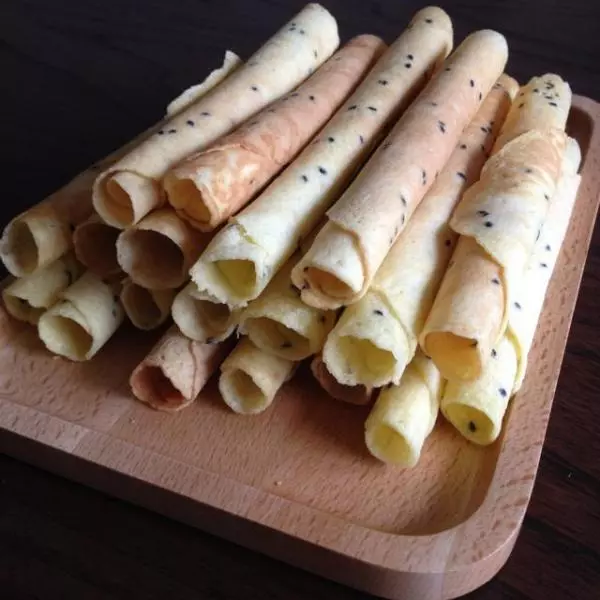
21成品图

22成品图

23成品图

24成品图

25成品图

26成品图

27成品图

28成品图

小技巧
小贴士:各家烤箱温度有差异,请适当调整。菜谱中使用的是:UKOEO猛犸象智能热风炉,型号E6050,超大容量60升。可四层同烤,非常适合商用或做私房烘焙。一键式操作,上色非常均匀,再无需担心调不好上下火了,也不用担心底部会烤糊,成品颜色刚刚好,非常漂亮!