原料
鸡蛋: 5个, 低粉: 50g, 牛奶: 50g, 细砂糖蛋白: 35g, 细砂糖蛋黄: 15g, 玉米油: 45g, 红曲粉: 适量
步骤
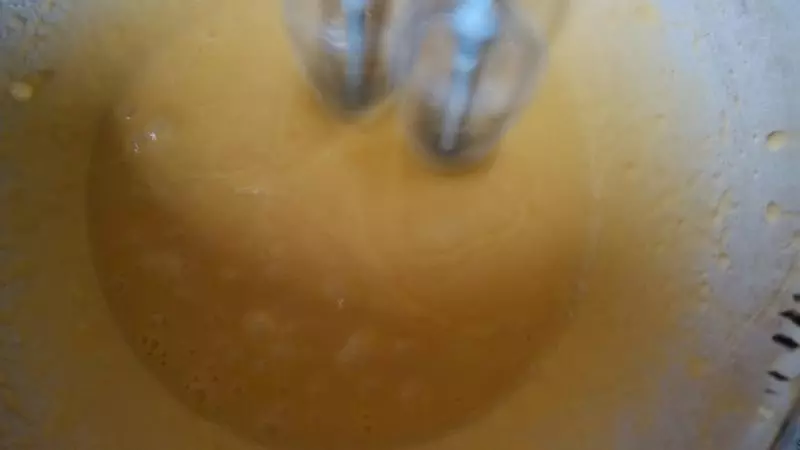
1首先把鸡蛋分离出蛋黄与蛋白,蛋白放一旁,先处理蛋黄糊,把蛋黄加入细砂糖拌匀
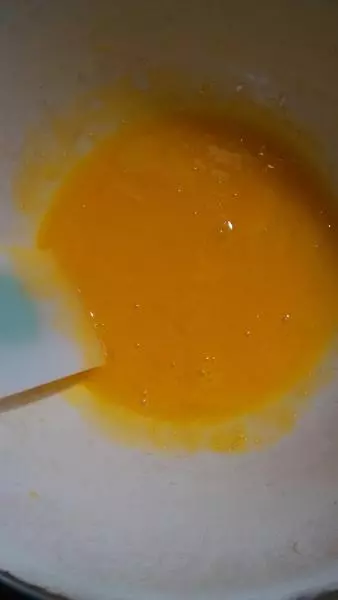
2加入玉米油,用橡皮刮刀搅拌均匀
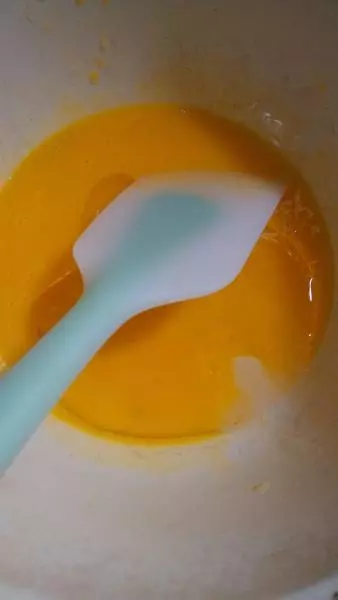
3倒入牛奶用橡皮刮刀搅拌均匀
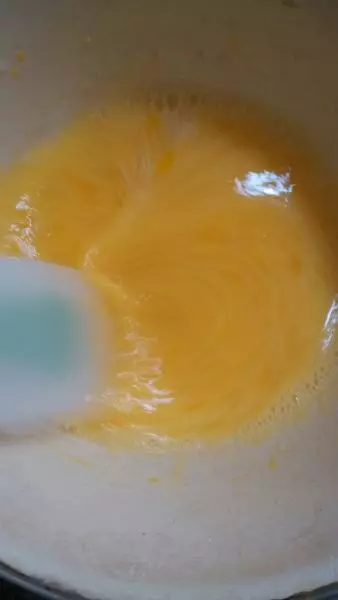
4面粉过筛到蛋黄糊里面拌匀
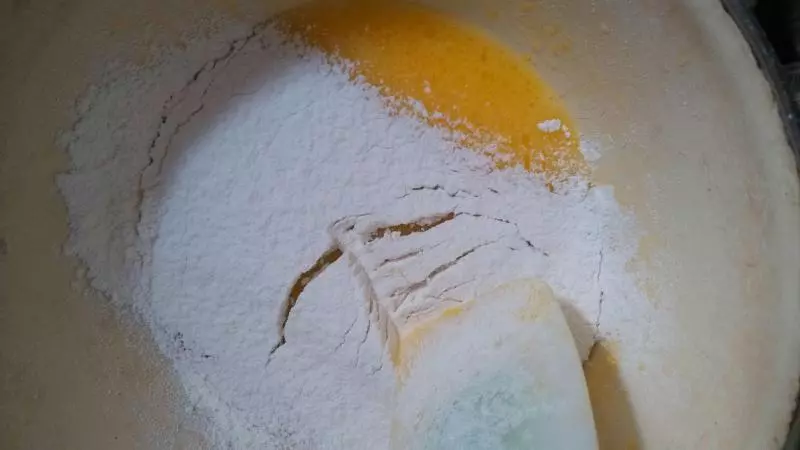
5蛋黄糊如果有面粉颗粒可以用电动打蛋器高速打一下,有人说这样会起筋,反正我这样做没有起筋,你可以试一下。
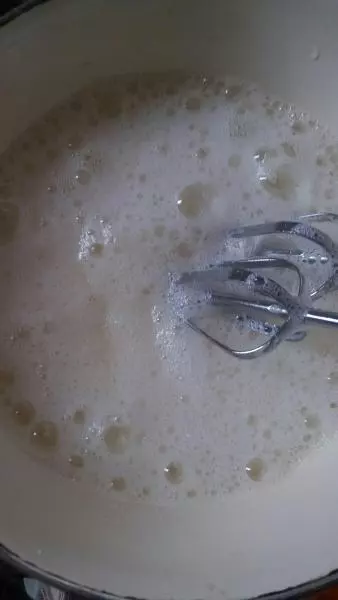
6蛋黄拌糊好了以后开始处理蛋白,处理蛋白的所有东西必须是无油无水的,把蛋白打成大泡泡,加入第一次白糖(细砂糖分成三次加入)
7再打一下,泡沫细致了一点,加入第二次细砂糖
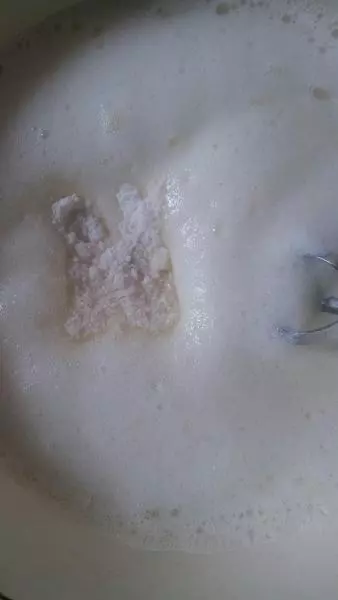
8泡沫越来越细致了,这时加入第三次细砂糖继续打
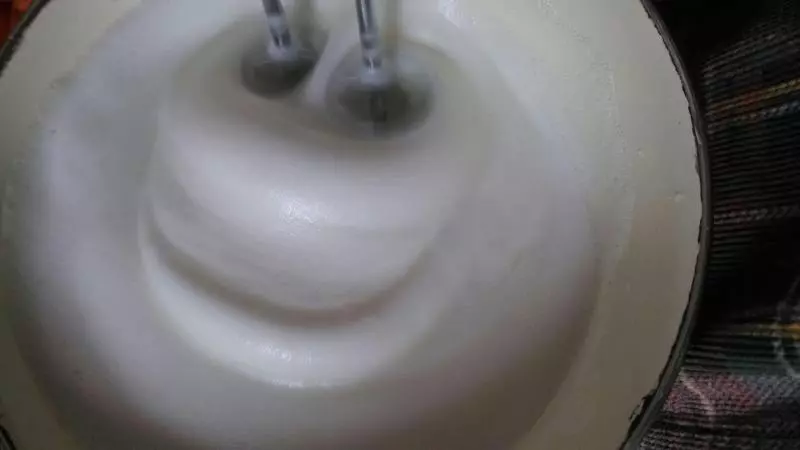
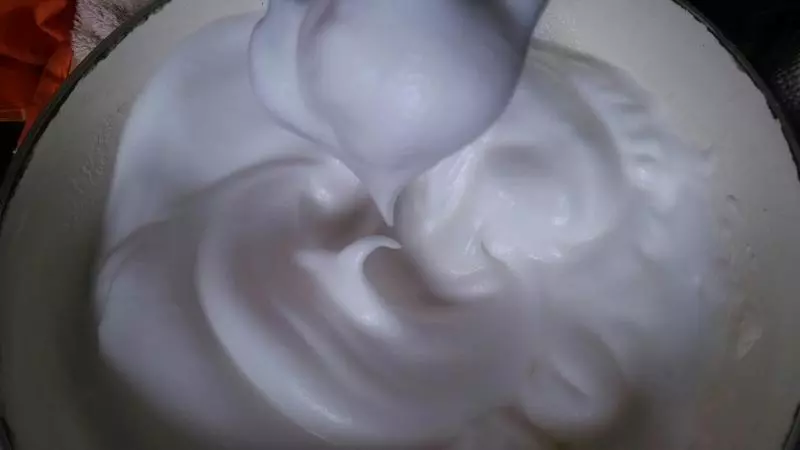
9蛋白打到打蛋器提起有弯钩,蛋白不流动 。
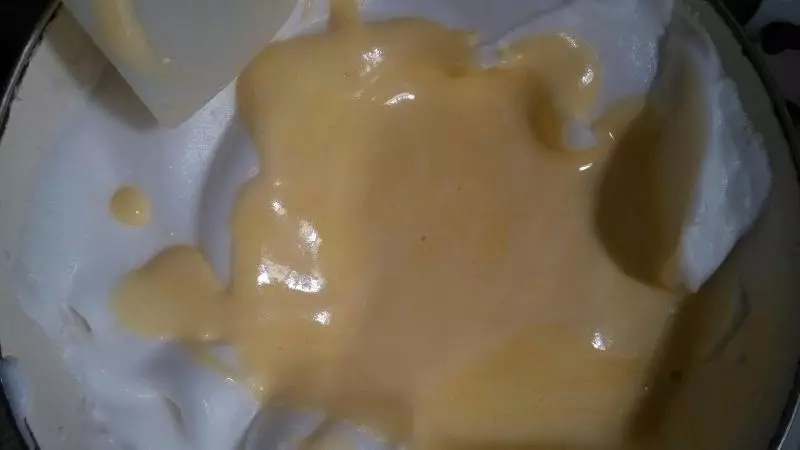
10取三份之一的蛋白到蛋黄糊里,用上下拌匀的方法拌匀,不可划圈搅拌,避免消泡

11把蛋黄糊倒入剩下的蛋白里拌匀
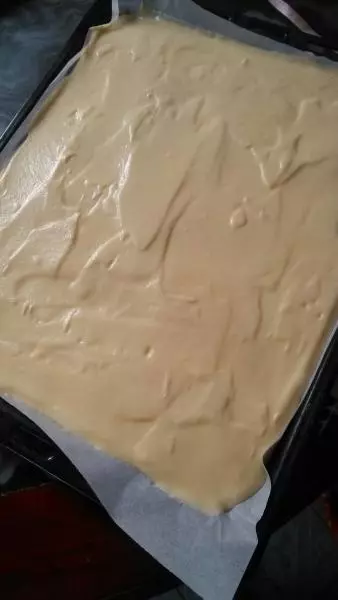
12烤盘铺油纸,把面糊倒到烤盘里,(不要全部倒完了留一点点拉花用)只需要一点点)用橡皮刮刀刮均匀,最后轻摔震一下烤盘
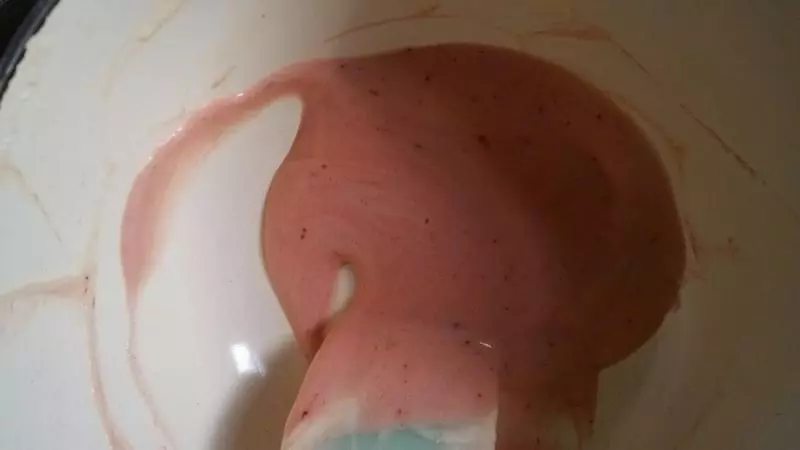
13剩下的面糊加一点红曲粉
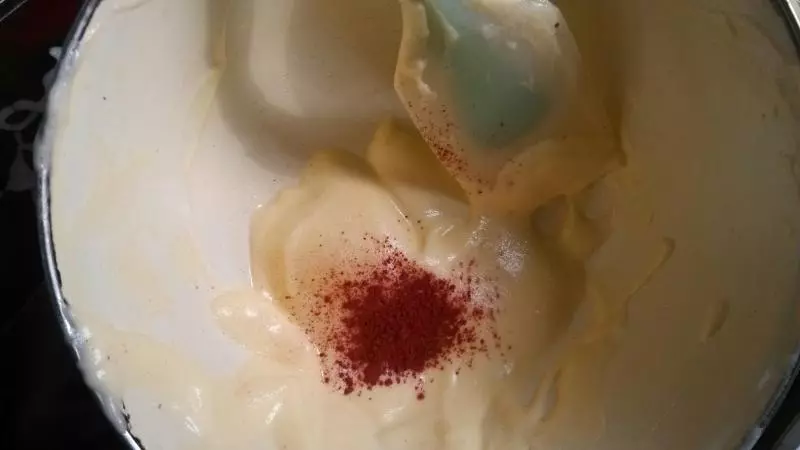
14拌匀
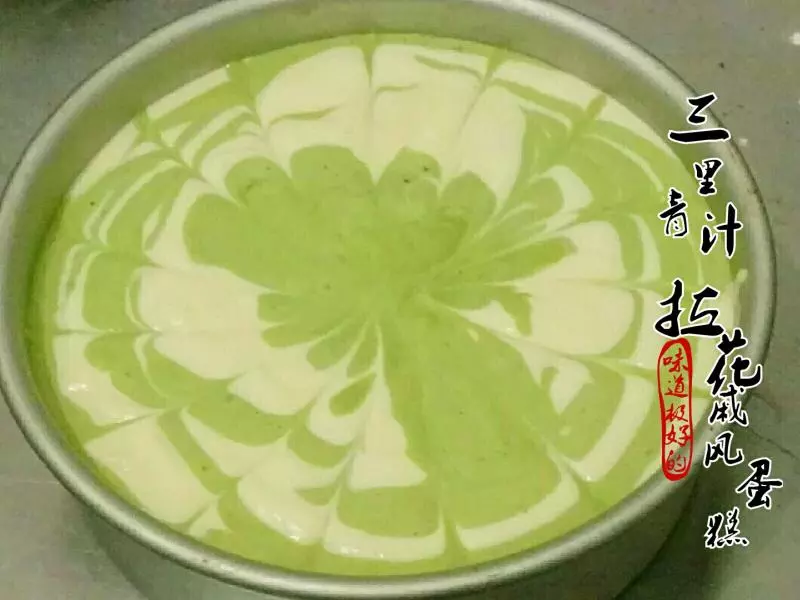
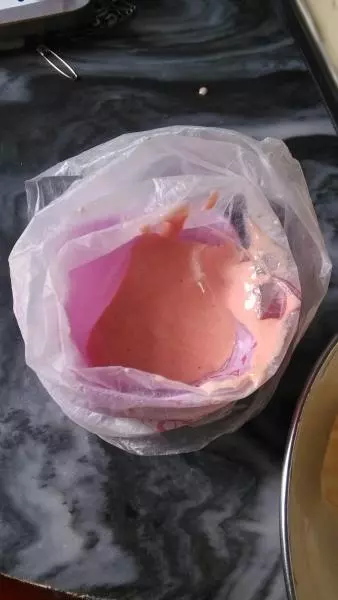
15裱花袋套在杯子上,把面糊倒进裱花袋,然后裱花袋剪一个小口
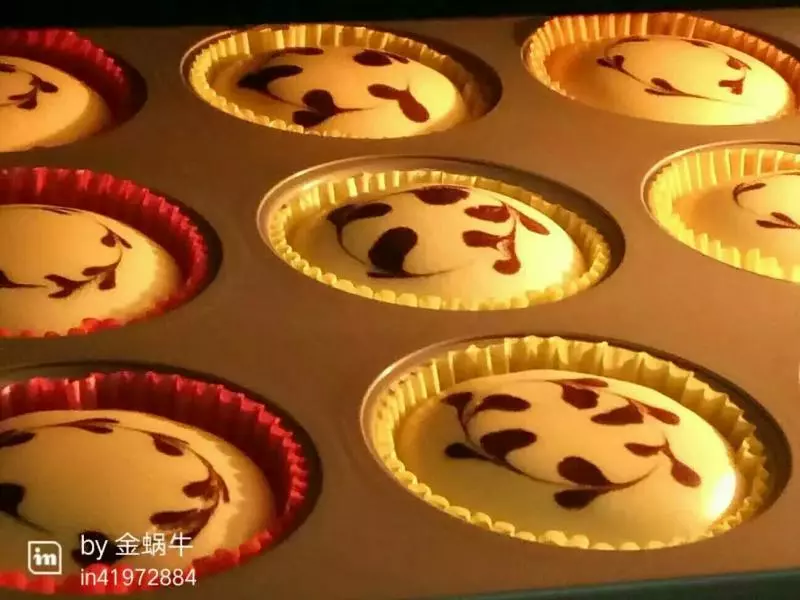
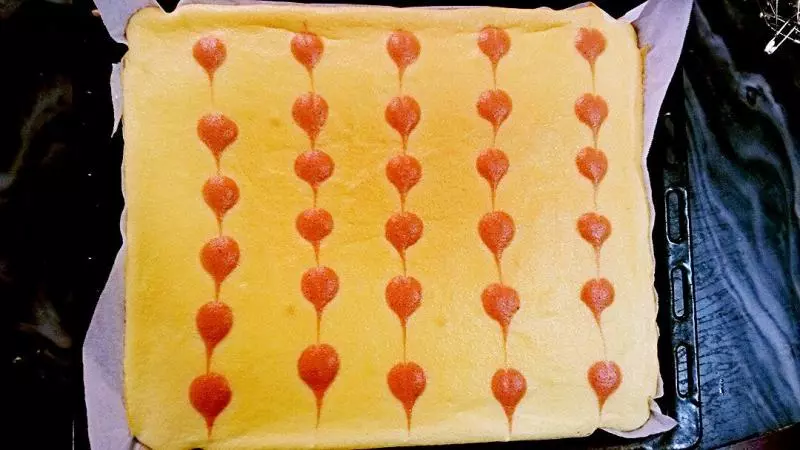
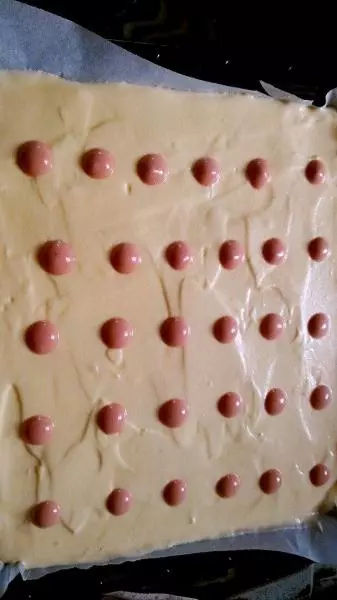
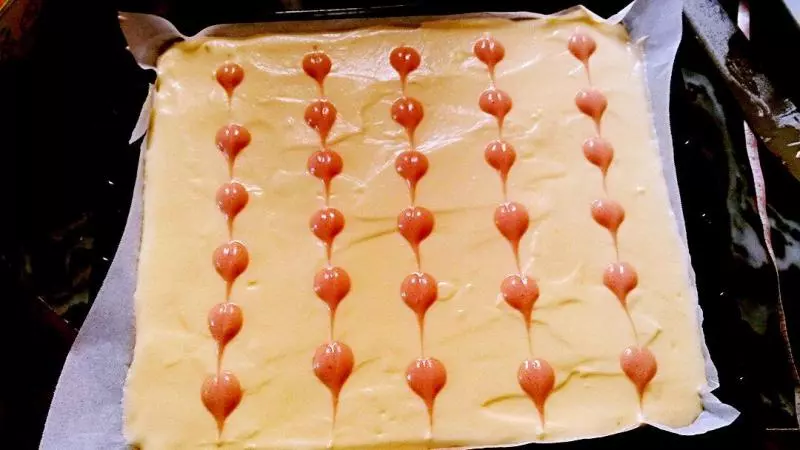
16在蛋糕糊上挤上红色面糊,一点点的一个个的挤
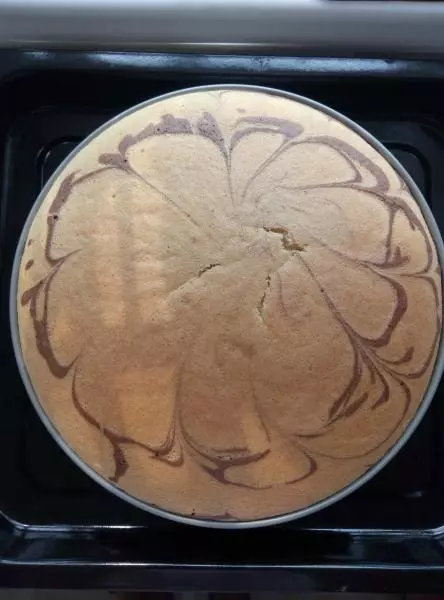
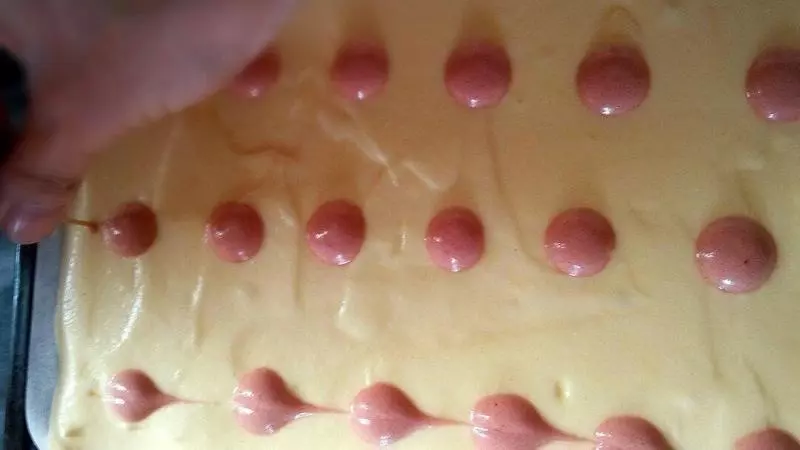
17用牙签插到面糊里,从红点点的中间直线下拉,就是画直线。
18这是画好了,还没烤的样子
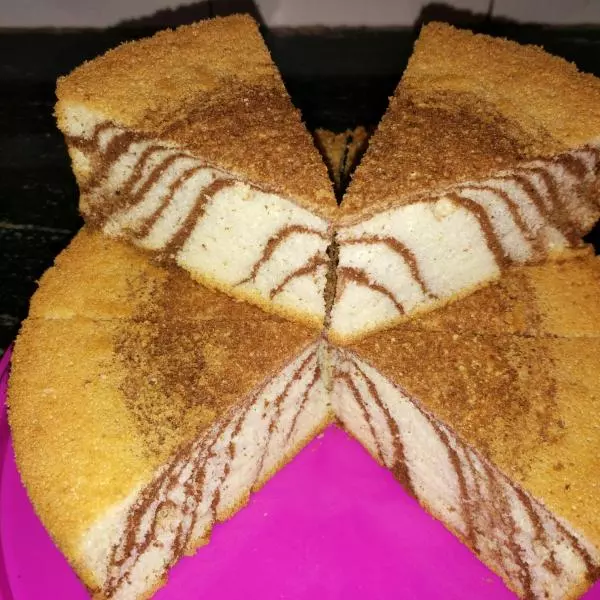
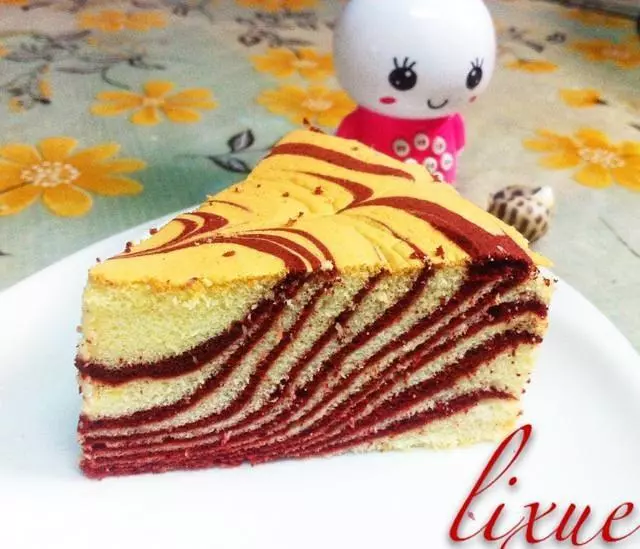
19这是烤好了的。烤箱预热150度10分钟,然后140度烤20分钟

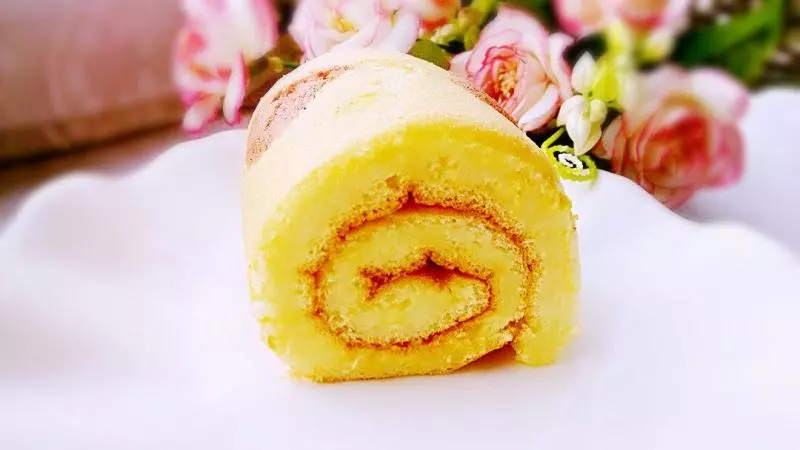
20我用孩子们吃剩的卷了一点