简介
这方子是同学邻居提供的,见她发图出来说味道非常赞,果断要了方子,做过几次,受到家人的好评,因此锁定这个方子啦!同时与大家一起分享,独乐乐不如众乐乐嘛!对吧?哈!
原料
麻薯粉 195G, 抹茶粉 5G, 糖粉 40G可根据自己的甜度控制, 鸡蛋液 34G, 牛奶 120G, 黄油 50G, 蔓然莓干(切碎) 30G
步骤
1准备所有材料

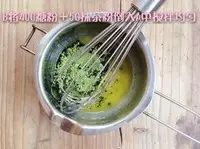
2隔热水融化50G黄油

3将40G糖粉+5G抹茶粉依次加入2中搅拌均匀
4将3(隔化的黄油+糖粉+抹茶粉)+鸡蛋液34G+牛奶120G+蔓越莓30G+麻薯粉195G全部混合一起翻拌至无粉粒即可。

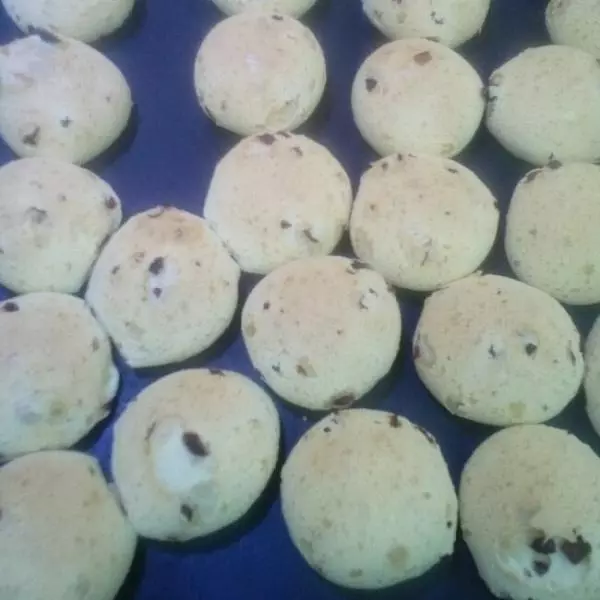
5混合好的麻薯面团

6用大号圆型花嘴装入裱花袋,没有花嘴可直接将裱花袋剪个小口

7将裱花袋套入高杯子里装入面团
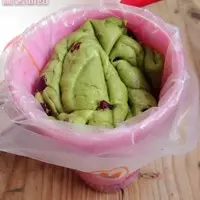
8如图,此方法来自川上文代

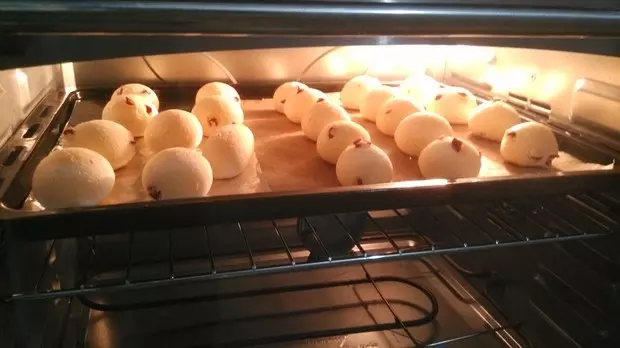
9烤箱预热180度,此时挤出大小适中的麻薯团,也可以放冰箱冷藏几分钟直接用手揉圆轻轻按扁进行烘烤,进烤箱转至170度上下火中上层20分钟,烤箱各有性格,仅供参考。我是ACA34L的。

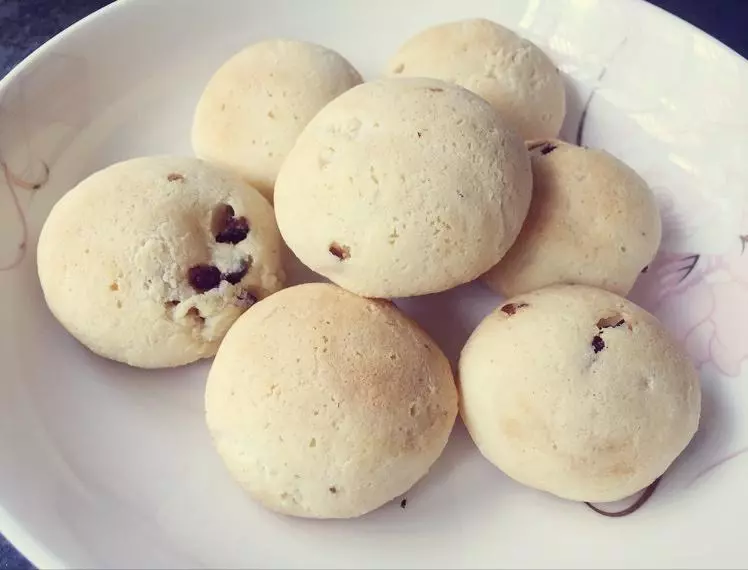
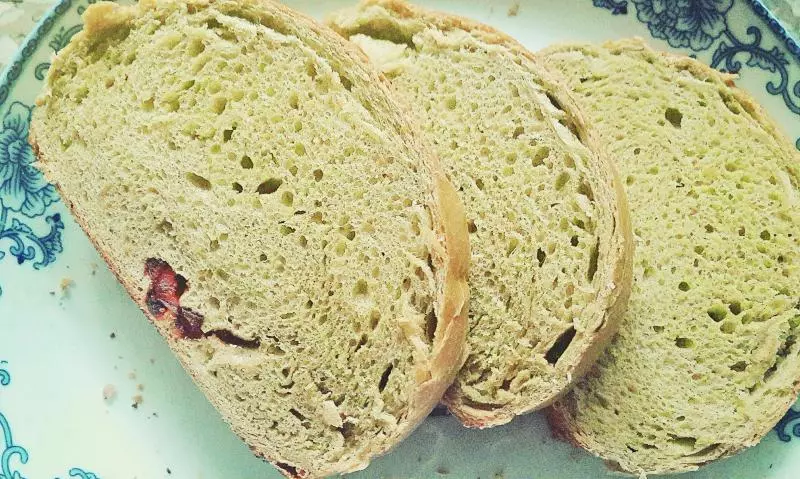
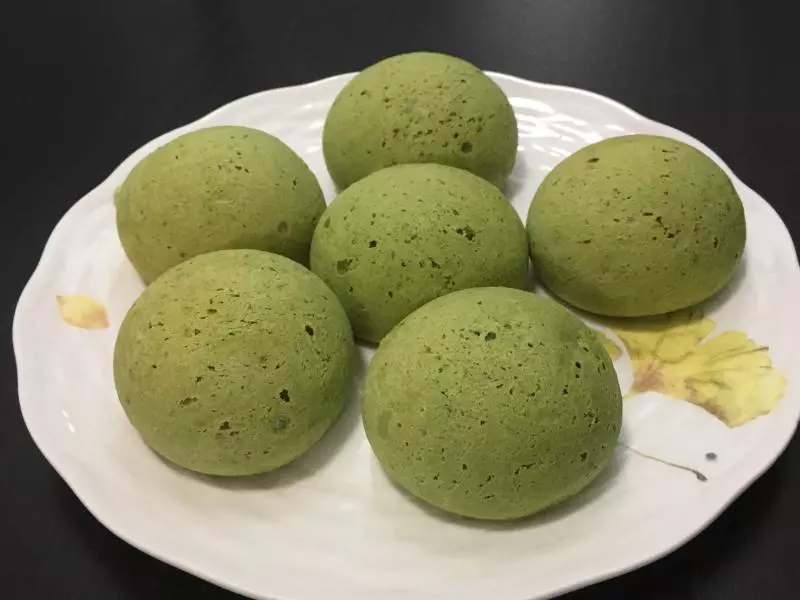
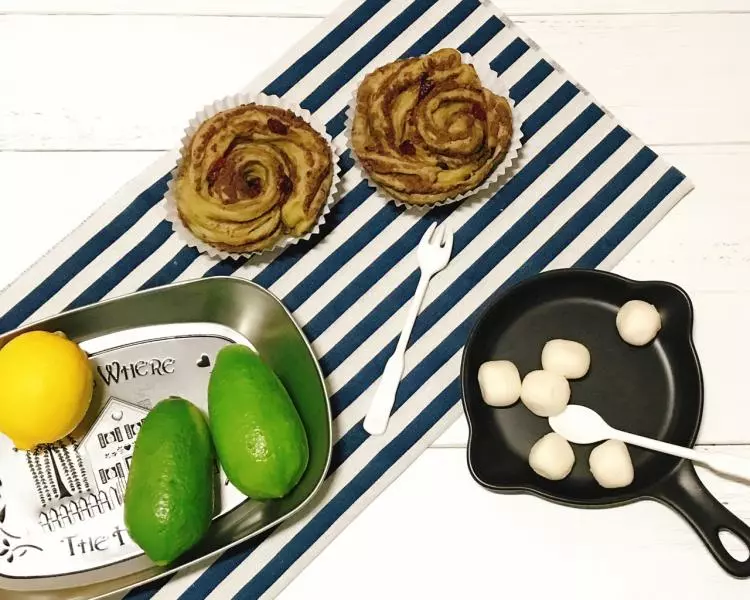
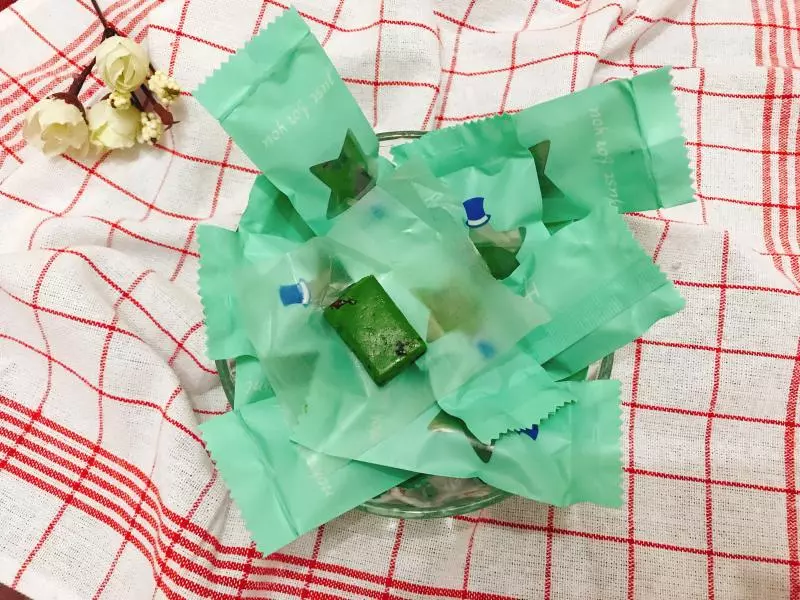
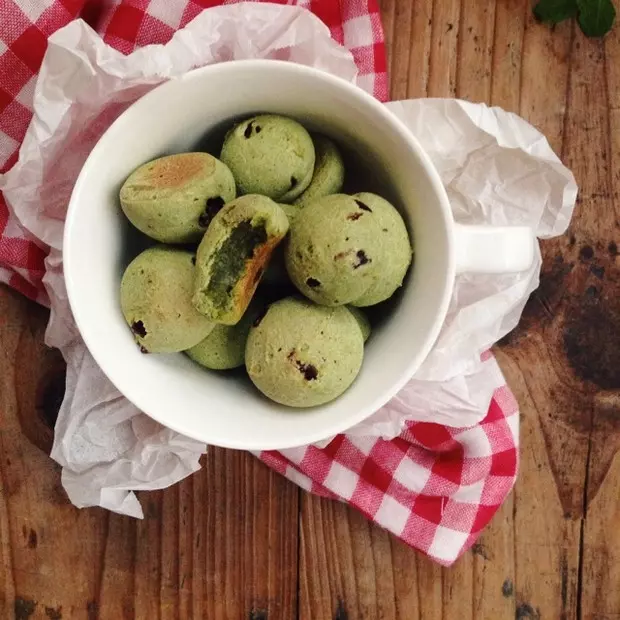
10开吃!刚出炉热热的很好吃,建议当天食用完毕,次日会变干影响口感!