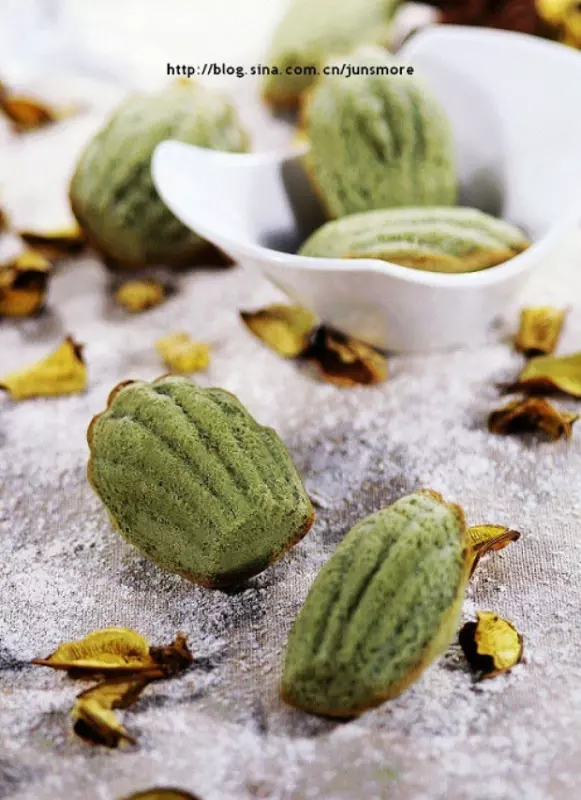
原料
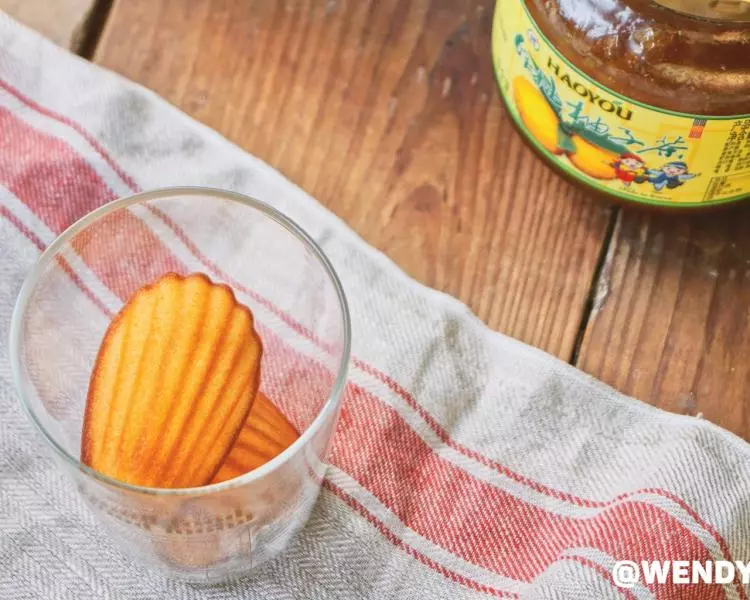
低粉: 100克, 泡打粉: 3克, 雞蛋: 1枚, 糖: 70克, 蜂蜜柚子茶: 30克, 植物油: 90克, 純牛奶: 40克
步驟
1模具抹黃油,冰箱冷藏;

2低粉與泡打粉各自稱重,過篩混合備用;

3蛋黃與蛋清分離,各自分裝容器內;
4蛋清內加入砂糖、柚子茶,利用手動打蛋器,打至粗泡,備用;

5粗泡狀態的蛋清混合物;

6蛋黃容器內加入植物油,攪拌至無水油分離狀,即可倒入純牛奶;

7如圖所示:蛋黃混合物;

8蛋清混合物內倒入備用混合粉末;

9切拌均勻;

10蛋黃混合物倒入麵糊中,繼續切拌均勻,灌入裱花袋中;

11紮緊,置入冰箱冷藏一小時,冬季可不用冰箱,室溫靜置即可;

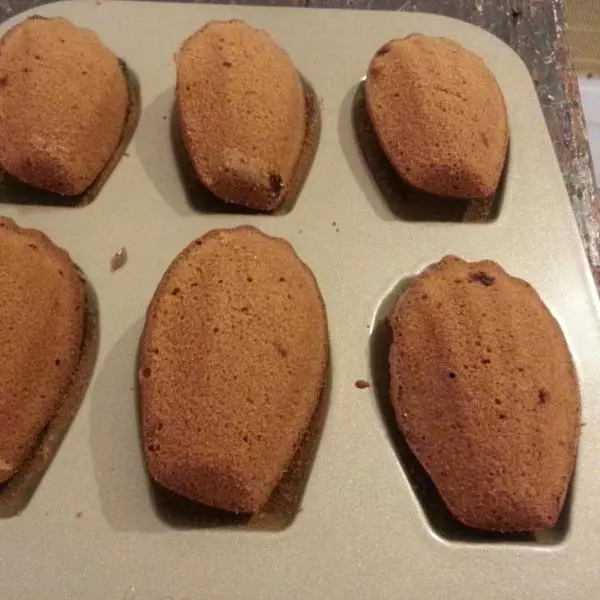
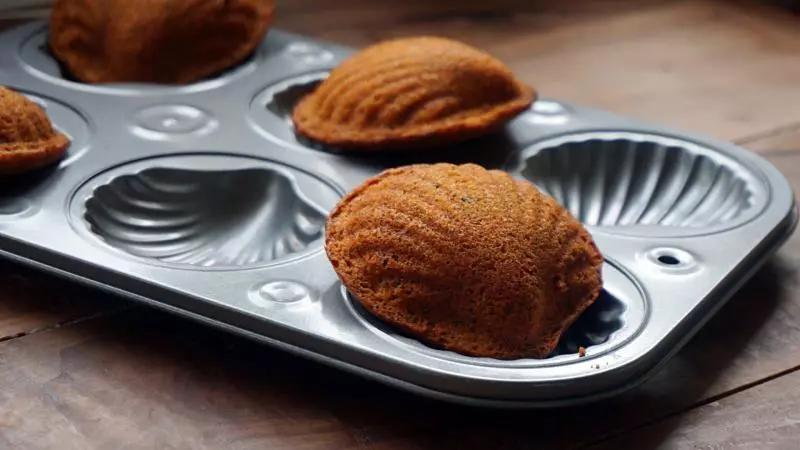
12擠在模具里,九分滿,同時預熱烤箱150度;

13125--130度,中層,上下火,30分鐘;

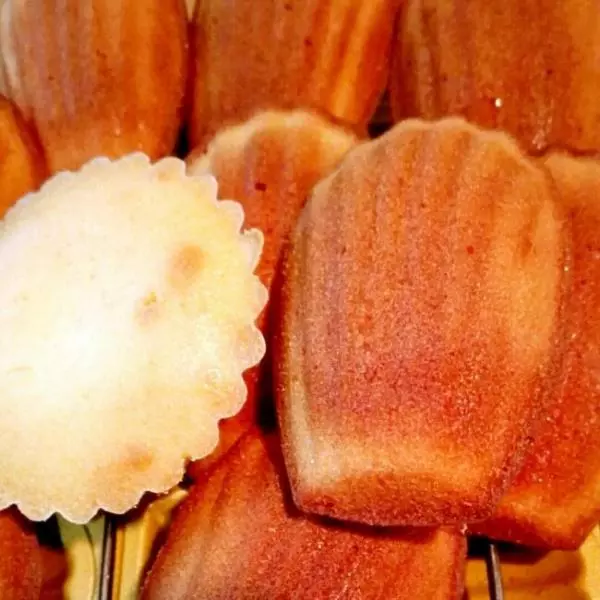
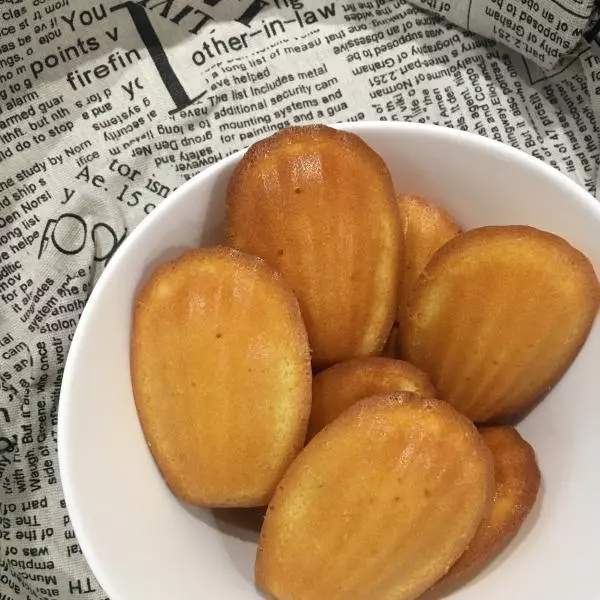
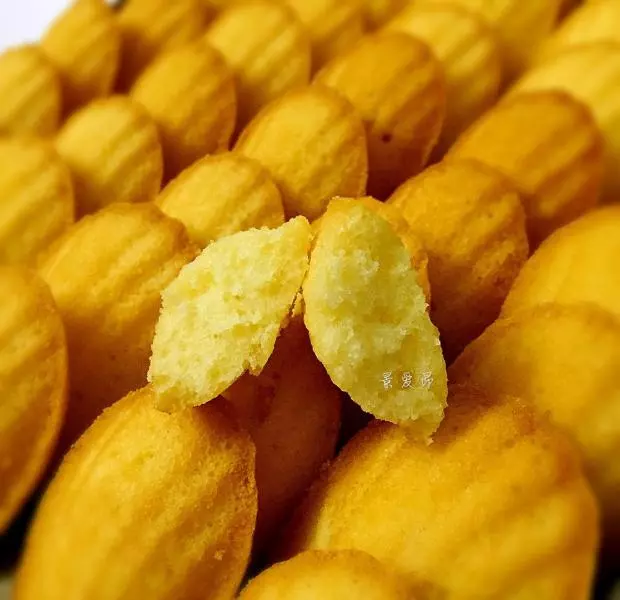
14出箱振膜,可自然脫落;
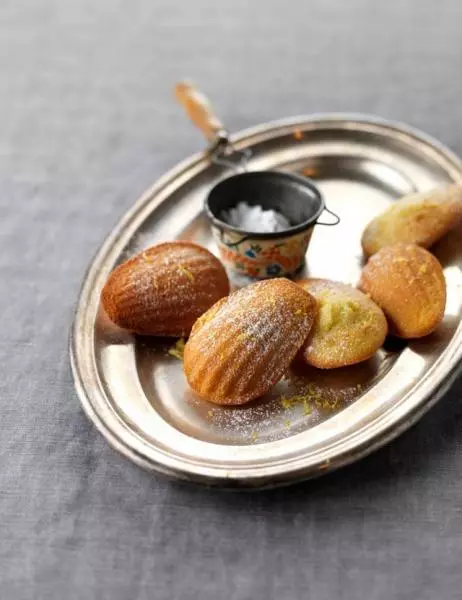
小技巧
1、雞蛋我的一個約重67克,去殼後黃約16.4克,清約43克; 2、柚子茶無需用水化開; 3、關於上色不均,我會再慢慢摸索,烤箱三十升,以後採取低火慢焗法,烤溫會不定時更新,原則是,瑪德琳中心部位如同火山一樣凸起,並穩定即可,歡迎廚友們分享自己的烘烤心得,謝謝!