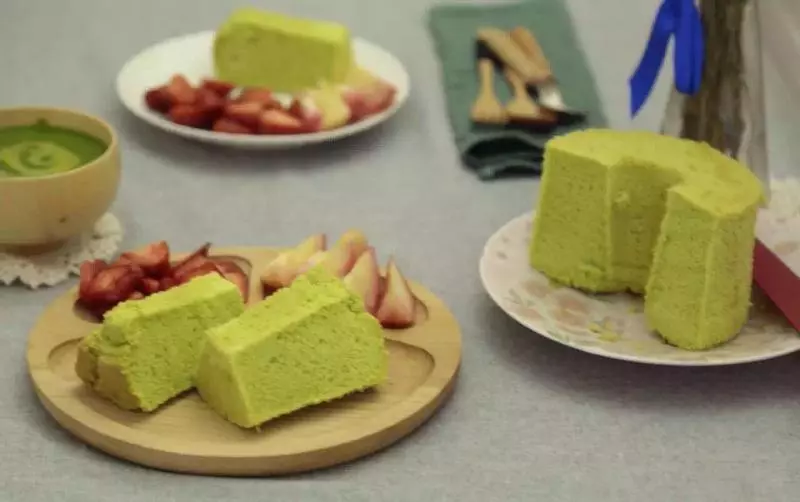
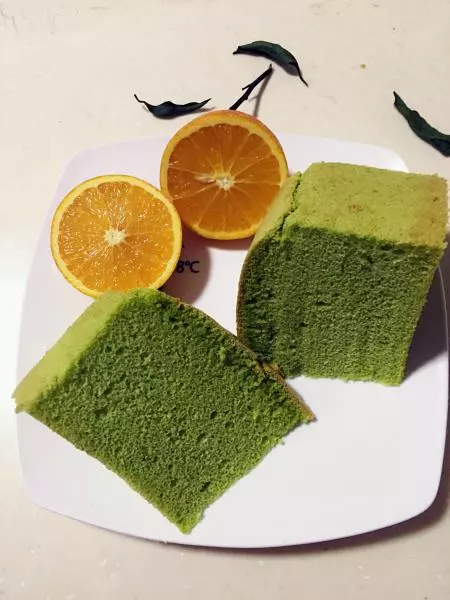
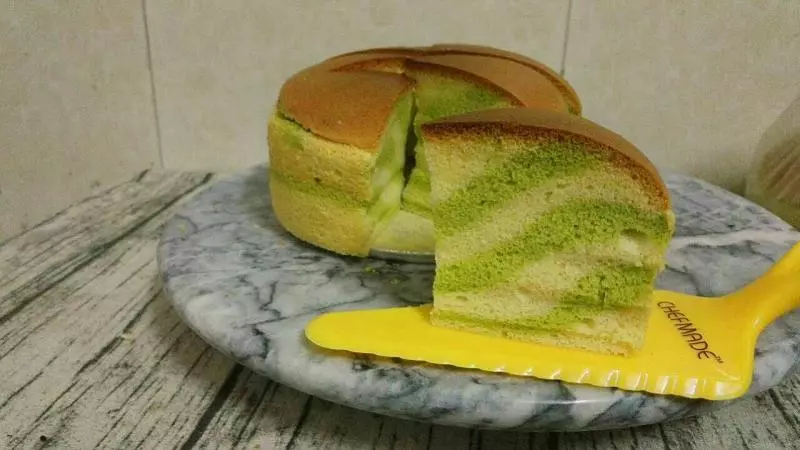
原料
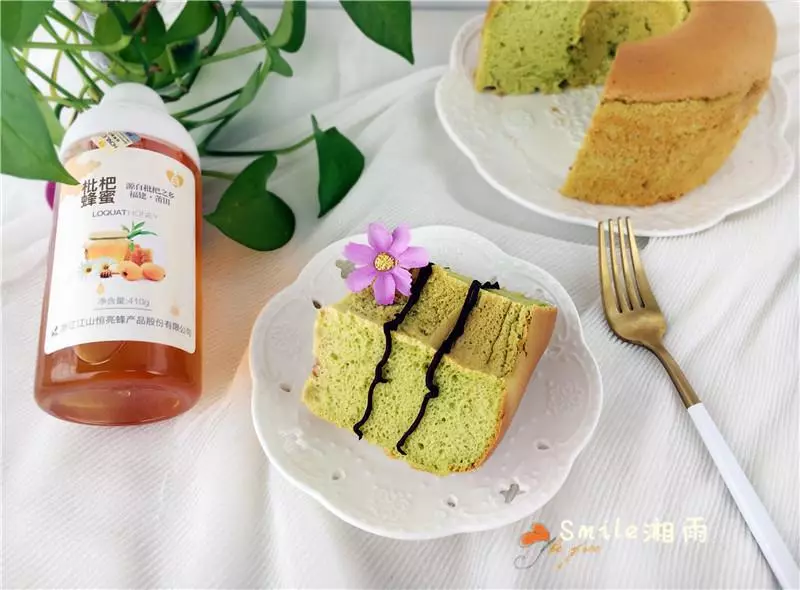
蛋黃: 4個, 菠菜汁: 52g, 玉米油: 40g, 鹽: 1g, 低筋麵粉: 70g, 蛋白: 4個, 細砂糖: 50g
步驟
1菠菜洗凈,榨汁備用。

2將鹽和玉米油加入菠菜汁中,手動攪拌均勻,攪拌至看不見油星為止。

3篩入低筋麵粉。

4翻拌均勻至無乾粉狀,加入蛋黃,攪拌成為蛋黃糊,備用。

5KitchenAid盆中加入蛋白,8檔,分3次加入細砂糖(打至粗泡後,加入第一次1/3的細砂糖;粗泡消失,蛋白霜呈現濃稠、細泡狀態時,再加入1/3細砂糖;待有紋路出現的時候,加入剩下的1/3的細砂糖,繼續打直到提起來有小小的尖角)。

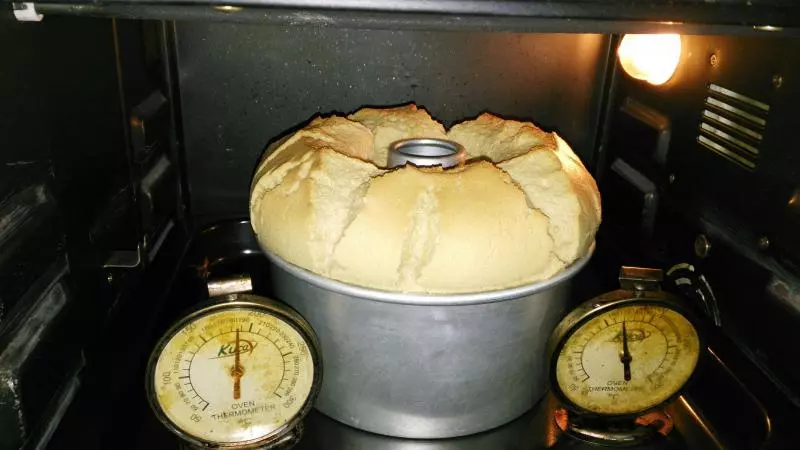
6蛋白霜打發好後(此時開始預熱烤箱170度...),將蛋白霜與蛋黃糊上下翻拌(類似於炒菜的動作)均勻成為蛋糕糊。

7將混合好的麵糊從稍微高處倒入模具,從多個方向倒入麵糊,防止局部太滿。

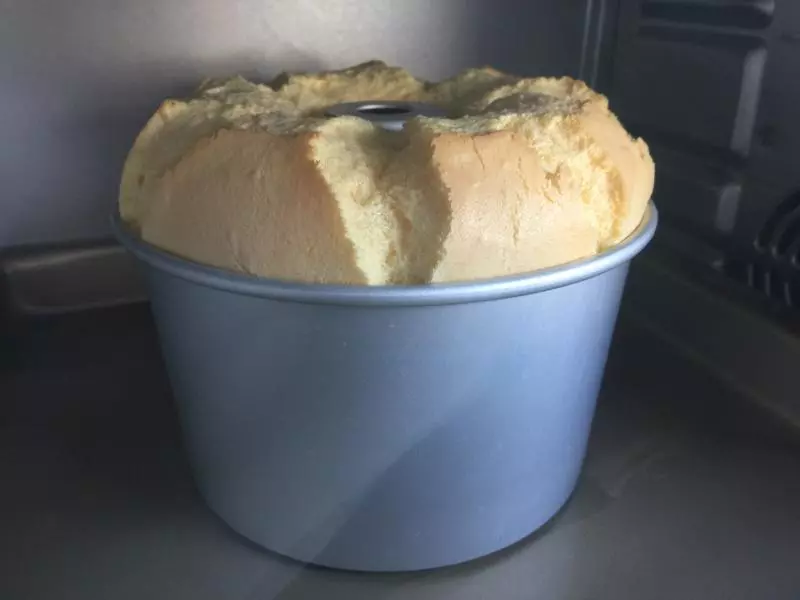
8輕嗑幾下,送入預熱好的烤箱裡,烤箱調低15度,160度左右,中下層,烤35分鐘左右。

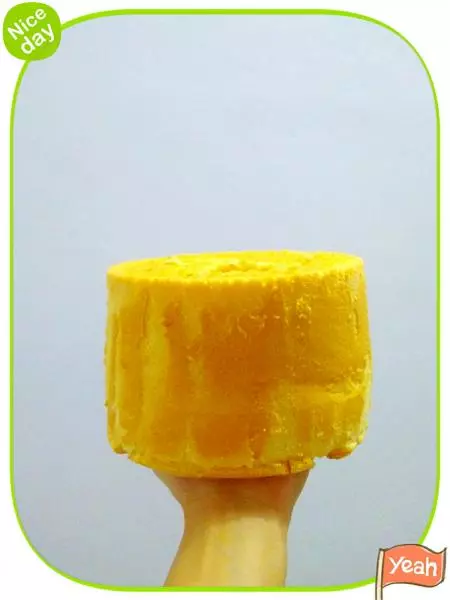
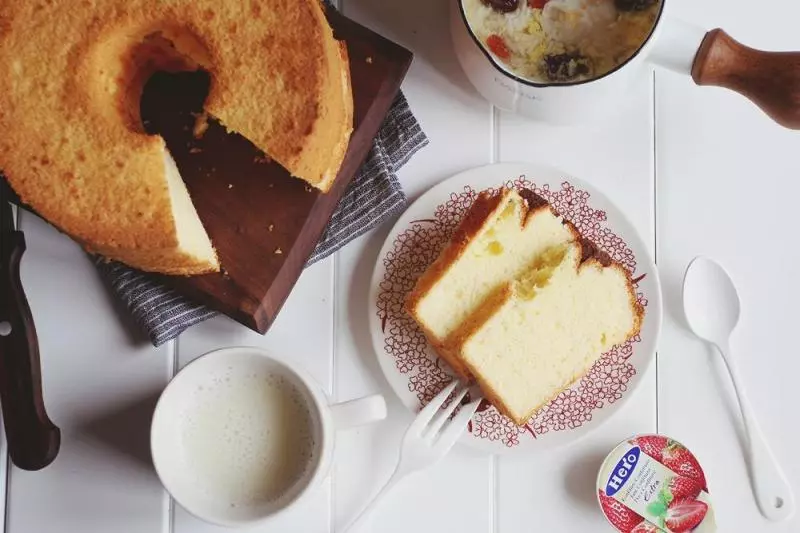
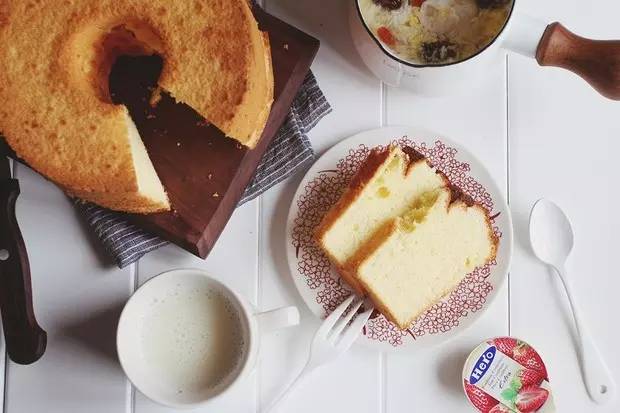
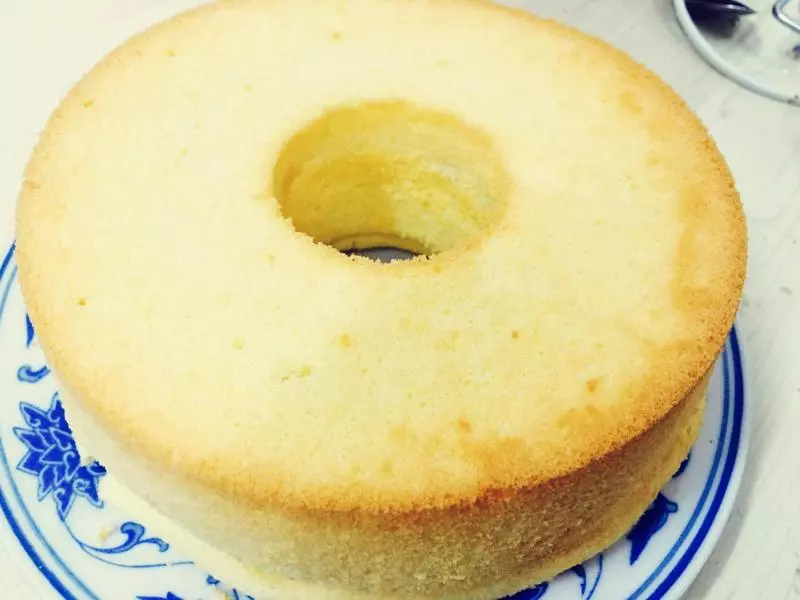
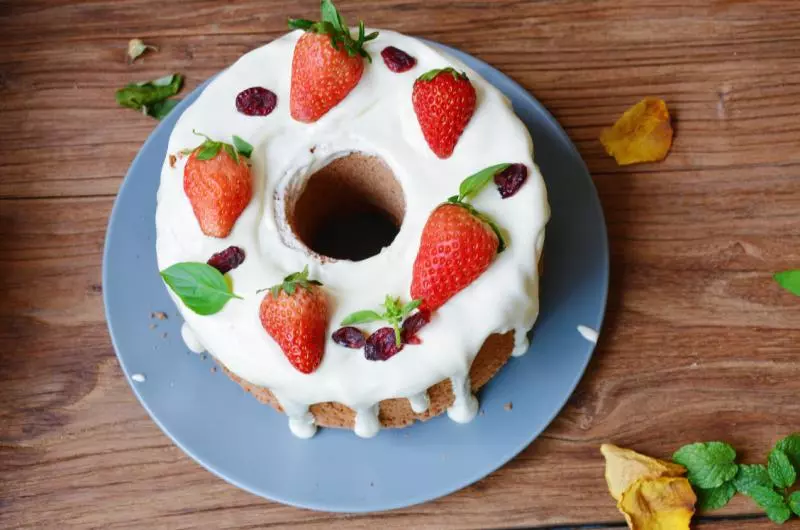
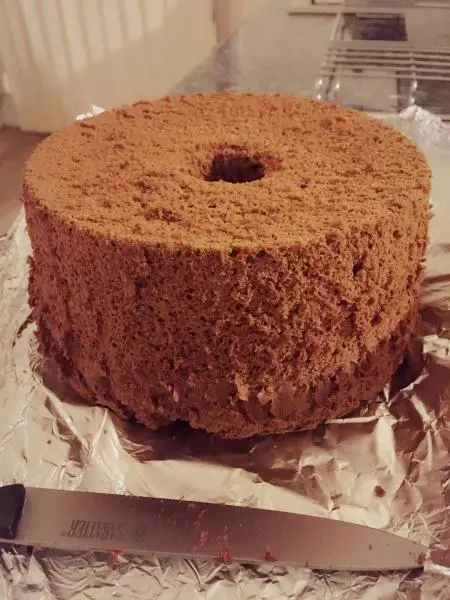
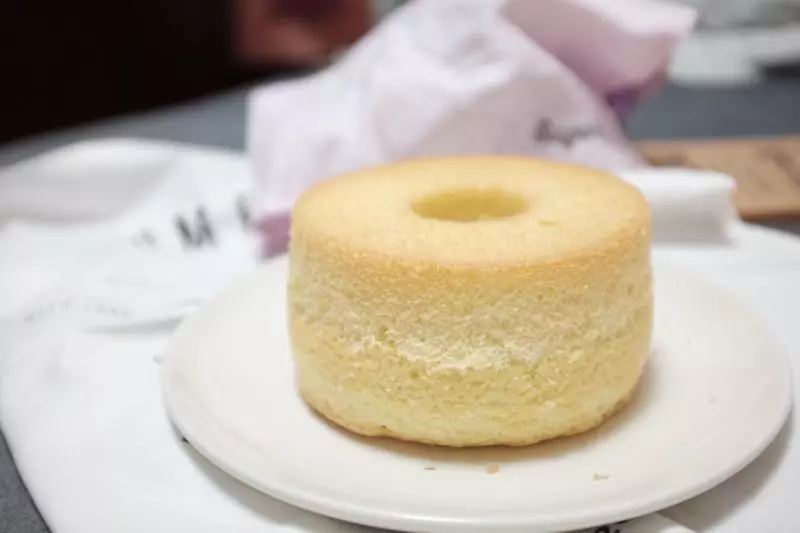
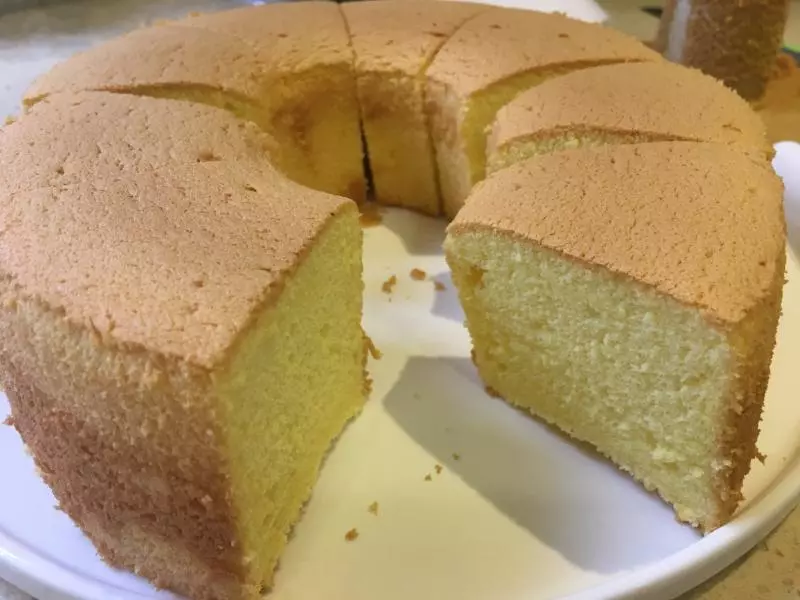
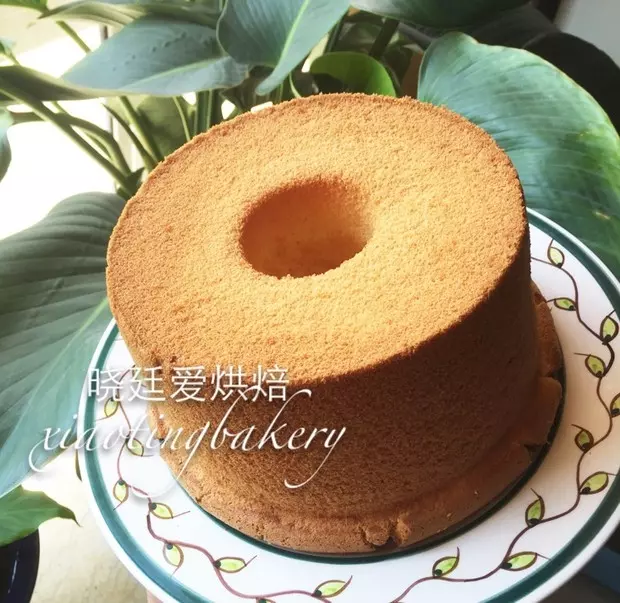
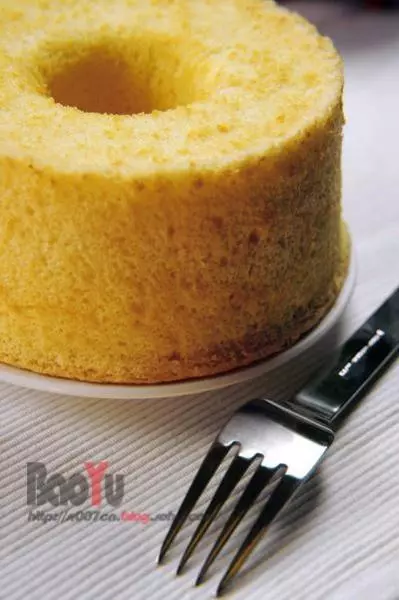
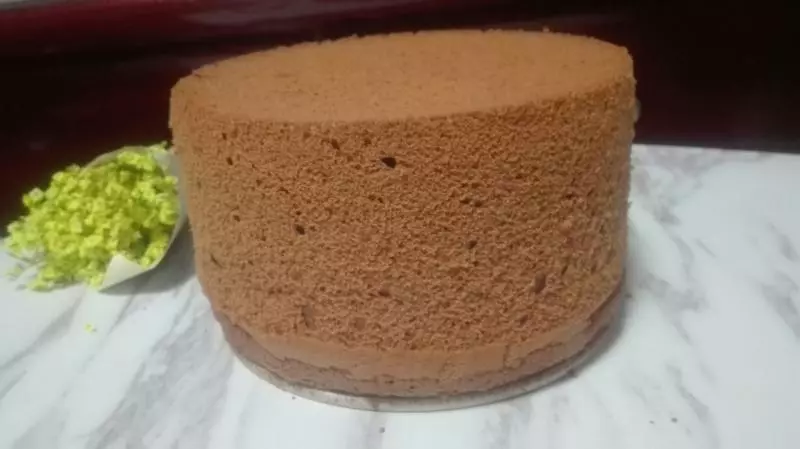
9出爐後,戴手套取出,然後倒扣。等涼透後,脫模。

小技巧
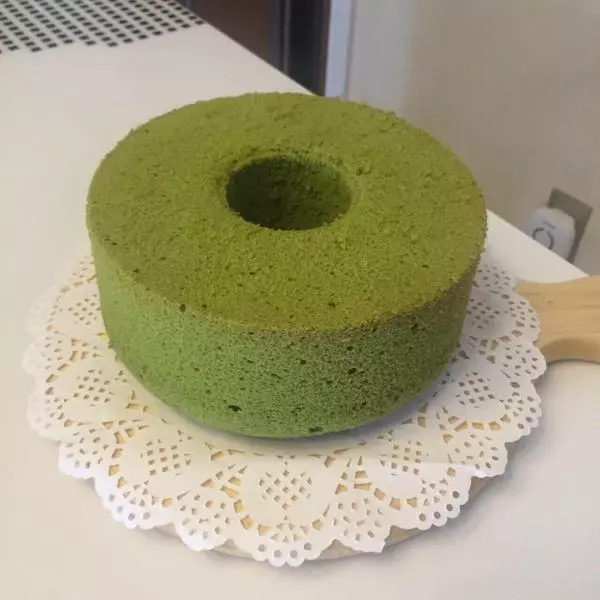
1、我用原汁機榨的菠菜汁,會有很多泡泡和細小的莖葉。如果不過濾,蛋糕做出來肯定有很多渣渣,拍照不好看,也影響口感。另外,此處的菠菜汁可以換成橙汁,做出來口感也是非常好的。 2、雞蛋用蛋白多的洋雞蛋,需提前冷藏。 3、每個人的烤箱實際溫度都不一樣,請大家根據自家烤箱自行調整。 4、之前KitchenAid在我家只有揉面的時候才派上用場,打蛋白總是感覺底下太濕打不到。偶然的一天,把機器的盆位置調高一些後,像是開了竅一般,4個蛋白就妥妥的成功了。所以,提醒大家KA收到後,一定要調到合適的高度哦。