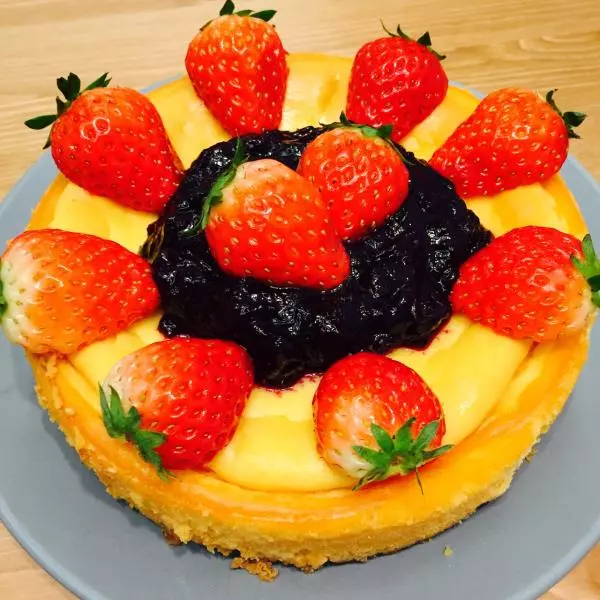
原料
奶油奶酪: 200克, 細砂糖: 60克, 牛奶: 100克, 玉米粉: 15克, 蛋黃: 2個, 蛋白: 30克, 可可粉: 1/2小勺
步驟
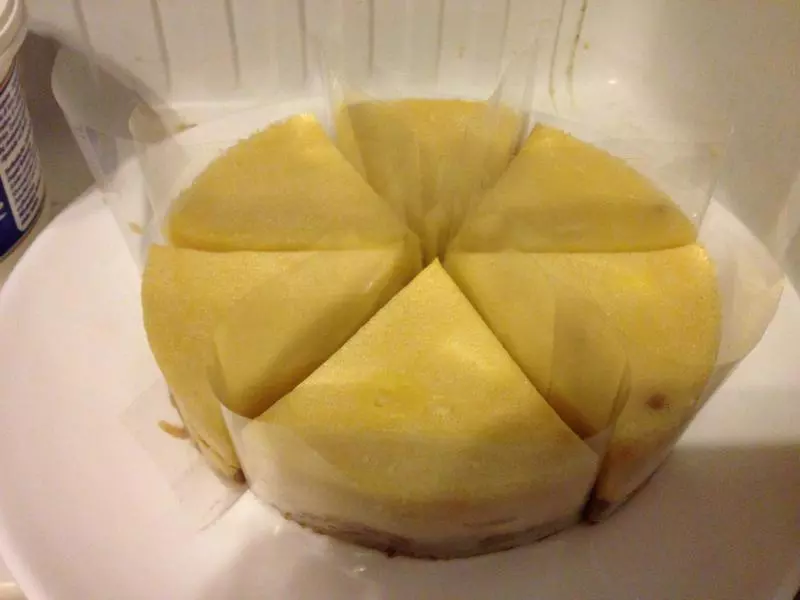
1六寸活底模底部包上錫紙備用

2奶油奶酪室溫熔化後加入白糖隔水加熱攪拌至順滑無顆粒

3分別加入牛奶和玉米粉,攪拌均勻

4離開熱水,稍涼後逐個加入蛋黃攪勻

5加入蛋白,繼續攪拌均勻即成奶酪糊

6取一小勺奶酪糊,加入可可粉拌勻,即成可可奶酪糊

7把奶酪糊倒入6寸活底模

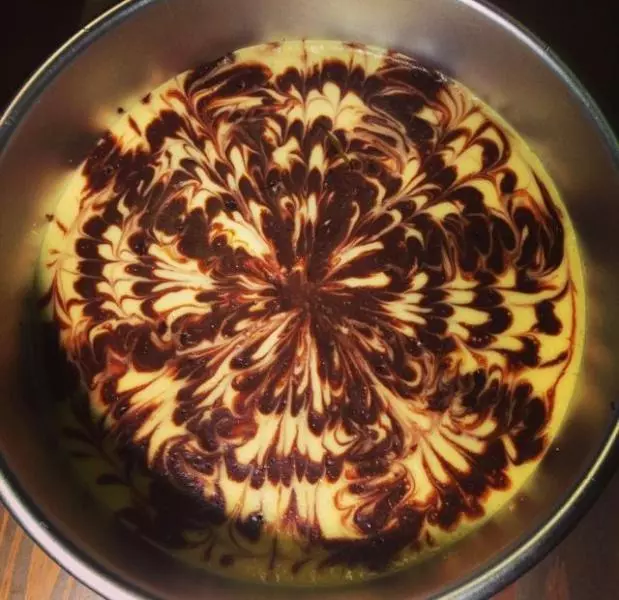
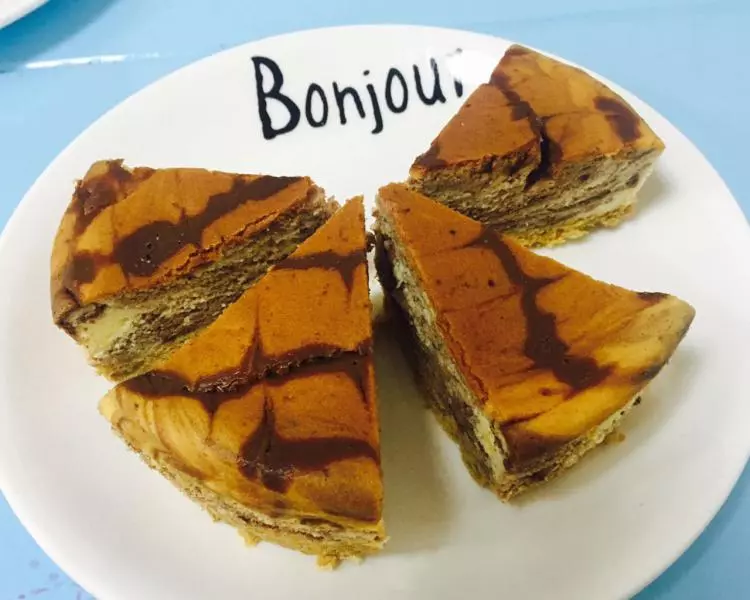
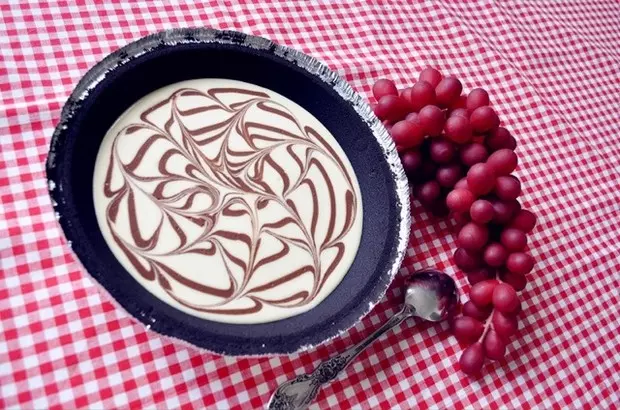
8在表面倒入可可奶酪糊,用牙籤劃出自己喜歡的花紋

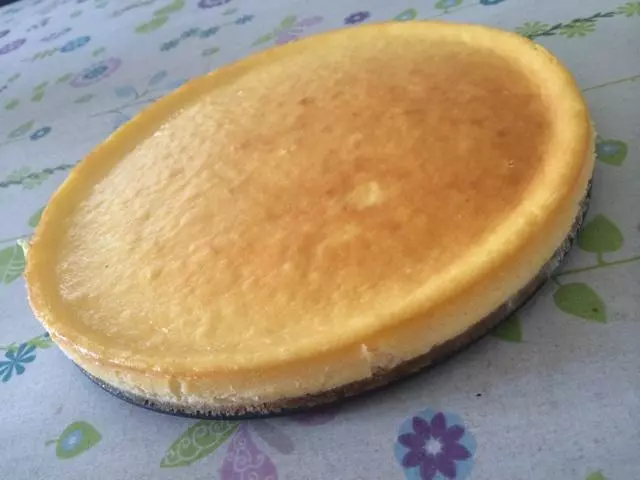
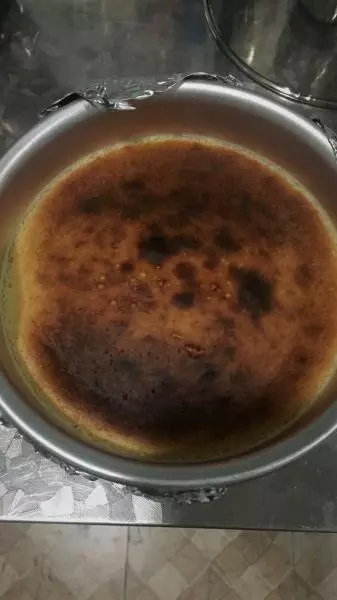
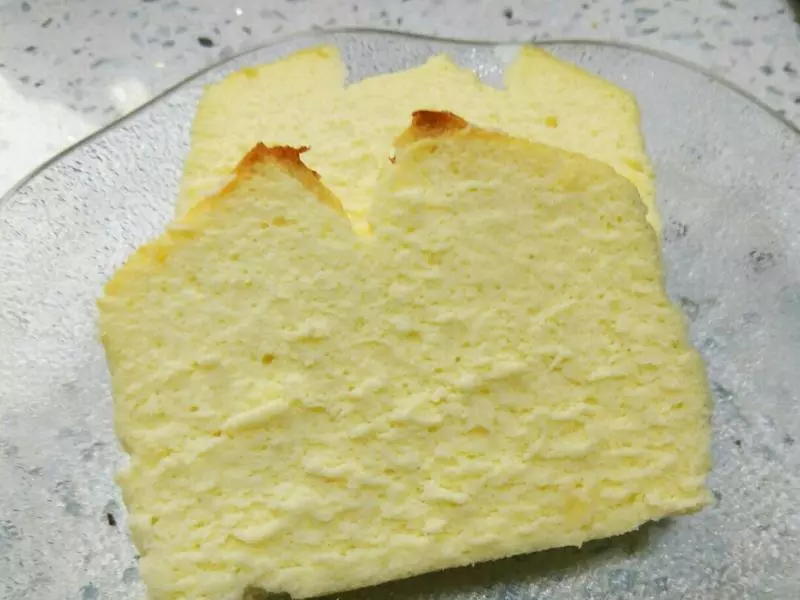
9烤箱180度預熱,烤盤中加熱水,下層隔水烤25分鐘左右,用牙籤插入蛋糕,有少許粘稠狀即可

小技巧
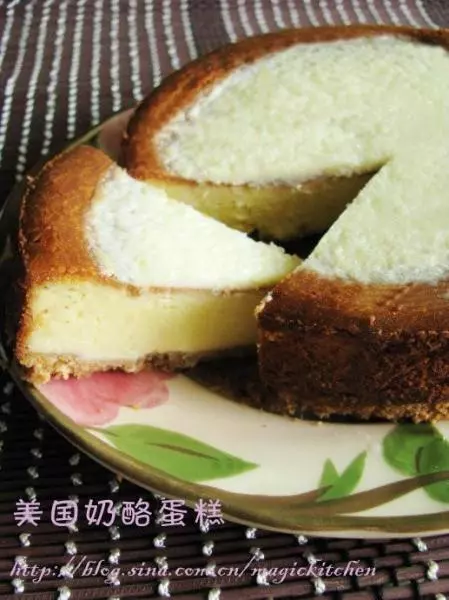
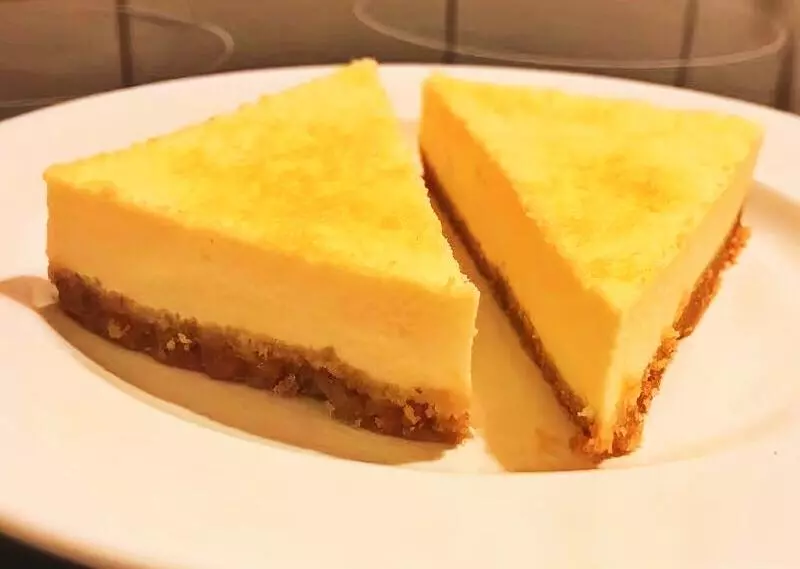
1原方子中有1/2小勺香草精,我沒有,如果加了一定會更香醇。 2原方子中是用1/2小勺的咖啡來做成咖啡奶酪糊的,我不想為了一點打開一小包咖啡所以就用可可粉代替了,事實證明,可可粉不易溶化,做出的糊乾巴巴的,所以大理石的花紋就比較難看,還是換回咖啡的好。 3烤出成品完全降溫後才比較容易脫模。 4切塊的時候刀子上要蘸水。