原料
蛋黃糊糊: :, 牛奶(水,橙汁): 30g, 食用油: 25g, 蛋黃: 40g, 細砂糖: 10g, 低筋麵粉: 45g, 蛋白糊糊: :, 蛋白: 80g, 細砂糖: 30g
步驟
1牛奶,食用油,混合,攪拌

2充分乳化

3分次加入雞蛋,攪拌均勻

4加入糖攪拌均勻

5篩入麵粉,分次,我一般分三次,這樣不容易結塊。

6這個是製作完成的蛋黃糊糊。

7打發蛋白,先打出大泡泡,加三分之一糖

8變成細泡泡,再放三分之一的糖

9攪打到有紋路,第三次加糖。

10打到硬性發泡

11小尖角

12三分之一蛋白拌入蛋黃糊糊。

13翻拌均勻

14蛋黃糊糊倒入剩下蛋白。

15翻拌均勻,這時候蛋糕糊是很稠的,紋路放三四分鐘都不會消失。

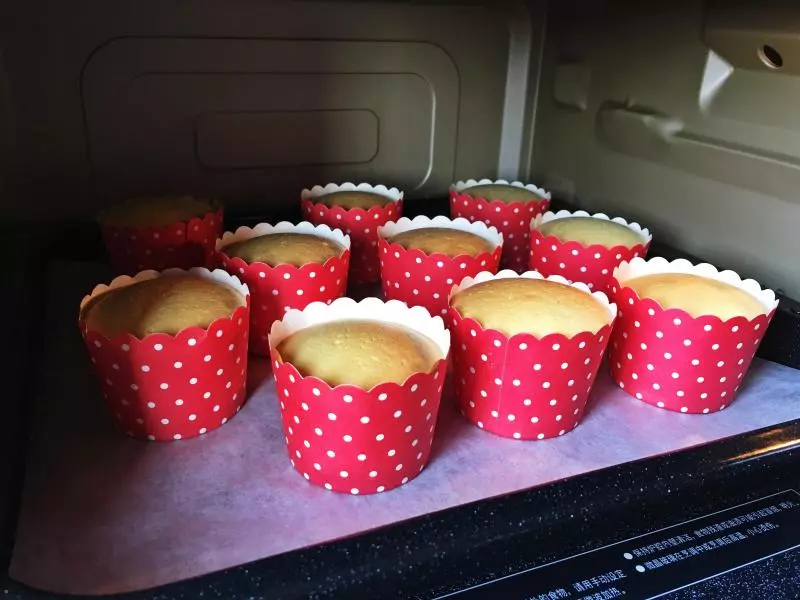
16裝模,表面肯定不平整,如果倒入模具就自動平整了,說明蛋白沒打發,或者就是,蛋白消泡了,翻拌過度。

17震兩下,震出大氣孔,這時候表面還不是特別平整。蛋糕糊糊,就應該這個稠度

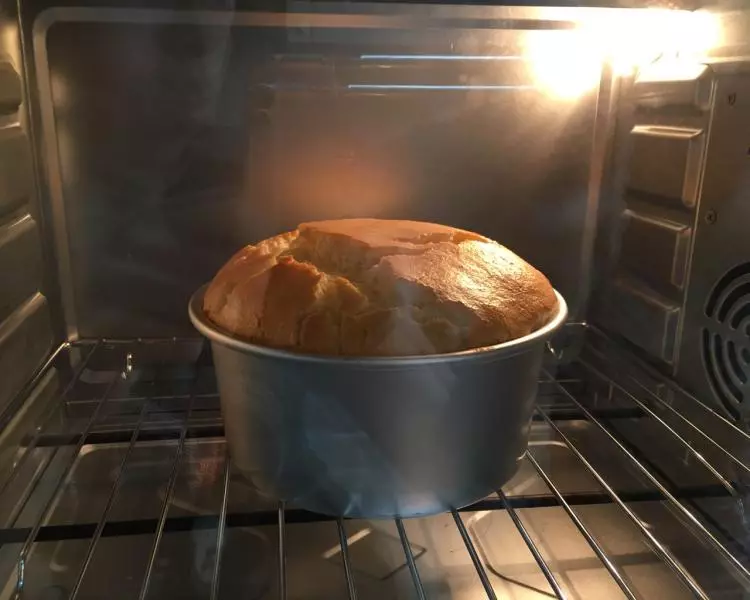
18100℃,預熱好,入烤箱,最下層,我的是海氏38L那款。

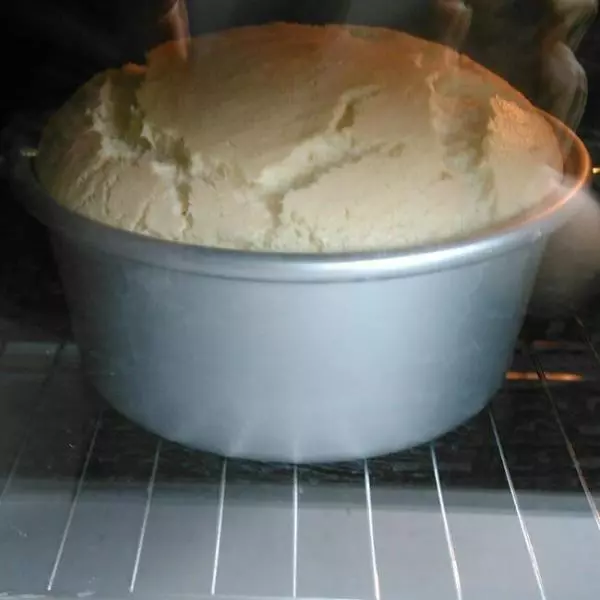
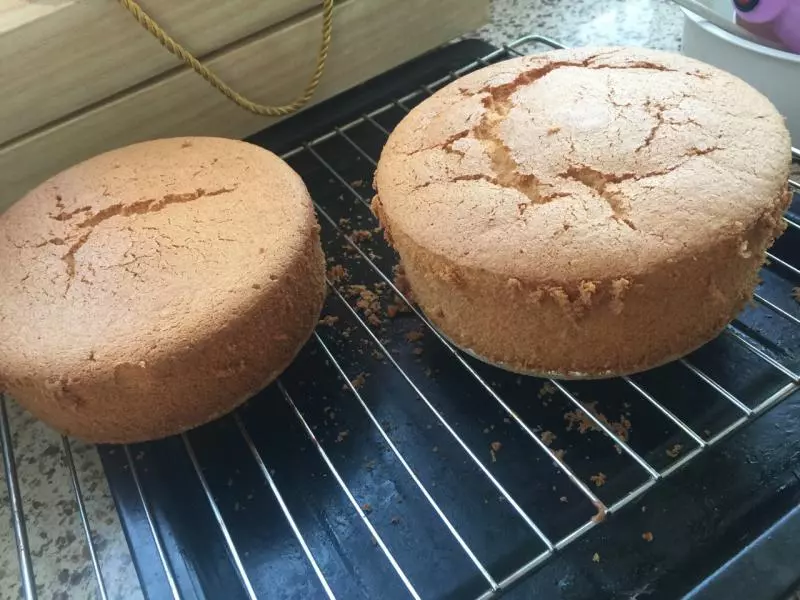
19中間開始膨脹。

20開始上色高度逐漸下沉。

21烤了將近100分鐘,這個時間要看各個烤箱,基本判斷是先膨脹到頂點,然後開始逐漸下降,上色,平了之後,多烤5-10分鐘,就可以取出來了。

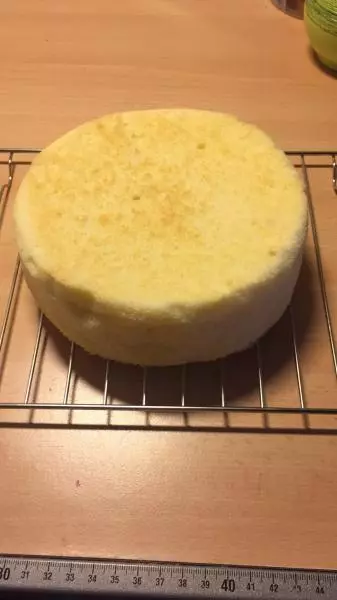
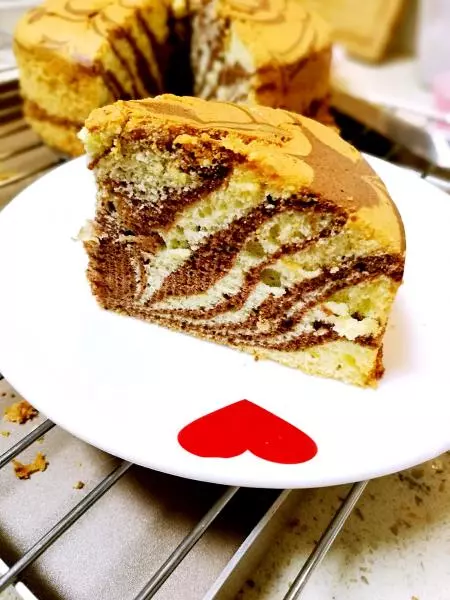
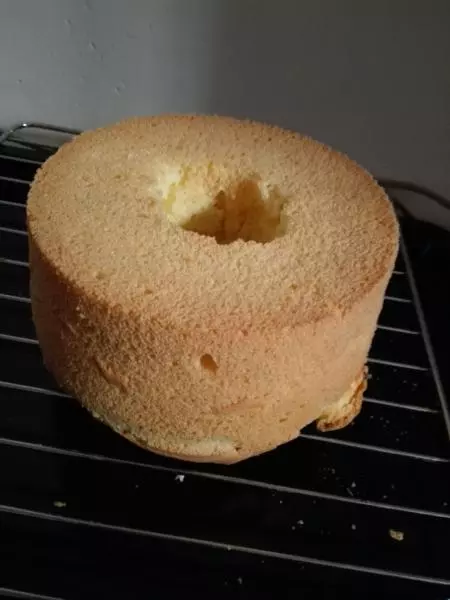
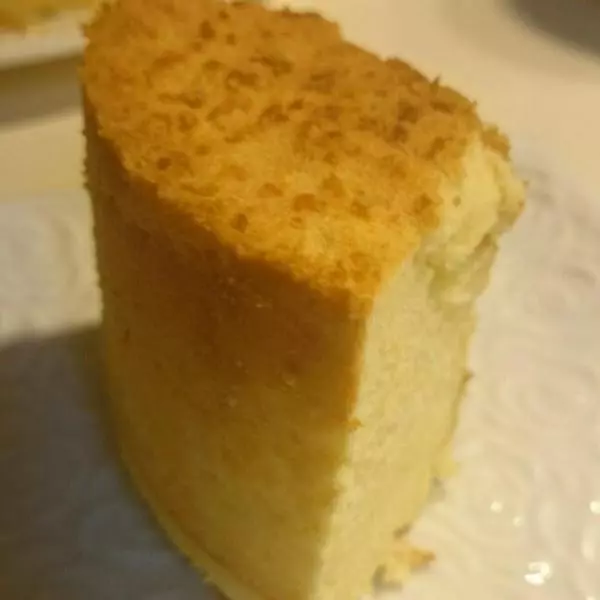
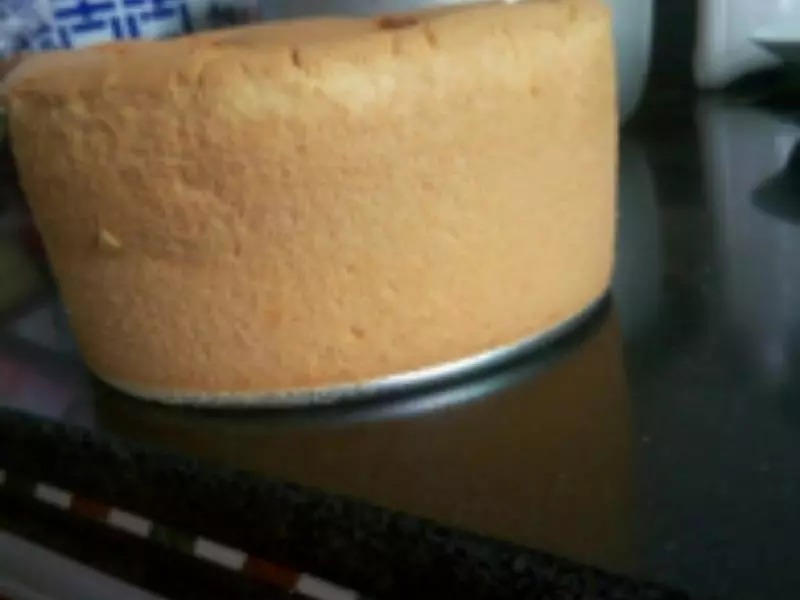
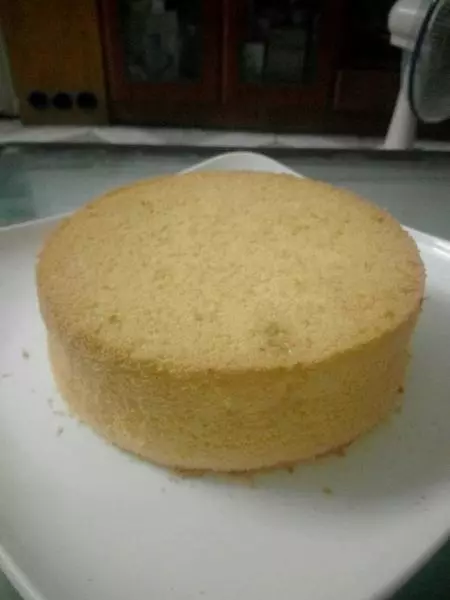
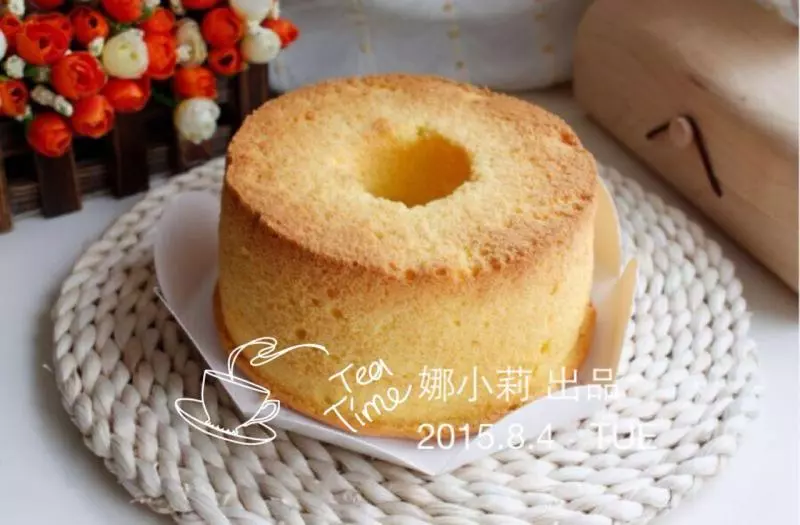
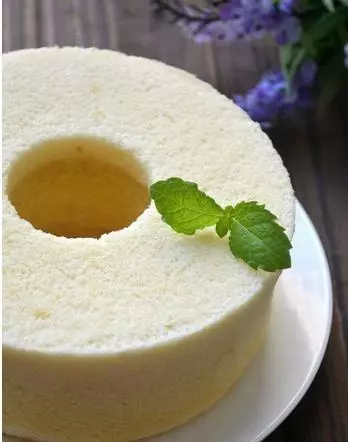
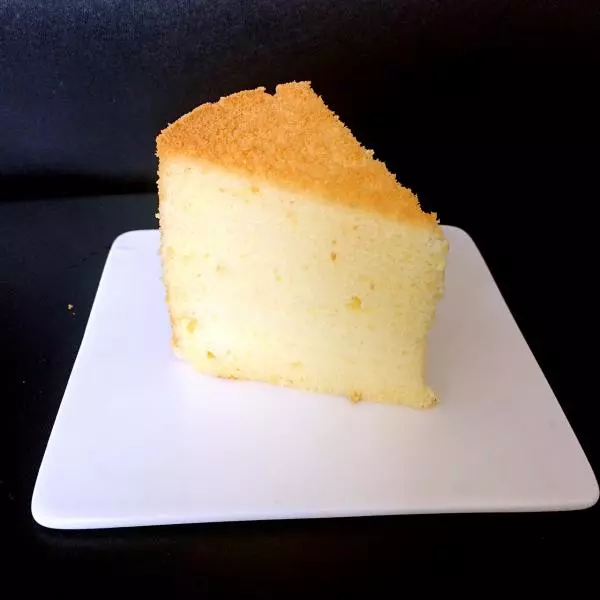
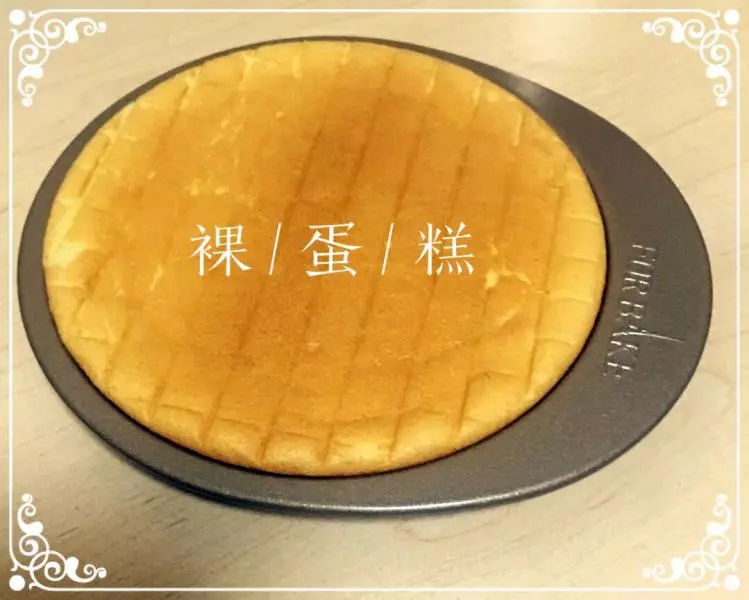
22脫模

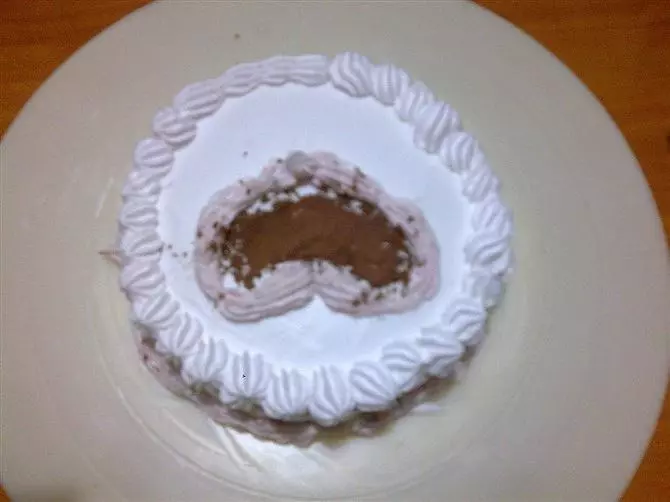
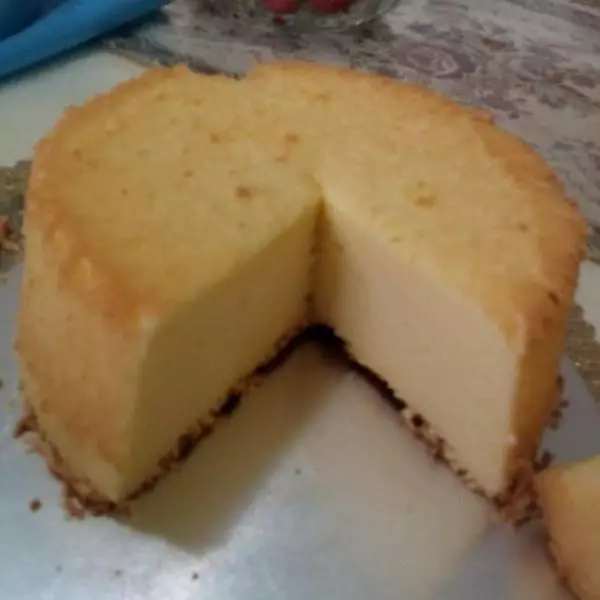
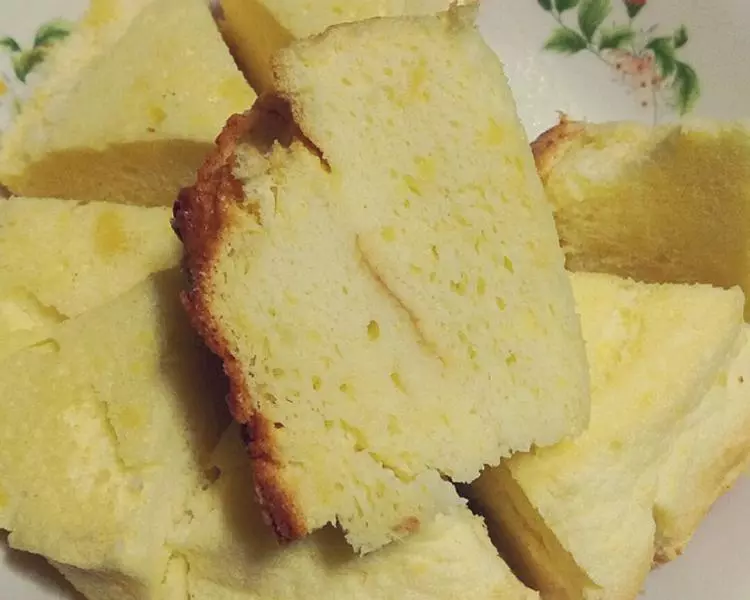
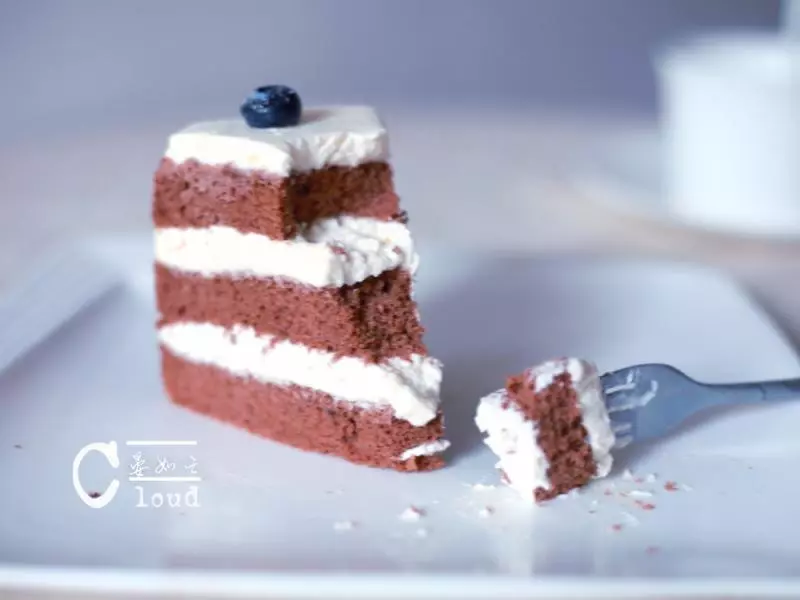
23切面