原料
芒果奶昔: 150克, 雞蛋: 1枚, 糖粉: 40克, 植物油: 40克, 低粉: 80克, 泡打粉(無鋁): 5克
步驟
1取一容器,打入雞蛋一枚,放入糖粉;

2攪拌至糖融化;

3倒入油,攪拌至無水油分離狀態即可;

4接下來倒入芒果奶昔,拌均;

5篩入低粉與泡打粉混合物,拌勻後,靜置一會兒,再適當攪拌即無細顆粒了;

6景氏獨門倒入裱花袋法,哈哈哈!將煙囪模卡在烤箱門上,然後將空裱花袋,插入煙囪空內,翻開裱花袋邊緣,即可一人徒手操作了,快手清潔;

7剪口適當大小;

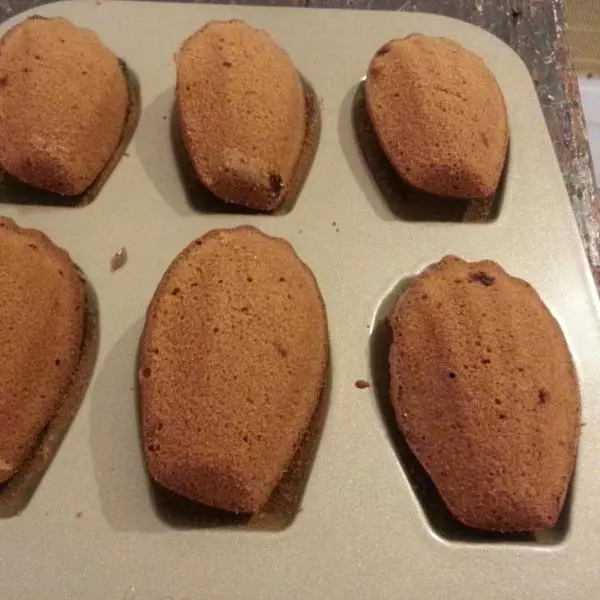
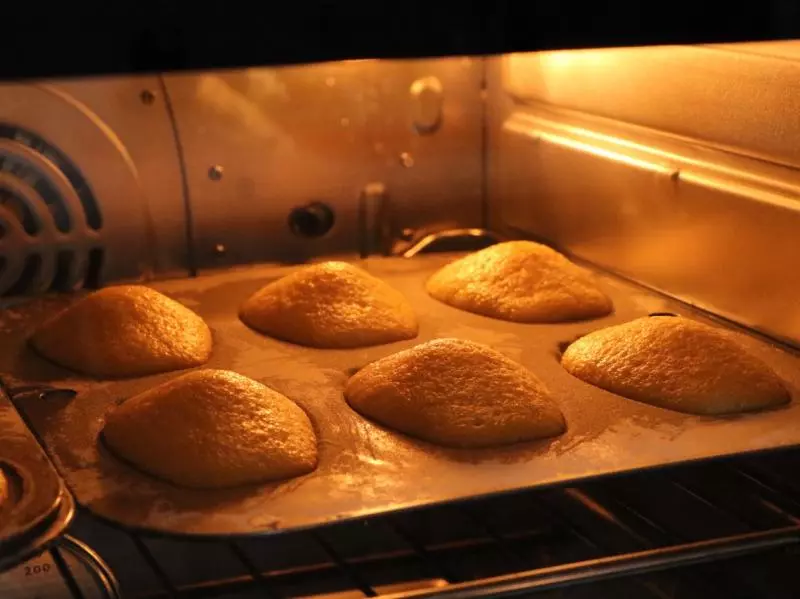
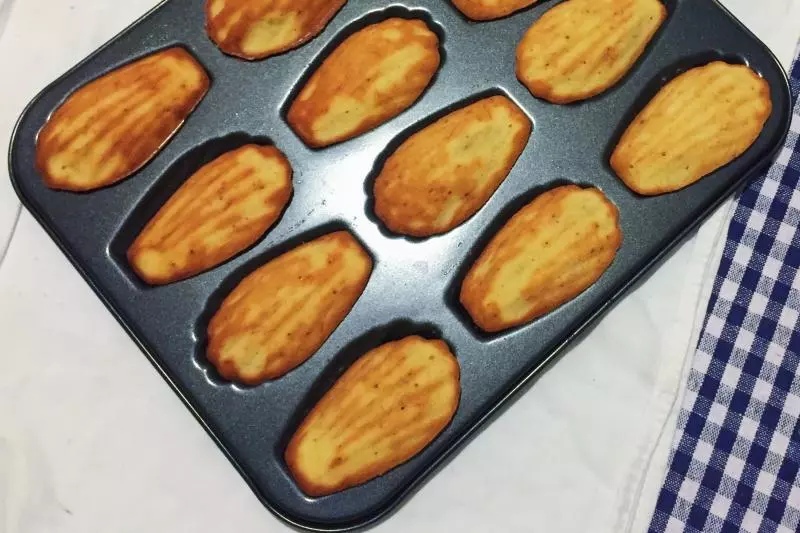
89份滿,放入事先已預熱完成的烤箱內,設定160,中層,20分鐘;

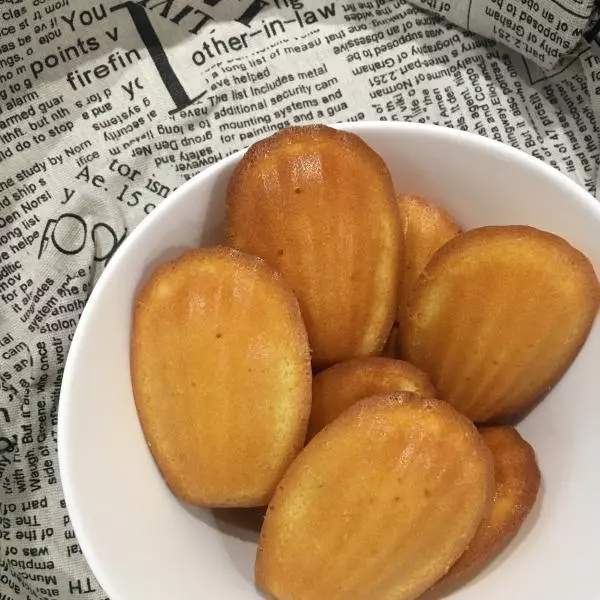
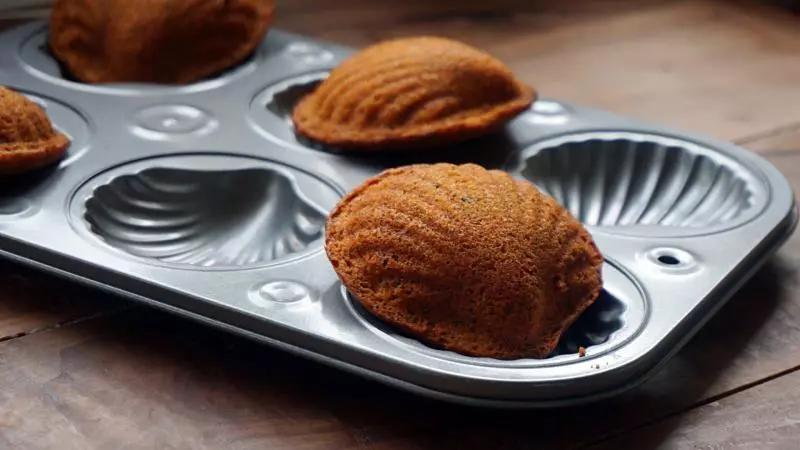
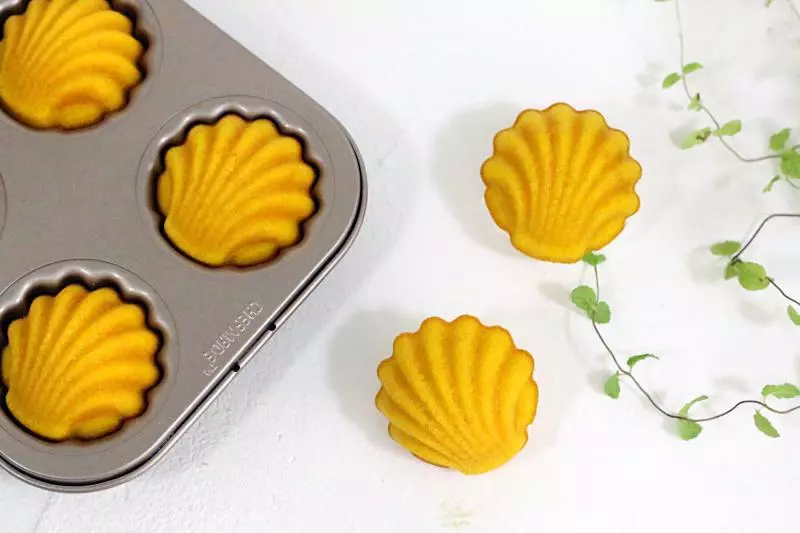
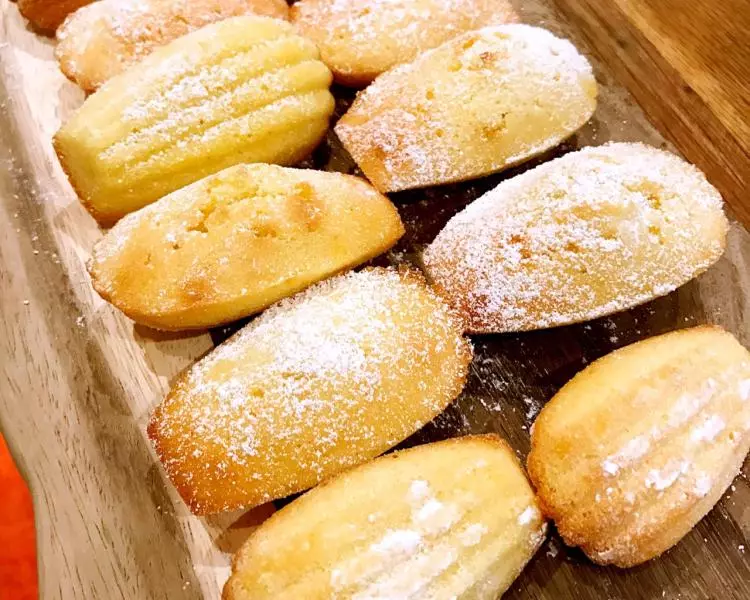
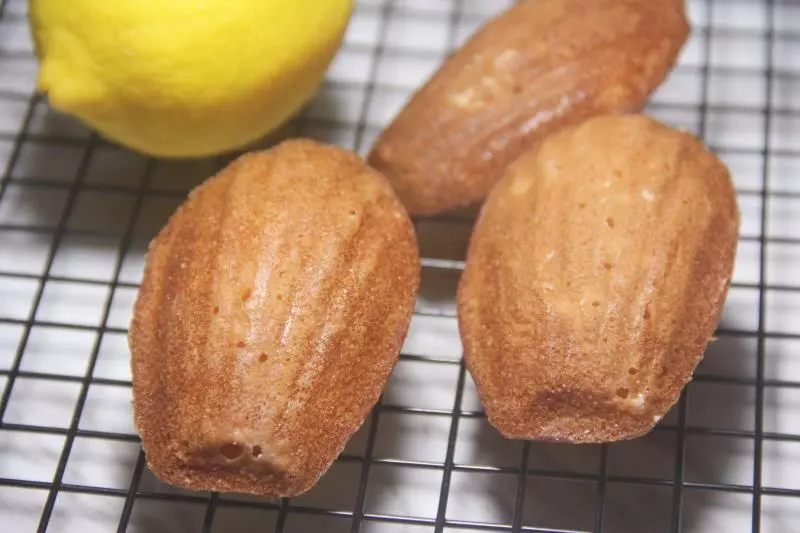
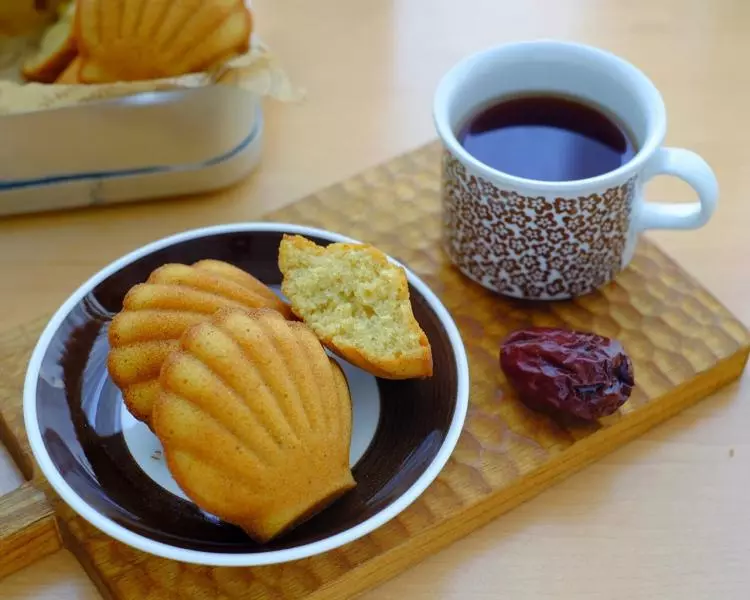
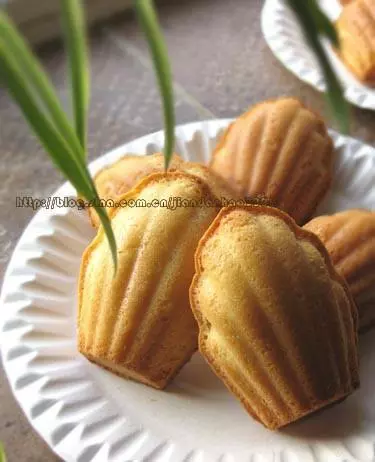
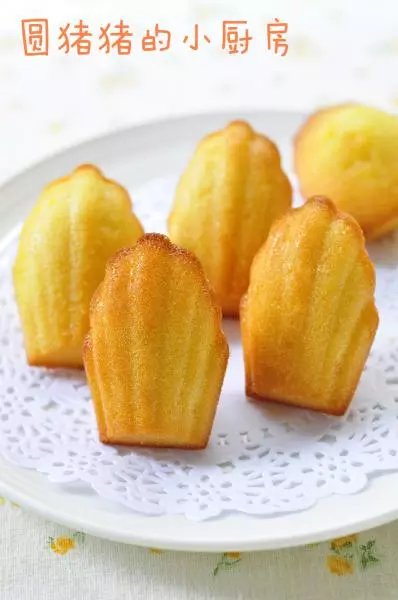
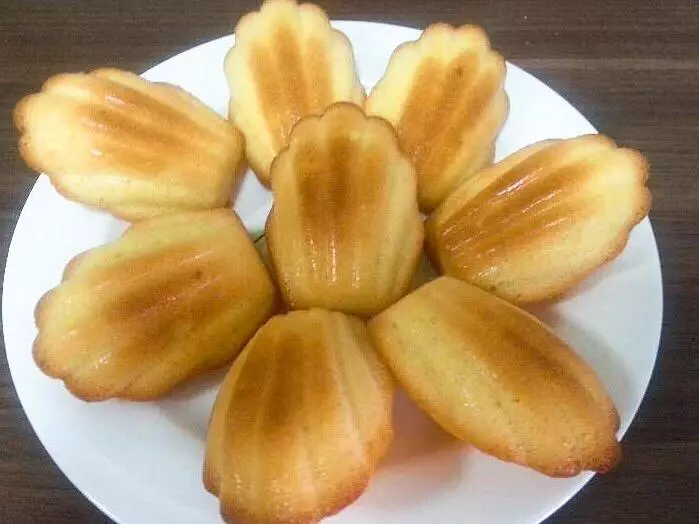
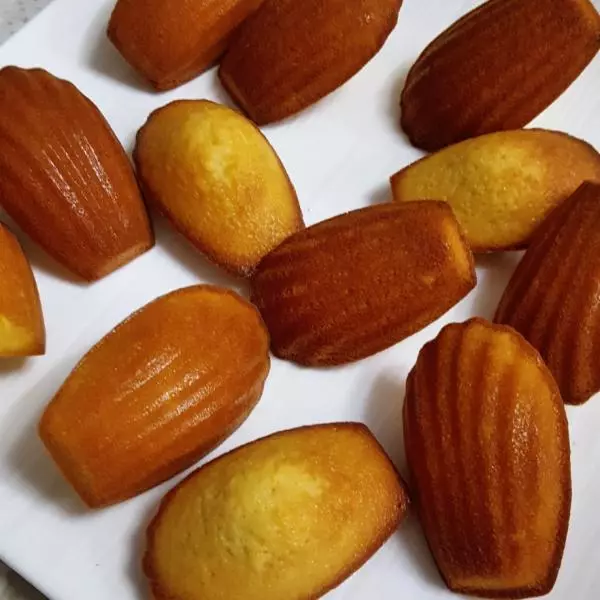
9脫模涼冷食用。
小技巧
1、關於芒果奶昔參看我的「芒果奶昔」菜譜; 2、雞蛋60克左右一枚; 3、我烤箱30升,容量偏小,箱溫偏高,瑪德琳烘烤過程很關鍵,直接影響成品口感,所以,親們一定要根據自己烤箱的習性適當調整烤制溫度。