原料
低粉: 200克, 黃油: 100克, 雞蛋: 1個, 細砂糖: 60克, 鹽: 1小勺, 低粉(餡): 30克, 牛奶(餡): 90克, 蛋液(餡): 80克, 椰蓉(餡): 60克, 細砂糖(餡): 70克, 泡打粉(餡): 1/4小勺
步驟
1黃油室溫軟化後加入細砂糖,用電動打蛋器打發至蓬鬆

2加入一個雞蛋,繼續攪打

3篩入低粉,拌順滑

4揉成光滑的麵糰後蓋上保鮮膜,放冰箱冷藏1小時,鬆弛麵糰

5冷藏好的撻皮麵糰取出用擀麵杖擀成3mm厚的薄片

6用蛋撻模具壓出造型

7用手捏均勻,壓實

8撻餡:黃油、糖、牛奶用微波爐加熱融化後放涼

9加入打散的雞蛋液拌勻,再加入椰蓉,篩入泡打粉調成糊狀

10將撻餡倒入撻皮中8分滿

11送入預熱好的烤箱中層,上下火190度,烤25分鐘左右即可

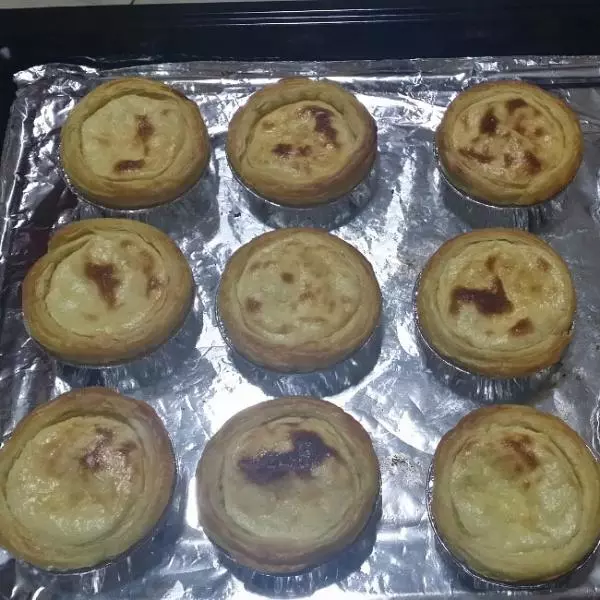
12成品

13成品