原料
低筋麵粉: 45克, 砂糖: 60克(蛋黃15.蛋白30,奶油15), 淡奶油: 200ml, 雞蛋: 3個, 香草精: 數滴(蛋黃)可不放, 檸檬汁: 數滴(蛋白)可不放, 鹽: 1小撮(蛋白), 泡打粉: 1克(蛋黃), 塔塔粉: 1克(蛋白), 旺仔牛奶: 50ml
步驟
1盛放蛋清的容器必須無水無油
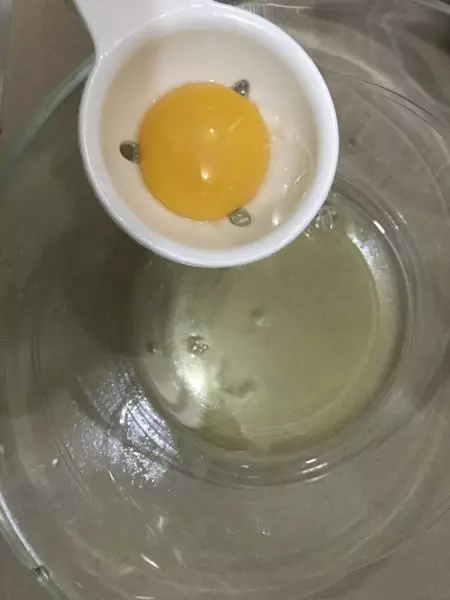
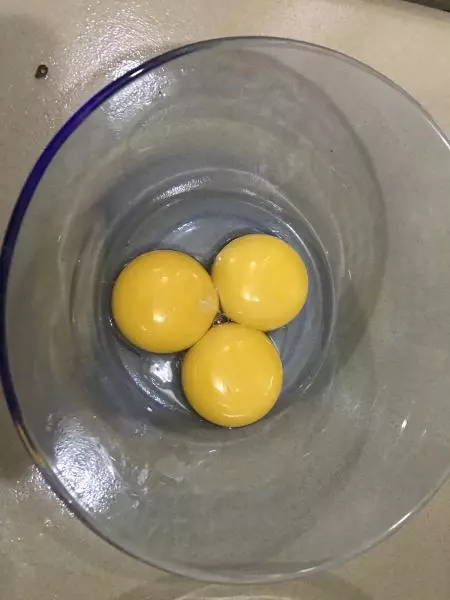
2準備打蛋黃
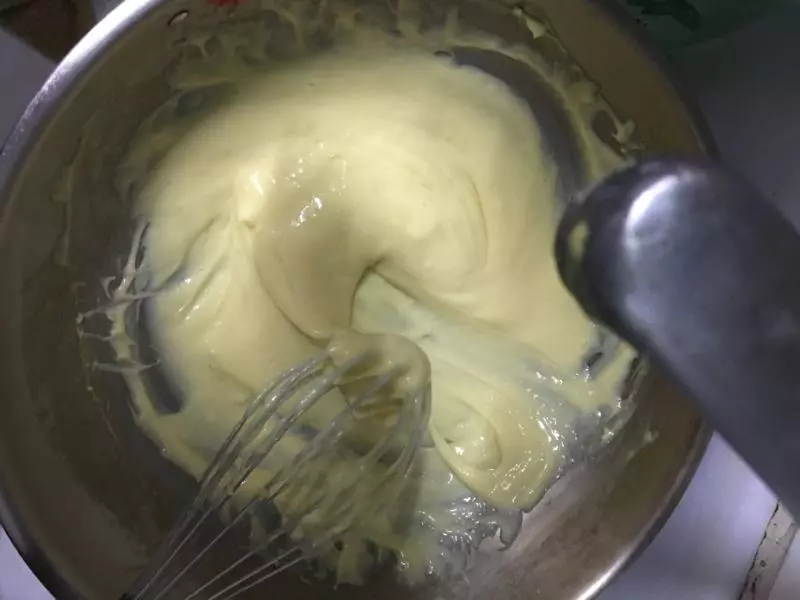
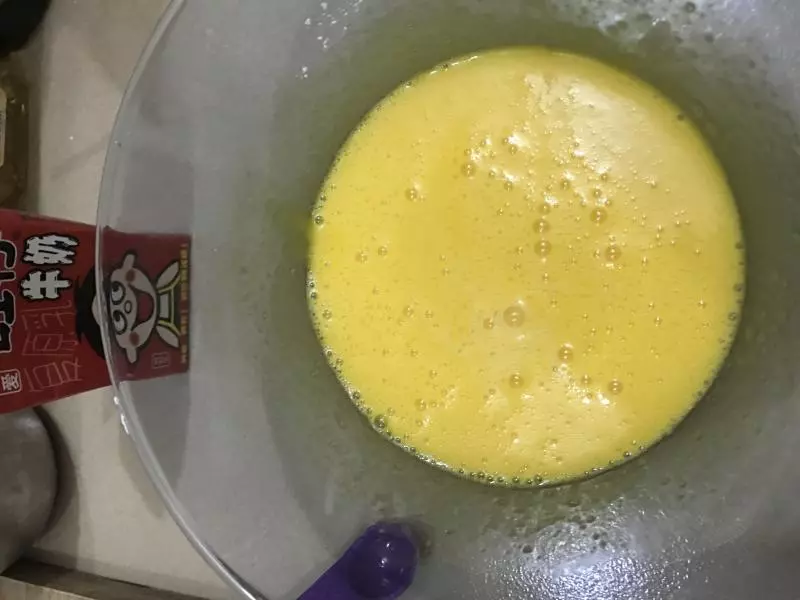
3添加橄欖油,牛奶,泡打粉,糖,香草精攪拌均勻
4滴數滴檸檬汁,塔塔粉,打發蛋白

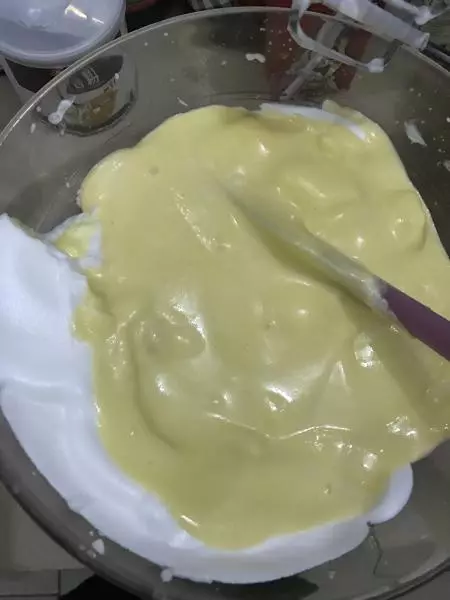
5先到3/1蛋白到蛋黃盤攪拌均勻,全把蛋黃盆的蛋液倒到蛋白盤一起攪拌均勻
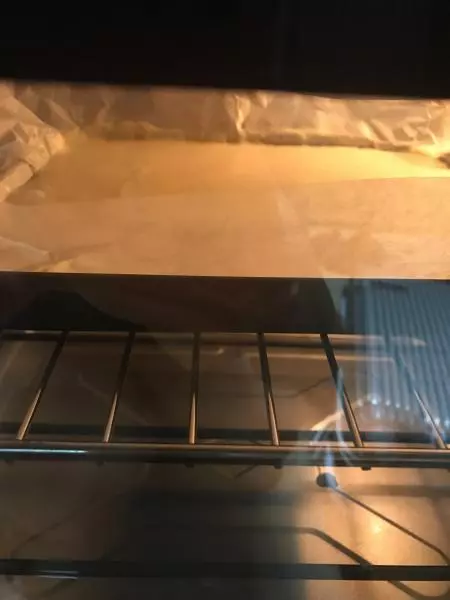
6裝盤是記得震幾下盤出氣泡,放入烤箱150度20分鐘
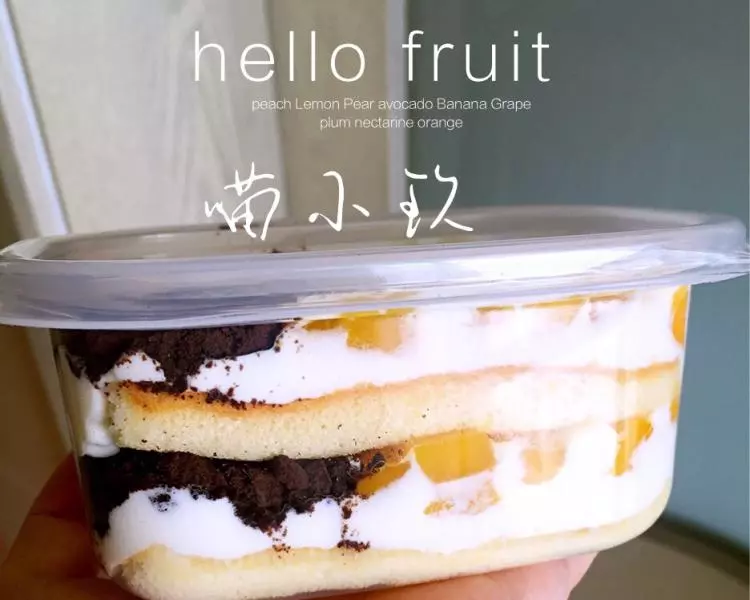
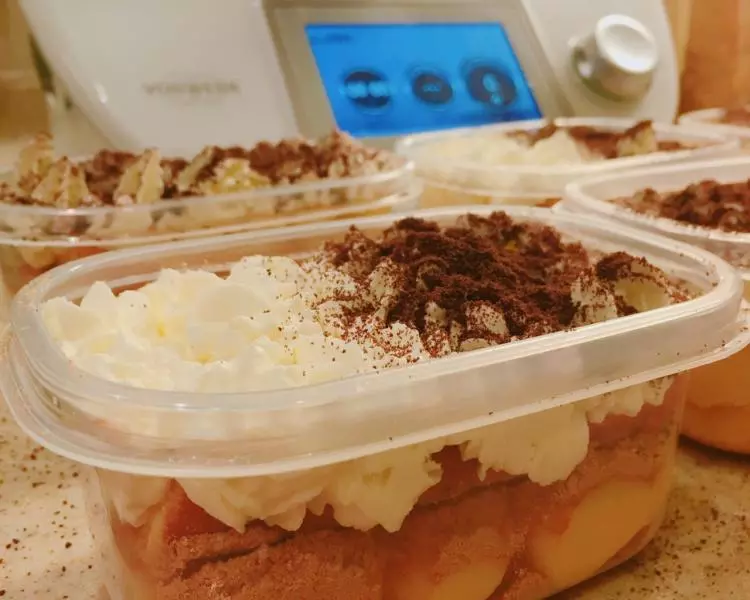
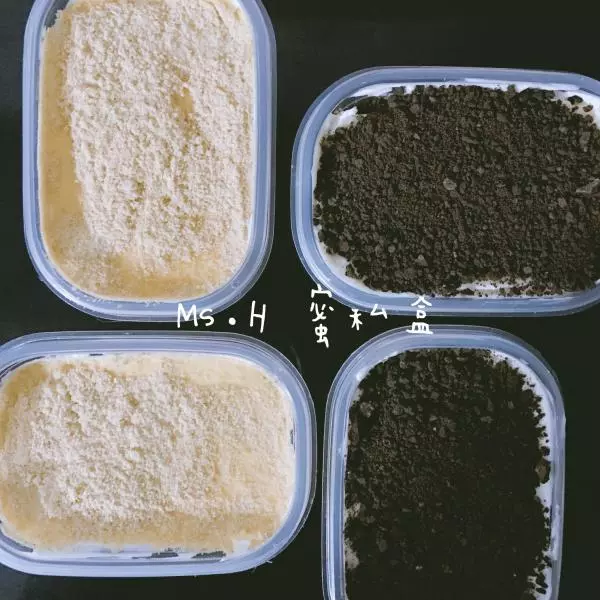
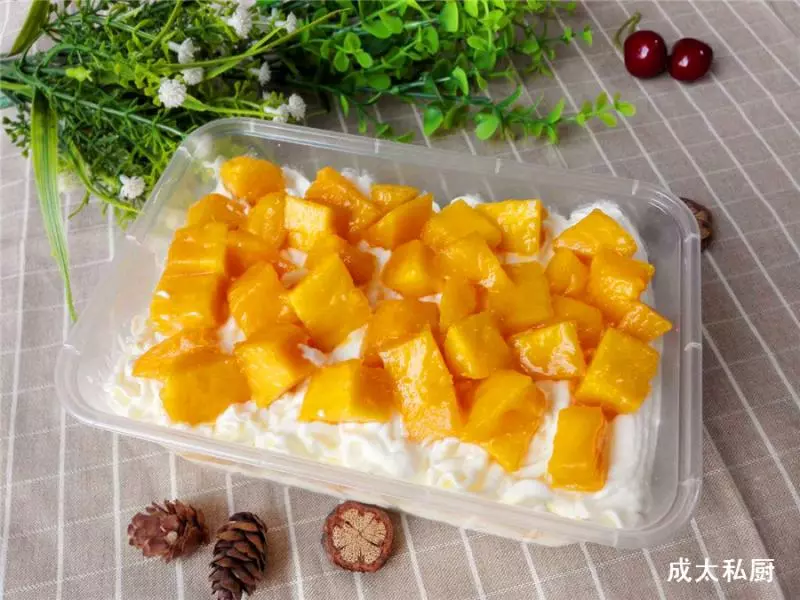
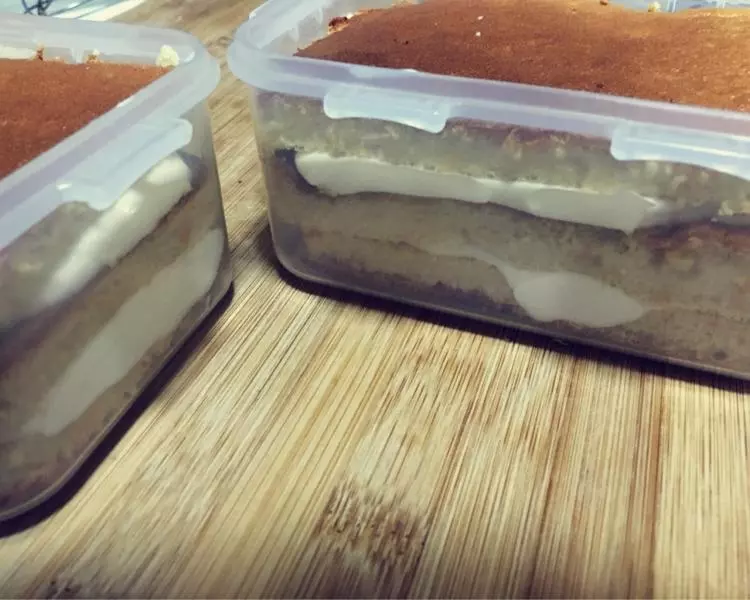
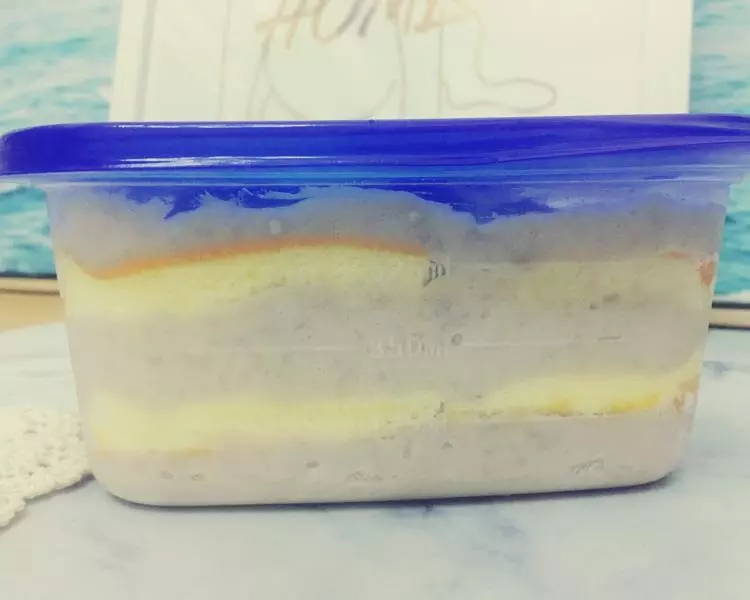
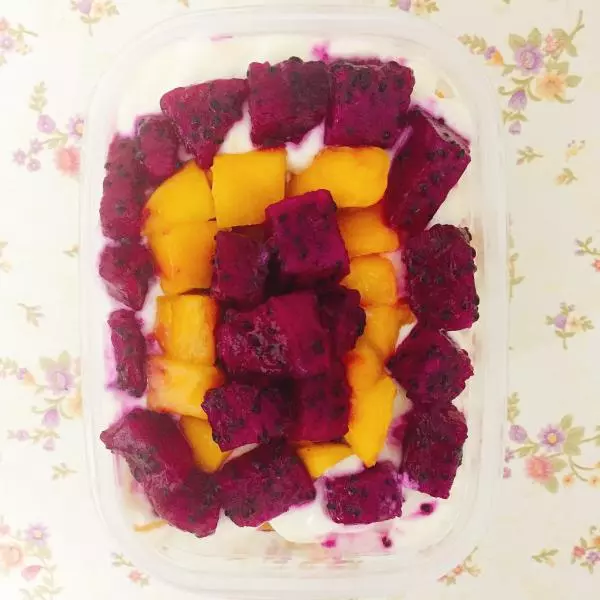
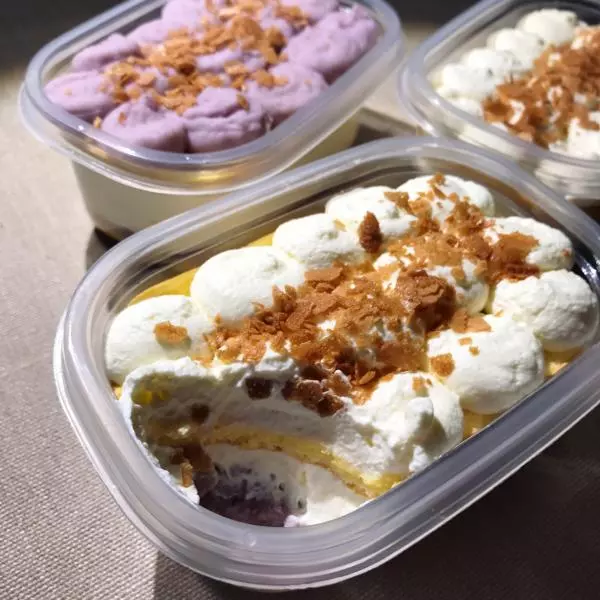
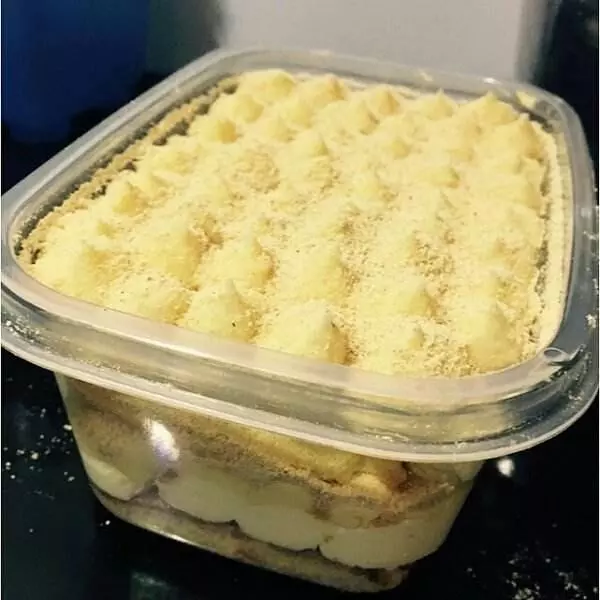
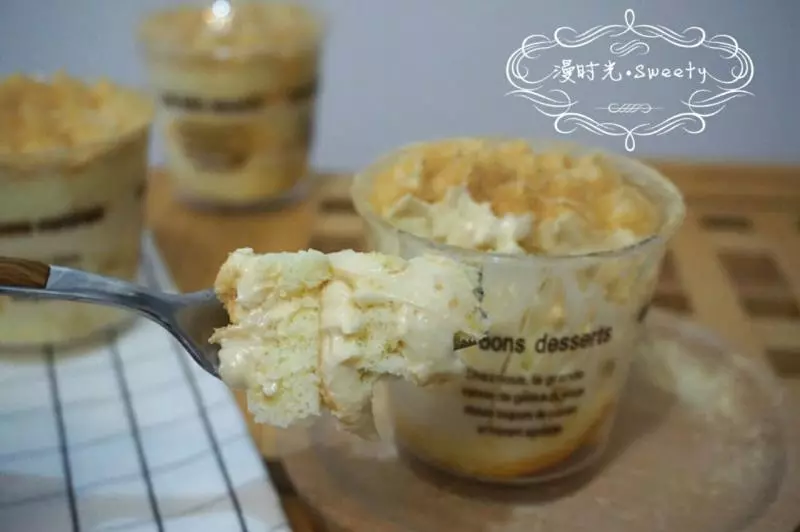
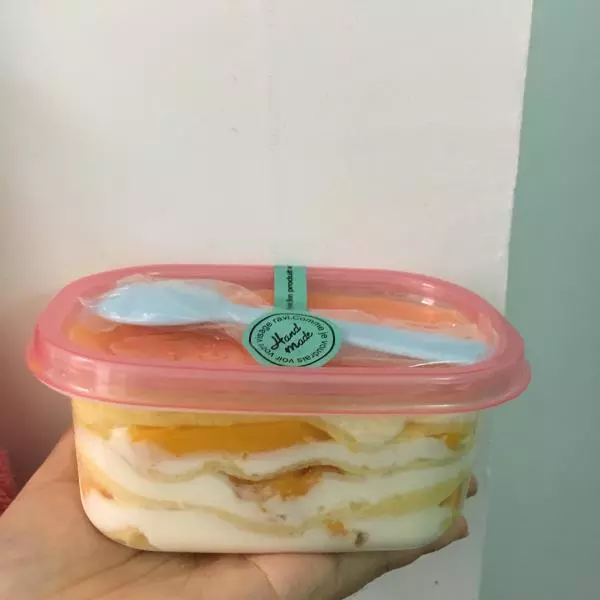
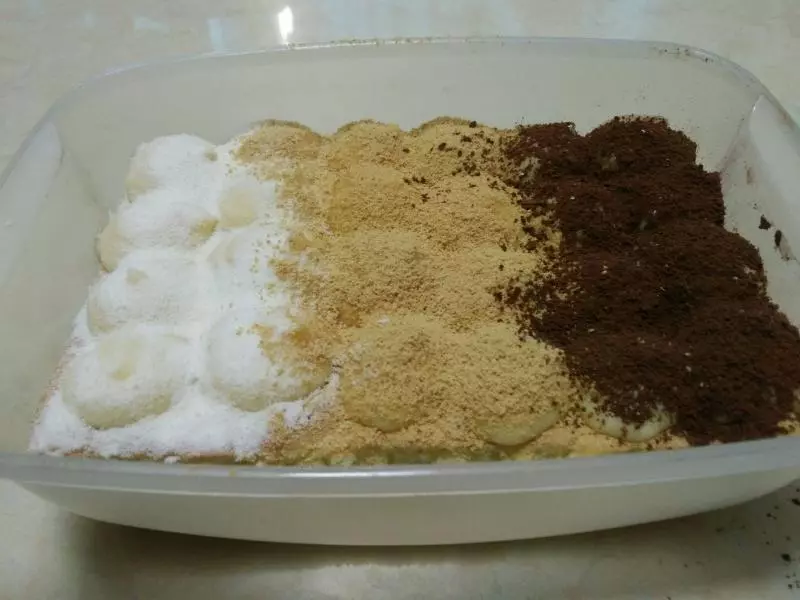
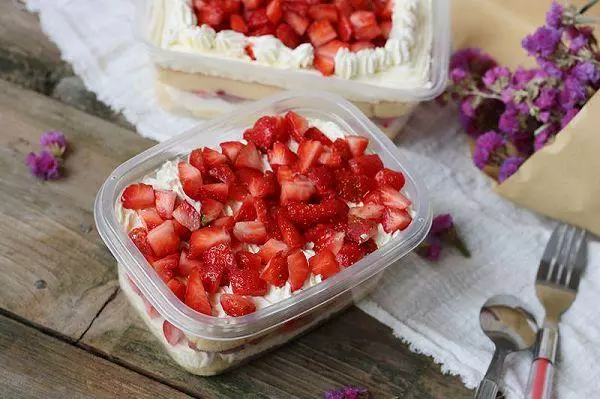
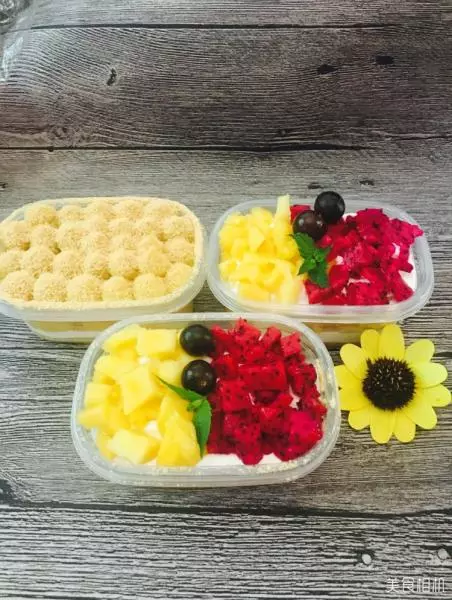
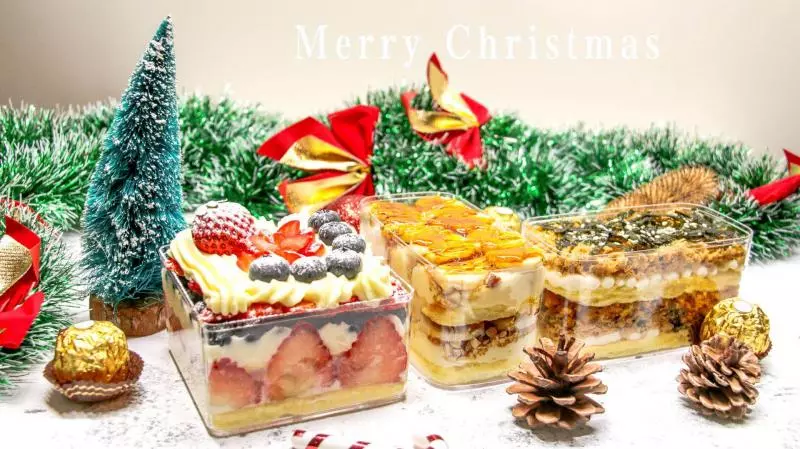
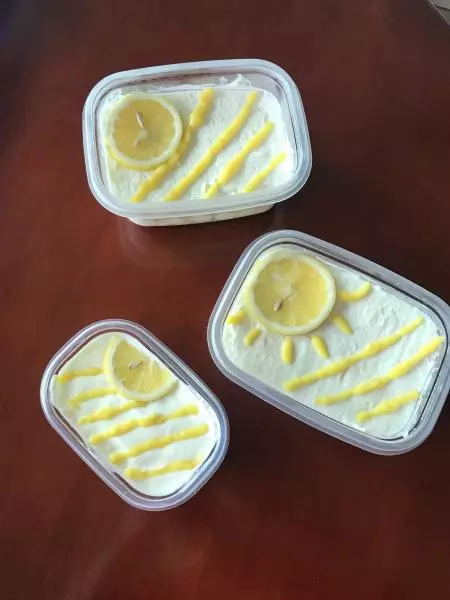
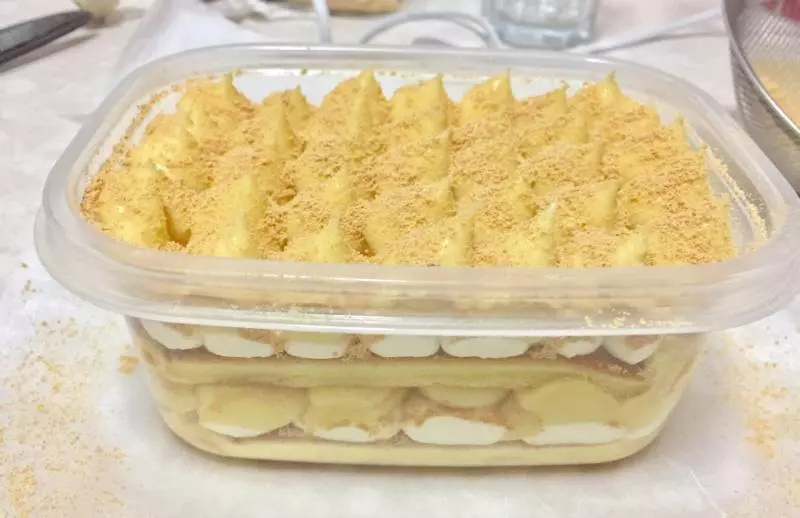
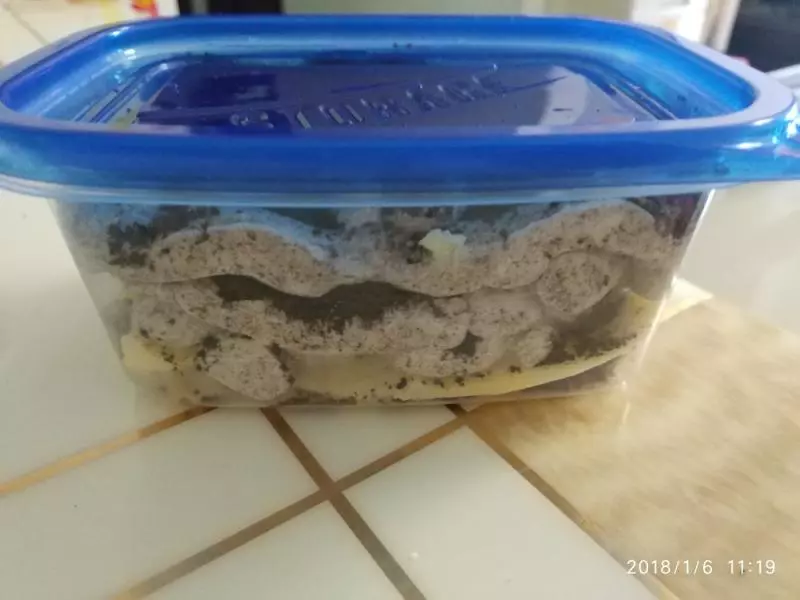
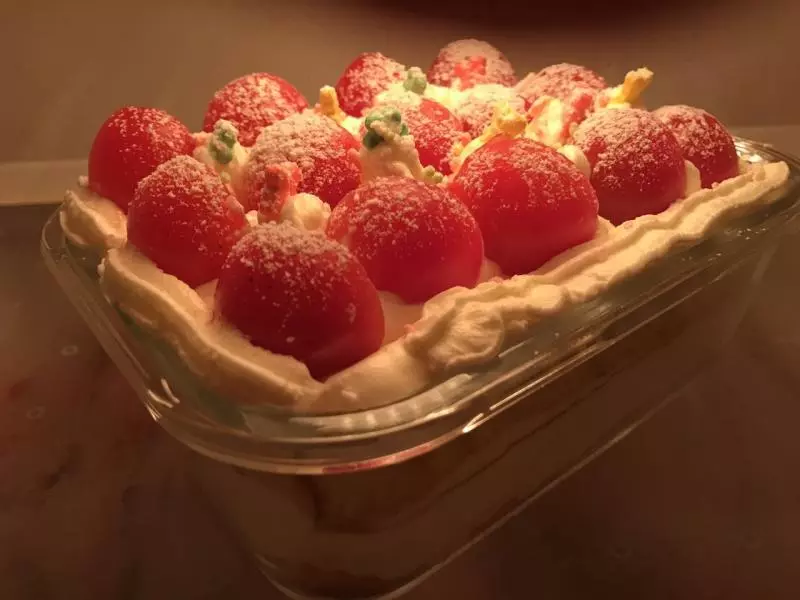
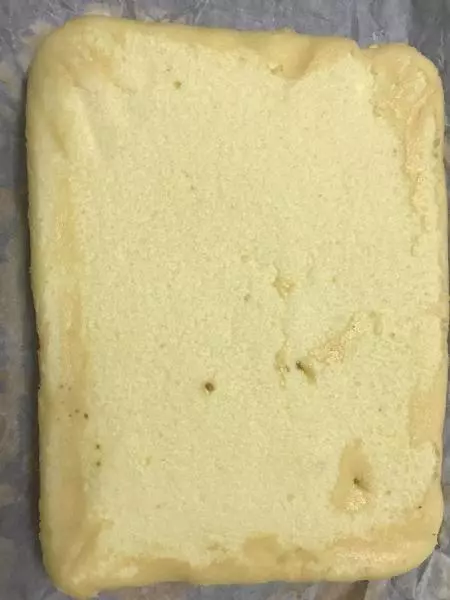
7出爐後切成對半放在盒子裡,因為是自己吃的,所以我放在樂扣玻璃盒裡
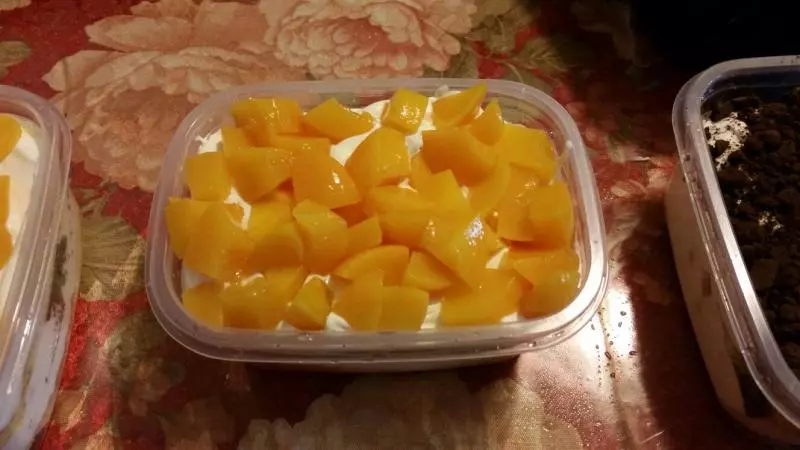
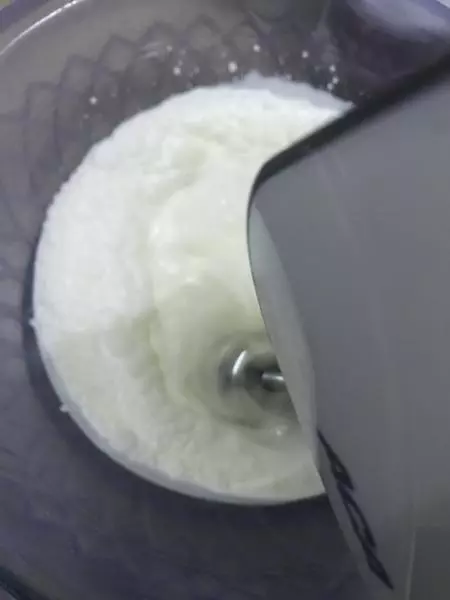
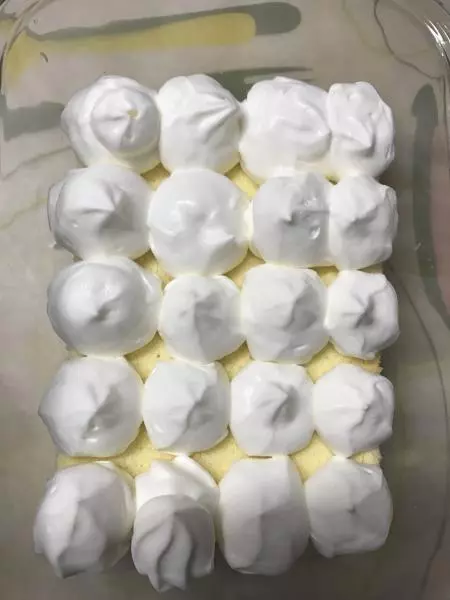
8打發奶油,我用的是雀巢淡奶油,下面放冰水容易成型
9可以放兩層或三層,每層擠上奶油
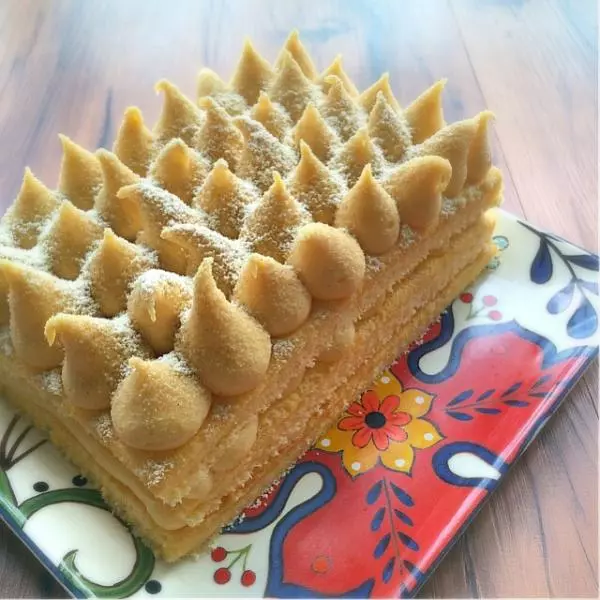
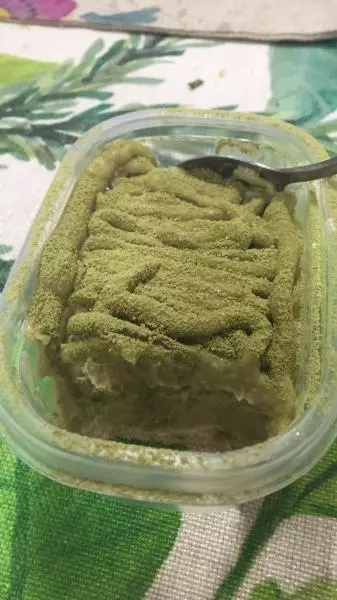
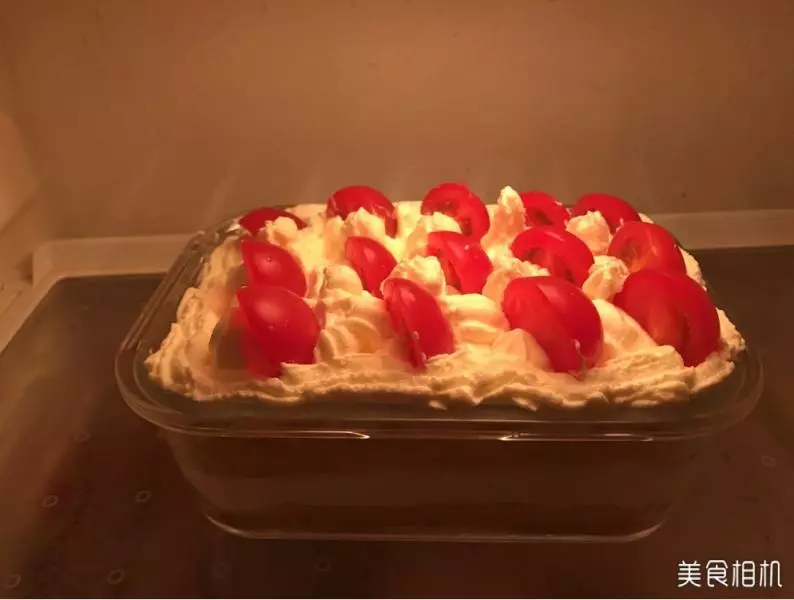
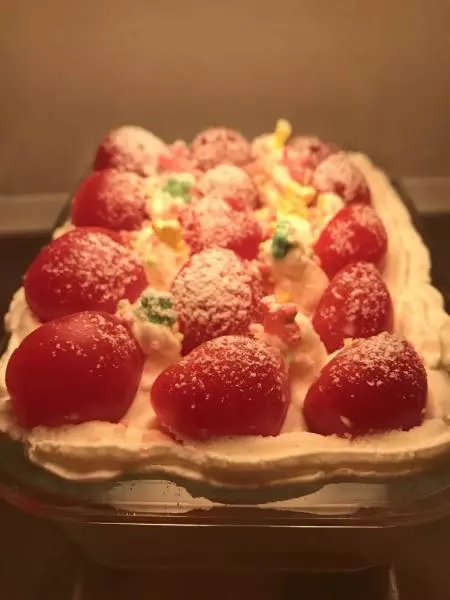
10在最上面一層放入水果,裝飾
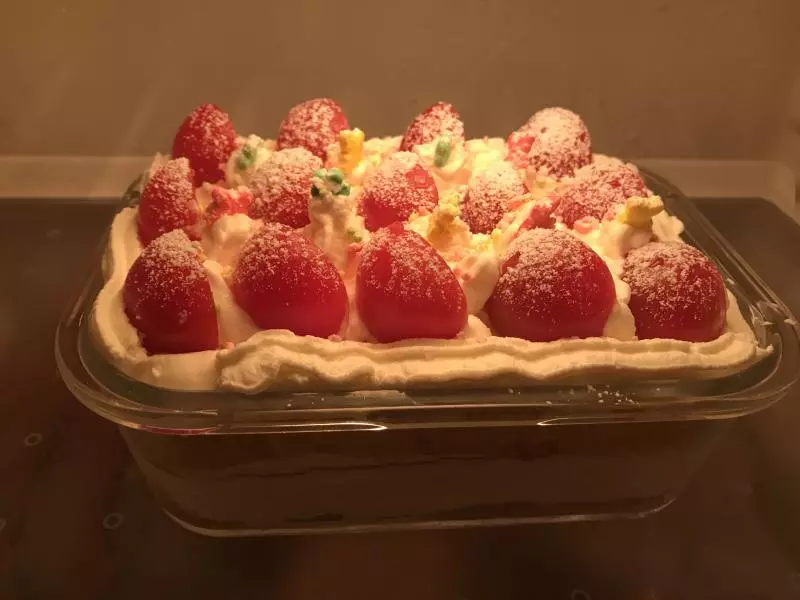
11裝飾一下,大功告成
12美美噠
小技巧
1,檸檬汁如果沒有放兩滴醋也可以;蛋白放塔塔粉只為打發蛋白比較穩定,其實也可以用玉米澱粉替代; 2,打發奶油時放在冰塊盤裡或者冰水盤裡更容易成型,如果出來的奶油很快化咯可以放到冰箱雪藏一會 3,蛋糕入爐前記得要震出氣泡