原料
酵母: 4克(夏), 牛奶(或水): 262克, 中粉: 505克, 紫薯粉: 15克, 食用油: 20克, 糖: 45克, 鹽: 4克
步驟
1所有材料揉成團,3光狀態,加蓋醒面20分鐘。我用麵包機揉面。?

2醒好的麵糰取出接著揉,排氣,直到揉到麵糰表面有小氣泡。圖片看不太清楚,大家意會吧。

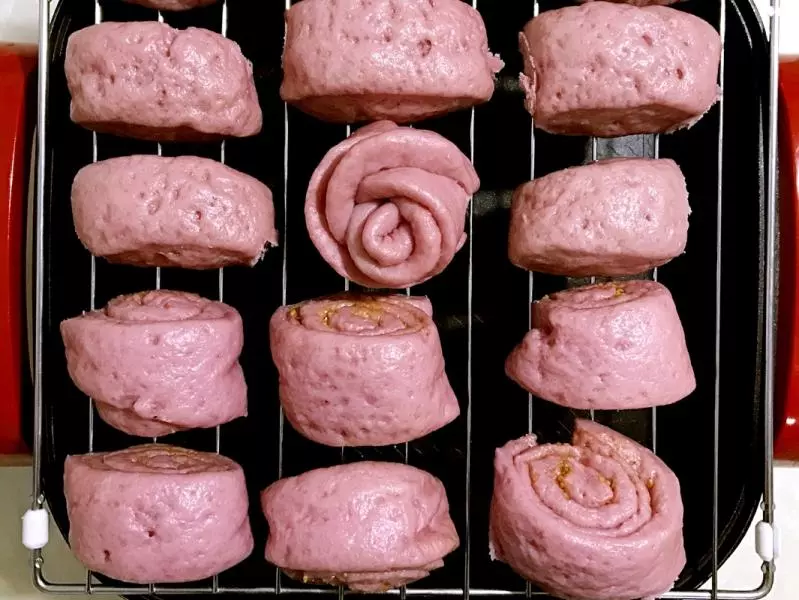
3再次揉好的麵糰稱重,平均分割成你要大小。依次擺好。

4取兩塊麵糰開始雙手揉面,其餘麵糰蓋保鮮膜保濕。 這一步是為了讓蒸出來的成品光滑油亮。絕對不可以省略。 具體手法如下圖5-9。

5揉面手法步驟1

6揉面手法步驟2

7揉面手法步驟3

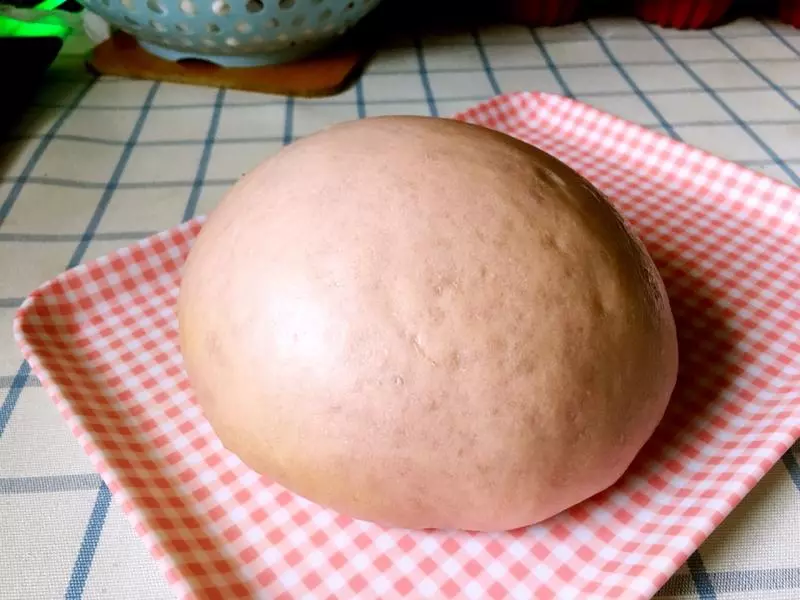
8揉面手法步驟4 麵糰翻過來,雙手配合整成圓形。我要拍照只能一隻手入鏡。

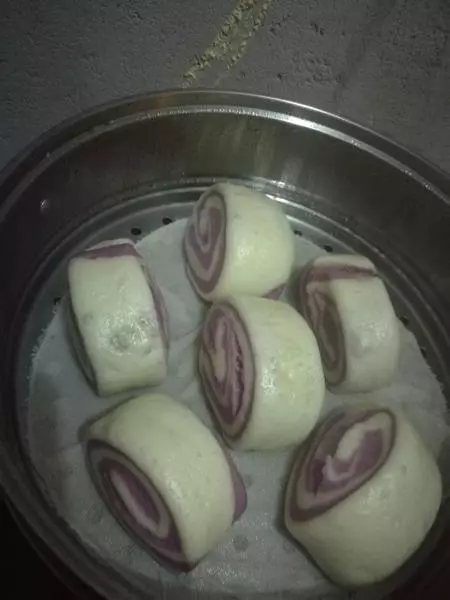
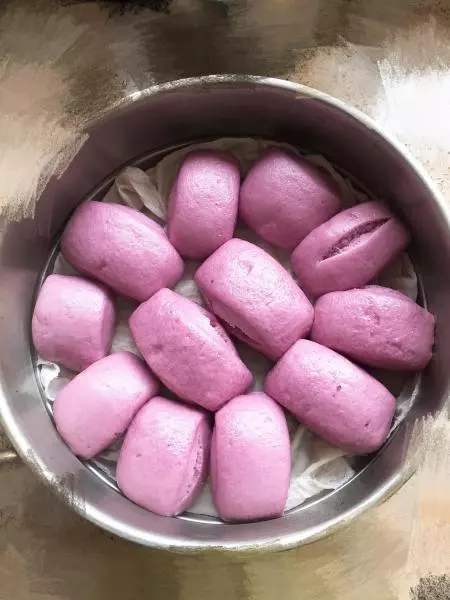
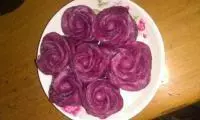
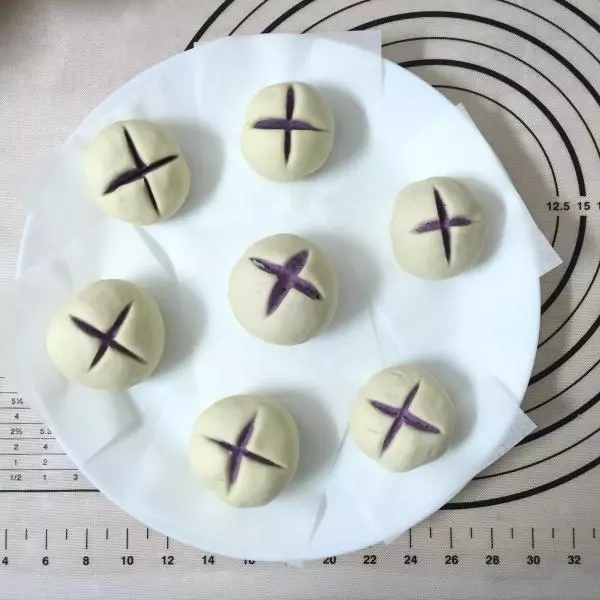
9揉面手法步驟5 整形好的饅頭生胚。

10整形好的饅頭胚放入蒸鍋,等待發酵至1.5-2倍大小時,開火。大火上汽後轉中火20分鐘關火。2-3分鐘後揭蓋即可。

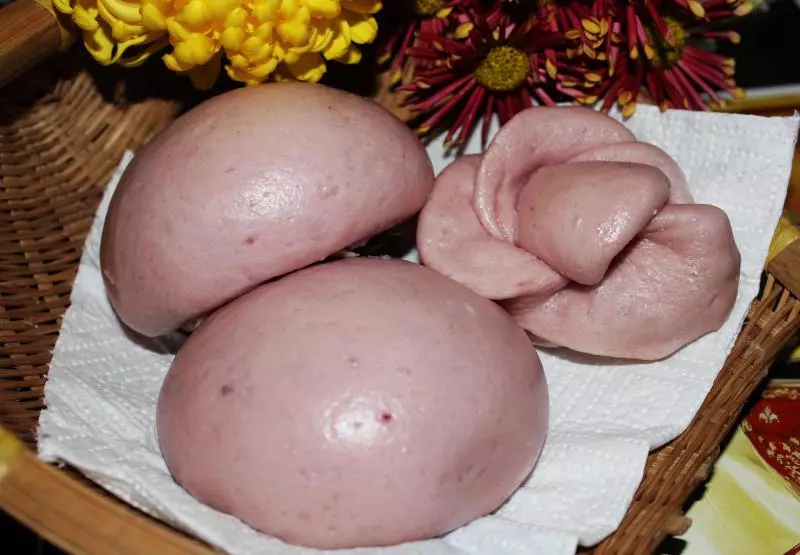
11饅頭冷卻後放冰箱冷藏保存。做得多了一時吃不完就放冷凍。

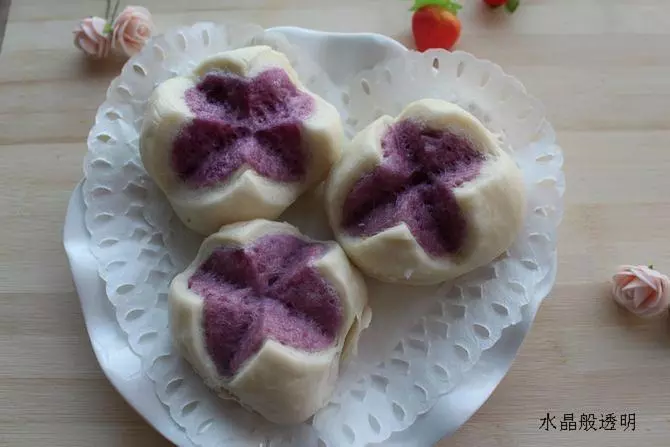
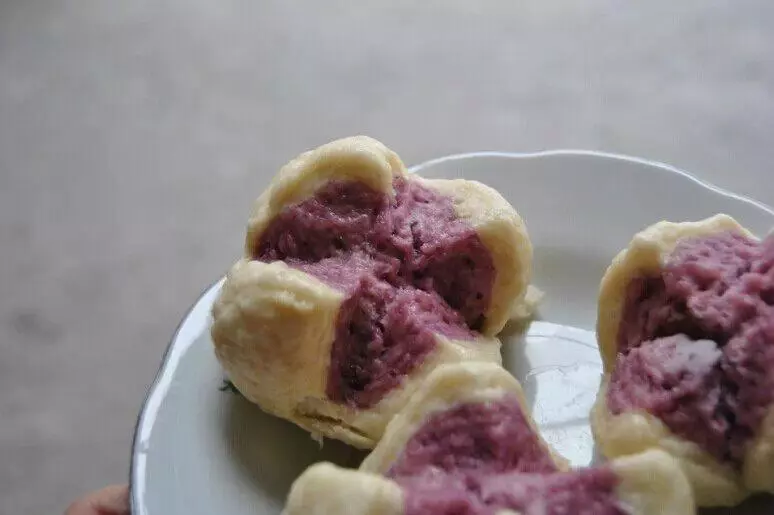
12內部組織和彈性。請原諒我把我閨女咬過的拿來拍。

小技巧
秘訣就是成型步驟多揉,多揉,多揉。成品才會光滑油亮。