原料
鮮蝦: , 馬蹄: , 肥豬肉: , 胡椒粉: , 料酒: , 澄面: , 生粉: , 食鹽: , 豬油:
步驟
1「第一步製作餡料」 製作餡料,我們需要準備的材料有:鮮蝦、馬蹄、肥豬肉、胡椒粉、料酒

2想讓蝦餃的鮮爽彈牙,就要選用新鮮活蝦,不要買成冷凍蝦仁哦

3蝦買回來後,在蝦尾的第一個關節處,用牙籤先挑斷蝦線,把蝦頭扒開後用牙籤把蝦線挑出來,再拔掉蝦頭,取出蝦肉

4同上

5同上

6取完蝦仁,把蝦仁拍一拍,這樣既能保持蝦仁的彈性,還能讓它更進味

7同上

8為了讓蝦餃口感更滑口,盧大廚還帶來了兩個秘密武器——肥肉和馬蹄!30克的蝦需要放100克的肥肉和100克的馬蹄

9同上

10將肥肉切成米粒大小,馬蹄拍碎切成細粒後再擠掉多餘的水分即可

11同上

12同上

13把處理好的蝦仁、肥肉和馬蹄混合在一起,放入適量的胡椒粉、鹽和3勺料酒攪拌均勻

14同上

15接下來關鍵一步就是——摔!用手握起餡料向盆內摔打,大概摔到蝦肉起膠,倒掛時不會輕易下落就可以了

16同上

17「第二步和面」 做水晶蝦餃皮,面特別講究,我們要選擇澄面、生粉、食鹽和豬油

18燒一鍋沸水,只有用沸水燙過的面才能變得透明

19燒水同時,我們把澄面和生粉混在一起,澄面和生粉的比例為3:1,6勺澄面配2勺生粉

20水開後,把沸水放進麵粉里,邊淋邊攪拌,直到面變成雪花狀,沒有乾粉、完全成團就可以了

21同上

22接著把雪花狀的麵糰放到案板上揉搓,為了讓面變得更加潔白光亮,我們需要放一勺豬油

23同上

24最後把面揉搓成光滑均勻的麵糰就可以了

25「第三步擀麵皮」 今天盧大廚帶來一個神奇的擀麵皮方法,只需要——一把菜刀

26先取一小塊麵糰,搓成手指粗的條狀

27然後再捏出一個劑子,用掌心壓扁

28同上

29同上

30在刀面抹點油防粘,將刀面按在壓扁的劑子上壓平,邊壓邊水平移動,向右90度,再向左90度。注意用力要均勻,不要使太大勁兒,澄面基本沒有延展性和彈性,用力太大容易爛

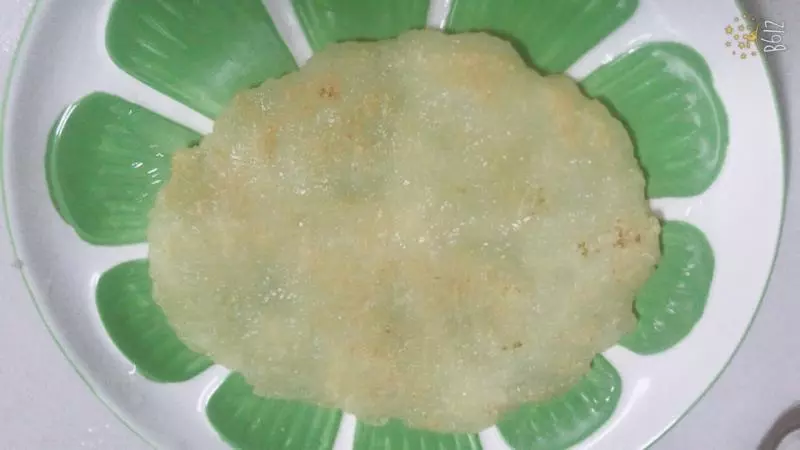
31水平移動兩次後,把刀翻過來,一張又圓又薄的蝦餃皮出現了

32同上

33「第四步包蝦餃」 將餡料攤平放到麵皮中間位置,將麵皮對摺在一起

34同上

35右手食指和拇指捏緊麵皮,用左手食指開始推送,右手拇指順勢將上皮褶皺和下皮捏緊

36同上

37同上

38同上

39重複步驟至左端餃邊捏牢,封口,包成彎形

40最後用剪刀剪平修邊,一個圓圓胖胖的蝦餃就做好了

41「第五步蒸蝦餃」 為了防止蝦餃粘鍋,我們先把胡蘿蔔切成薄片,在蒸籠里擺上一圈,然後把蝦餃放上去

42同上

43同上

44在鍋里加水,大火燒開,水開後放入蝦餃大火蒸5分鐘。注意一定要大火,如果用慢火則會產生過多粘性,口感不好

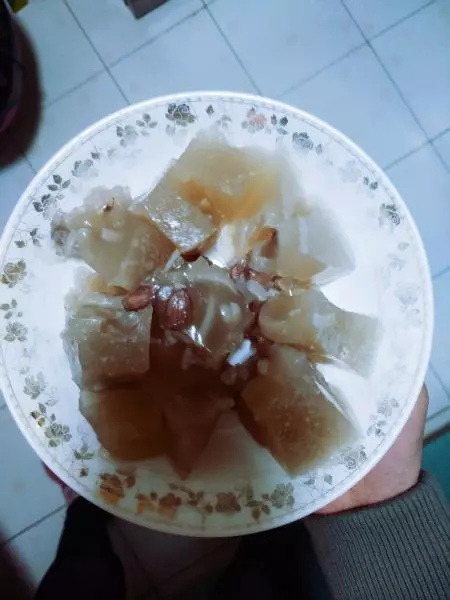
45時間到,打開鍋蓋,晶瑩剔透的水晶蝦餃做好了!透過水晶餃皮,蝦仁餡料隱約可見,看著就讓人垂涎欲滴