原料
油皮: , 中粉: 200g, 糖粉: 20g, 黃油: 70g, 牛奶: 90g, 油酥: , 低粉: 180g, 黃油: 90g, 椰蓉蔓越莓餡: , 黃油: 50g, 椰蓉: 100g, 糖粉: 60g, 雞蛋: 2個(其中一個蛋黃留著最後塗抹表層), 蔓越莓: 隨意, 牛奶: 30g, 紅豆餡: , 紅豆餡: 1袋
步驟
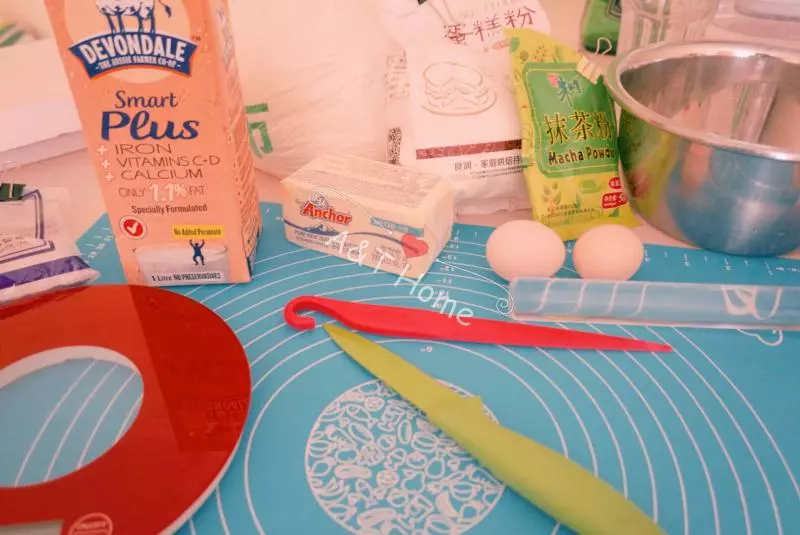
1準備好原材料
2很費黃油~真的很費~買的一大塊兒都用完了
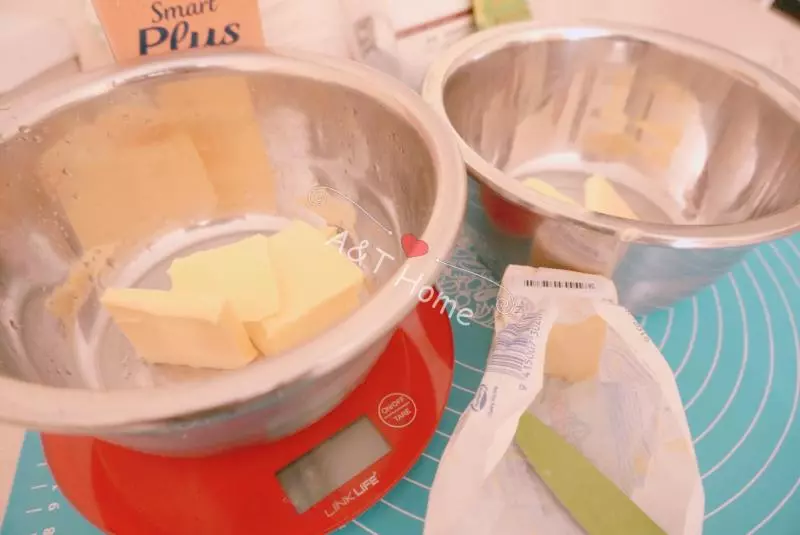
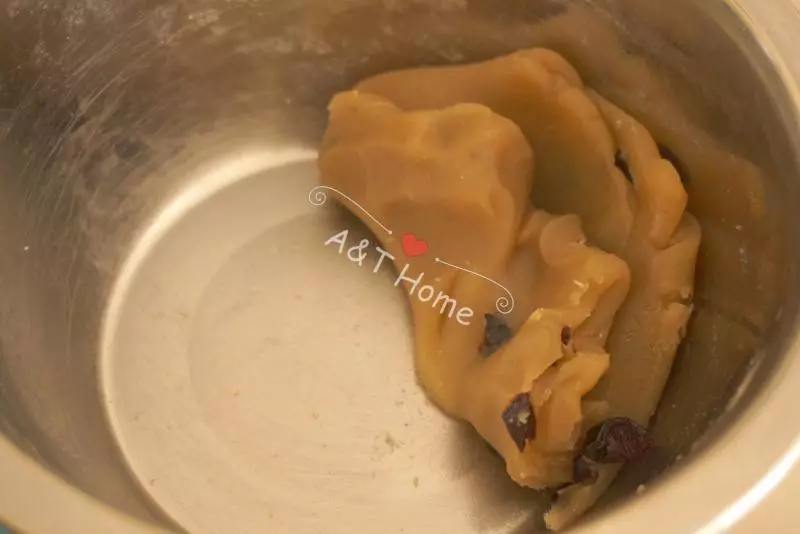
3做這個的第一件事兒就是~隔水熱三盆黃油。。
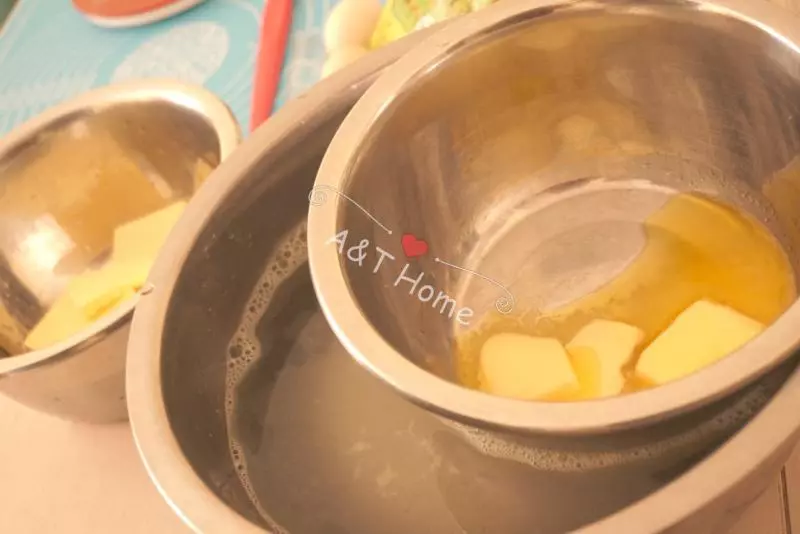
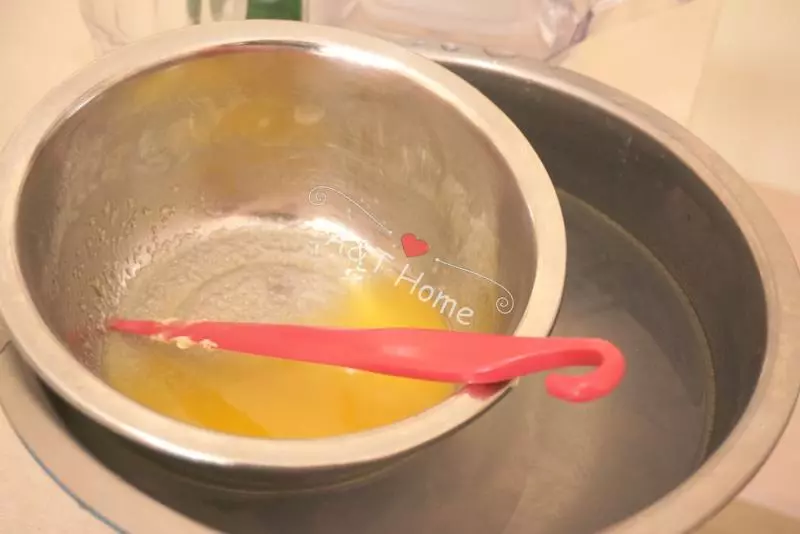
4徹底化成透明裝
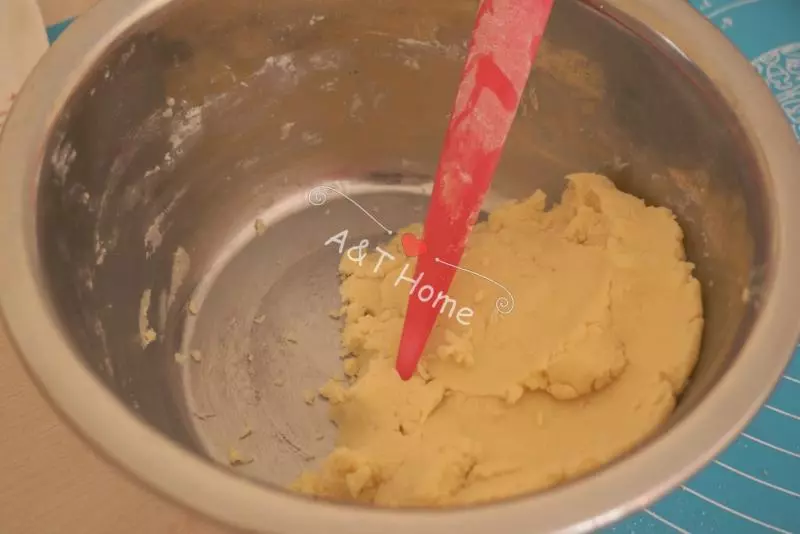
5油皮部分材料混合
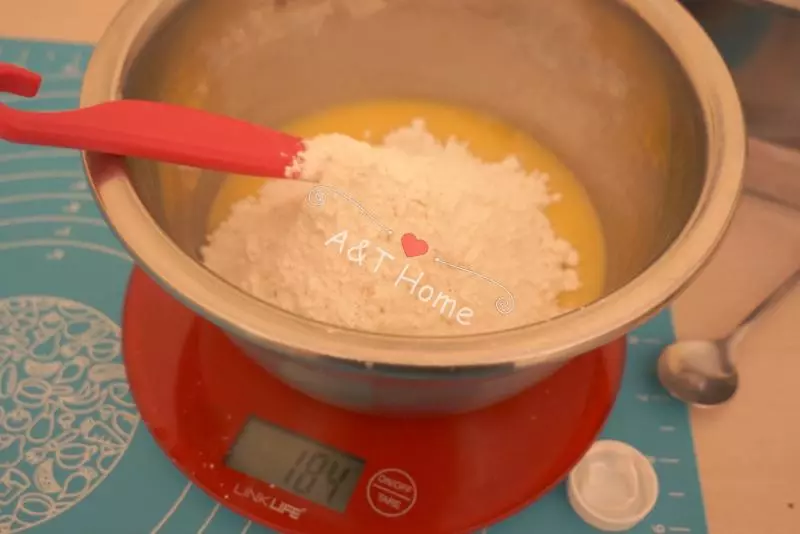
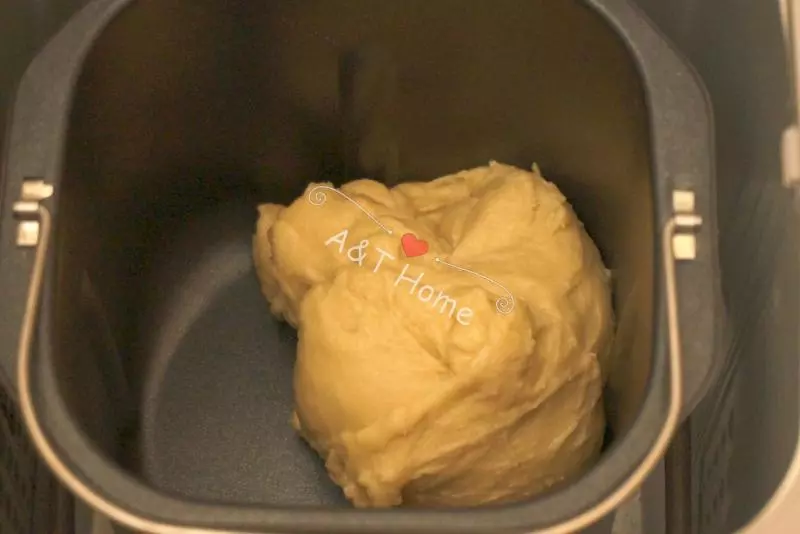
6油皮混合物放在麵包機,或是手揉,均勻揉至麵糰光滑後密封鬆弛20分鐘
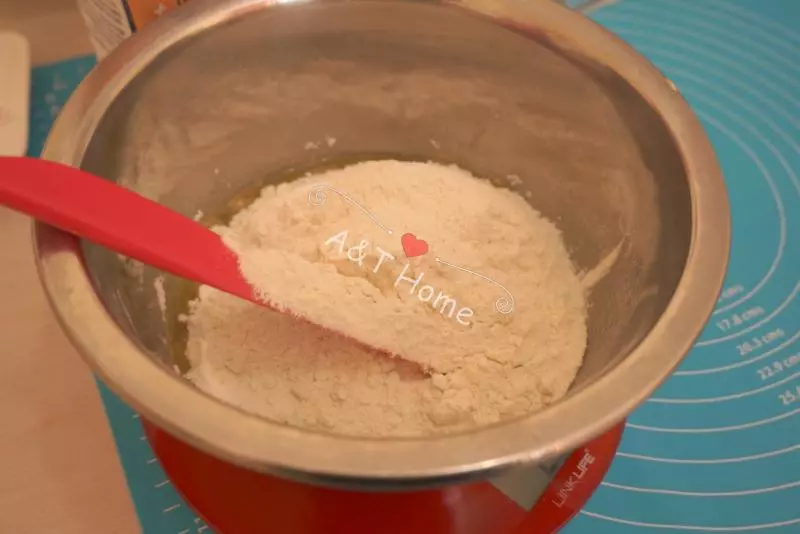
7油酥部分材料混合均勻後備用
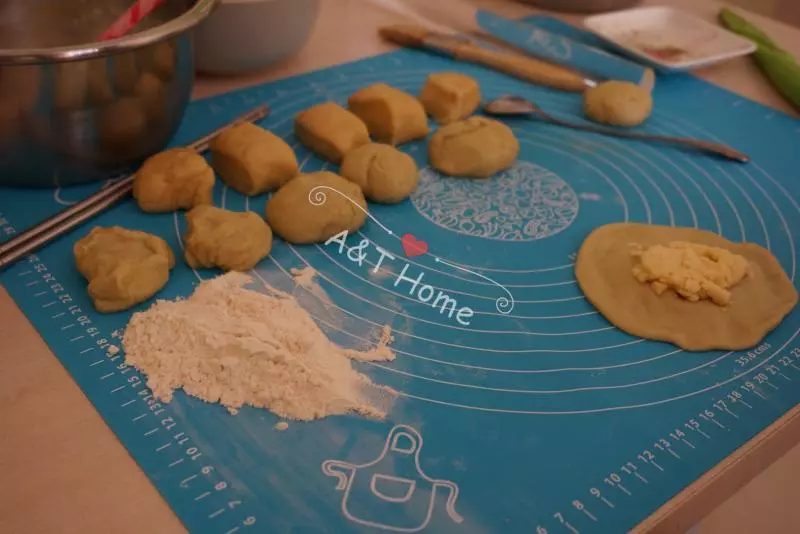
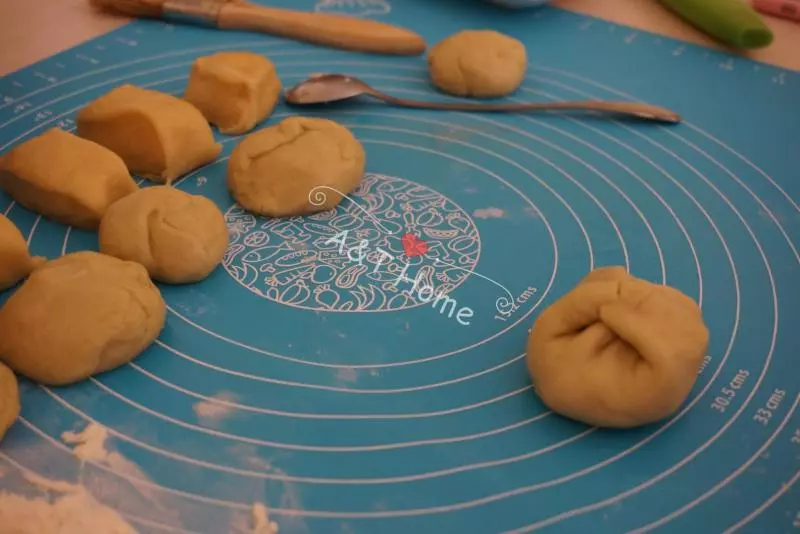
8油皮,油酥鬆弛完畢後分別平均分成18份

9取一份油皮包入一份油酥收口
10將包好的油酥皮收口朝上
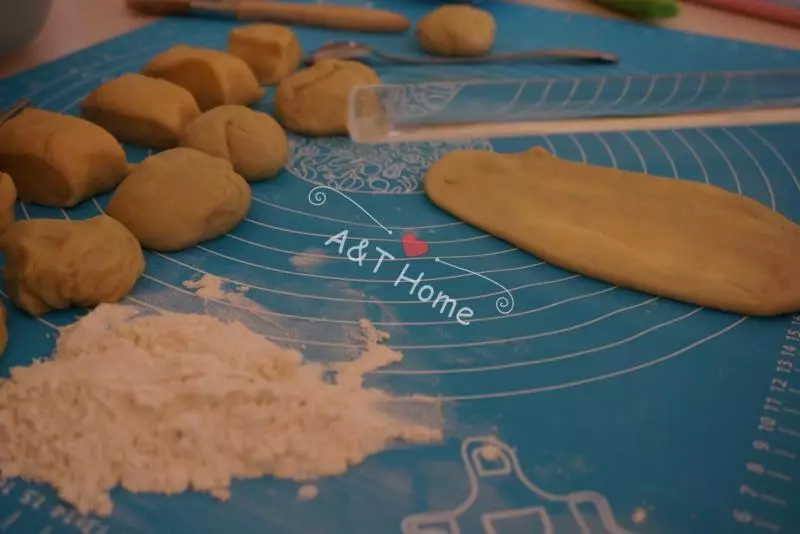
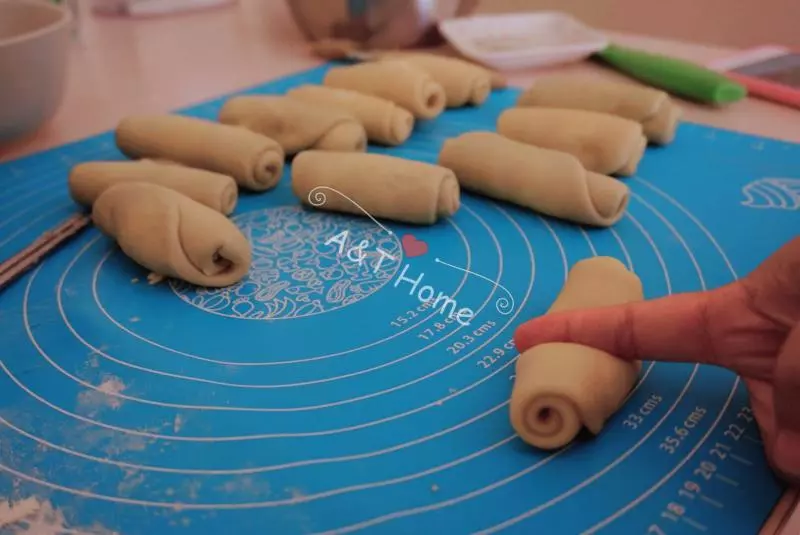
11用擀麵杖將它擀成長條
12再捲起來,鬆弛10分鐘
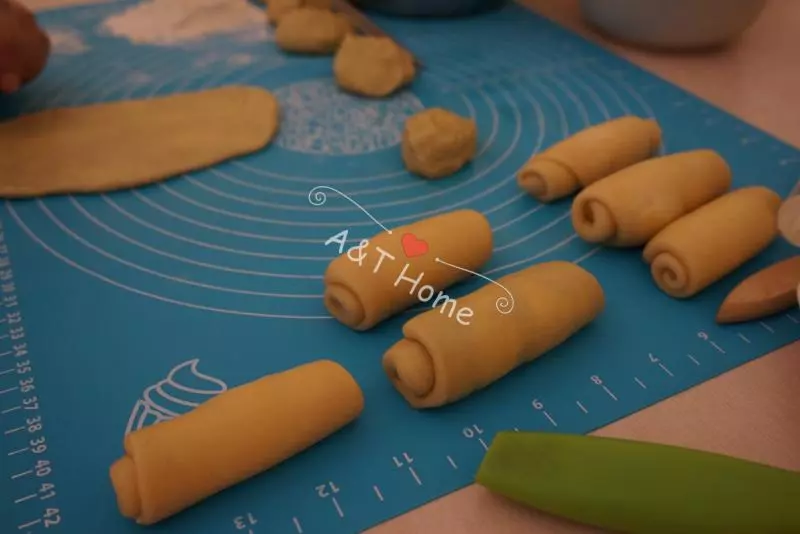
13將卷好後的酥皮再次用擀麵杖擀長

14然後捲起,鬆弛15分鐘

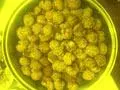
15鬆弛的時候做椰蓉蔓越莓&紅豆倆餡兒~紅豆我就用的百鑽的~椰蓉蔓越莓餡兒
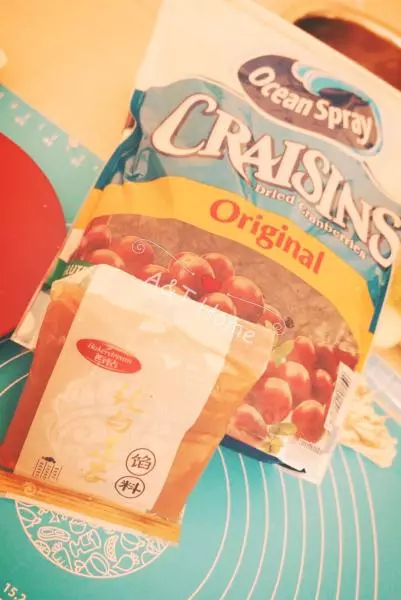
16我在紅豆里也加了蔓越莓
17椰蓉餡就是將椰蓉的調料都混在一起
18繼續14步的 ---取一份酥皮,用手指中間壓下,成為V型,將翹起來的兩頭挨著,再將麵糰按扁壓平。用擀麵杖將酥皮擀成中間厚四面薄的麵皮,包入一份餡
19捏緊收口,整成圓形,將收口朝下擺放,排入烤盤,包好的生胚用刷子在表面刷上蛋黃液,放至蛋黃液干
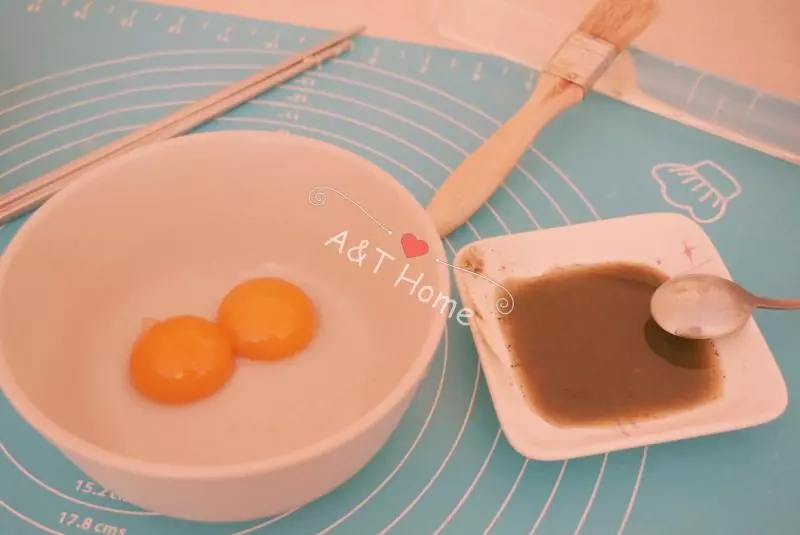
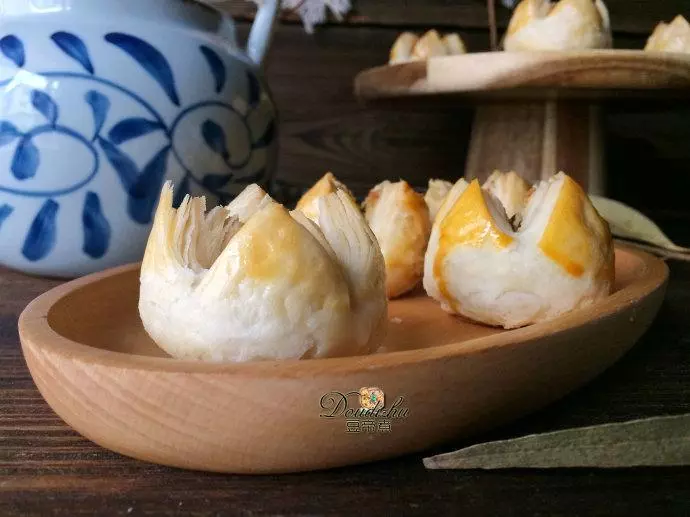
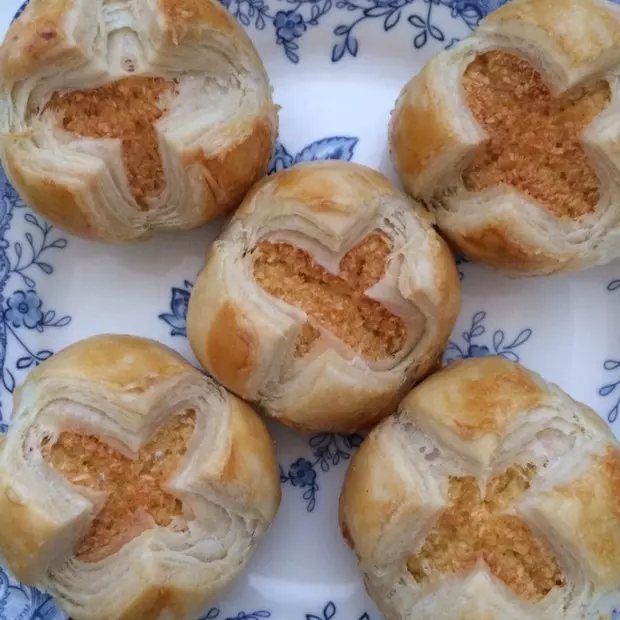
20蛋黃乾了~在上面劃十字,深度是剛好能觸及到餡兒處

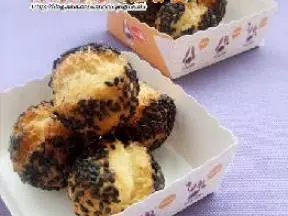
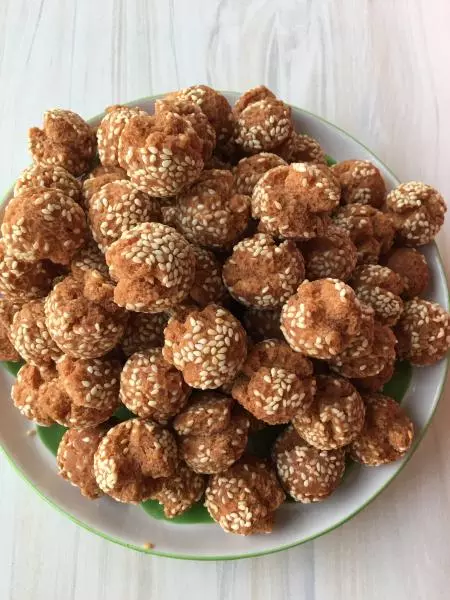
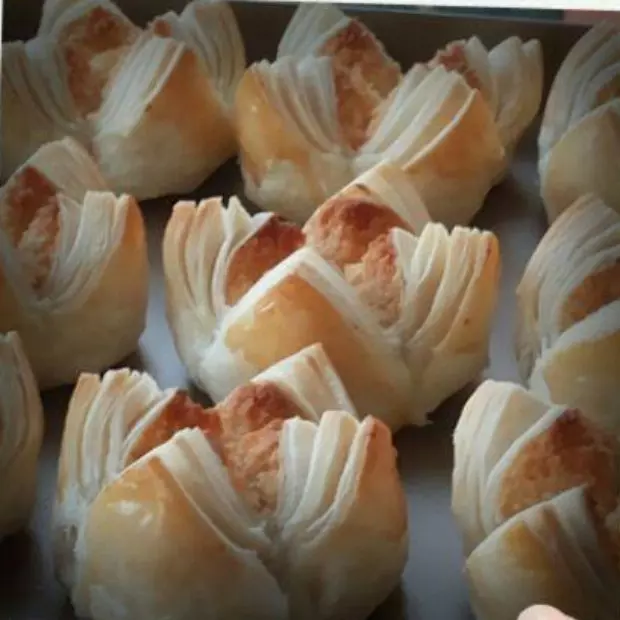
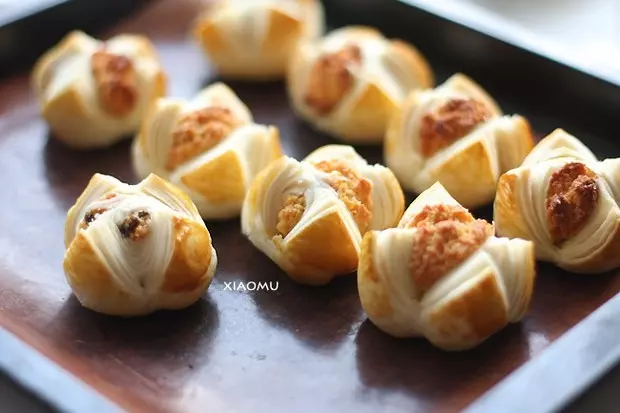
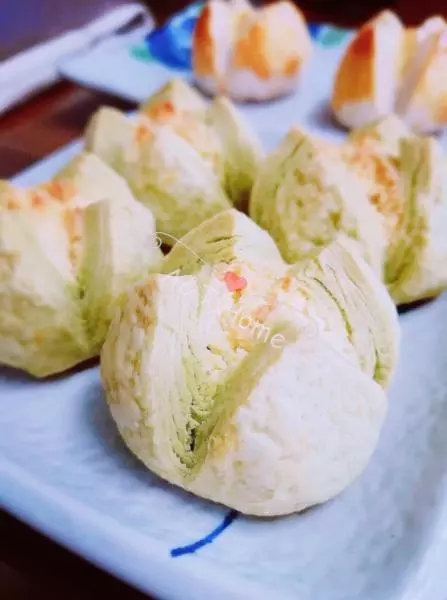
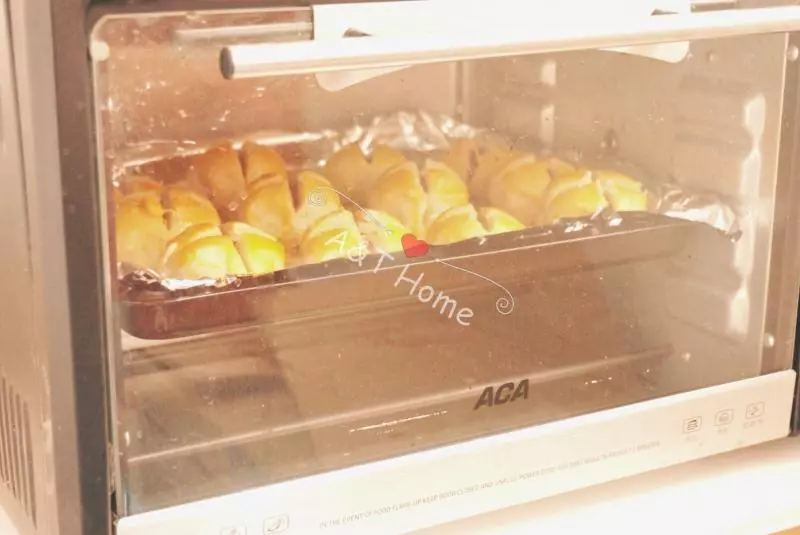
21放入烤箱預熱185度,中層上下火約30分鐘。烤至表面層次盛開,顏色金黃即可
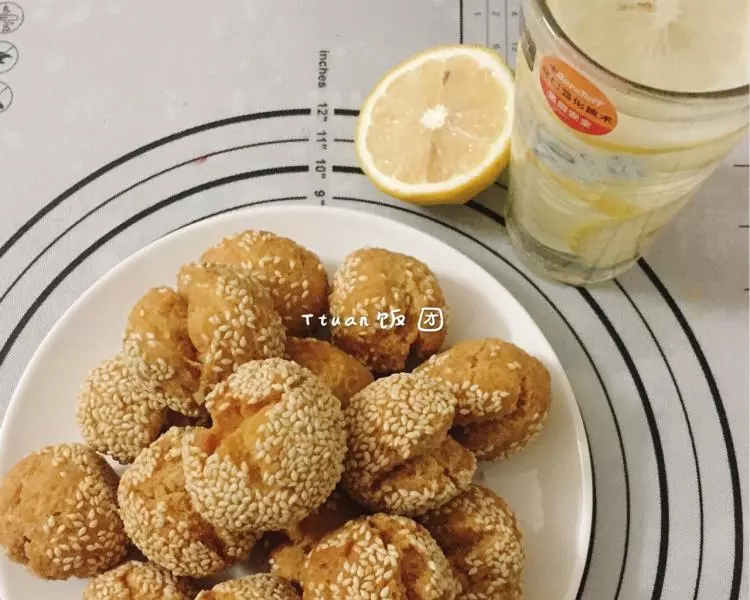
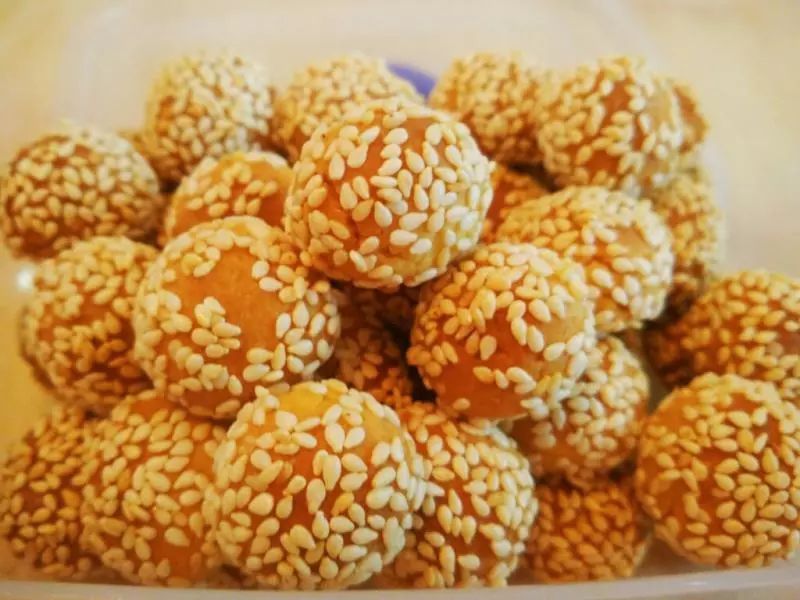
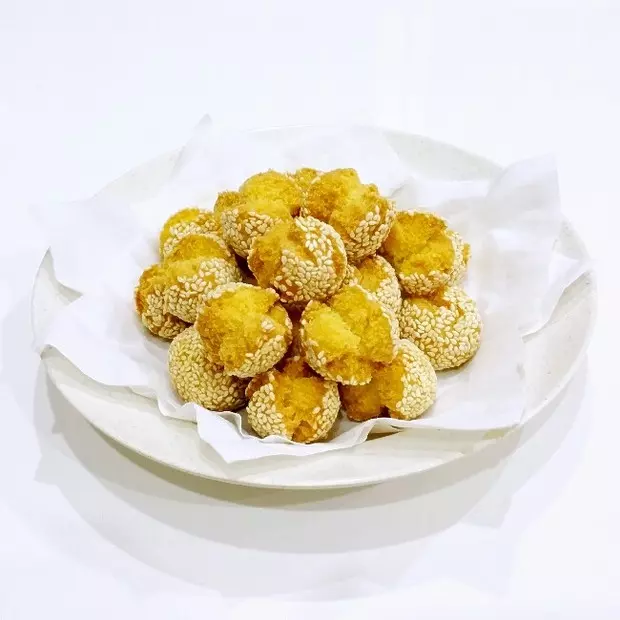
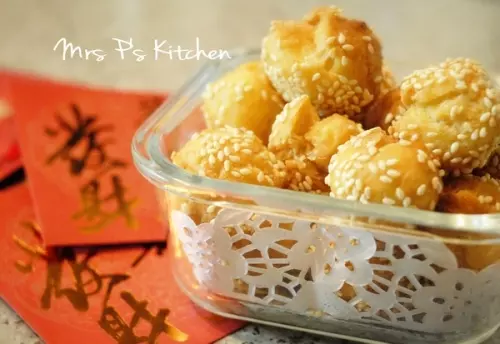
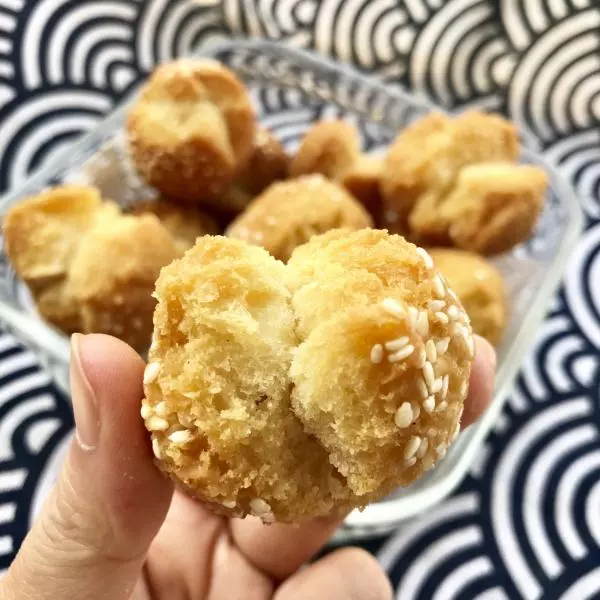
22出爐咯~好吃看得見~