原料
蛋白: 4個, 糖: 55g, 蛋黃: 4個, 牛奶: 50g, 色拉油: 50g, 低筋麵粉: 55g, 斑斕香精: 適量, 淡奶油: 250g, 糖: 20g, 凍干草莓粉: 10g, 紅色素: 適量, 蔓越莓干: 40g
步驟
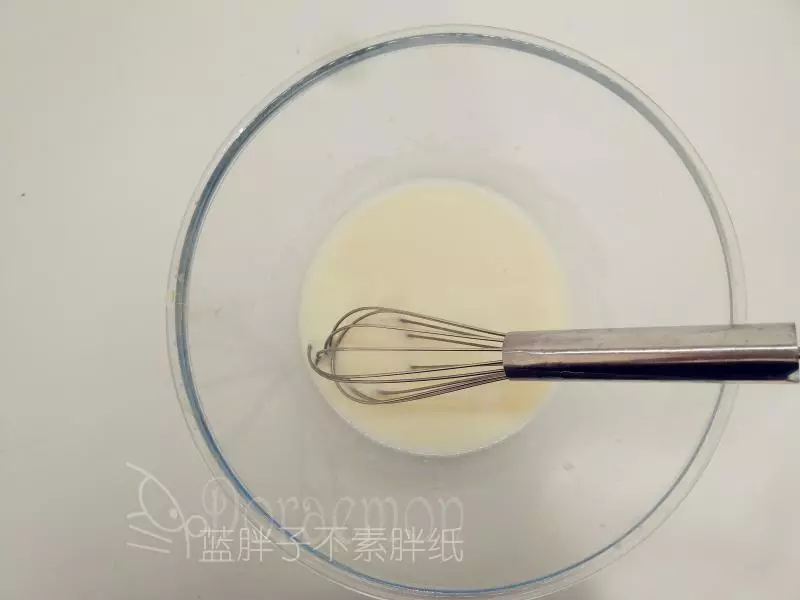
1蛋黃蛋白分開,牛奶和色拉油倒入打蛋盆中,畫「Z」字攪拌均勻。
2篩入低筋麵粉,畫「Z"字,攪拌均勻。
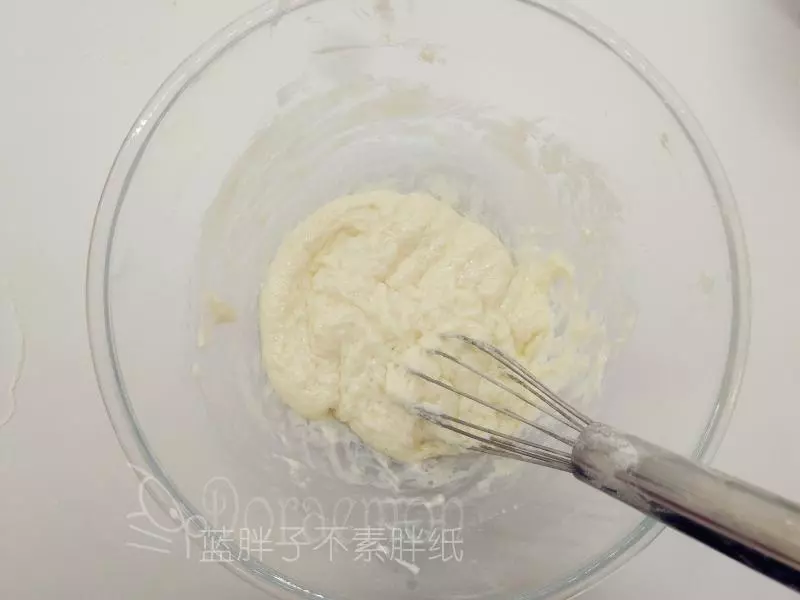
3加入蛋黃,畫「Z"字攪拌成細膩光滑狀。
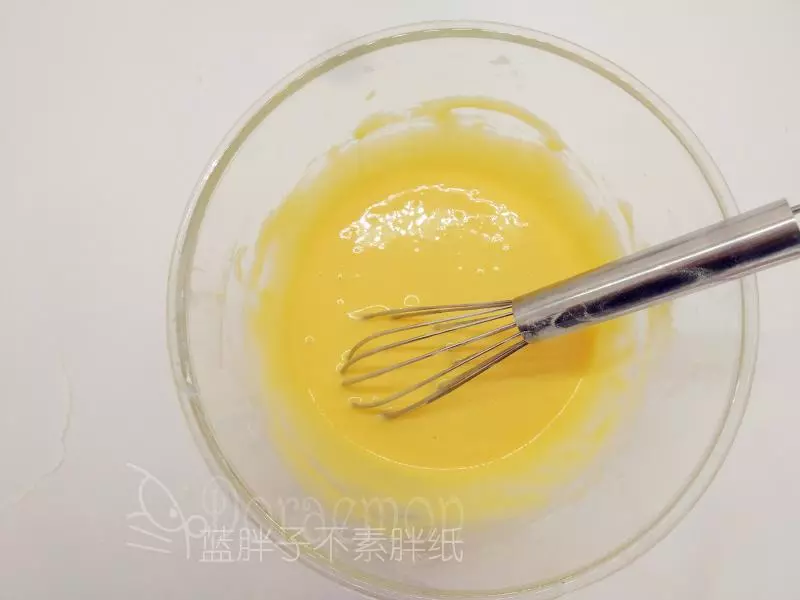
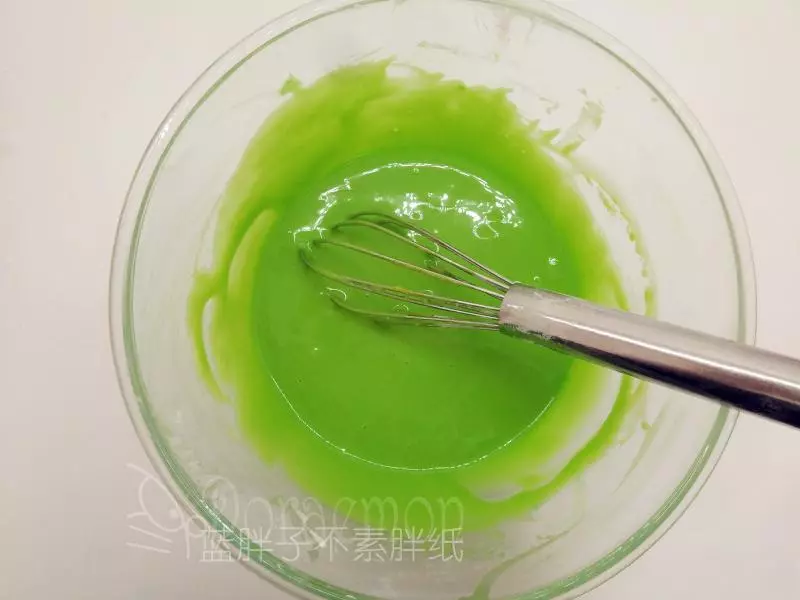
4滴入3滴斑斕香精,繼續用手動打蛋器攪拌均勻。攪拌好的麵糊放在一旁備用。這時候可預熱烤箱,190℃。
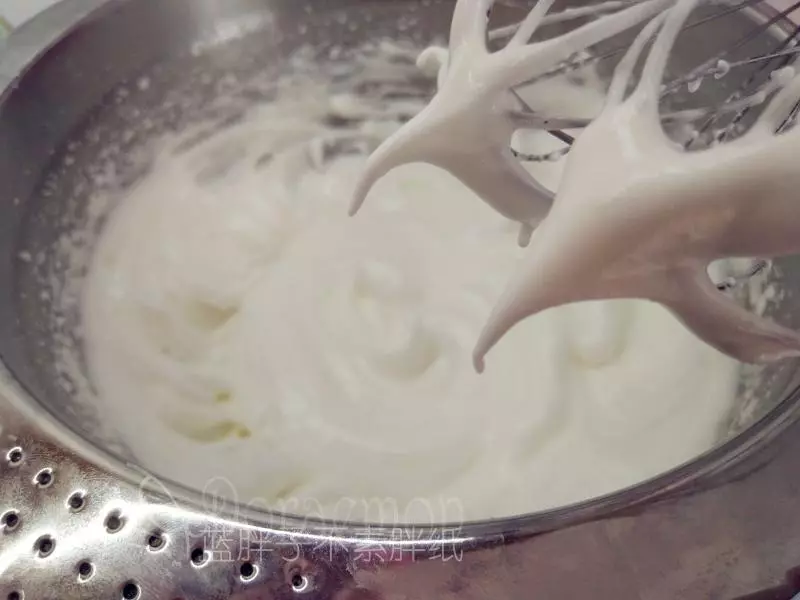
5往蛋白中分3次加入糖粉,打至濕性發泡。(首先,用打蛋器低速將蛋白攪打至起魚眼泡,加入1/3的糖粉。接著,繼續用電動打蛋器高速攪打,至蛋白體積膨脹1倍,再加入1/3的糖粉。然後,繼續用電動打蛋器中速攪打,稍微出現紋路,加入剩餘的1/3的糖粉。最後低速攪打,直到提起打蛋器時出現鷹鉤嘴即可。)
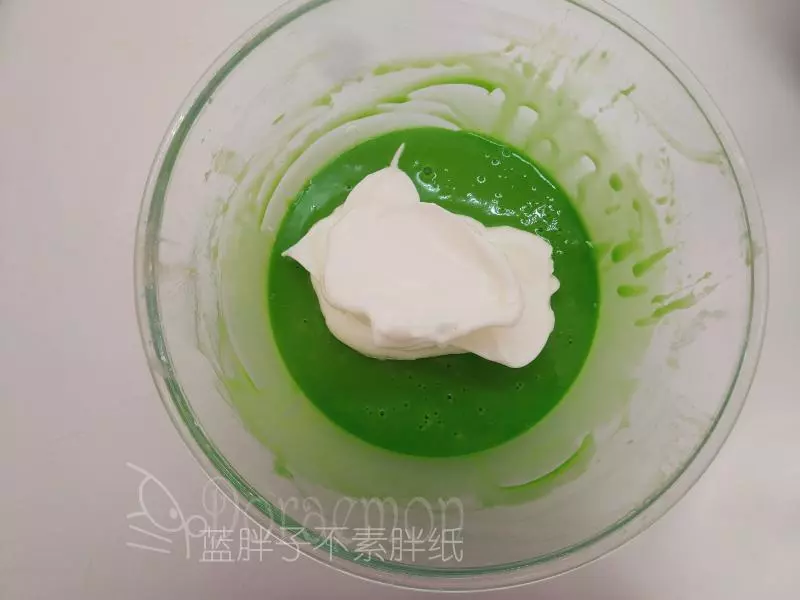
6取1/3的蛋白霜加入到蛋黃糊中,用橡皮刮刀用翻拌的手法拌勻。
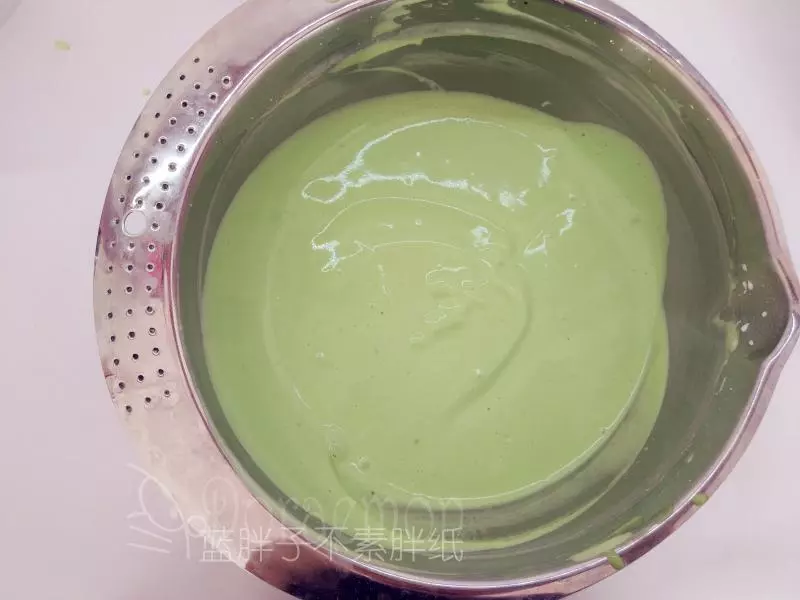
7再倒回蛋白霜中,繼續用橡皮刮刀用翻拌的手法拌勻,直至看不到一絲蛋白,麵糊呈細膩光滑狀,這就是西瓜皮的淺色麵糊。
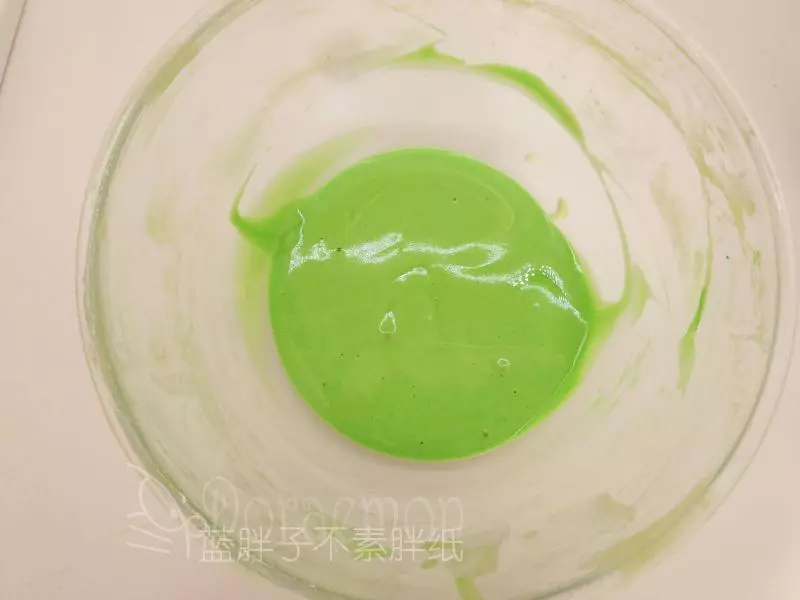
8取4大勺麵糊放在碗中,再滴入兩滴斑斕香精,翻拌均勻,成為深色麵糊。
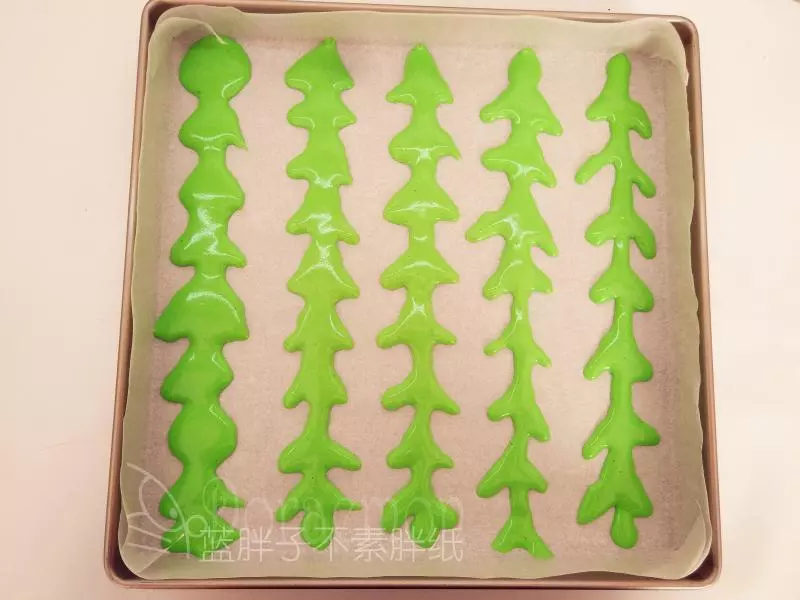
9學廚烤盤提前鋪好油紙,深色麵糊倒入裱花袋,在烤盤中畫出西瓜皮的紋路。擠好之後震兩下,送入預熱好的烤箱,上下火170℃,烤2分鐘定型。
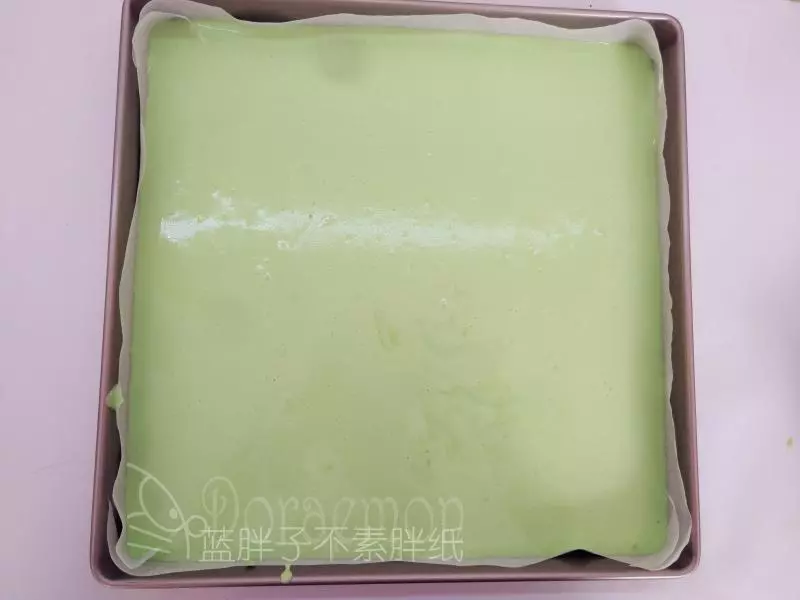
10取出烤盤,將淺色麵糊倒入烤盤中,用刮刀稍微抹平,再震兩下。
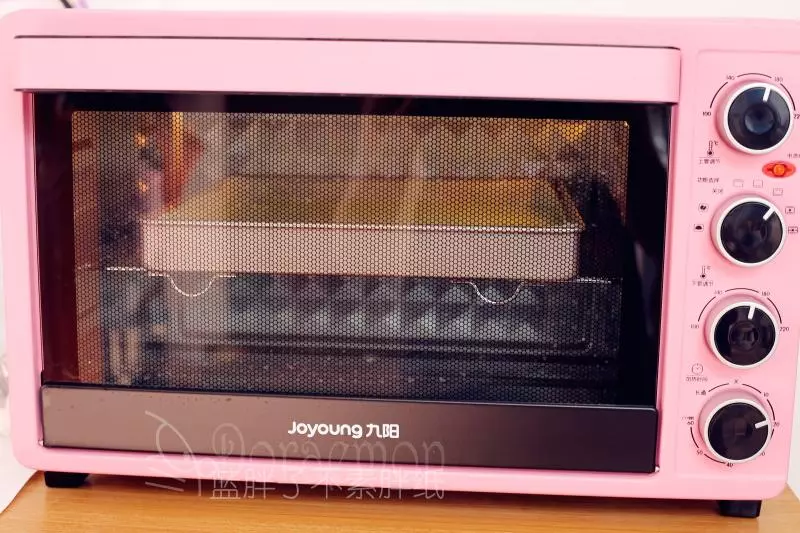
11送入預熱好的烤箱,上下火170℃,中層烤20分鐘。
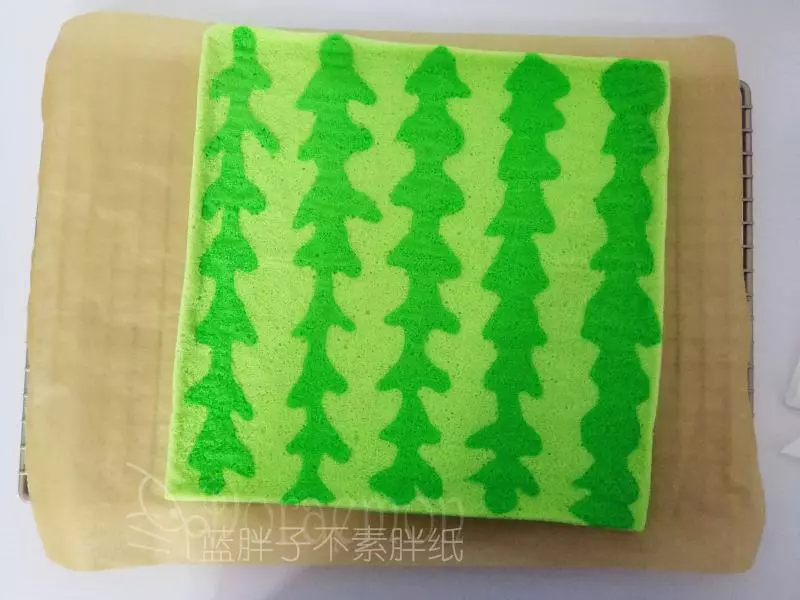
12蛋糕出爐後從高處摔一下,震出熱氣。脫模的時候,烤網上墊一張油紙,將蛋糕體直接倒扣在油紙上,記得上面要加蓋油紙,防止變干。
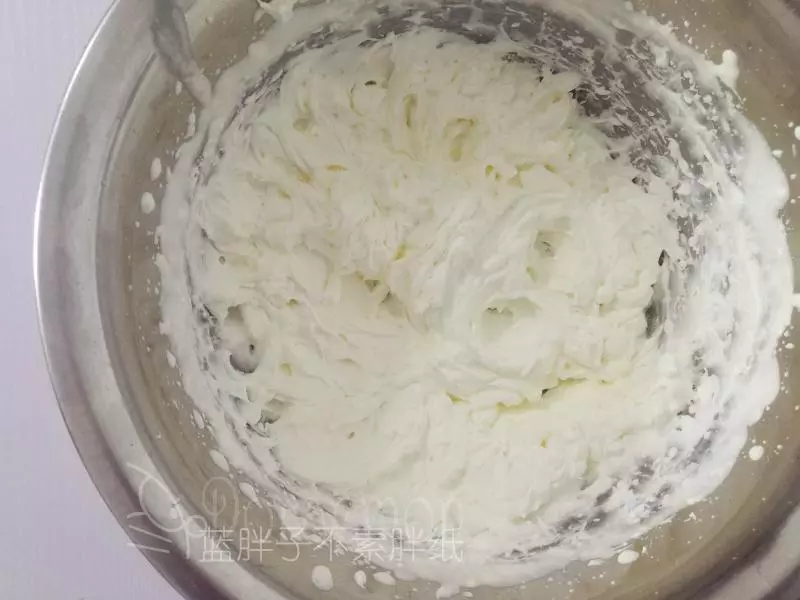
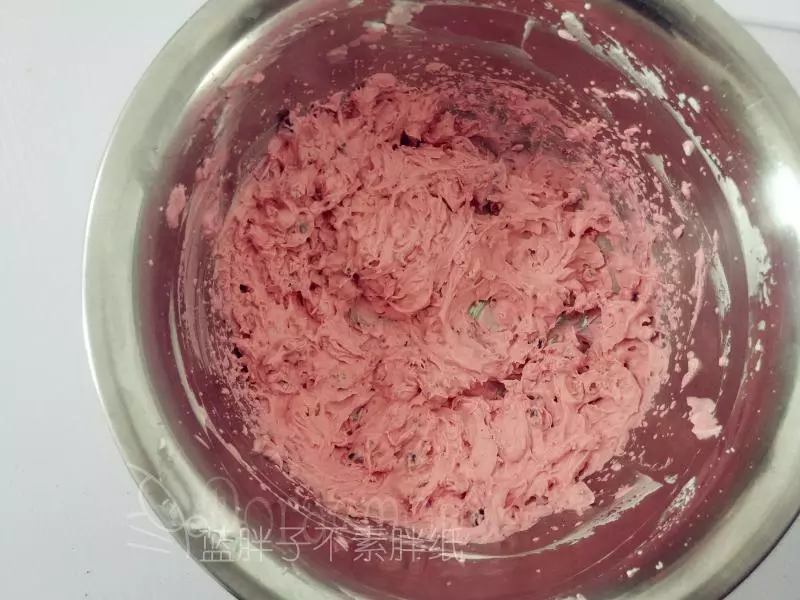
13淡奶油加入糖粉,打發到剛剛出現紋路狀態。
14加入凍乾草莓粉,在用牙籤挑一點點色素,還有切碎的蔓越莓干,一起打發到裱花狀態。
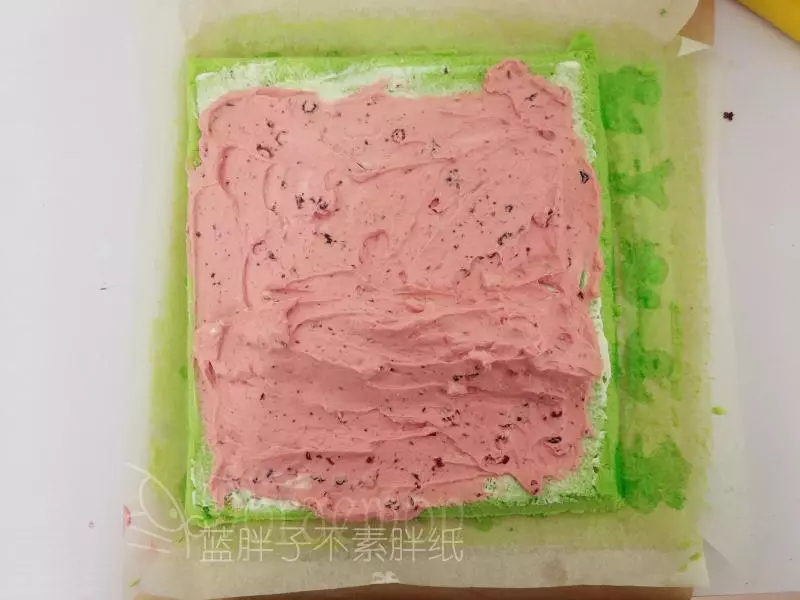
15用抹刀在蛋糕體上均勻的抹上一層奶油餡,然後在離自己較近的一側1/3處用奶油餡堆砌一個小山丘。
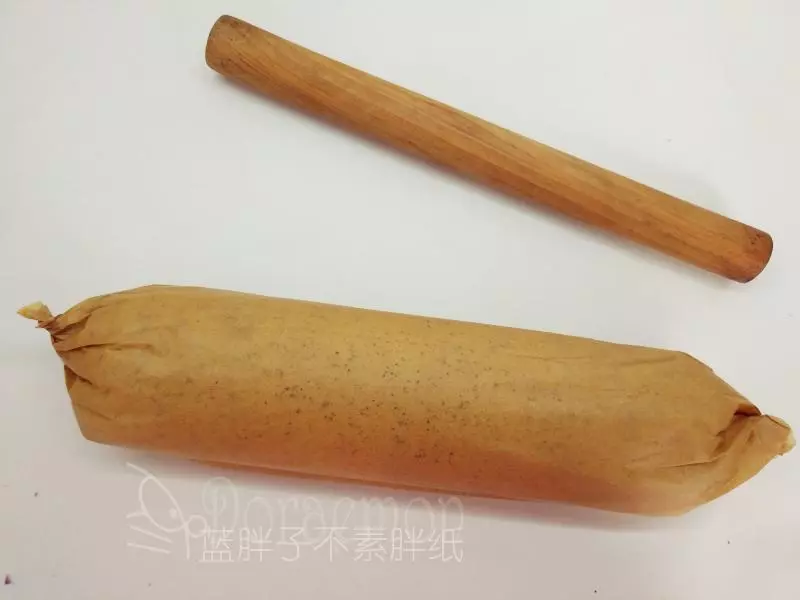
16藉助擀麵杖將蛋糕捲起來,送入冰箱冷藏一個小時定型。
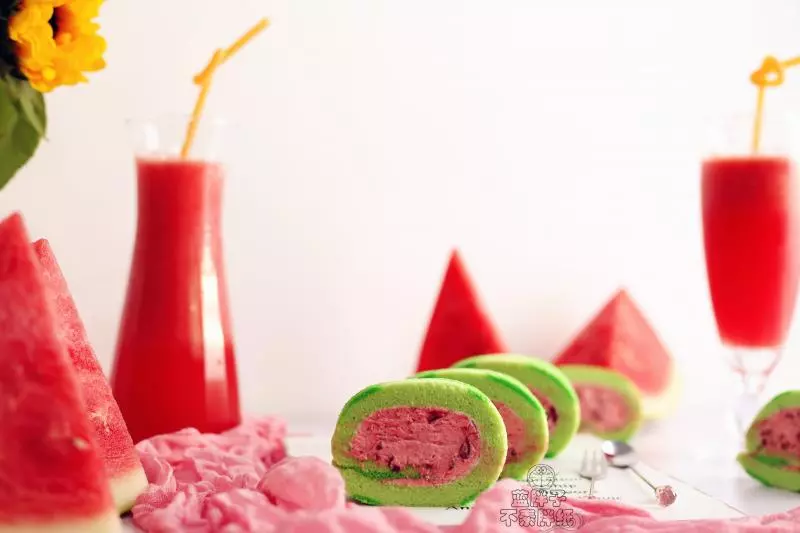
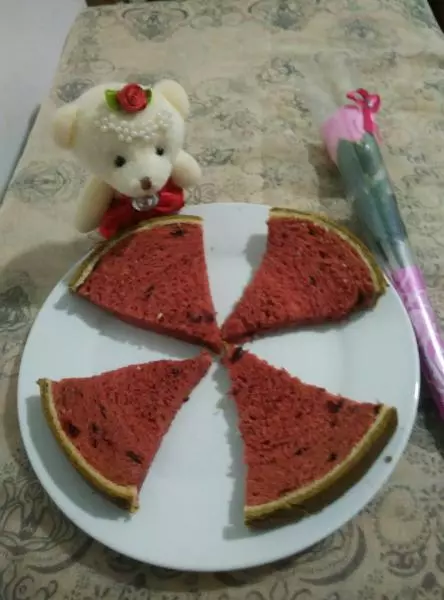
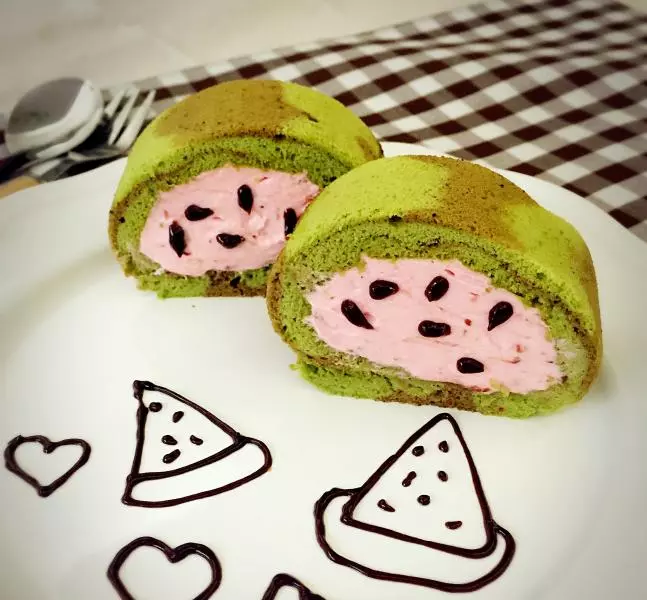
17定型好的蛋糕卷切件之後就可以食用啦。

小技巧
1.蛋白鹽裝入乾淨、無水、無油的打蛋盆中。 2.後蛋法麵糊更細膩。 3.蛋白霜打發到有小彎鉤即可。打發過頭的蛋糕卷在卷的時候容易開裂。 4.烘烤的時間和溫度請根據自己烤箱的脾氣進行調節。 5.淡奶油提前倒入打蛋盆,連同打蛋器放入冰箱冷藏,同時隔冰水打發。 6.配方的量適合學廚11寸不粘正方型烤盤。


![解暑酸梅湯。[By Fyr]](/images/node/28/282677.webp?1638107036)