原料
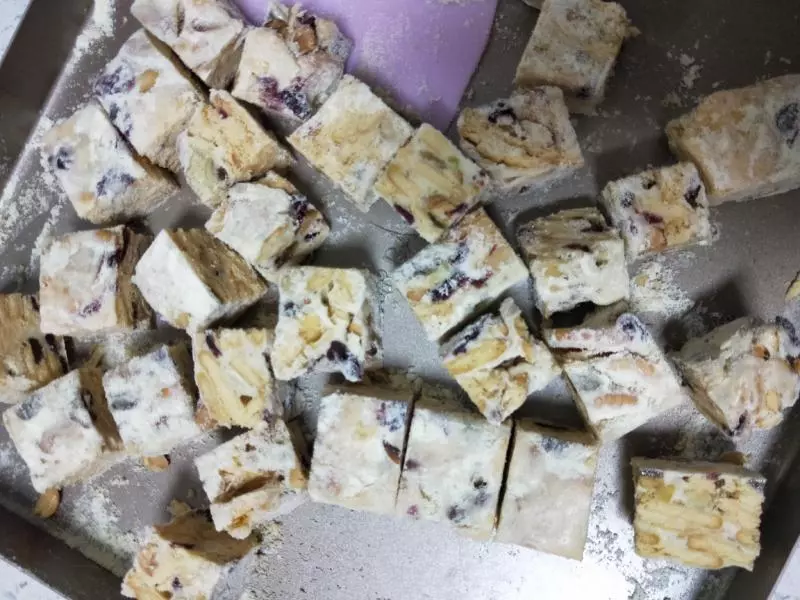
牛奶: 50克, 大豆油: 40克, 白糖: 70克, 雞蛋: 4隻, 低筋麵粉: 40克, 玉米澱粉: 15克, 淡奶油: 100克, 白糖: 10克, 火龍果: 半個, 草莓: 2個, 芒果: 半個
步驟
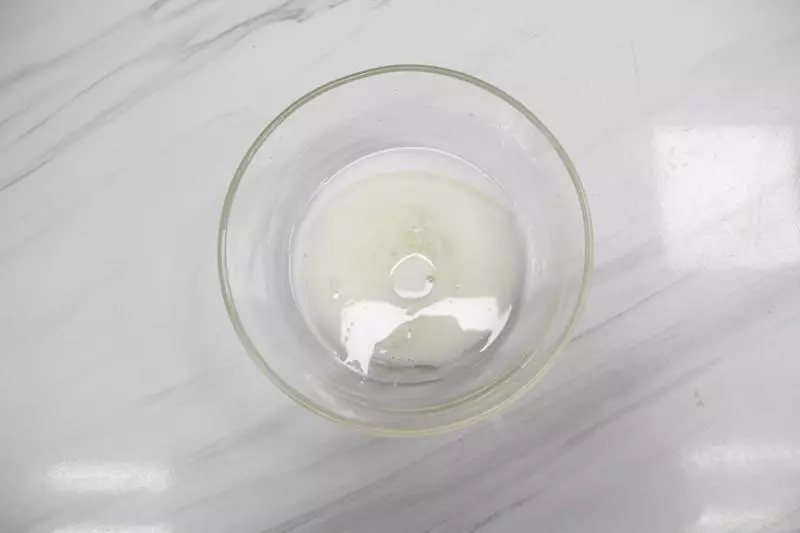
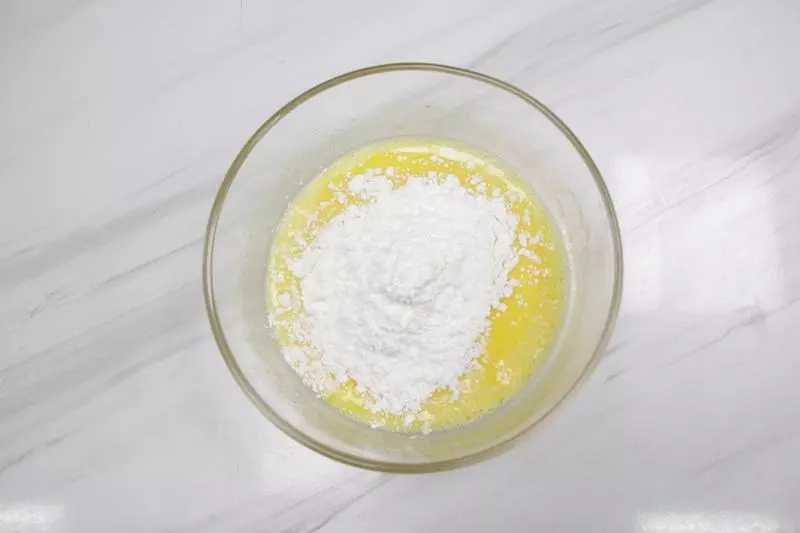
1把牛奶、大豆油和一部分白糖,全部混合均勻。攪拌至糖溶化
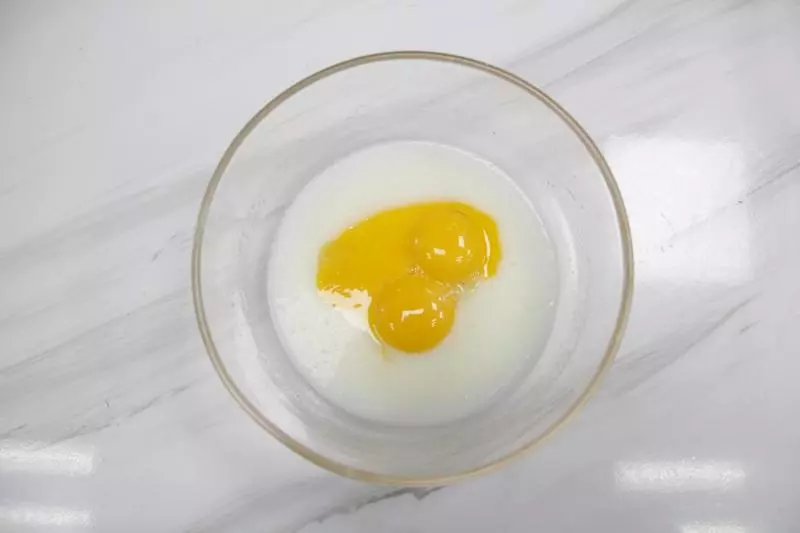
2加入蛋黃攪拌至均勻
3加入過篩好的低筋麵粉和玉米澱粉,翻拌至順滑無顆粒
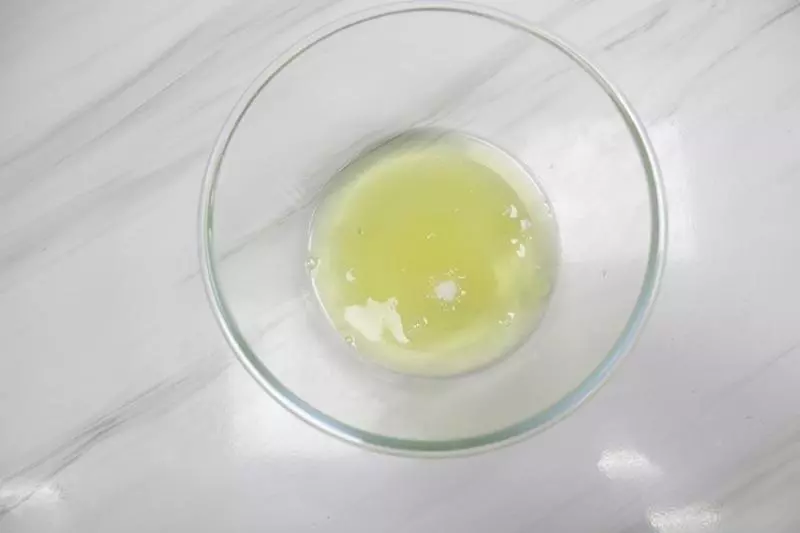
4把最後一部分白糖加入蛋清里冷藏備用
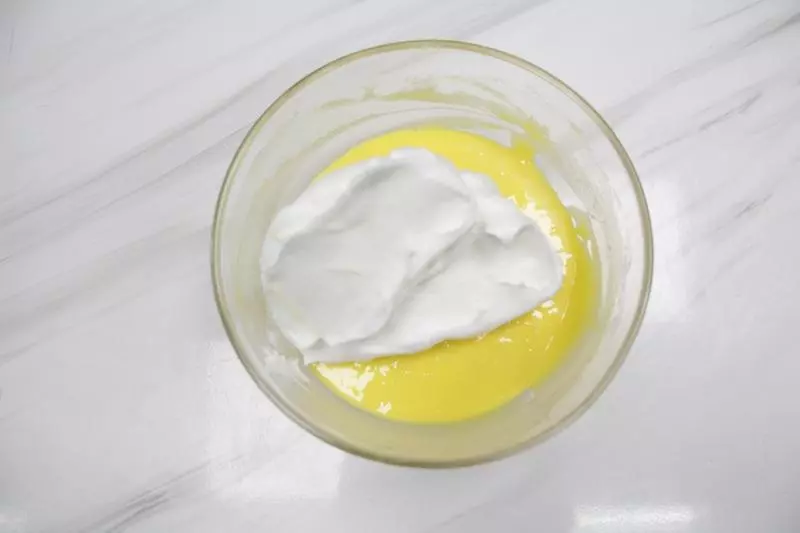
5把冷藏好的蛋清,用電動打蛋器打發至濕性發泡

6取三分之一的蛋白霜,跟蛋黃糊混合,翻拌均勻
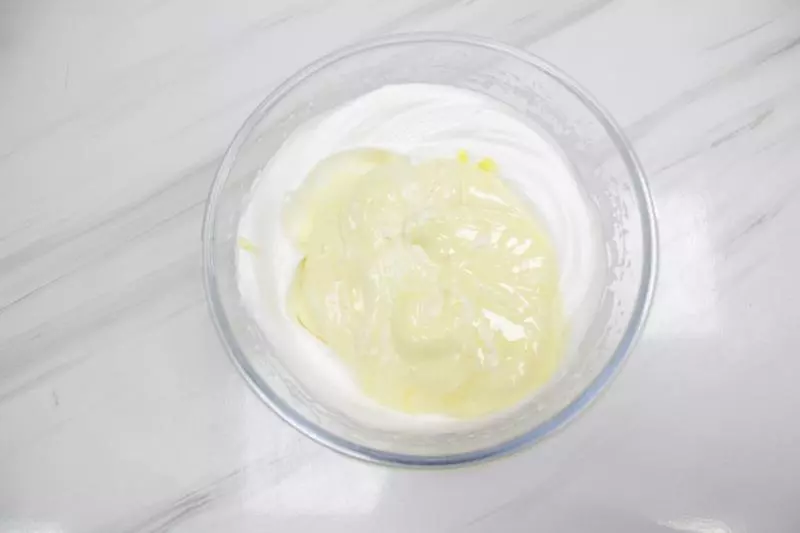
7把翻拌均勻的麵糊全部倒回蛋白霜里,混合翻拌均勻至無顆粒
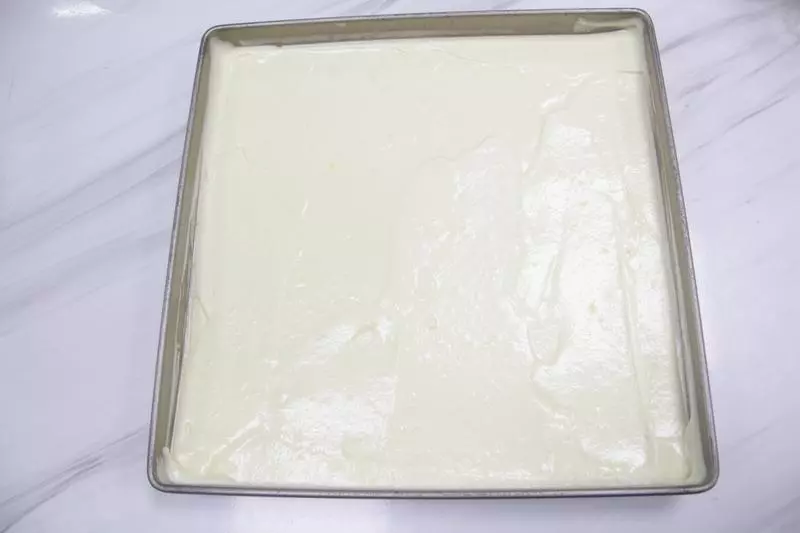
8均勻後的麵糊,烤盤墊上油紙,全部倒入黃金烤盤裡,用刮刀刮平即可
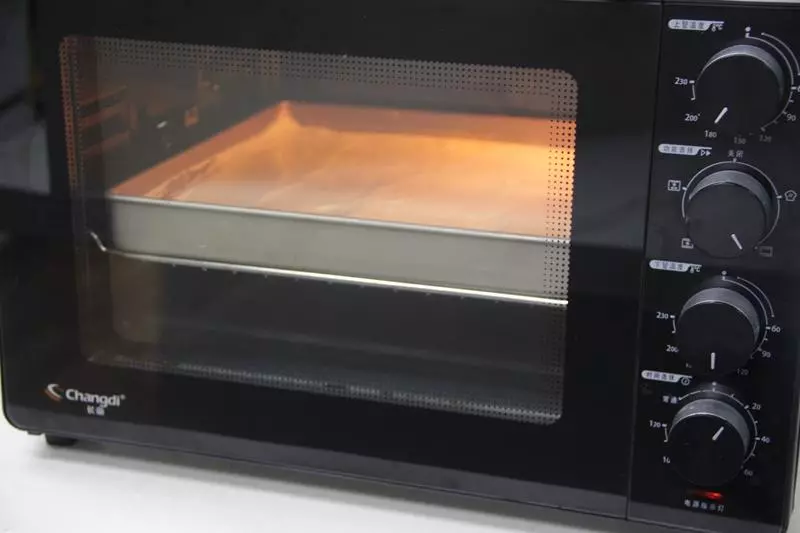
9烤箱提前預熱,上火180,下火150,烘烤15分鐘
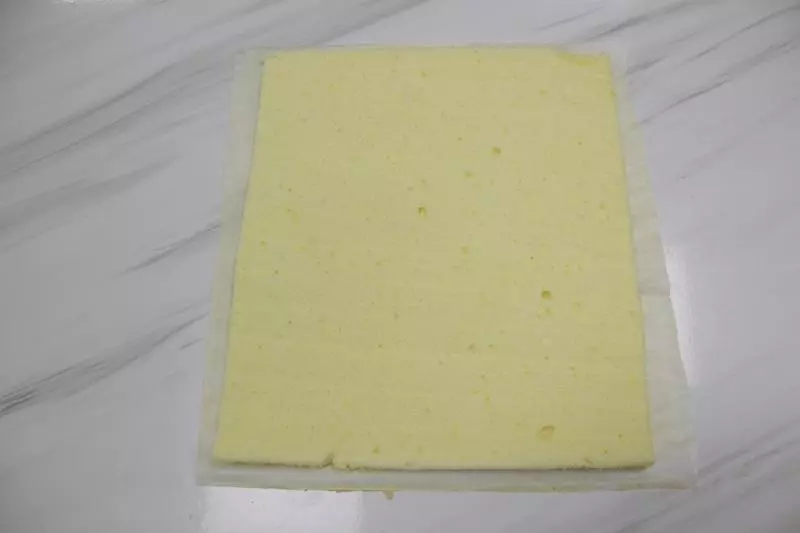
10出爐後,撕下油紙放涼備用
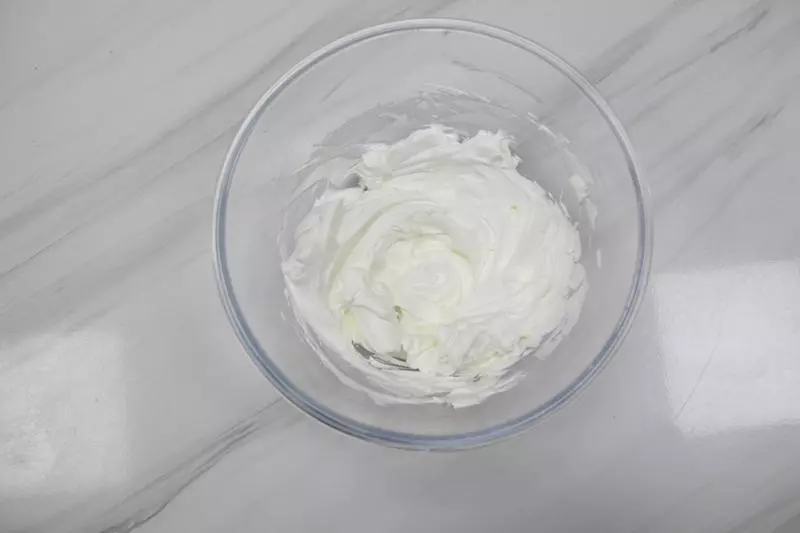
11白糖加入淡奶油,用電動打蛋器打發至乾性發泡
12把打發好的奶油,裝進裱花袋備用

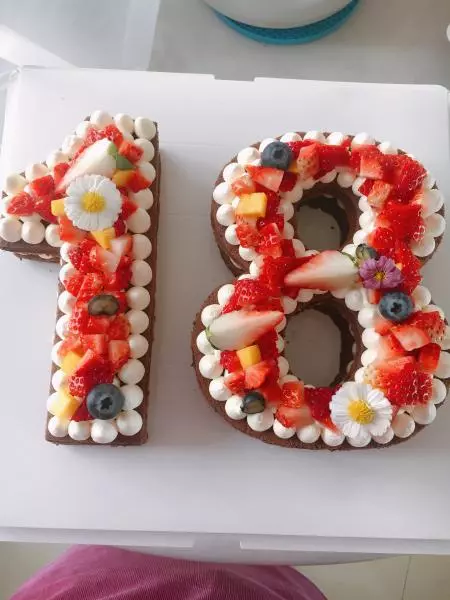
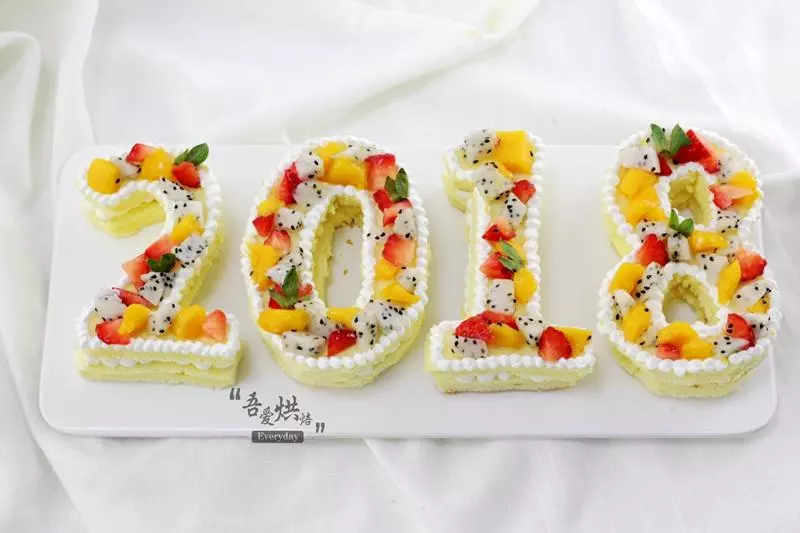
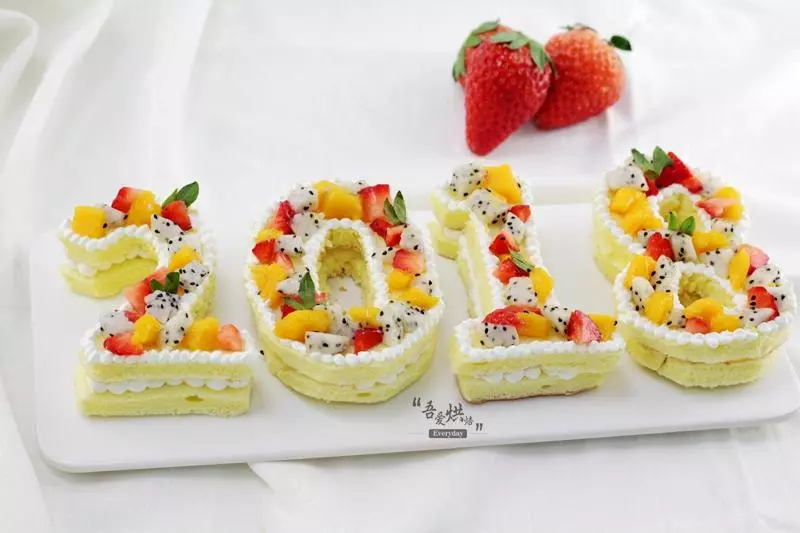
13準備好紙張數字的大小,栽剪出來,放在蛋糕胚上量好尺寸
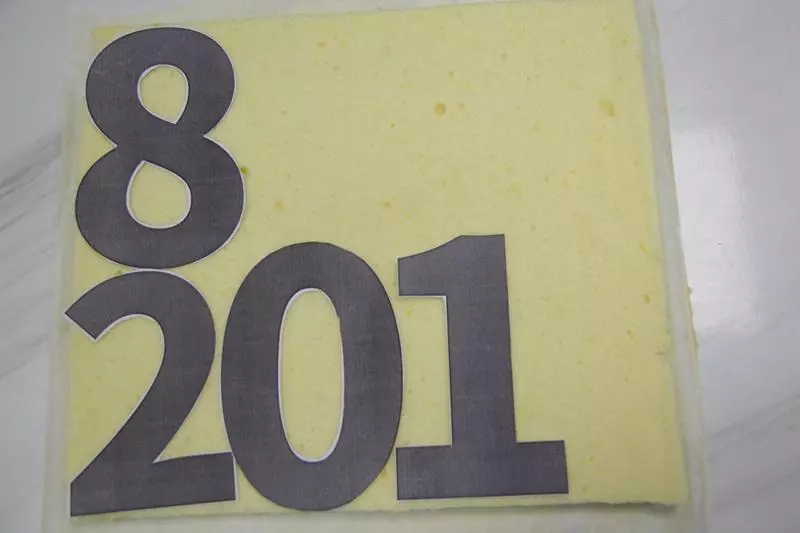
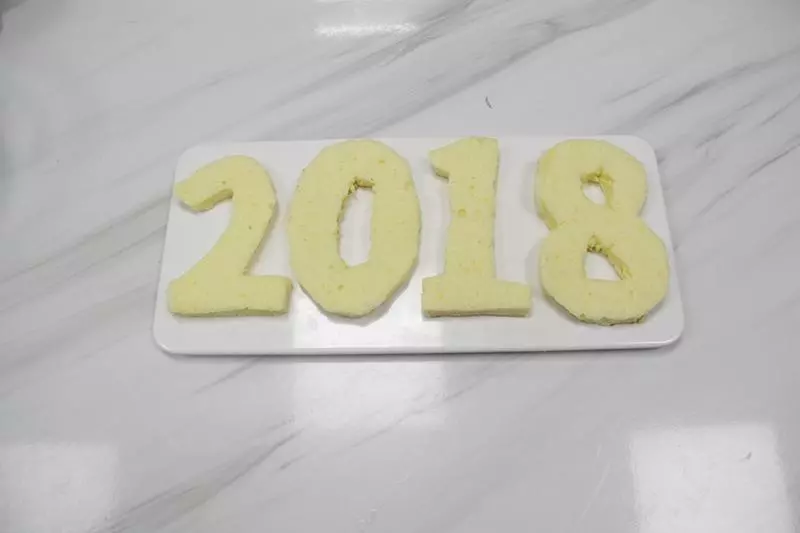
14印著數字的大小,栽出各對應的2塊蛋糕胚
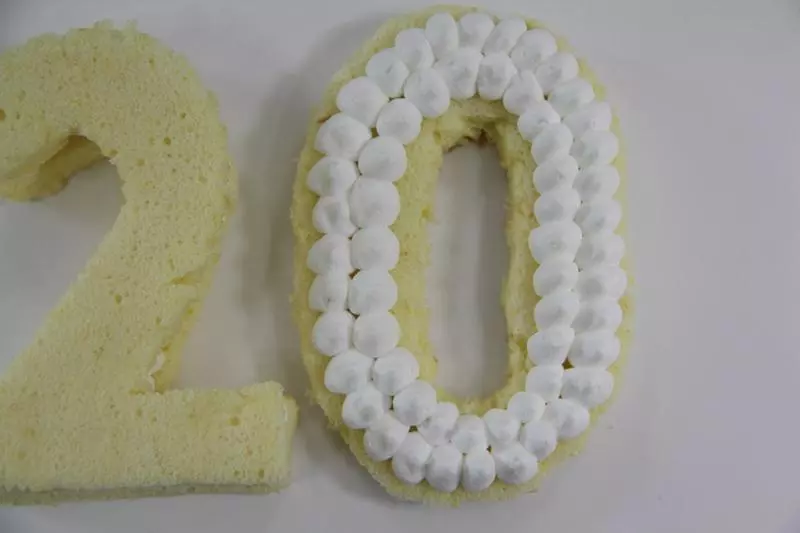
15然後,各取出一塊數字蛋糕胚,在表面各擠上奶油

16接著,在擠好的奶油表面,蓋上對應的數字蛋糕胚,組合起來
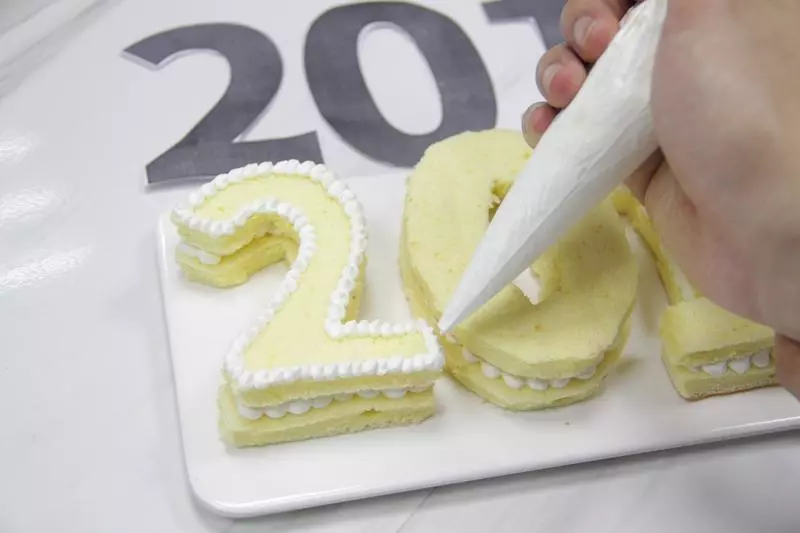
17最後,在上層邊沿各擠上奶油
18把所有水果洗乾淨切成小丁
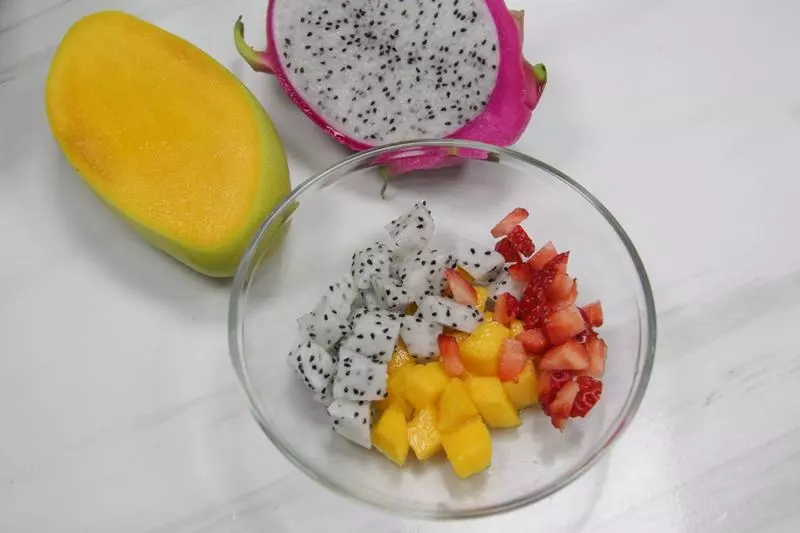
19在奶油內邊放上不同的水果,即可
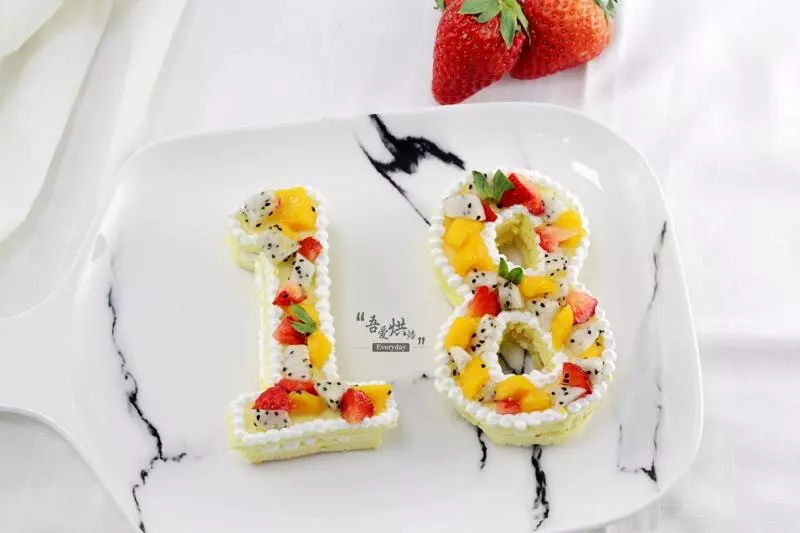
20可以加一點點葉子點綴
小技巧
1:如果直接使用數字模具的話,就簡單方便些,不需要裁剪 2:表面的水果最好是多加幾樣,顏色豐富更加誘人