原料
蛋黃: 2個, 蛋清: 4個, 鹽: 4g, 水: 45g, 色拉油(千萬千萬不要用花生油否則你會後悔的): 40g, 低粉: 65g, 細砂糖: 40g, 火腿: 半根, 蔥: 三根小蔥的蔥綠, 白醋: 2滴
步驟
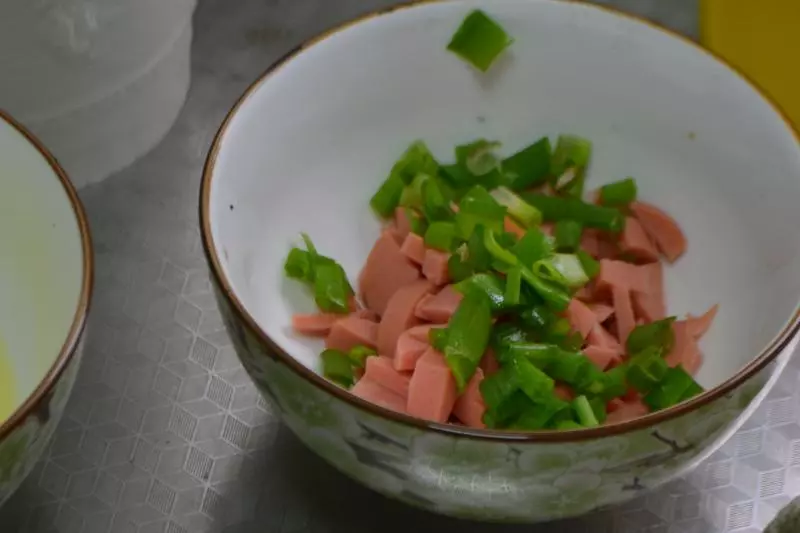
1蔥切碎,火腿切碎
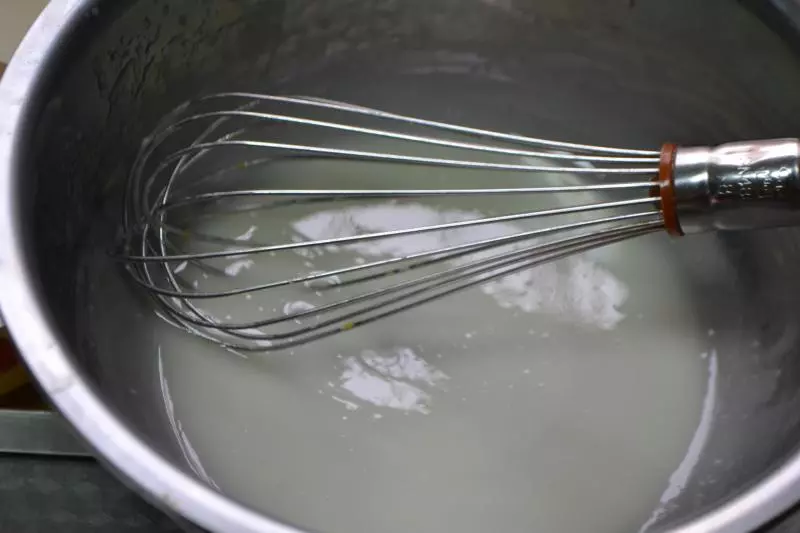
2水油鹽混合均勻
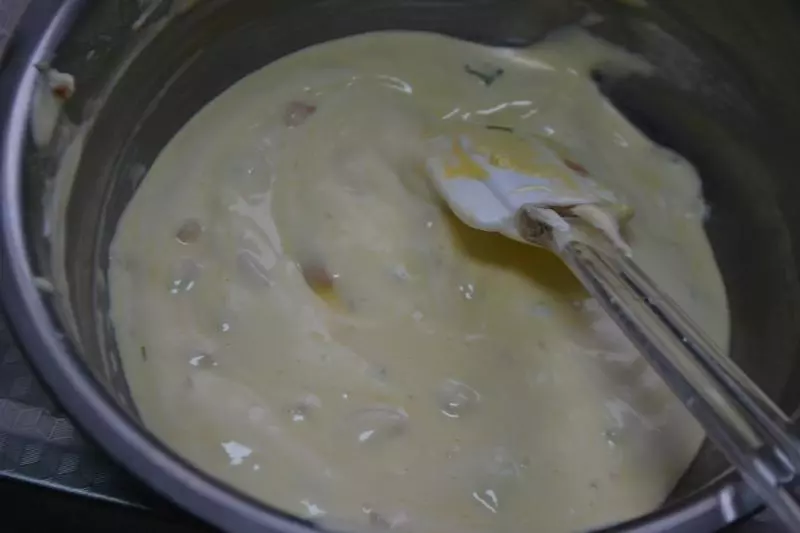
3篩入低粉 攪勻後加蛋黃 (今天手抖倒多10g粉,正常的蛋黃糊應該比這細膩些,不過我覺得還不錯)
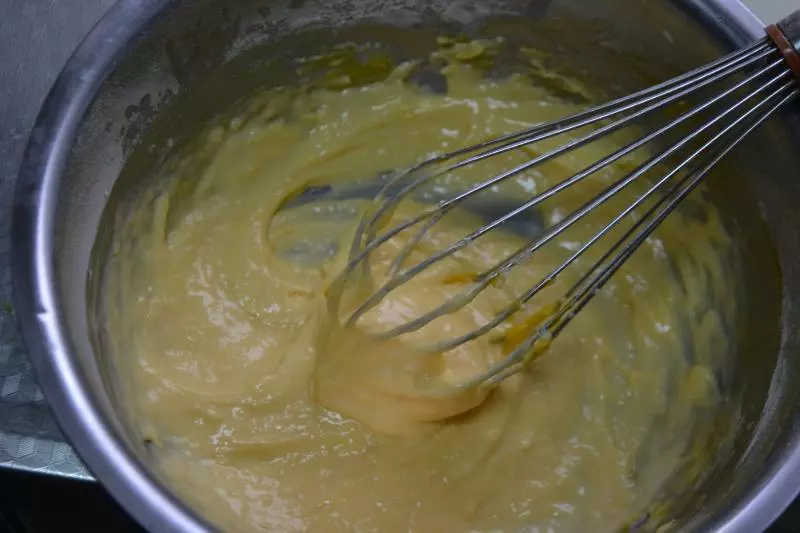
4加入步驟一 拌勻

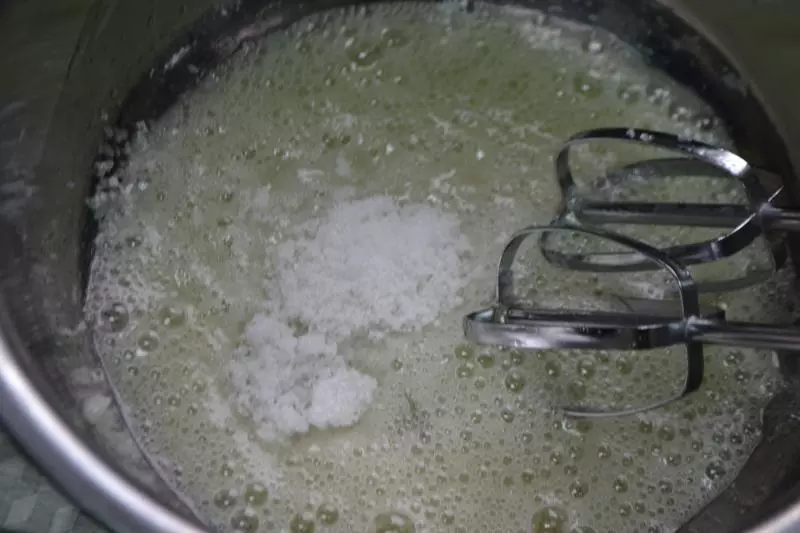
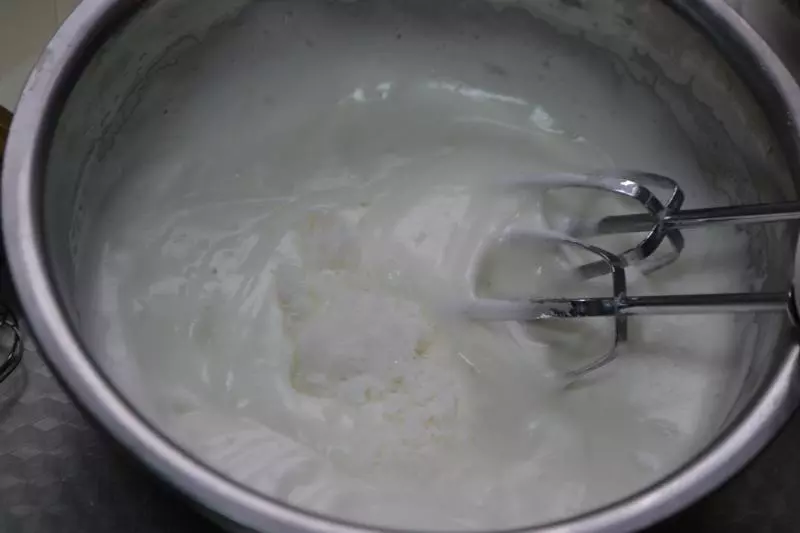
5電動打蛋器中速打散蛋清 然後加白醋和1/3的糖 烤箱預熱175度
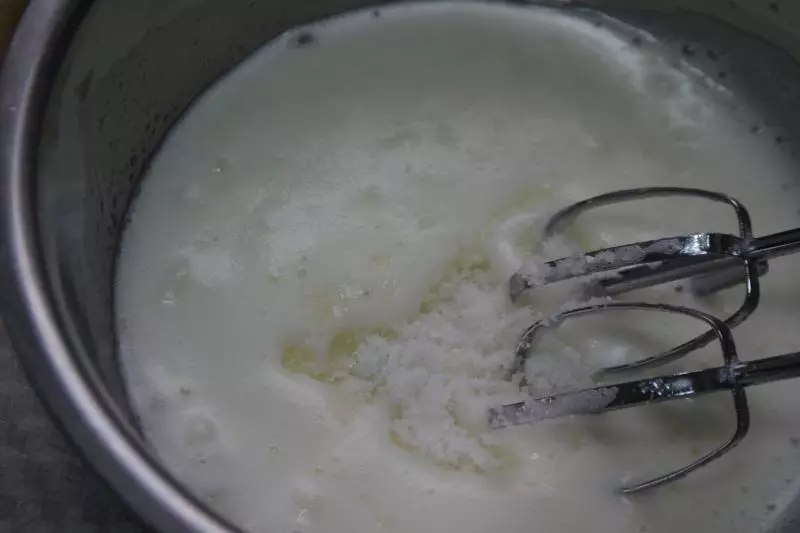
6打至細膩再加1/3的糖
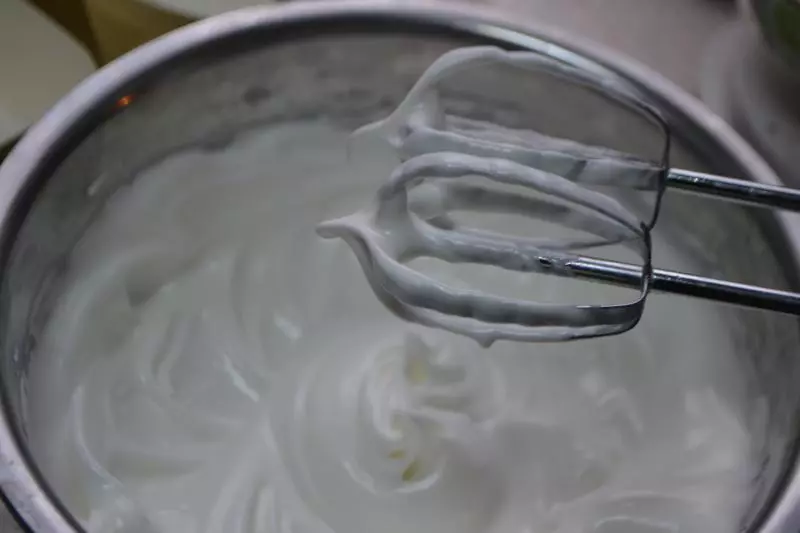
7有紋路後再加1/3的糖
8打至中性發泡
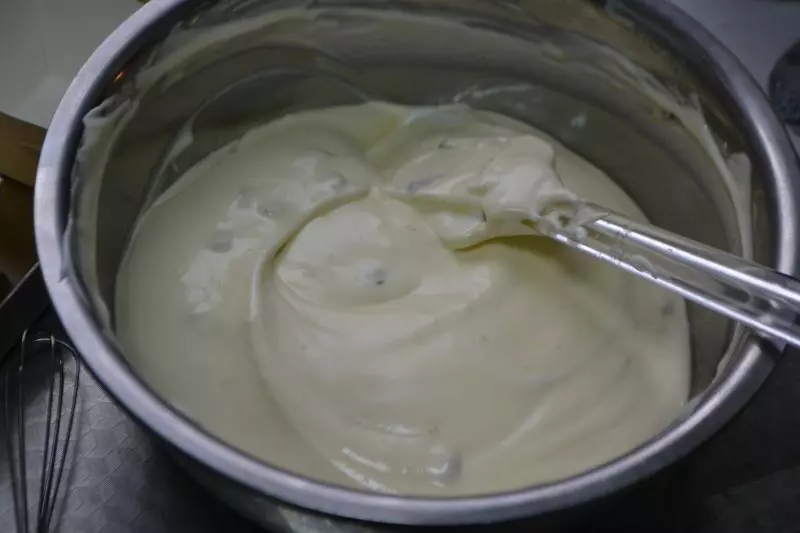
9取1/3的蛋清與蛋黃糊大致混勻
10倒回剩下的蛋白霜中
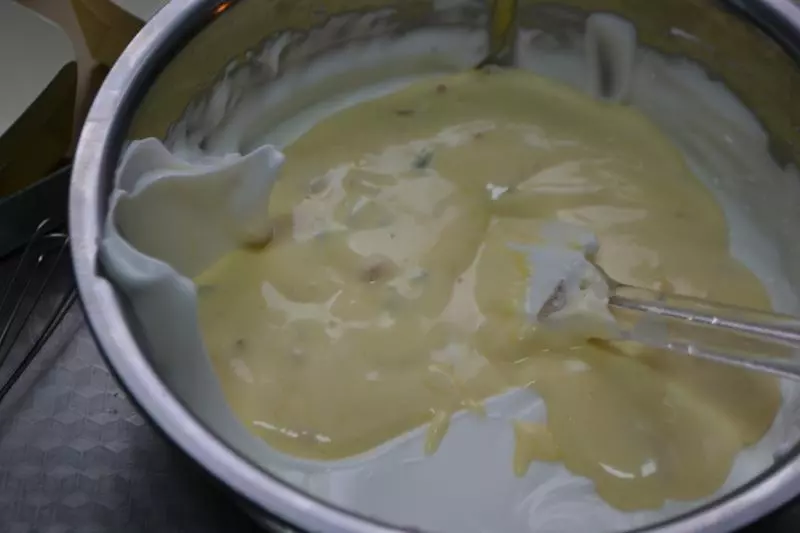
11兜底翻拌均勻
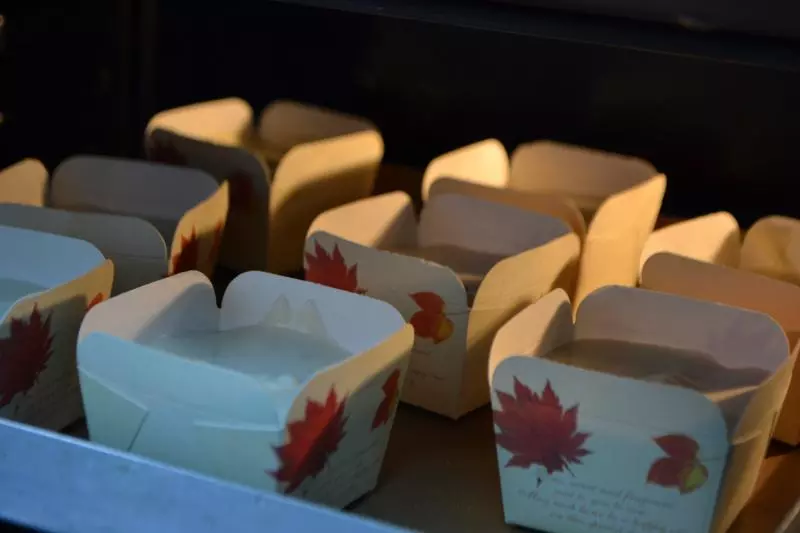
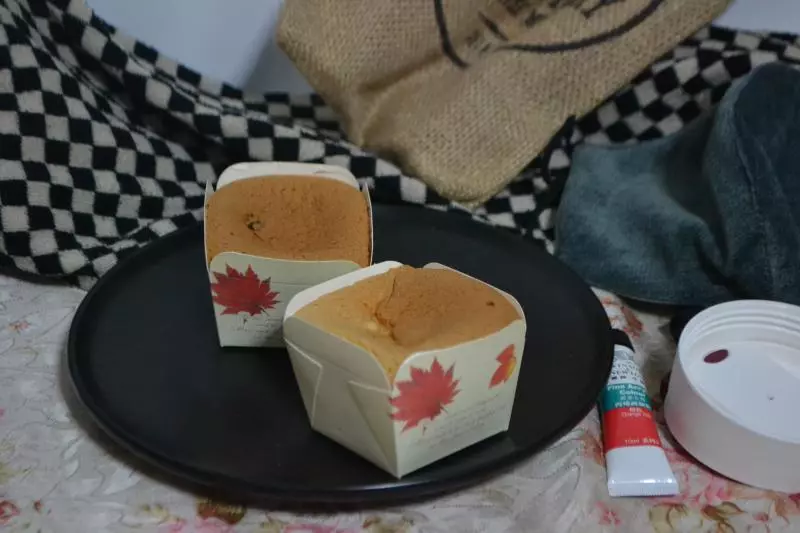
12用裱花帶擠入紙杯
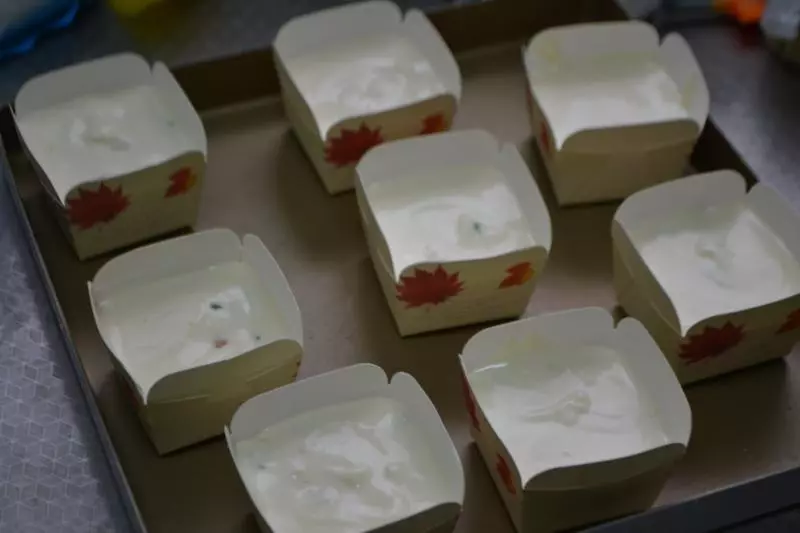
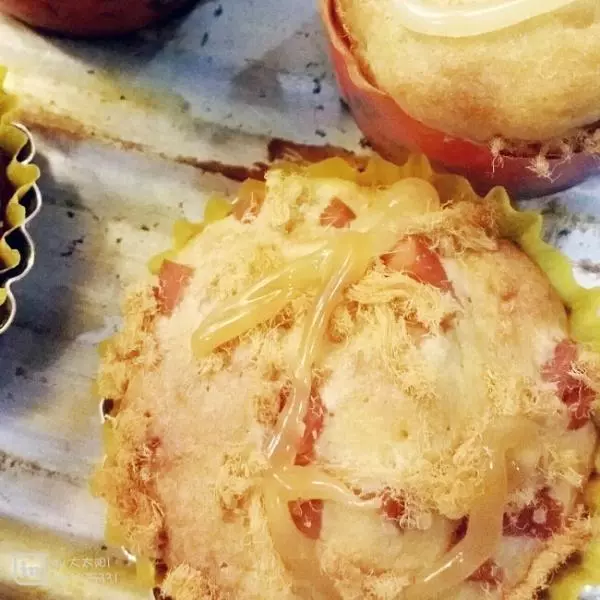
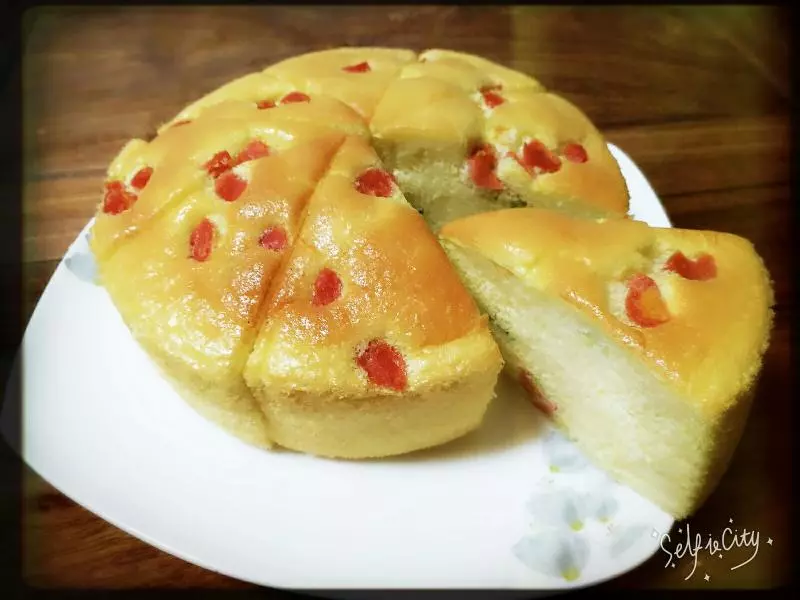
13烤箱上下火中層 (最好不要墊兩個烤盤,不信邪你試試) 175度26~30分鐘 蛋糕上色插入竹籤拔出是乾淨的就行了 取出放涼就可以吃了