原料
高筋麵粉: 225克, 南瓜泥: 108克, 全蛋液(刷表面用): 適量, 細砂糖: 36克, 冰箱牛奶: 18克, 鹽: 2.7克, 酵母: 2.7克, 淡奶油: 90克, 低筋麵粉: 45克
步驟
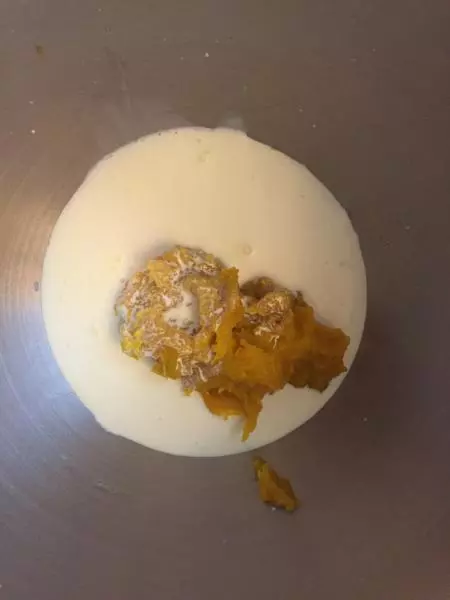
1南瓜泥,用蒸鍋蒸熟,料理機打成泥
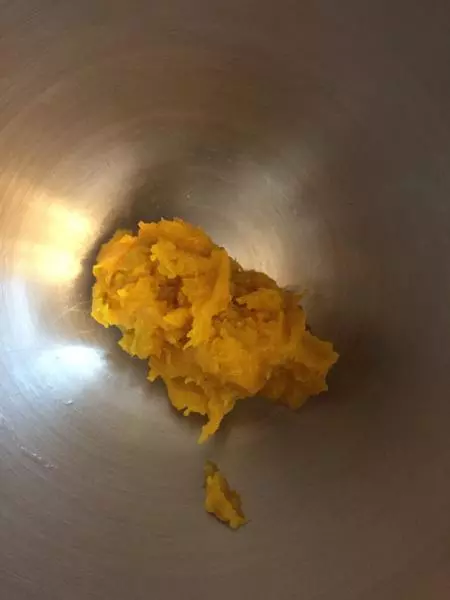
2加入淡奶油

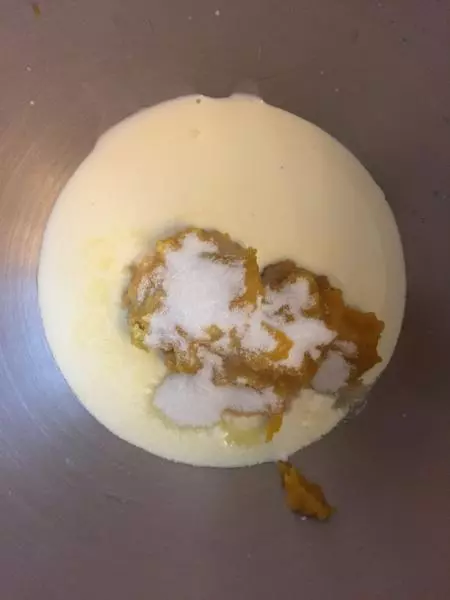
3加入牛奶
4加入糖
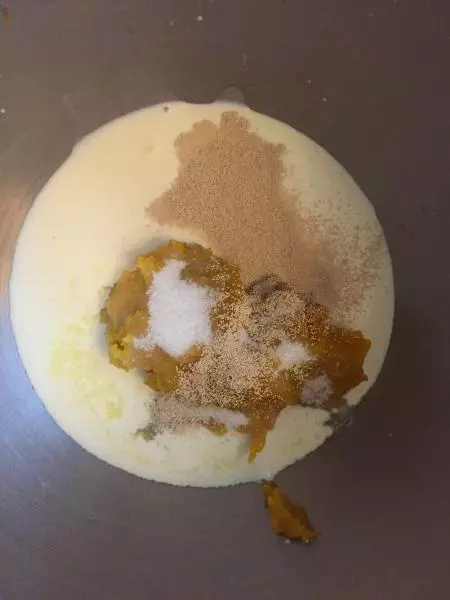
5加入酵母
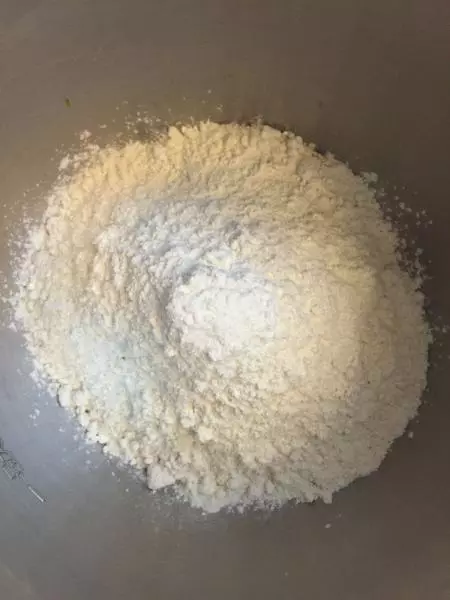
6加入高筋和低筋粉
7加入鹽
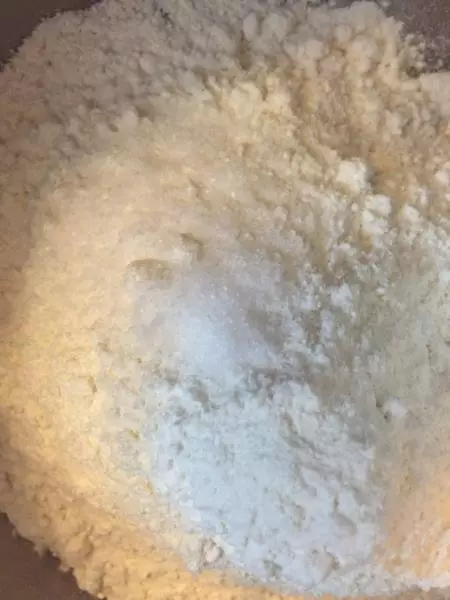
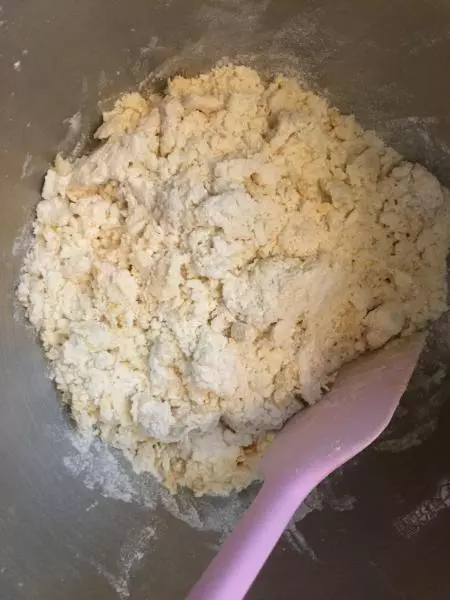
8用刮刀拌到沒水份
9放入廚師機拌
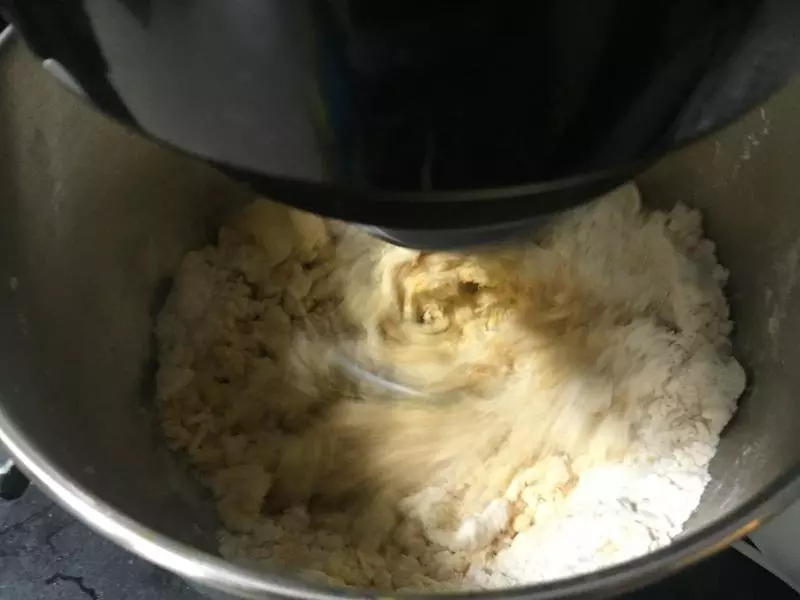
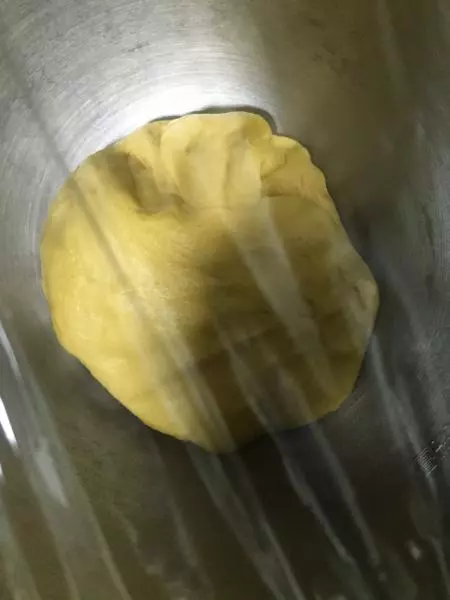
10手揉也可以,能出膜就好。我機器揉花了十分鐘可以出膜
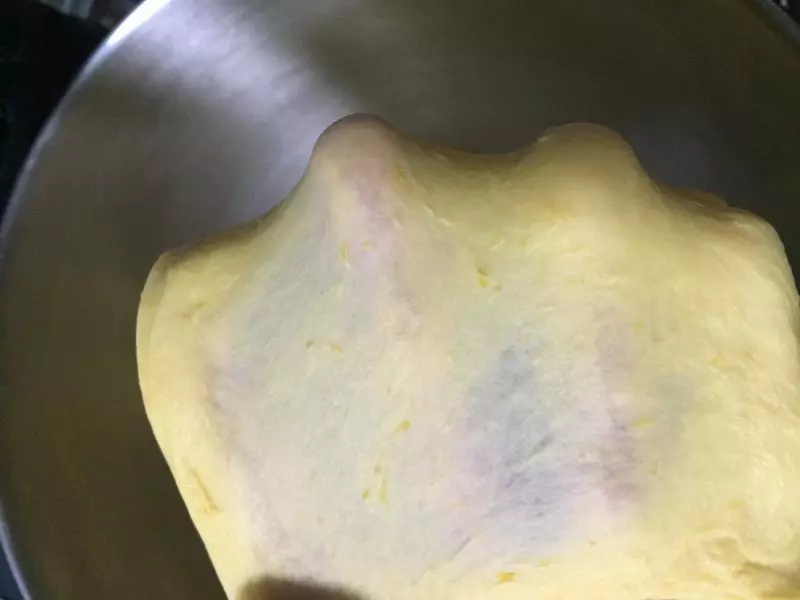
11揉圓備用

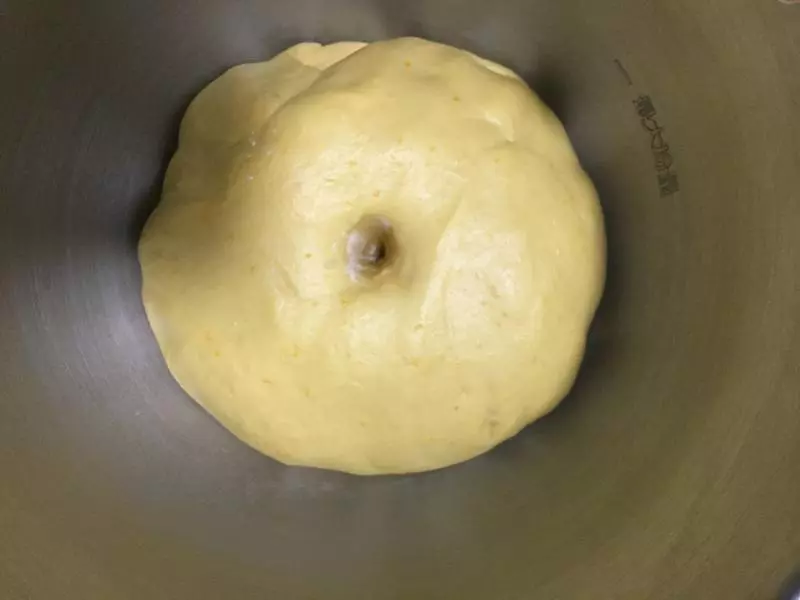
12封好等發酵
13手指沾粉,插進去洞口成v型的微縮。不塌就是可以了。大約60分鐘,26度到30度發酵。
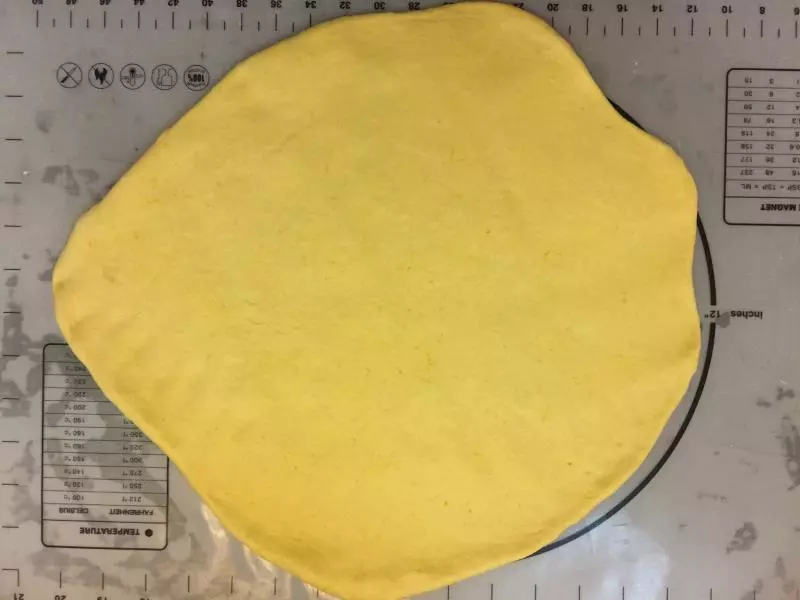
14擀成圓塊,去氣
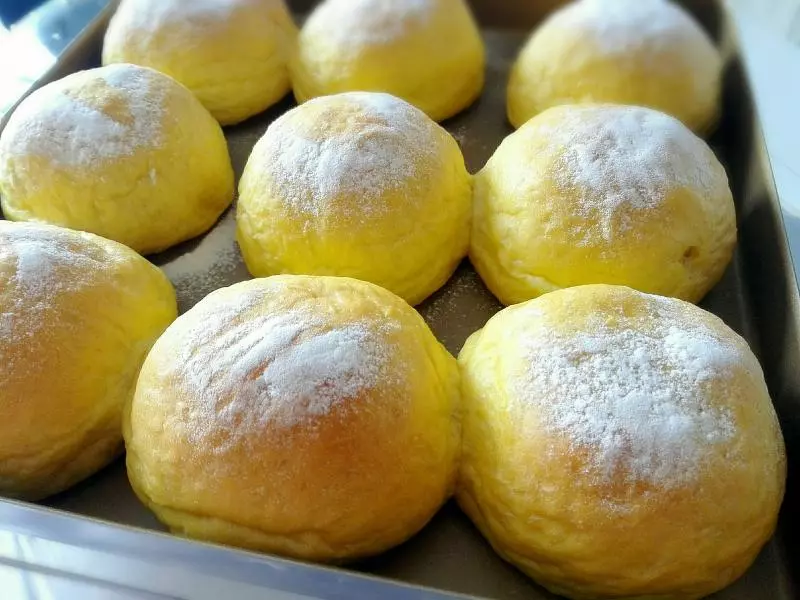
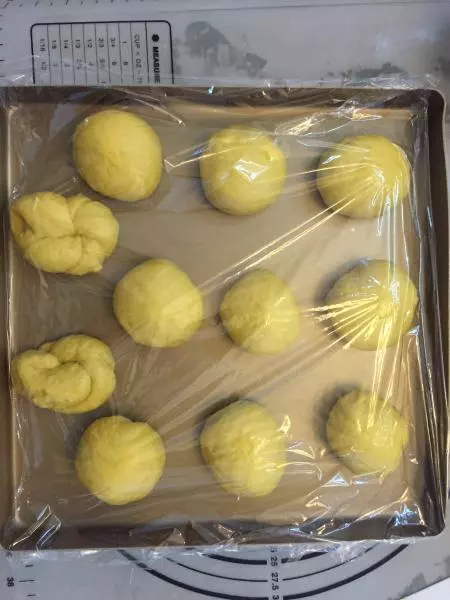
15揉成11個小包放在不粘烤盤上
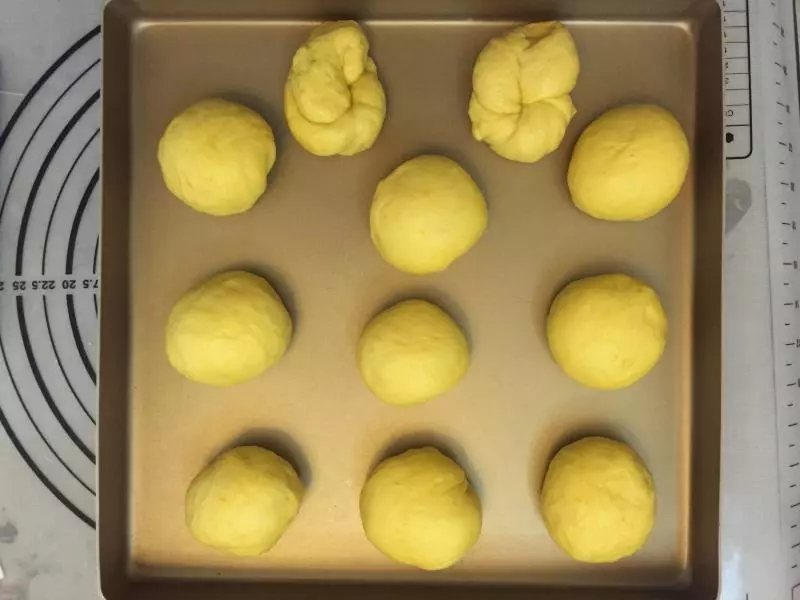
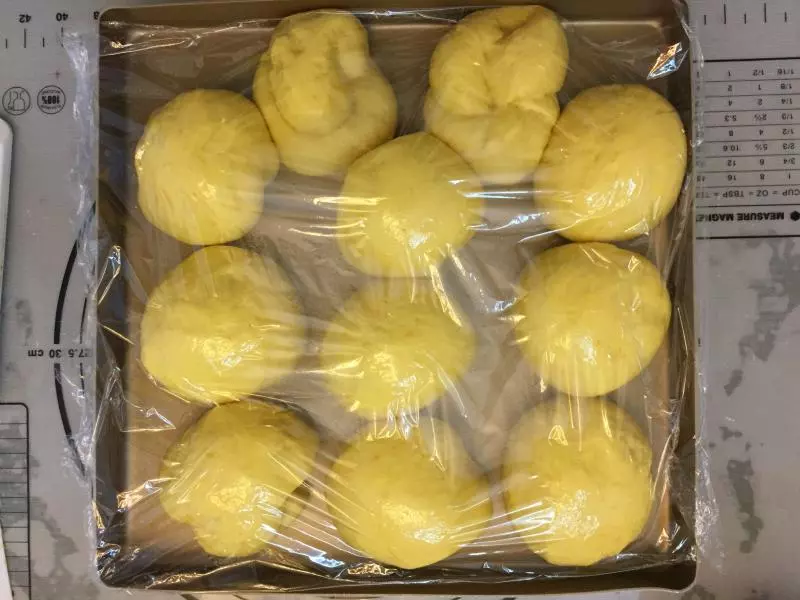
16封好準備再次醒發
17明顯大一倍就好
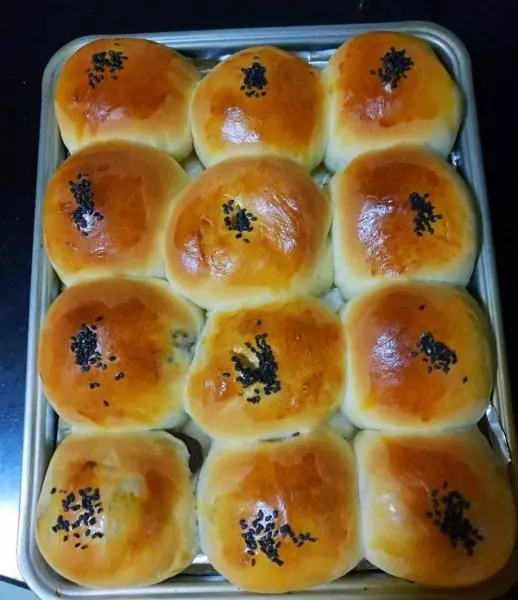
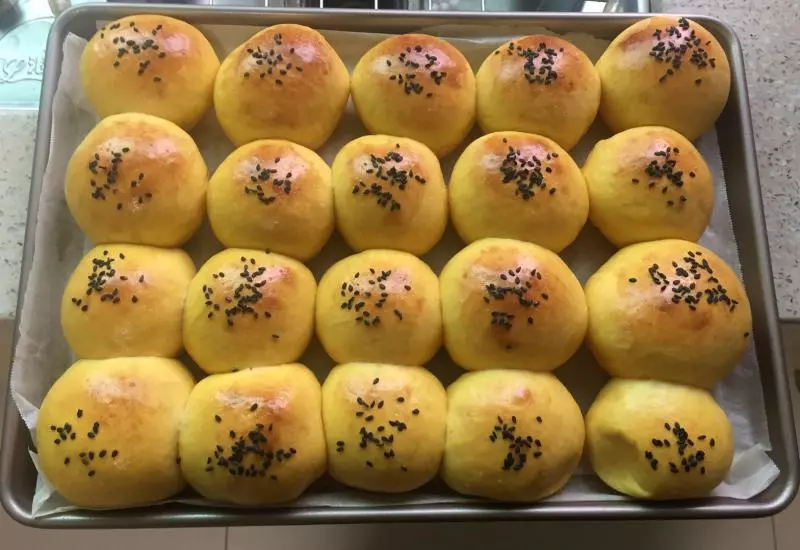
18刷上全蛋液,防干,鎖水份
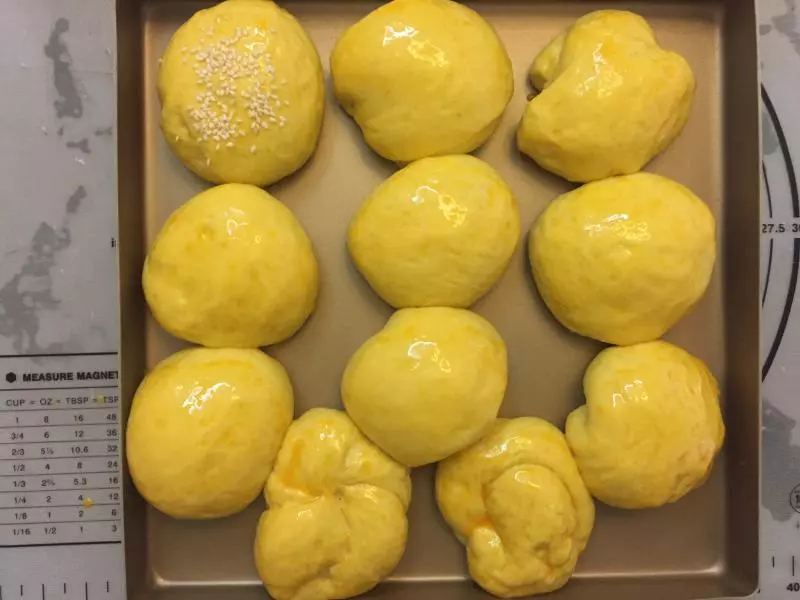
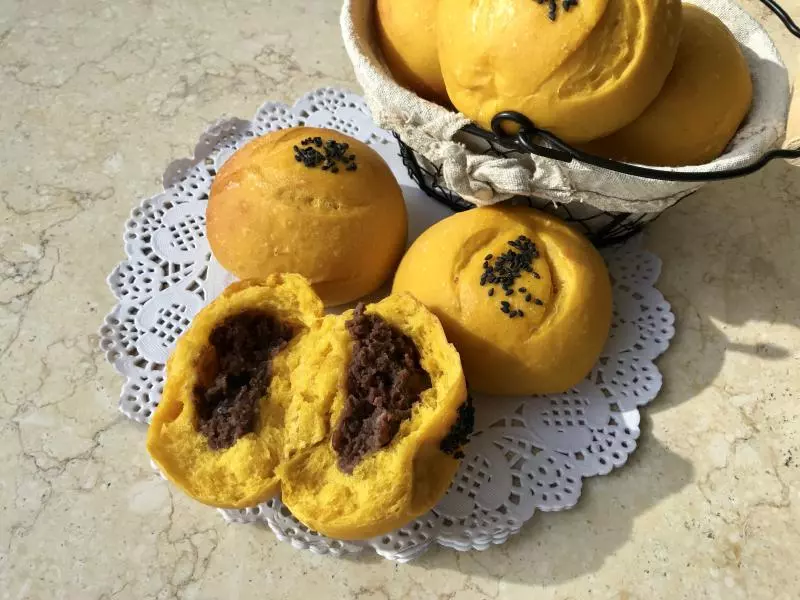
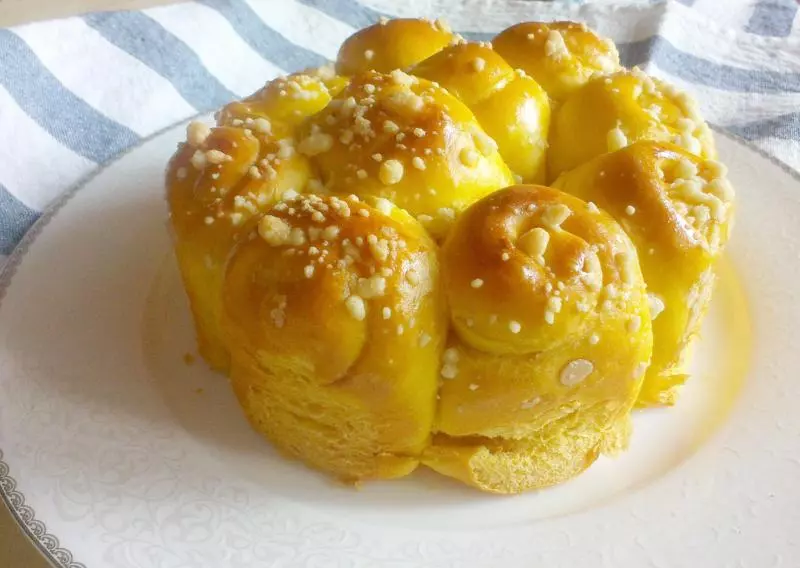
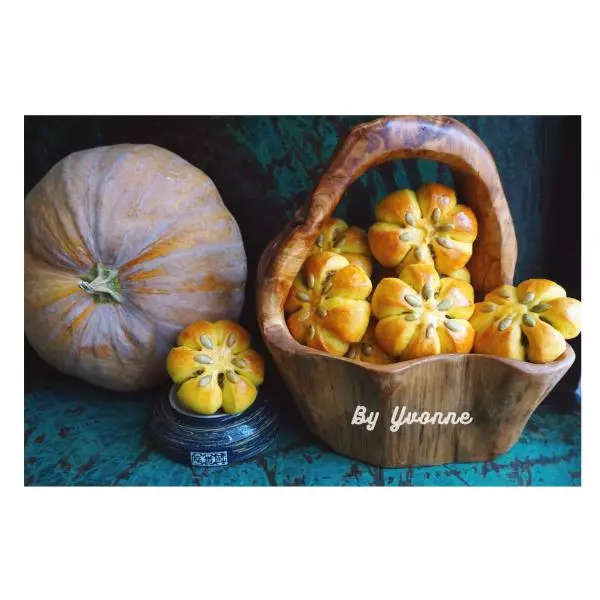
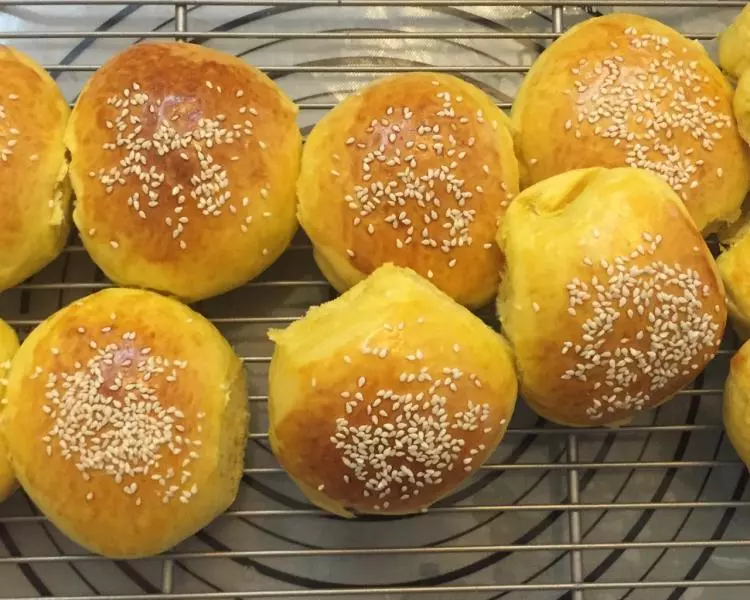
19散上白芝麻
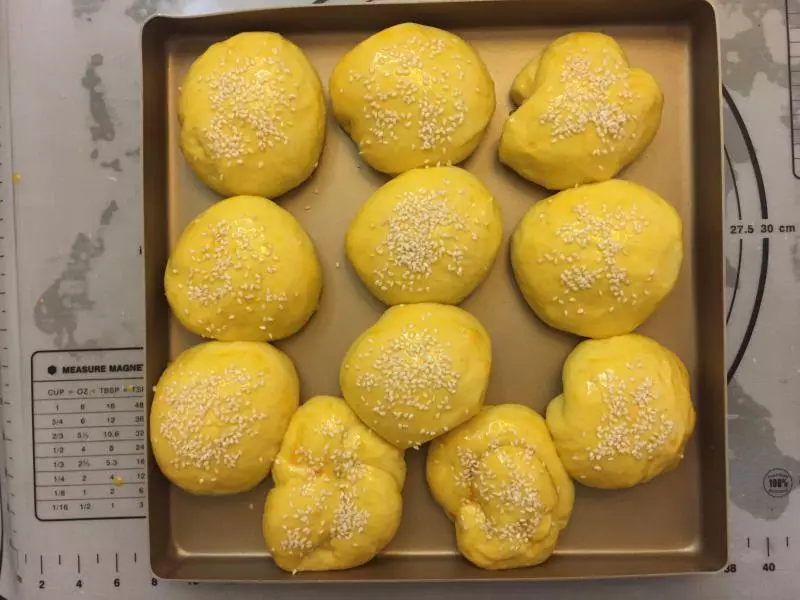
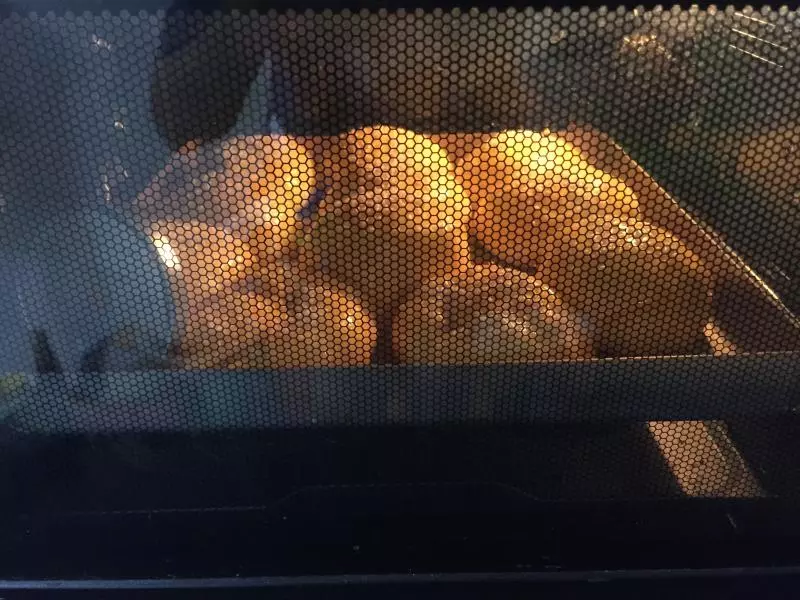
20預熱好180度,放入烤箱,上下180度,中下層。烤25分鐘
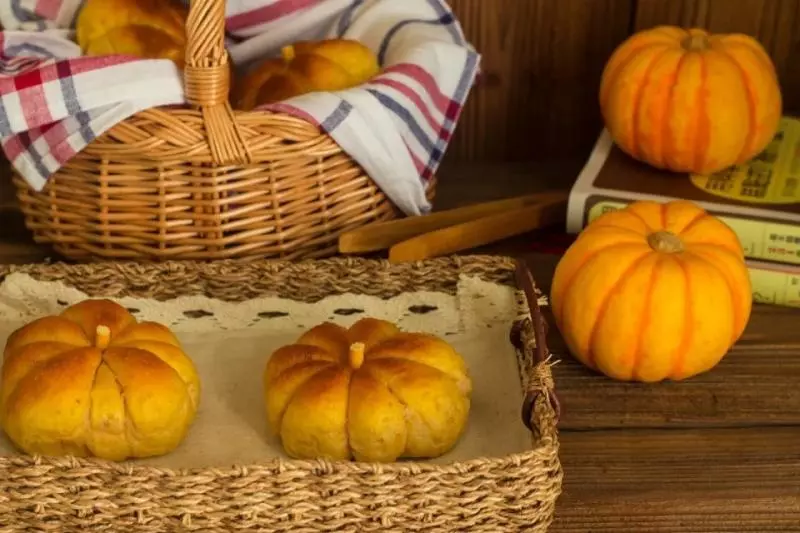
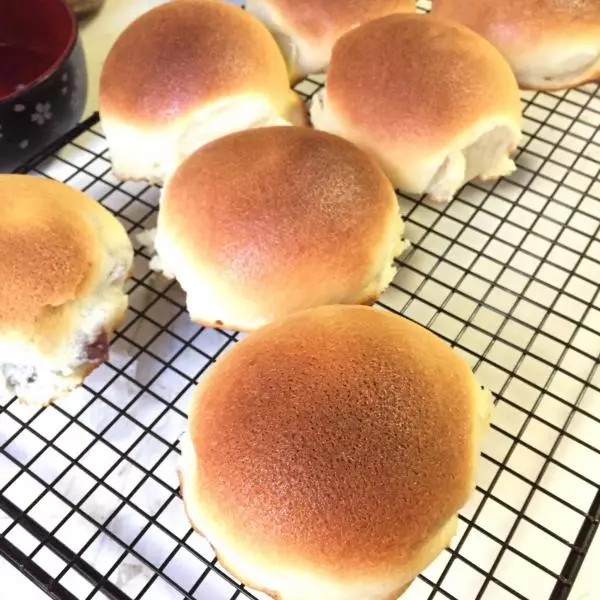
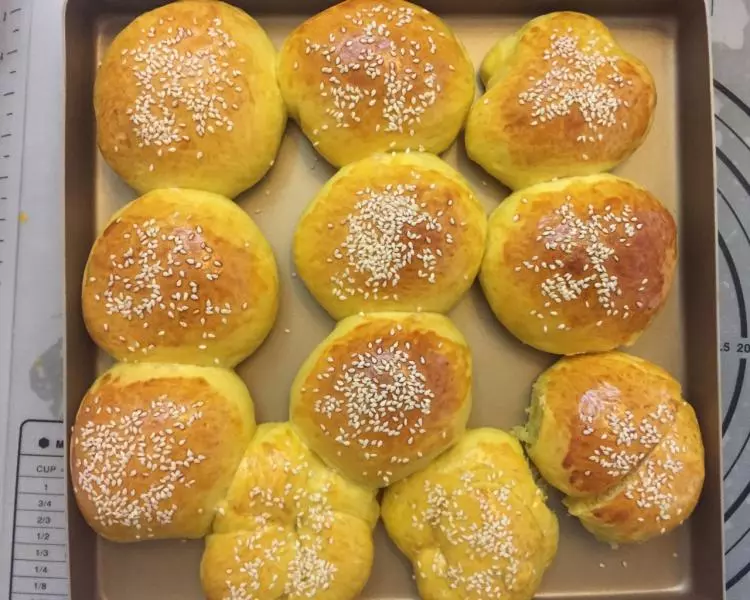
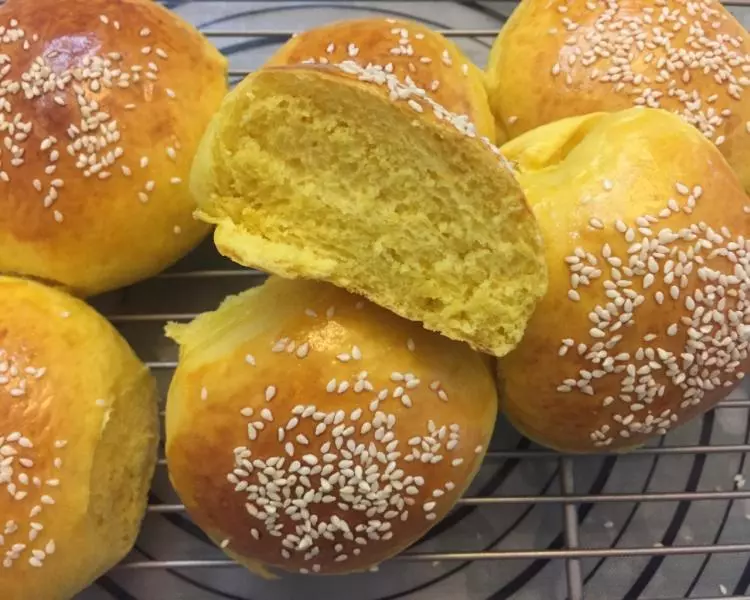
21出爐了
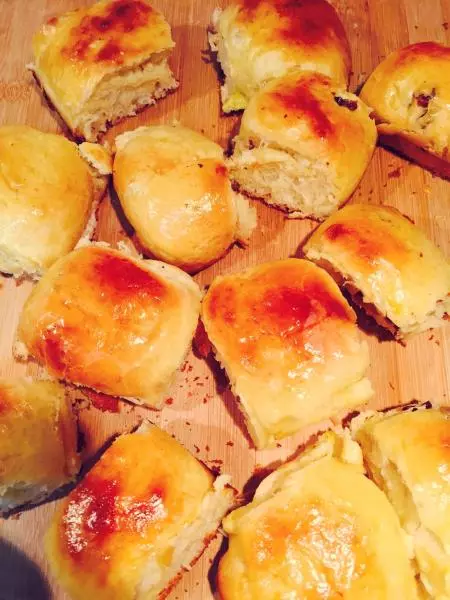
22組織幾好的
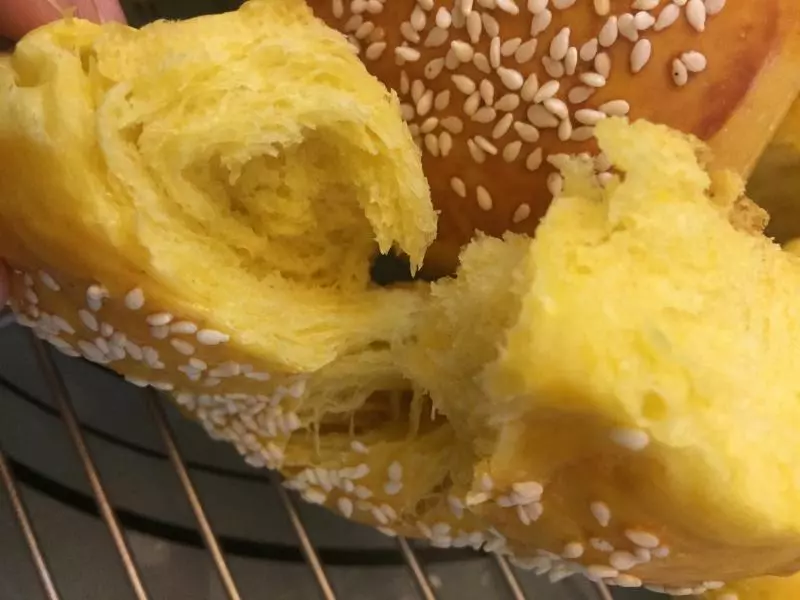
23好軟的組織
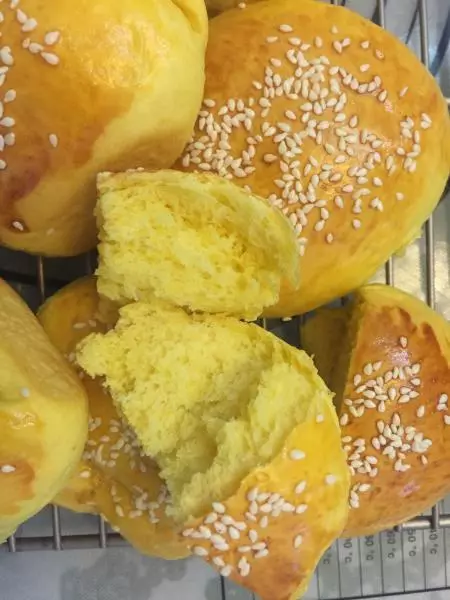
24切一個看看,老爸說很好食。切記涼好,立馬封袋保存常溫或冷凍,以確保其水份。食時,室溫或烤三分鐘就行。
小技巧
南瓜含水量不同,所以你們注意調整麵粉量。 我用的是金象高筋粉 淡奶油用藍風車 酵母用金色裝金燕