原料
奶油: , 戚風蛋糕:
步驟
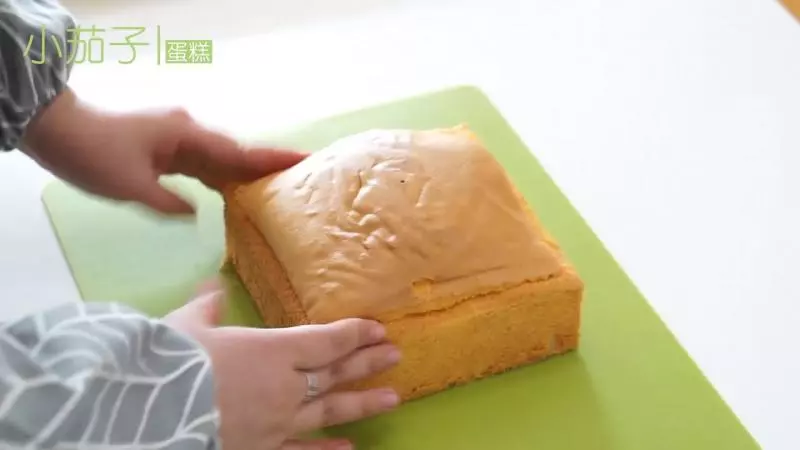
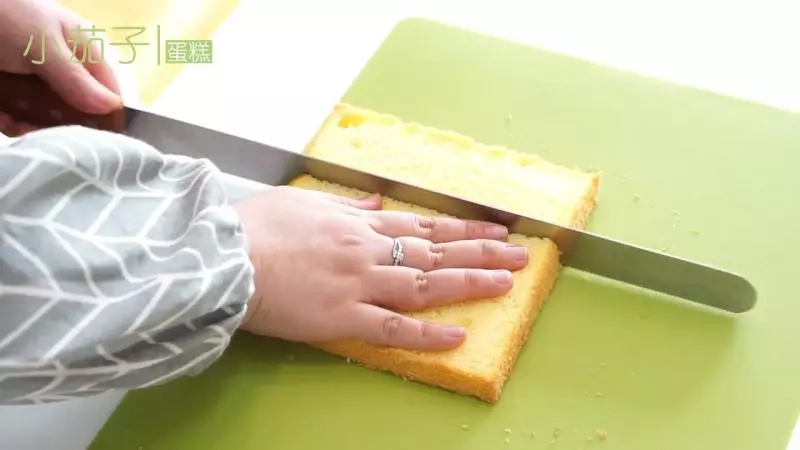
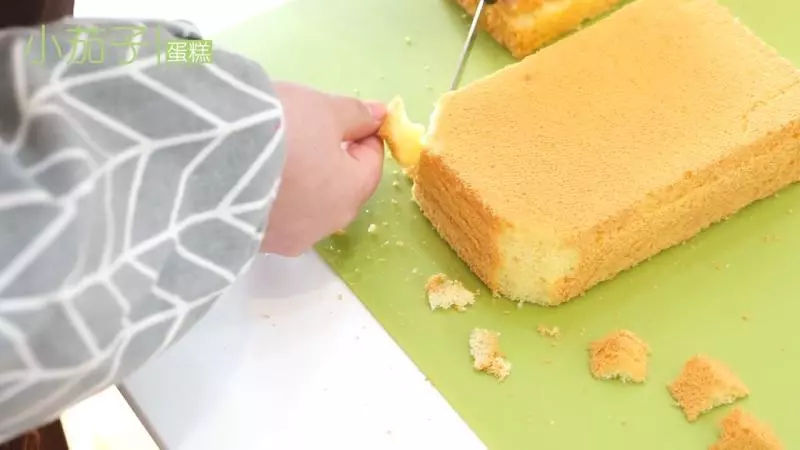
1準備一個6寸方型戚風蛋糕胚
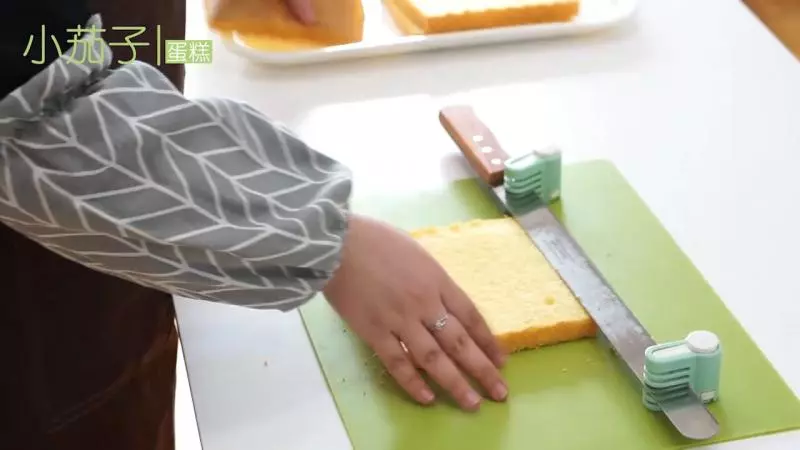
2用分片器將蛋糕分成三片
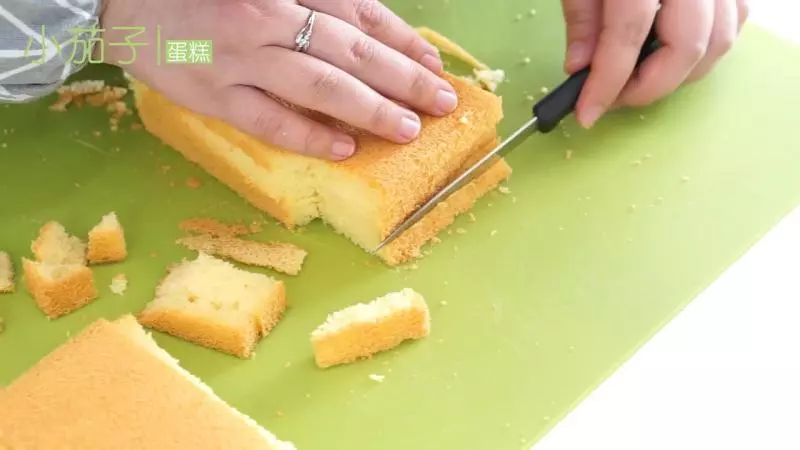
3每一片都切成如圖所示,刀的位置大概在邊長的三分之一處
4如圖,此為第三片
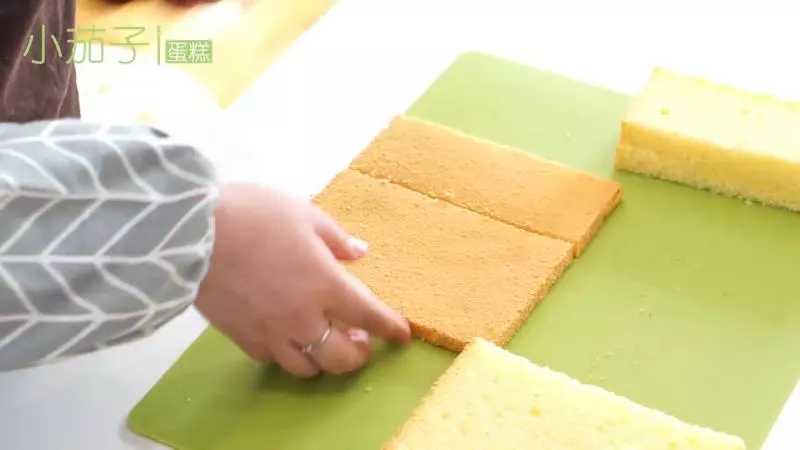
5圖下部分的蛋糕為切出來的三個三分之二的大片的疊在一起的樣子,手中的蛋糕為兩個三分之一片並排放在一起,然後在中間偏左的位置切一條
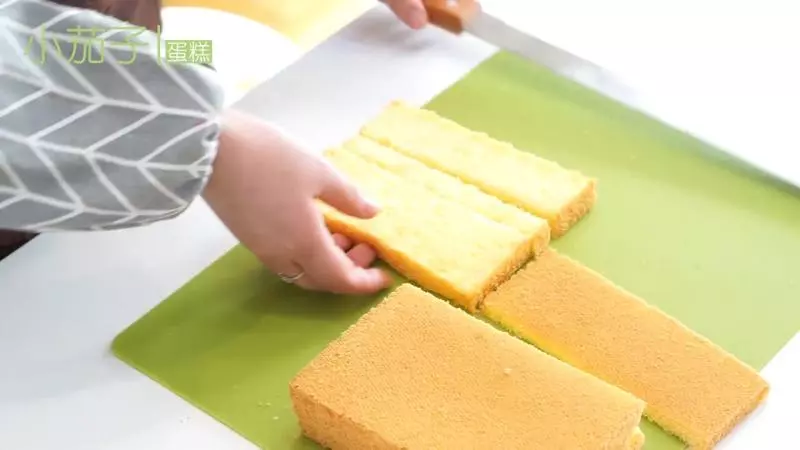
6如圖,放在蛋糕上
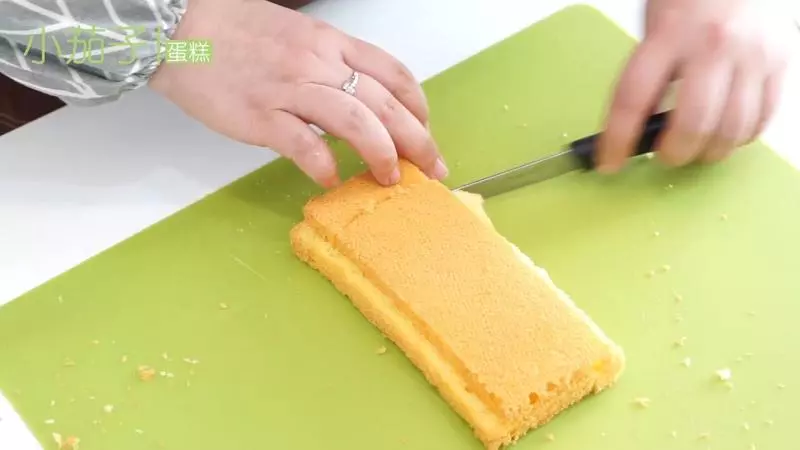
7將第三片三分之一的片放上去

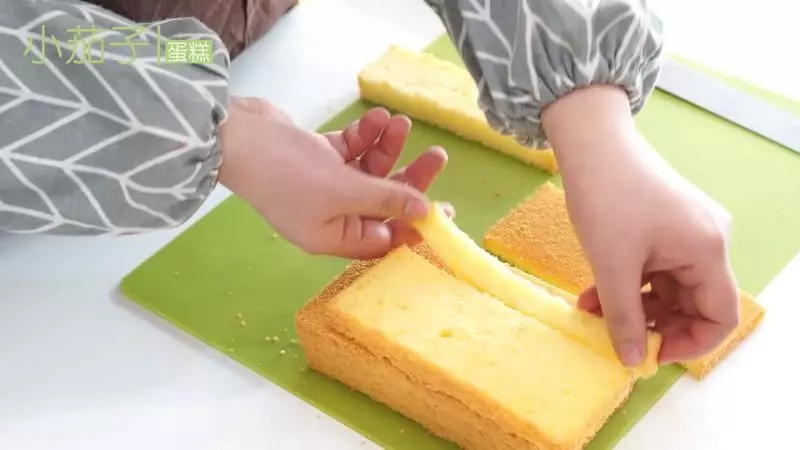
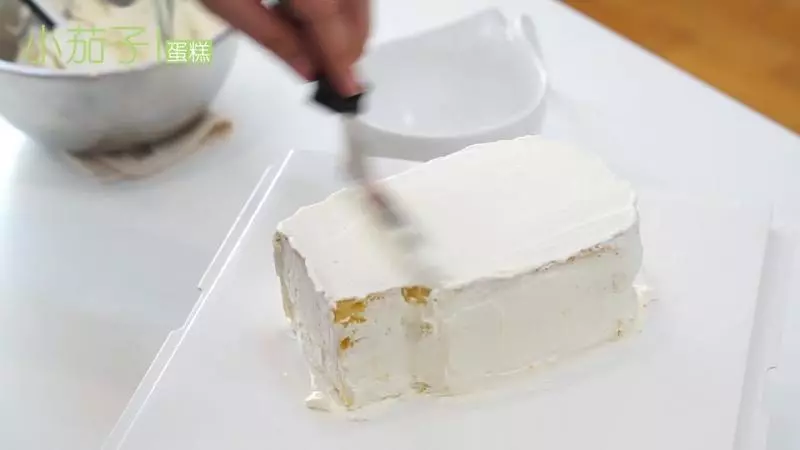
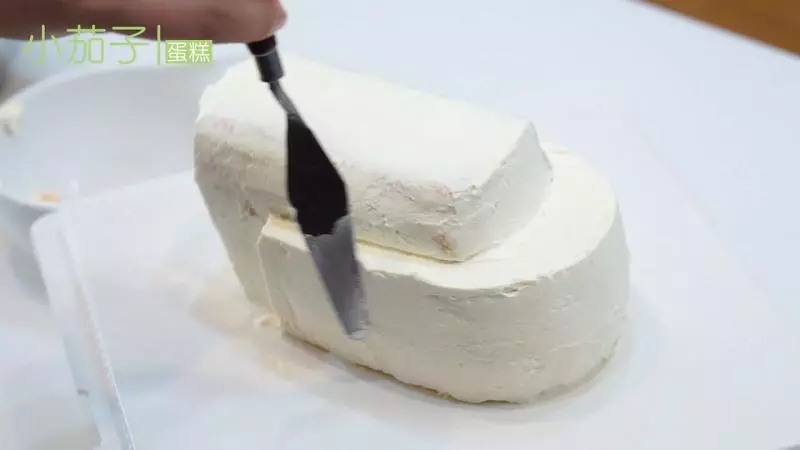
8修型1
9修型2
10修型3
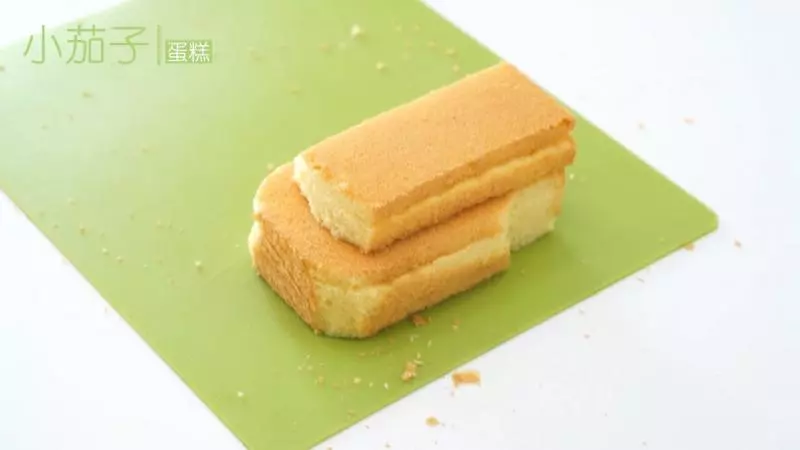
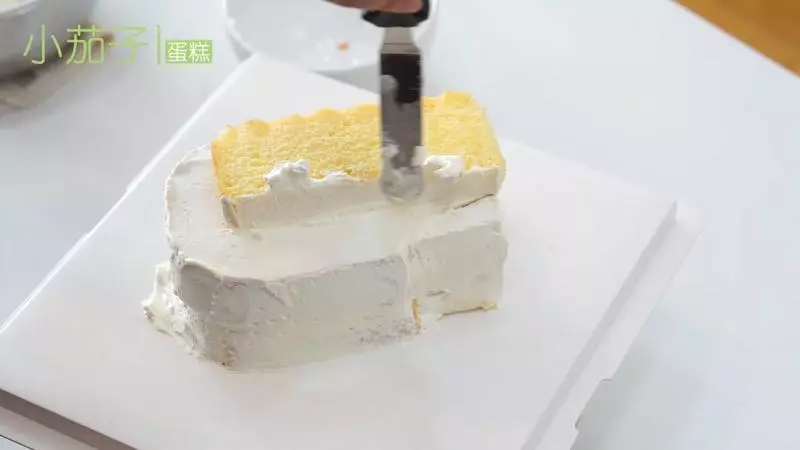
11最後如圖所示,切割部分完成
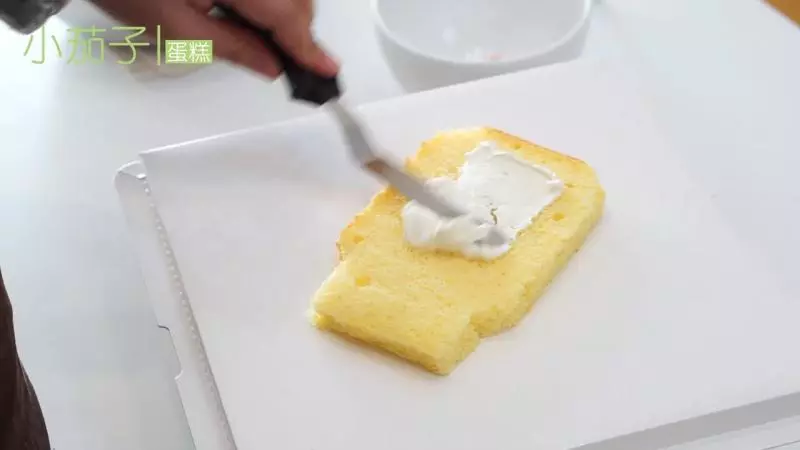
12接下來抹奶油
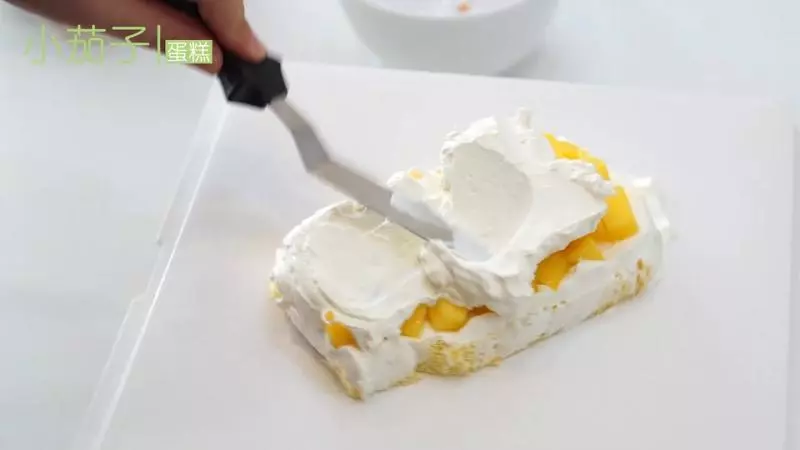
13夾水果
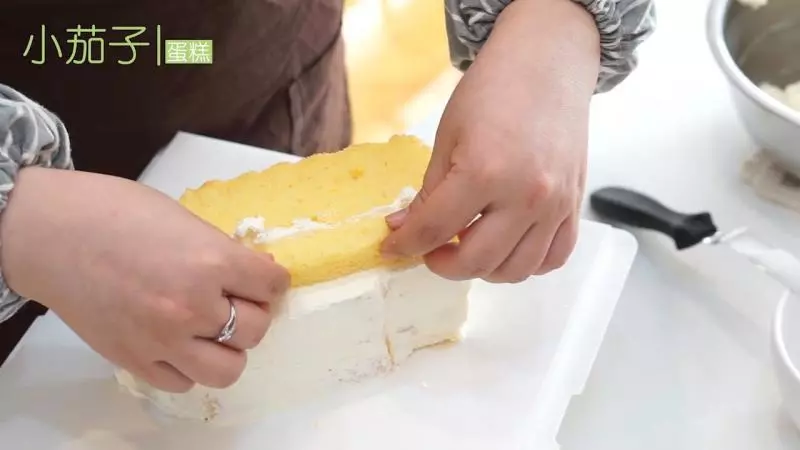
14放上蛋糕片,抹奶油
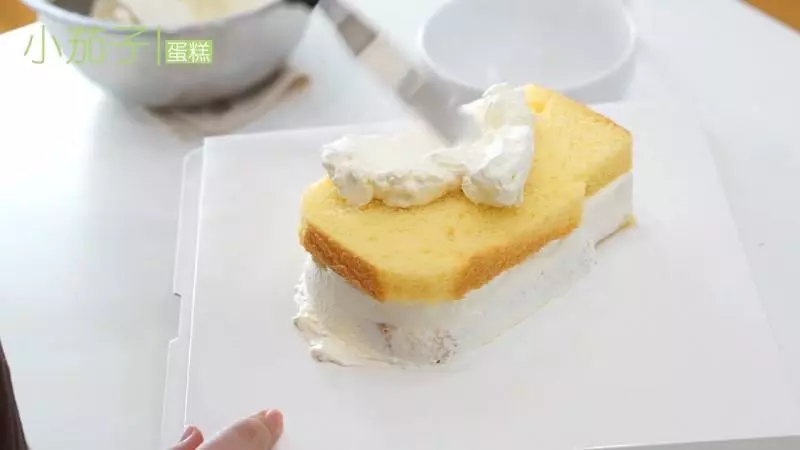
15下部分最後一層蛋糕片
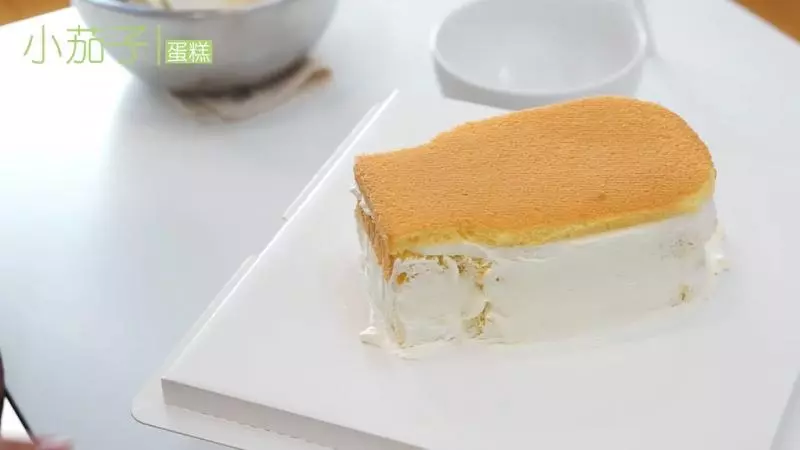
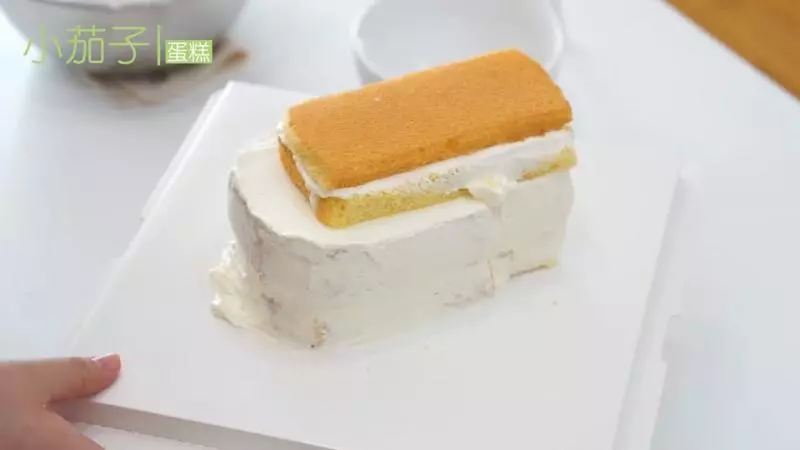
16抹奶油
17蛋糕片,奶油
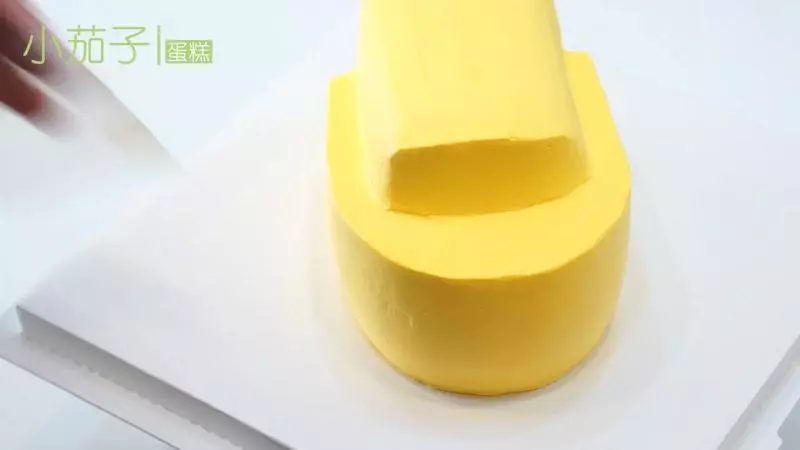
18Go on
19Go on
20整體抹上奶油,基礎抹面
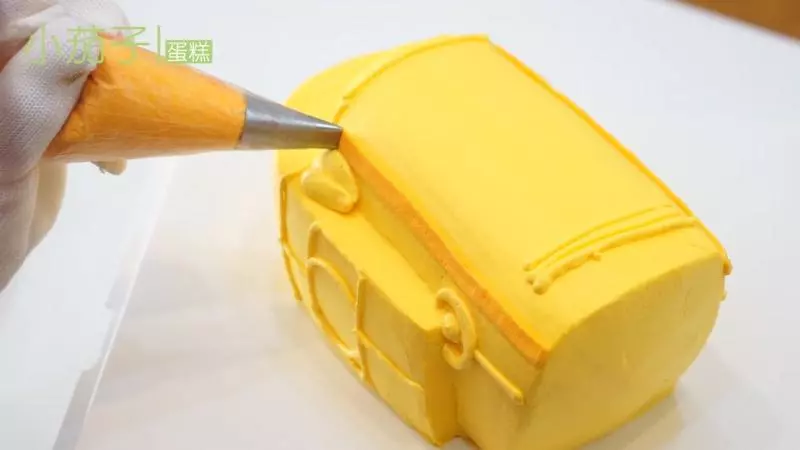
21調黃色奶油進行抹面
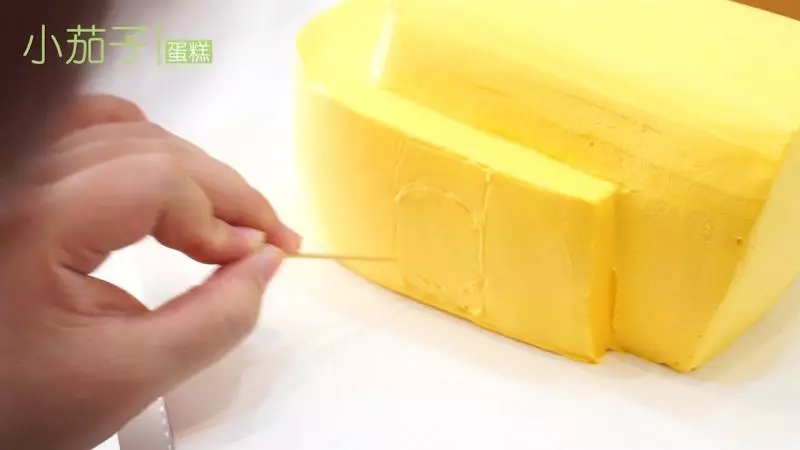
22牙籤勾勒細節
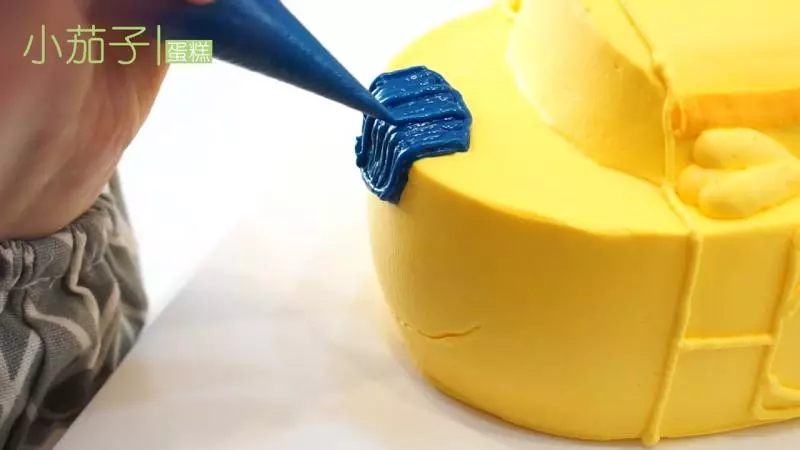
23圓形裱花嘴,類似惠爾通1號,韓式0號,來進行描線
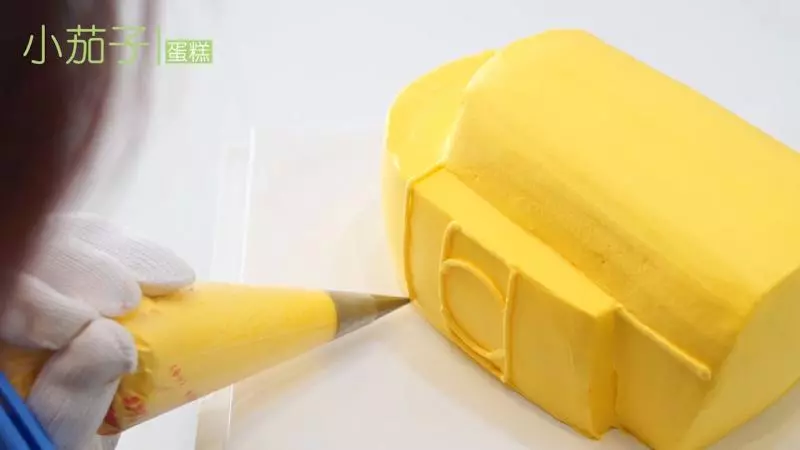
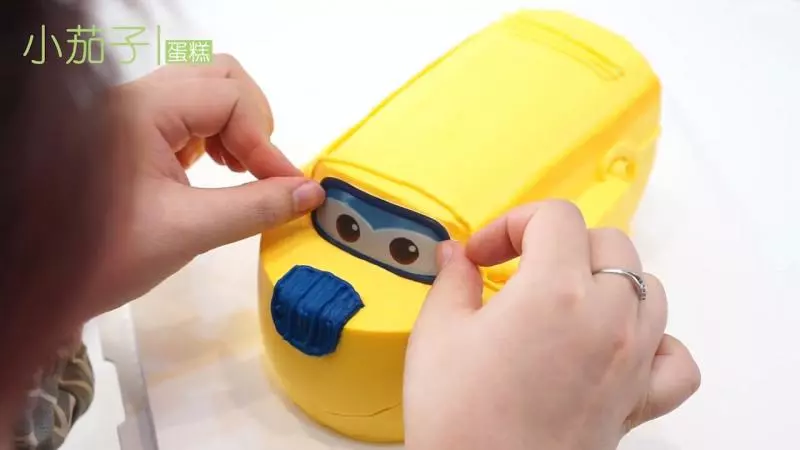
24橙色奶油,44號扁口裱花嘴,描線
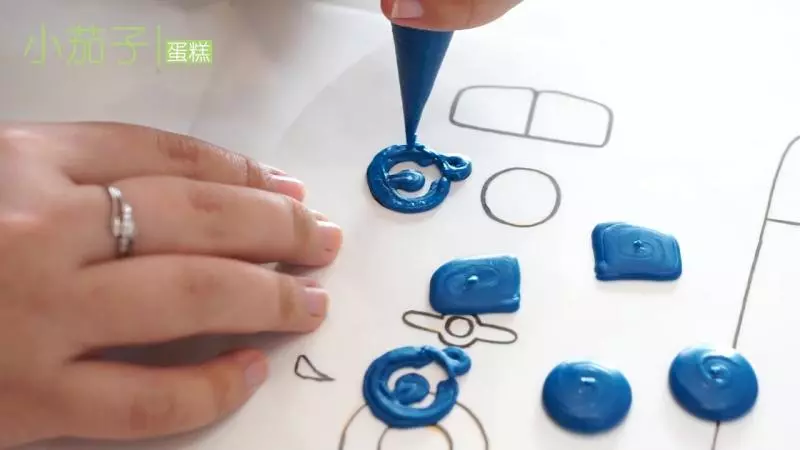
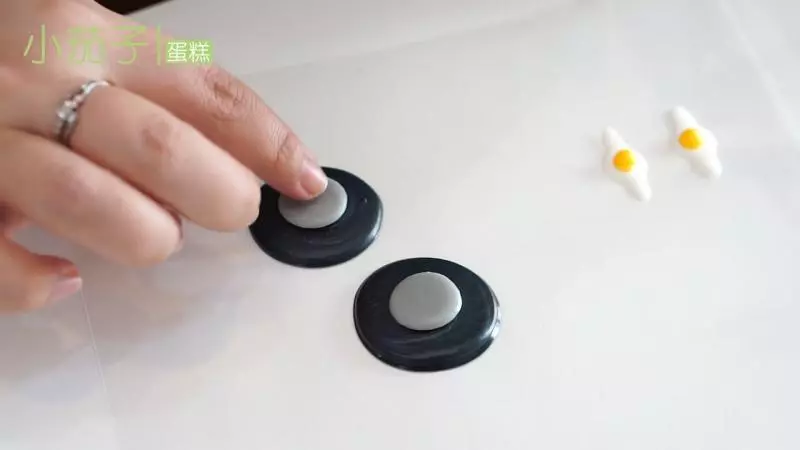
25藍色奶油霜畫鼻子
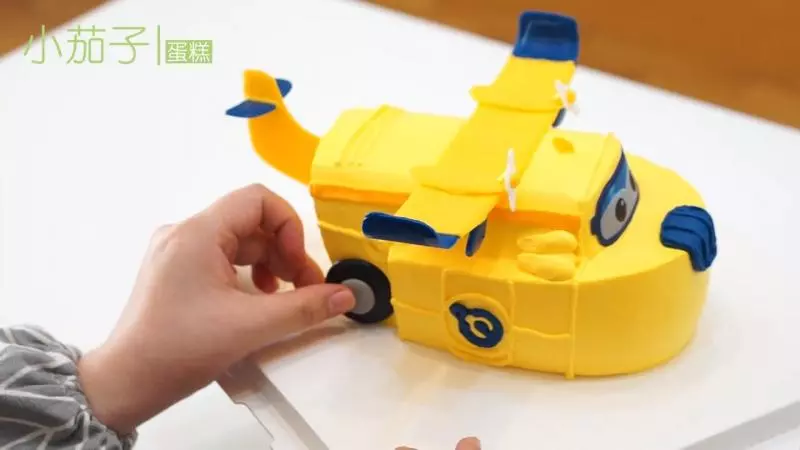
26貼上糯米紙列印的眼睛,也可以巧克力轉印,奶油霜轉印
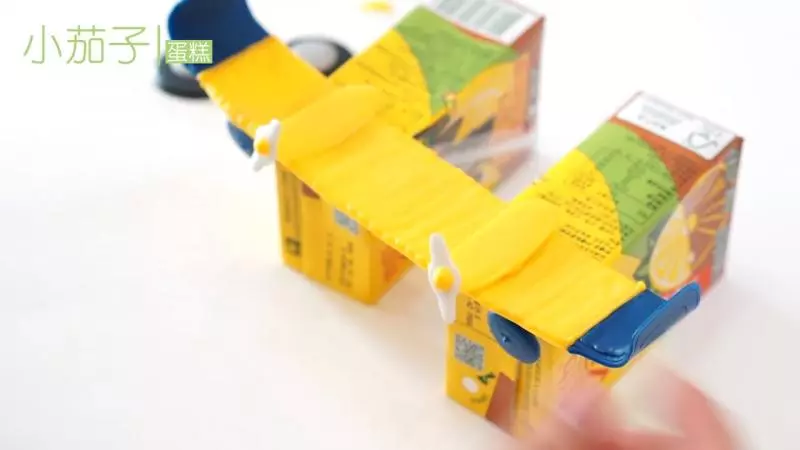
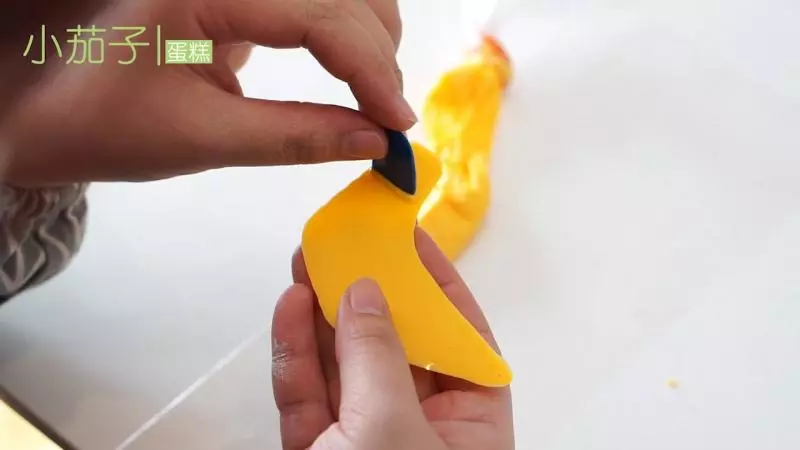
27巧克力轉印配件
28組裝輪子
29組裝翅膀
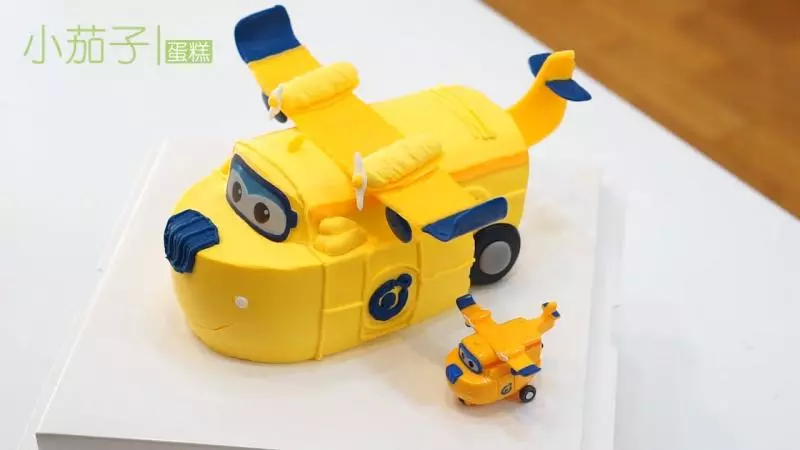
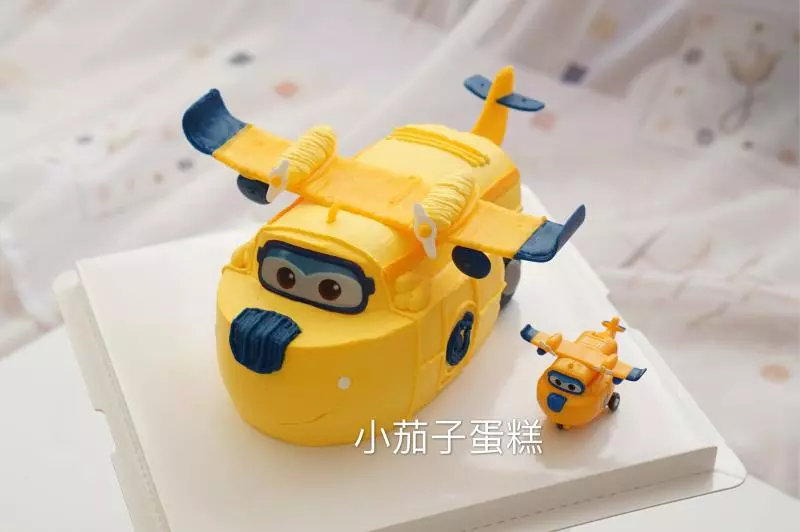
30組裝尾翼
31安上各種配件
32大功告成