原料
麵糰:: , 水: 240g, 酵母: 5g, 糖: 5g, 油: 5g, 鹽: 5g, 麵粉: 50g, 餡兒:: , 白菜: 500g, 油渣: 150g, 鹽: 5g, 生抽: 20g, 自製味精: 10g
步驟
11.水,酵母,油,糖放入主鍋2分/37度/速度1混合。 2.加入麵粉,30秒/速度3啟動再快速到6讓液體跟麵粉混合 3.加鹽開始2分/揉面, 4.盆里放少許油,把麵糰取出在盆里沾上油,蓋上保鮮膜,放到溫暖的地方發酵至兩倍大,取出揉搓表面光滑

2白菜設成塊放進主鍋
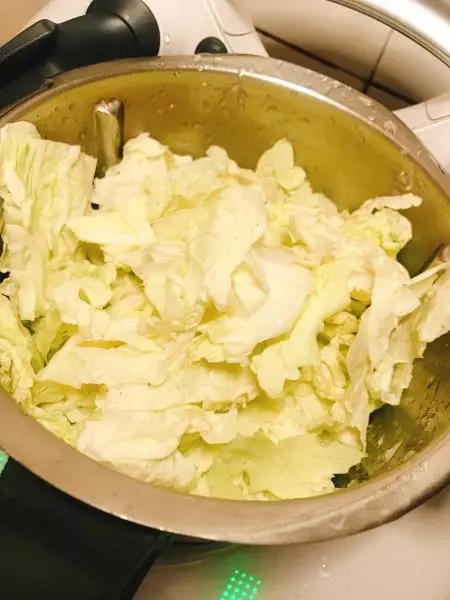
3Turbo鍵2個1秒,可根據自己喜好掌握大小,縮短時間即可。

4切好的白菜碎

5倒入紗布

6擠干水分

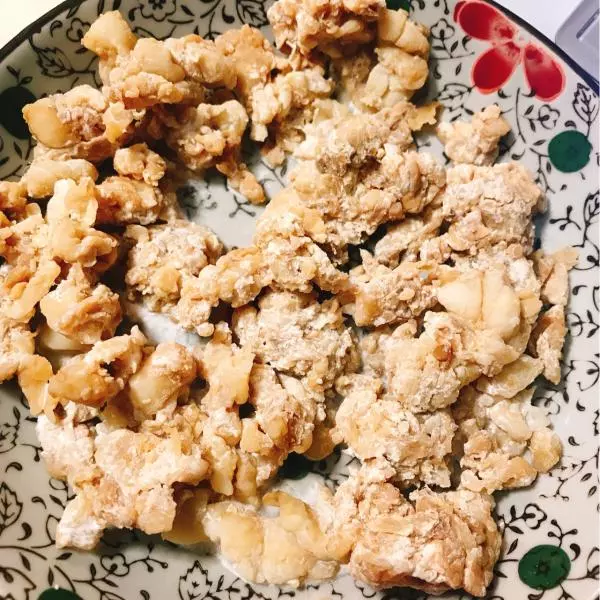
7冷凍好的油渣
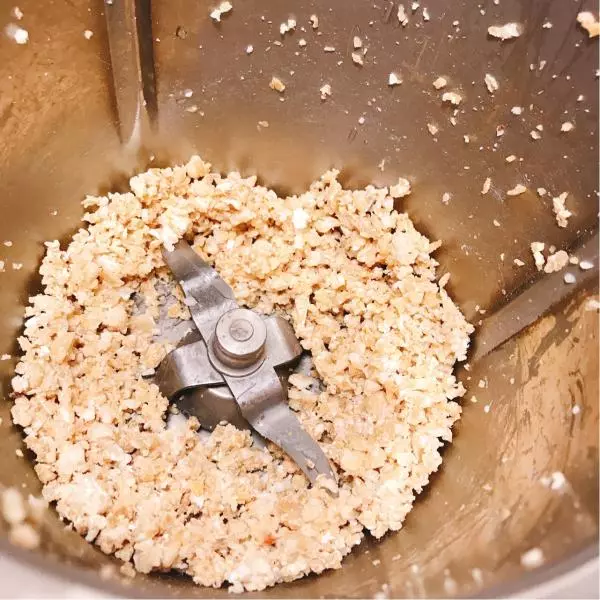
8放入主鍋,Turbo鍵3個2秒切碎
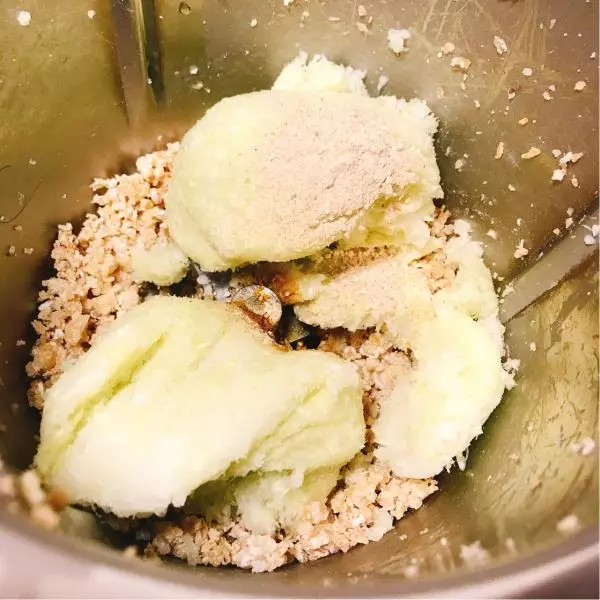
9放入擠干水分的白菜碎,加入生抽鹽自製味精
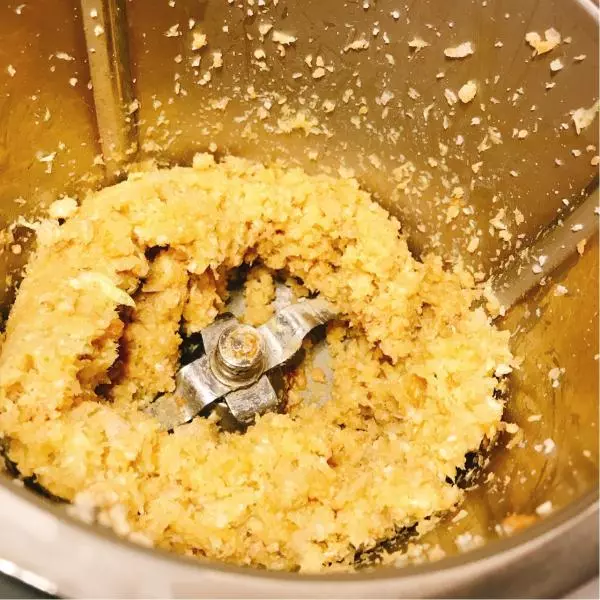
1010秒/反轉速度5調和
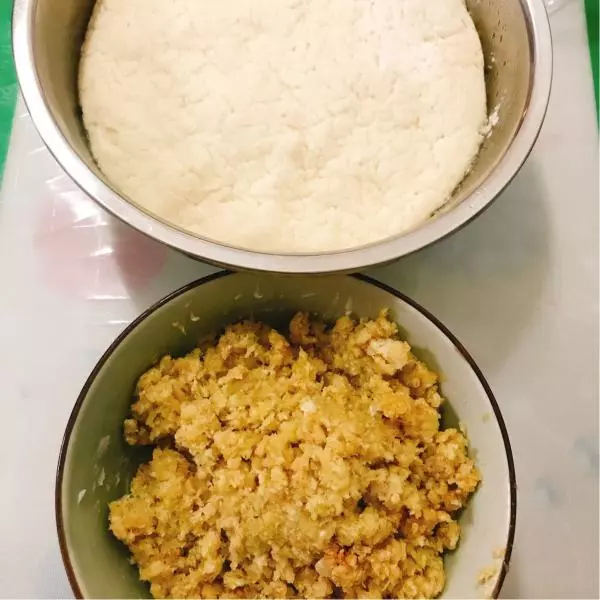
11發好的面和調好的餡兒
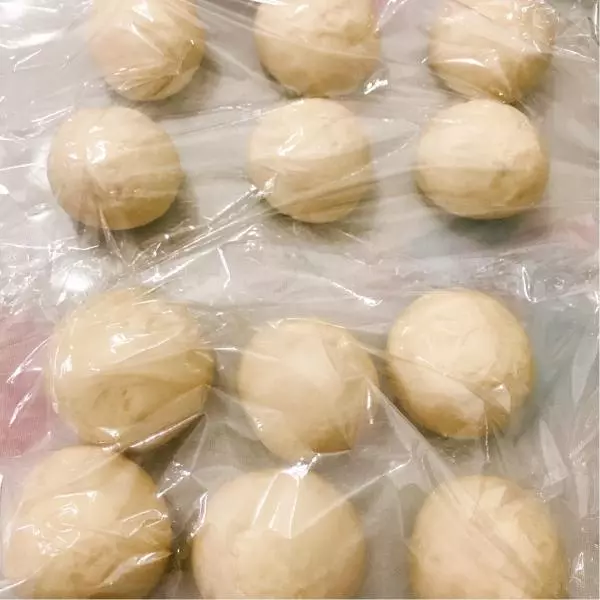
12分成劑子
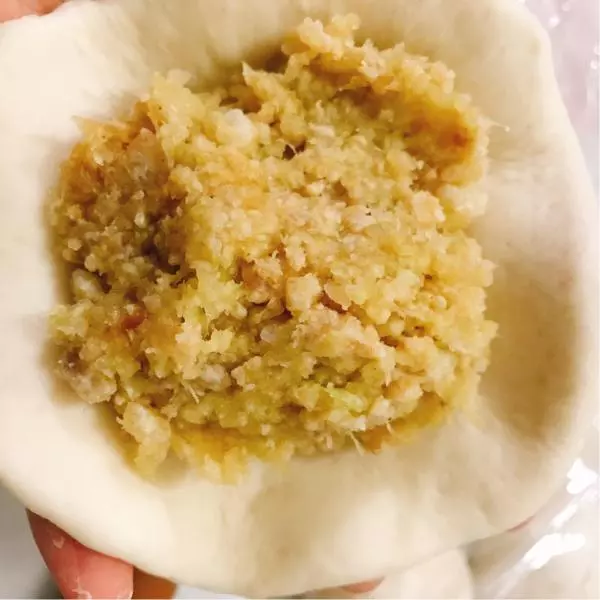
13擀薄

14放上餡兒,封口,包成包子(我包的不好看,可網上找教程)
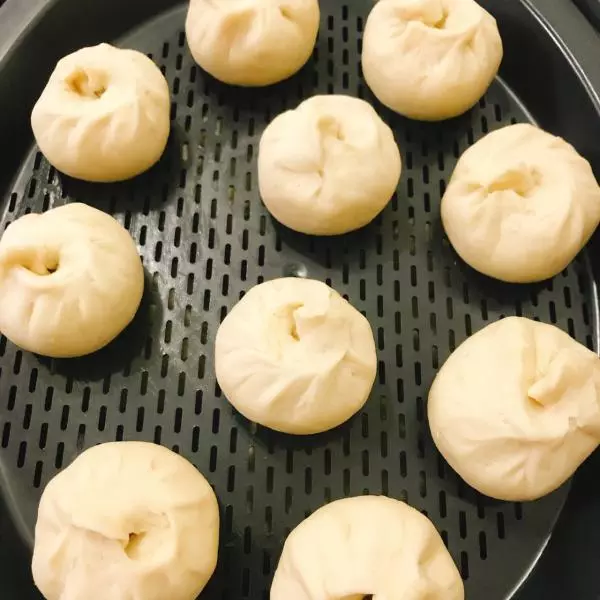
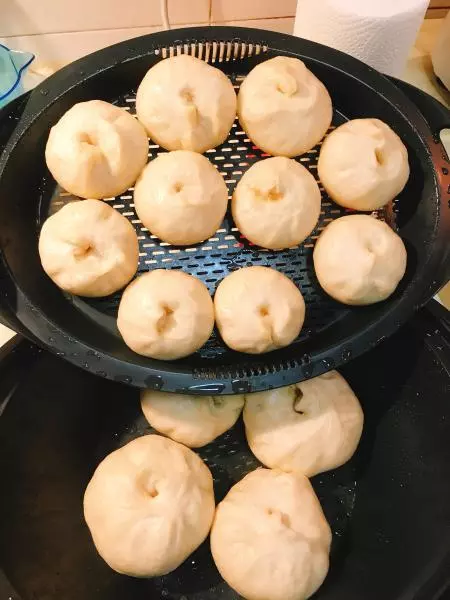
15全部包好放在蒸鍋組進行二次發酵
16主鍋加水,蓋上鍋蓋,放上蒸鍋組,25分/Varoma/速度1,停止後燜3分鐘再打開,香噴噴的包子好啦。
17裝盤備用

18每日分享更多美食