原料
水油皮: , 中筋粉: 200克, 豬油: 60克, 白糖: 20克, 水: 80克, 油酥: , 低筋粉: 100克, 豬油: 50克, 內餡: , 綠豆沙: 640克
步驟
1將水油皮材料放進麵包機,揉至出膜,靜置半小時

2將油酥材料混合,揉成團,放冰箱冷藏半小時

3將水油皮和油酥各分成16份,滾圓

4將油酥包入水油皮中,滾圓

5蓋保鮮膜靜置15分鐘

6逐個擀成長方形

7橫向捲起

8蓋保鮮膜靜置15分鐘

9逐個擀成扁長條

10用刮板平均分成兩份

11縱向折1/3

12合攏,蓋保鮮膜靜置15分鐘

13將綠豆沙平均分成32份,滾圓

14將麵皮擀開

15包入豆沙餡,滾圓,稍按扁

16擺入烤盤

17放入預熱好的烤箱中層上下火170度20分鐘

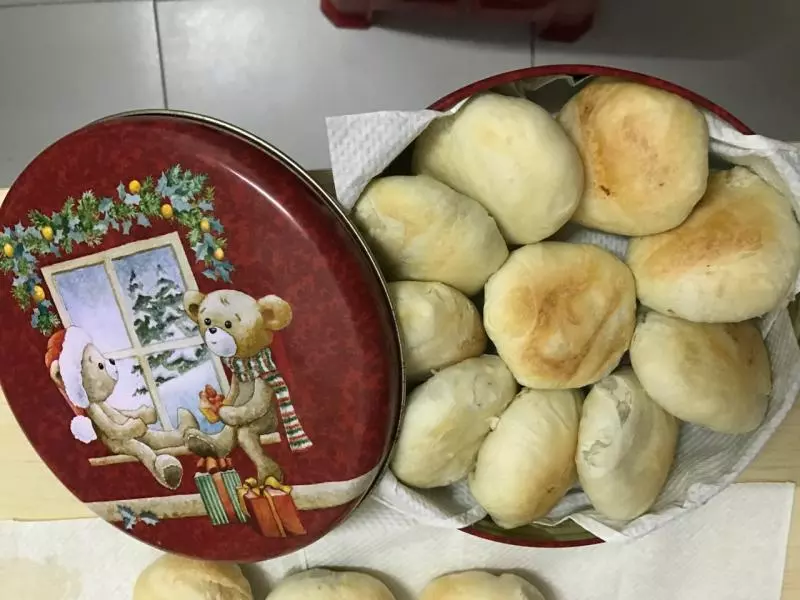
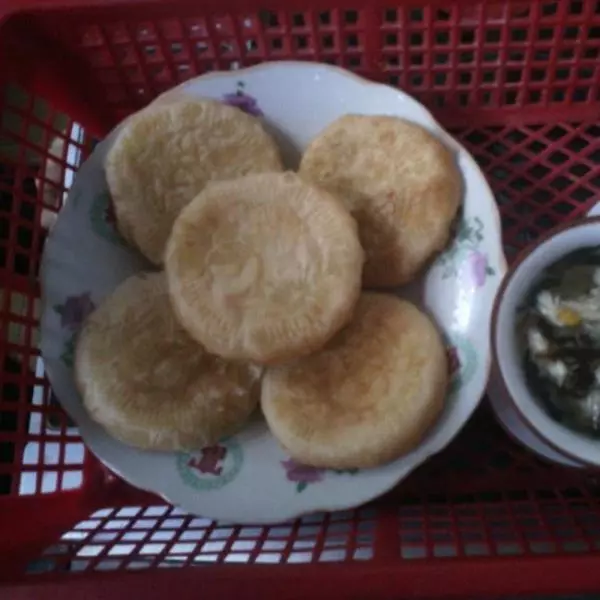
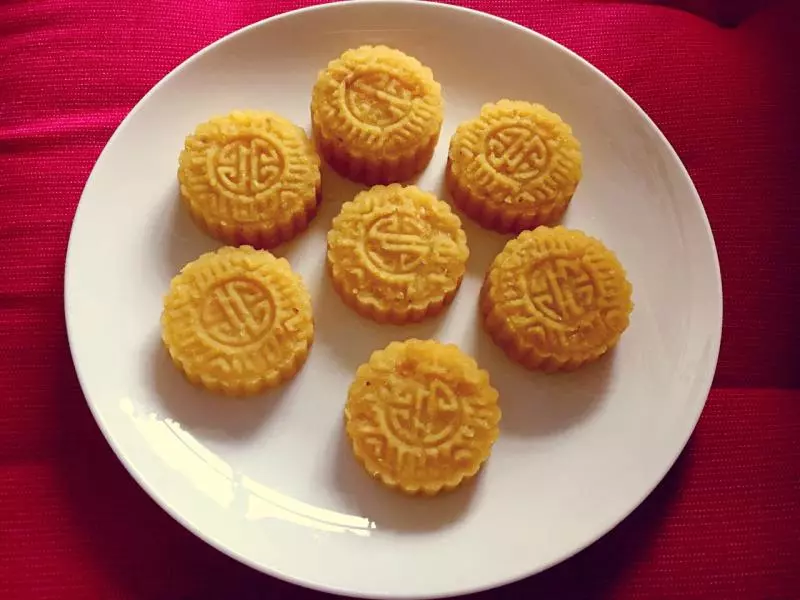
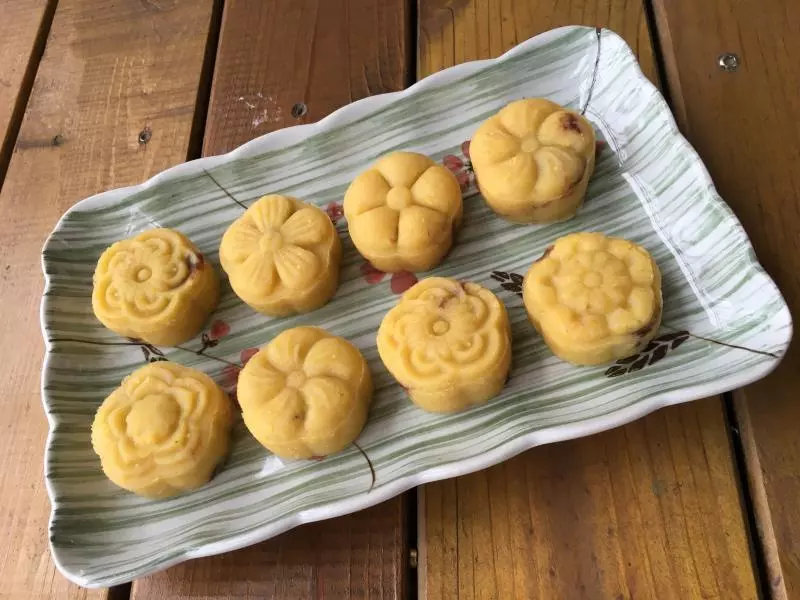
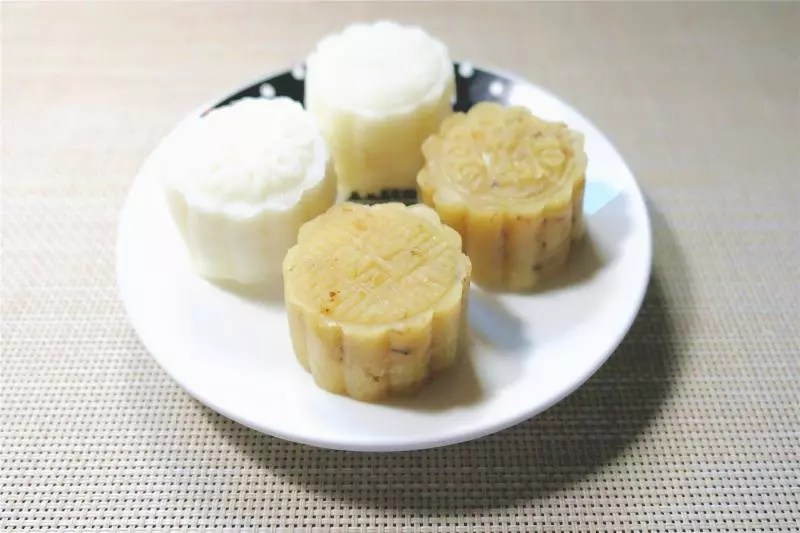
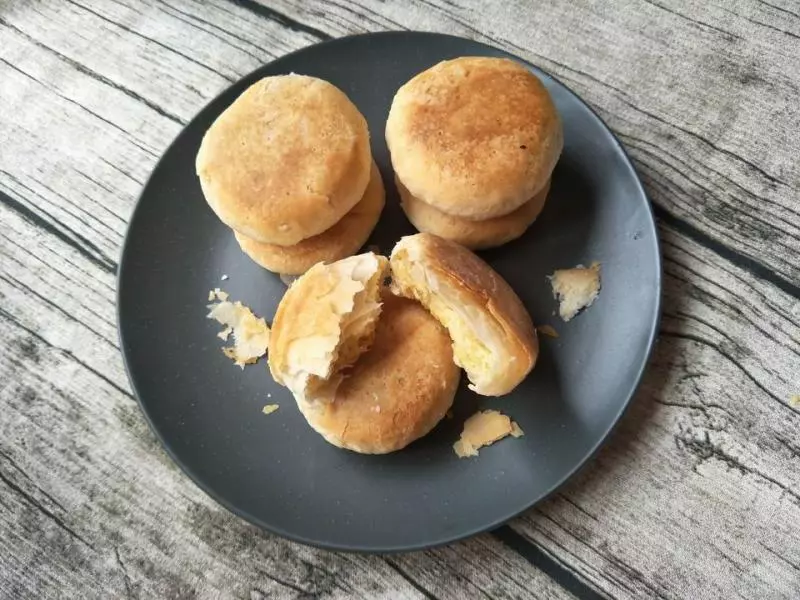
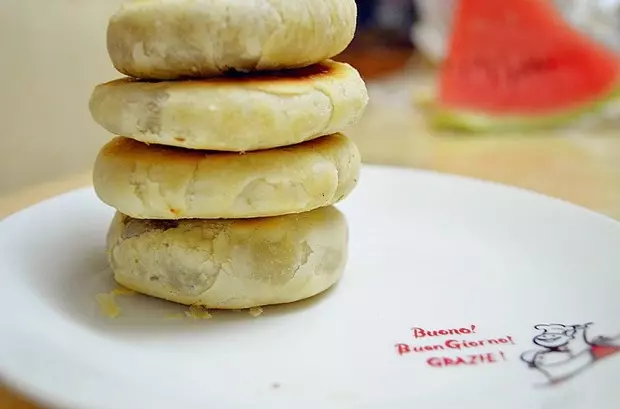
18成品圖

19成品圖

20成品圖

小技巧
1.根據麵粉吸水性調整水油皮的水量 2.氣溫高時,油酥一定要放冷藏靜置 3.每一過程靜置時間要夠,不容易混酥 4.根據各人烤箱屬性調整烘烤溫度 5.此方可做32個