原料
材料:: , 黑米: 135克, 低粉: 50, 三象糯米粉: 65, 鸡蛋: 5只, 葵花籽油: 30g, 牛奶: 215g, 糖: 65g, 柠檬汁: 6滴
步骤
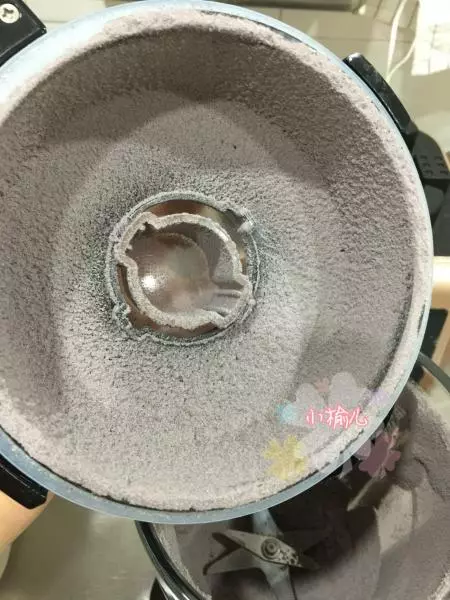
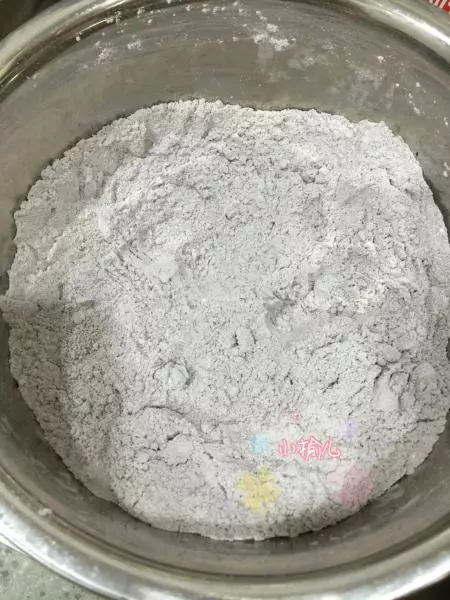
1把黑米放入料理机打粉
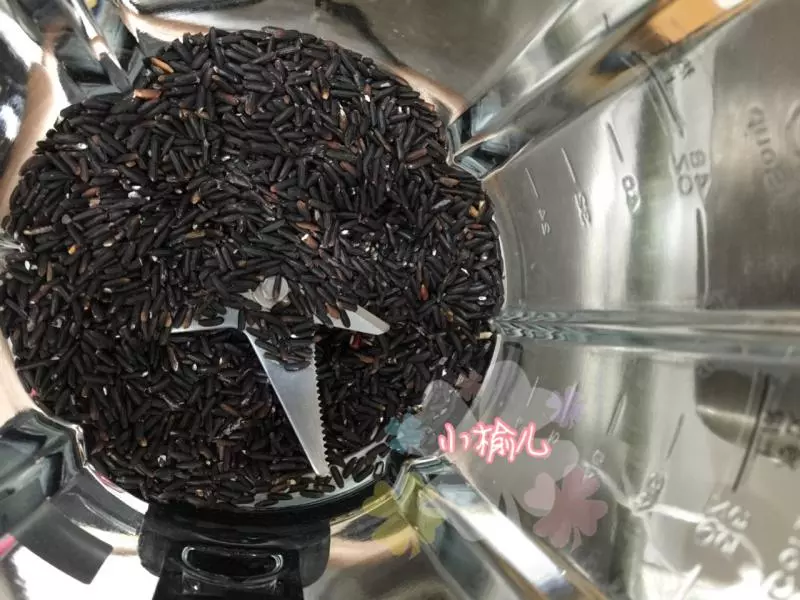
2我用料理机打了两遍,所以黑米打得还算比较细。
3打成细细的米粉

4盖子上的更细
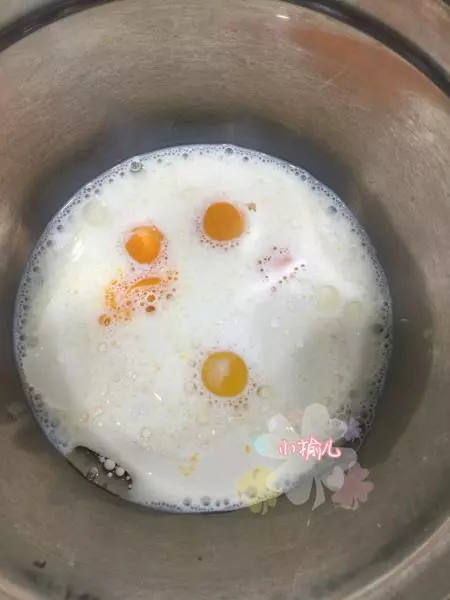
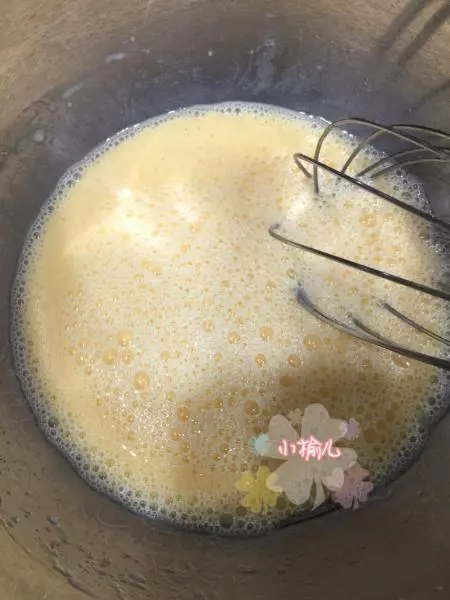
5鸡蛋蛋黄蛋清分开放,在蛋黄的盆子里放入牛奶、葵瓜子油。
6搅拌均匀
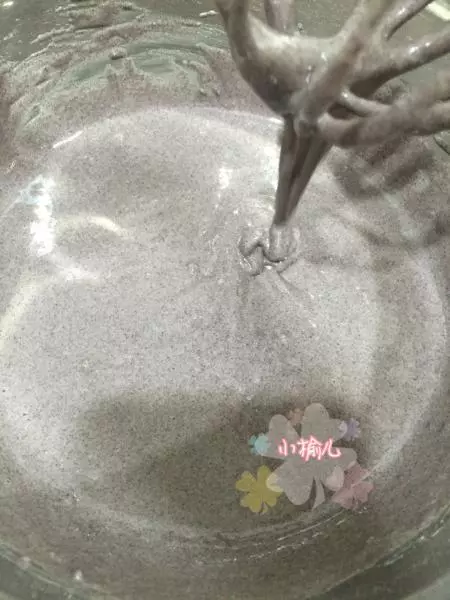
7将黑米粉、低粉、糯米粉三种粉混合过筛

8粉类搅拌均匀
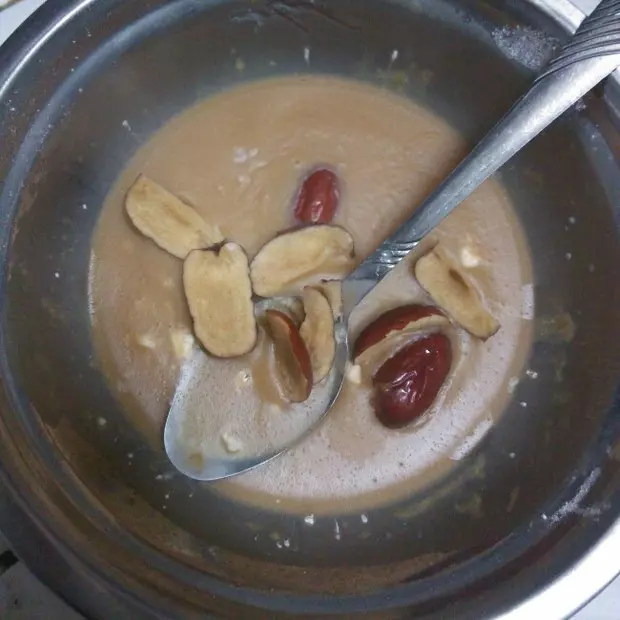
9把粉类倒入蛋黄牛奶液中,搅拌均匀;
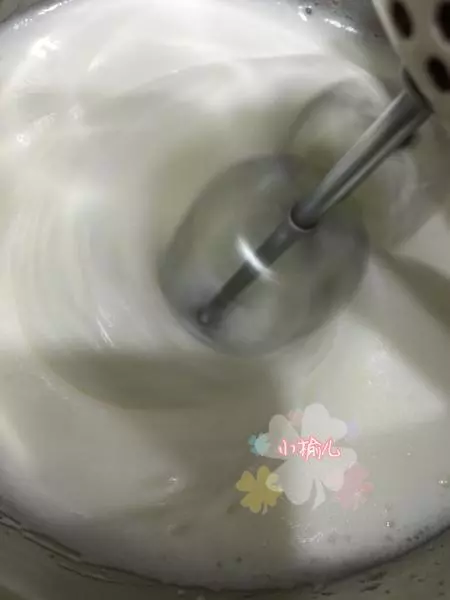
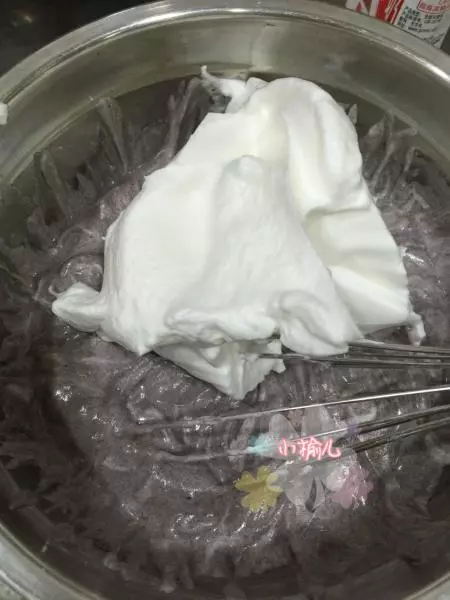
10蛋清里放几滴柠檬汁,打蛋器快速打发蛋白,边打发边放糖;
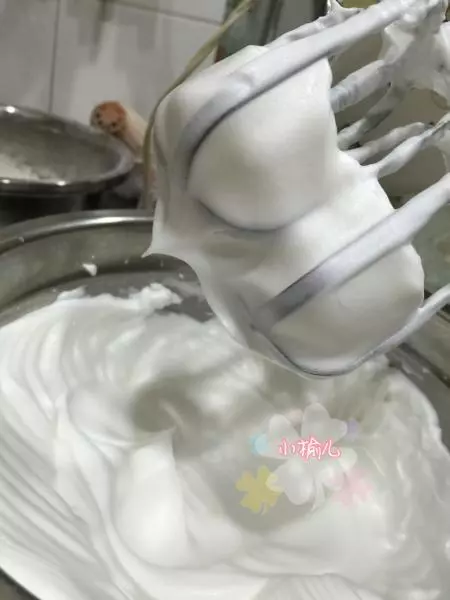
11打至干性发泡
12蛋白分三次放入米糊中
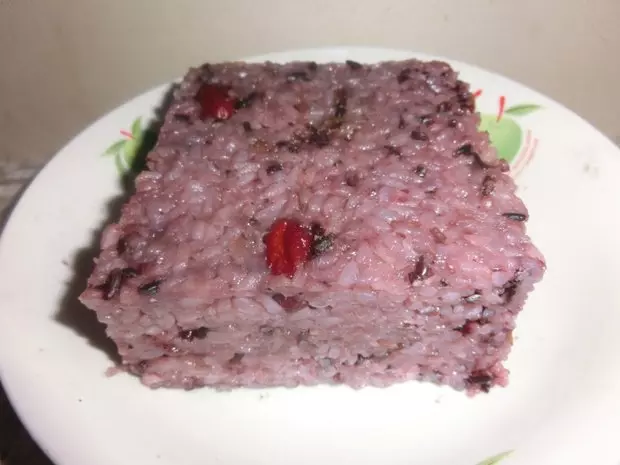
13注意搅拌器需要竖着轻轻搅拌,以防蛋白消泡,你也可以用刮刀从下至上反面搅拌;
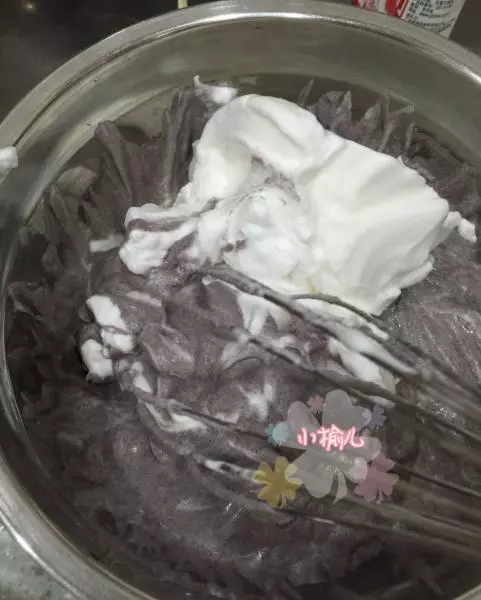
14继续拌均

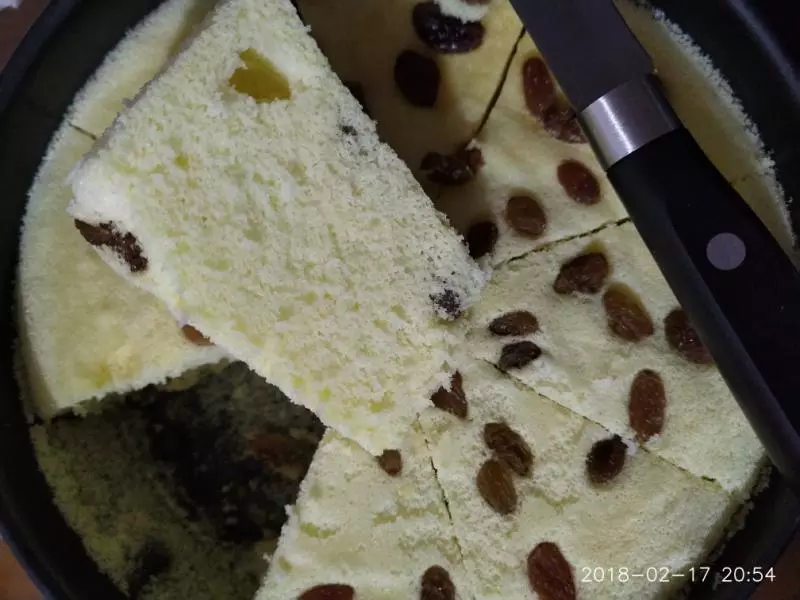
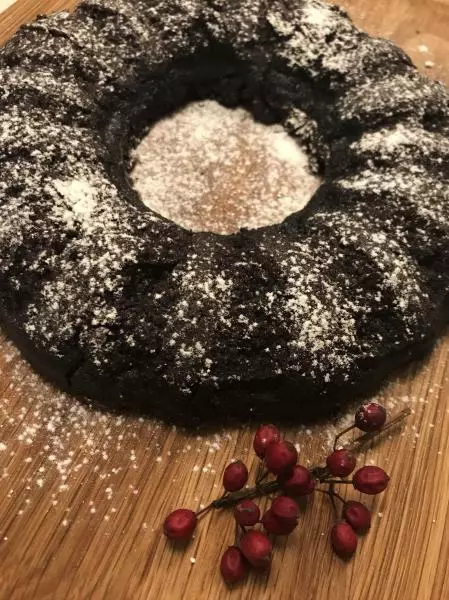
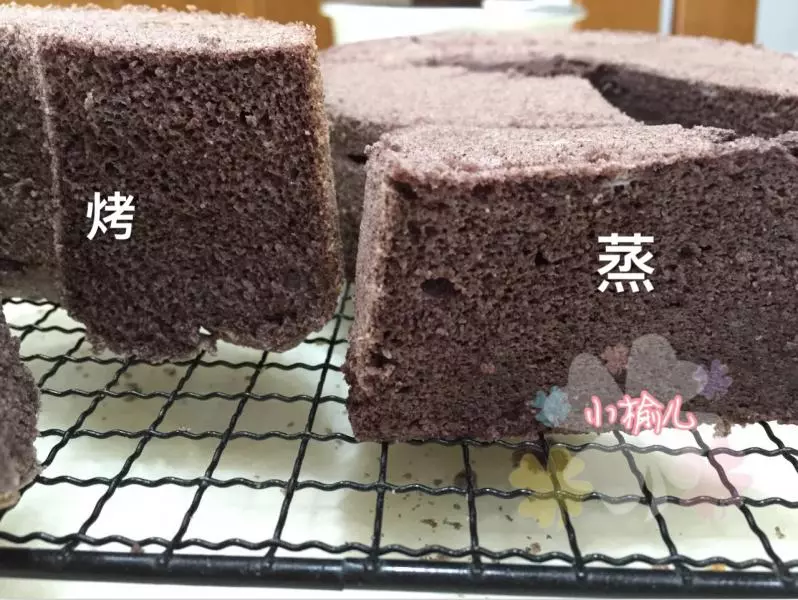
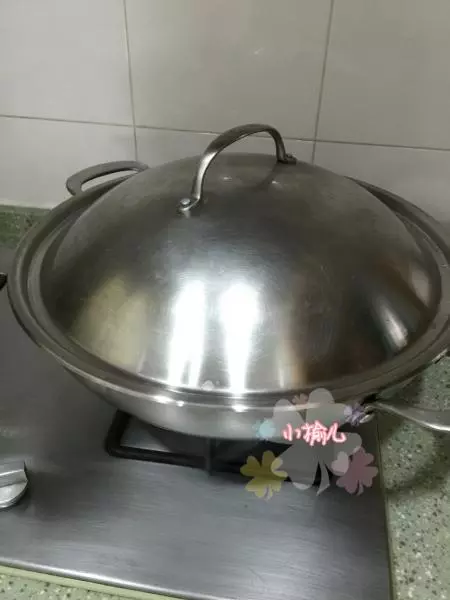
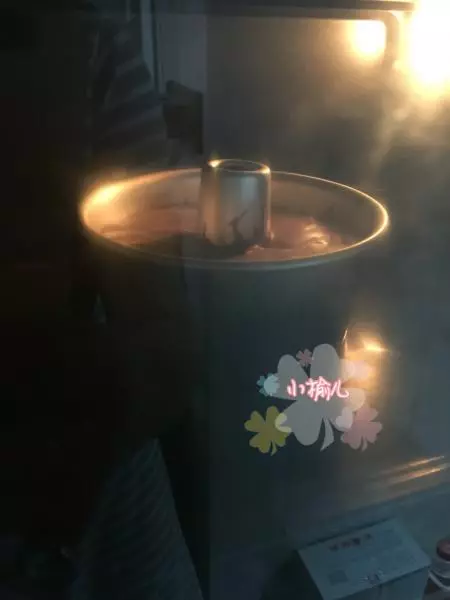
15放入模具中,我分两个模具放米糊,一个放到锅里蒸熟;(蒸的这个是7寸的模具)
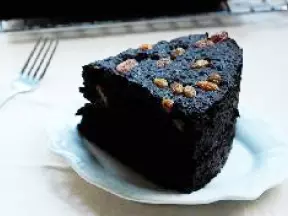
16另一个放在烤箱里烤熟。这个是6寸的
17对比一下整体效果
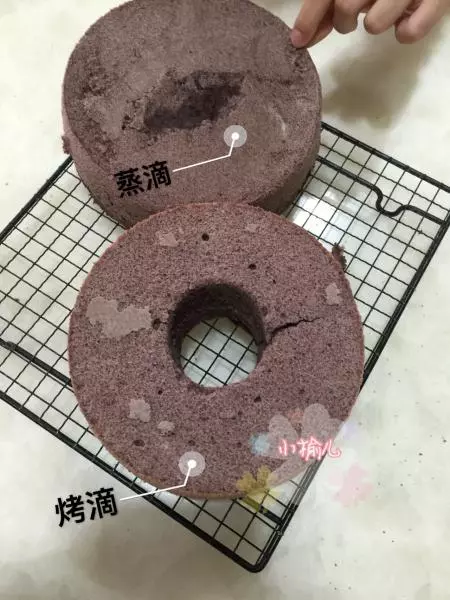
18再对比一下黑米糕的组织结构。

小技巧
今天也是好奇做了两种方法的实验对比,口感对比总结,蒸的口感更湿润一些,烤的相对来讲更像蛋糕,不过这种有米粉做的糕类食物,需要趁热吃比较好,凉了以后会有点乾乾的哦,我一般是等它差不多凉的时候装在盒子里可以保存它的湿度。