原料
鸡蛋: 4个, 色拉油: 50ml, 牛奶: 60克, 细砂糖: 60克, 柠檬汁: 几滴, 低筋面粉: 70克, 17㎝中空模具: 1个
步骤
1准备好食材。所有容器无油无水。蛋黄蛋白分离。蛋白放入冰箱冷藏。

2蛋黄打散,倒入色拉油,牛奶,低筋面粉。

3先用蛋头手动搅打一下,然后开低速搅打均匀。看不到干粉就可以了,不要时间太长了。这样比较省时省力,只要不用力过猛,不用纠结是否会起筋。

4开始预热烤箱,170℃,上下火,烤网放下层,以备后面戚风在中下层位置烤。

5冰箱中取出蛋白。蛋白中滴入几滴柠檬汁,分三次倒入细砂糖,用打蛋器中低速搅打至九成,可以拉出小弯钩的状态。

6取1/3蛋白放入蛋黄糊。

7用刮刀切拌均匀。大概切拌15-20下。

8重复上面两个步骤。再取1/3蛋白放入蛋黄糊中,用刮刀切拌均匀。大概切拌15-20下。
9蛋黄糊倒入剩余的1/3蛋白中。

10用刮刀切拌均匀,大概切拌15-20下。得到细腻顺滑的面糊。

11面糊倒入中空模具中,用力震去气泡。

12入烤箱,170℃,上下火,中下层,45分钟左右。

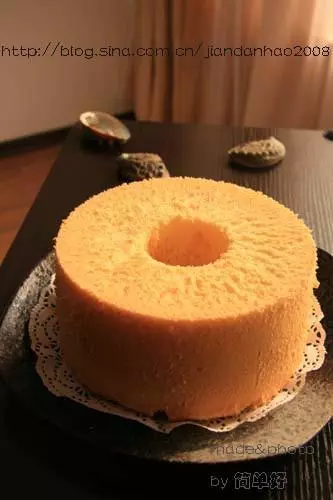
13烤到二十多分钟时,膨胀起来,开裂的越来越好看。

14怕烤糊可以在最后十几分钟时覆盖一层锡纸。动作要快,因为开烤箱门热量流失很快,温度掉的很快。所以不能太早放锡纸,以免影响戚风长高和开裂。

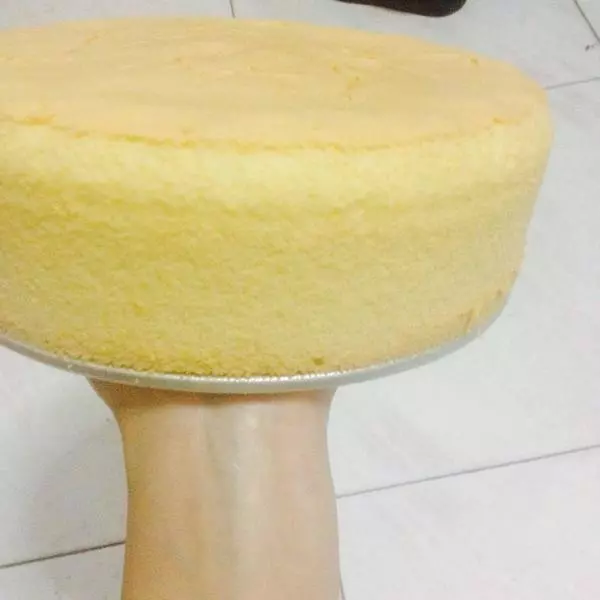
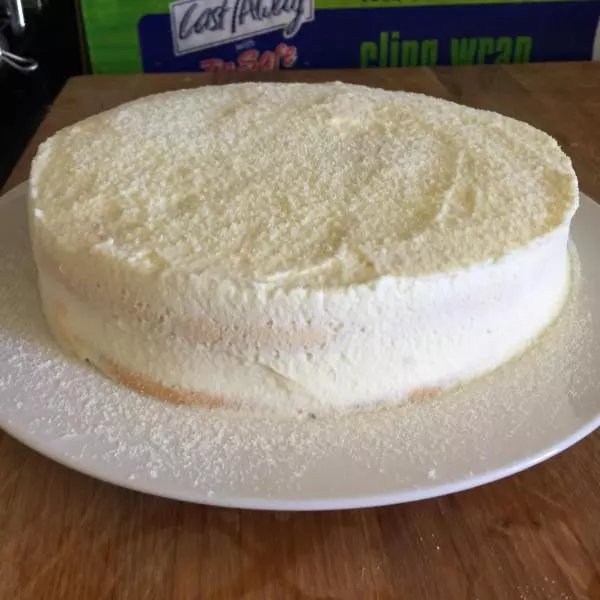
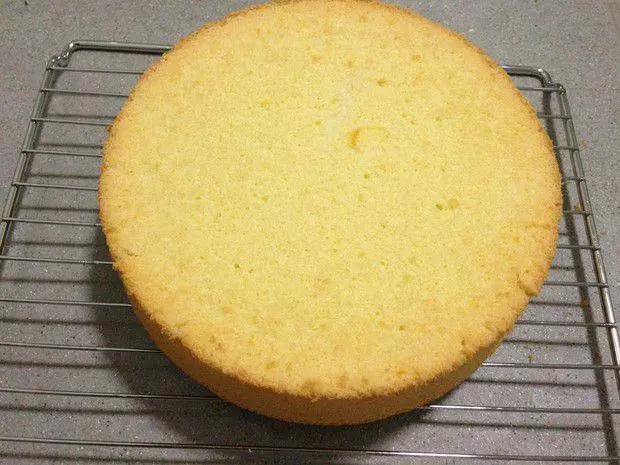
15烤好后立即从烤箱取出来,震去热气,马上倒扣放凉。放一个晚上比较保险。

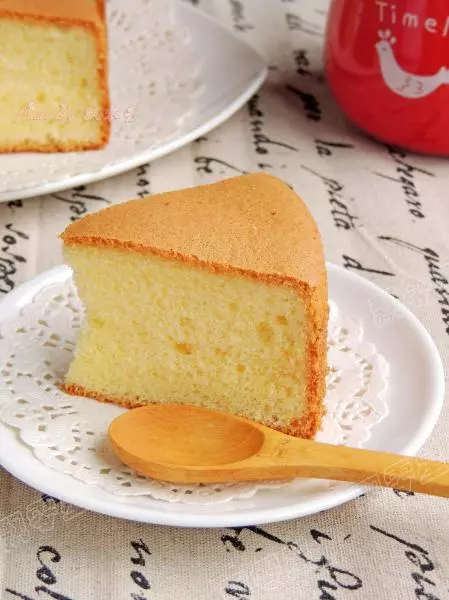
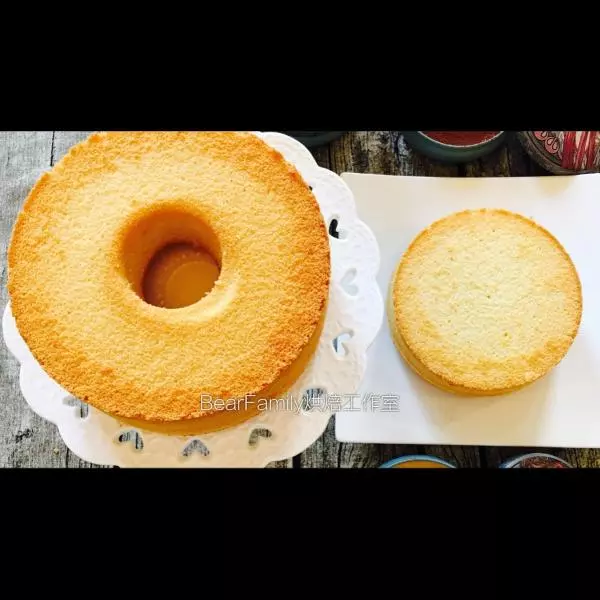
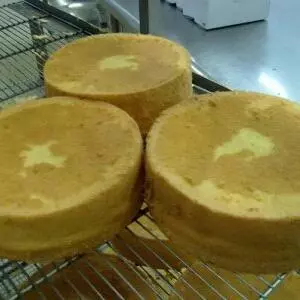
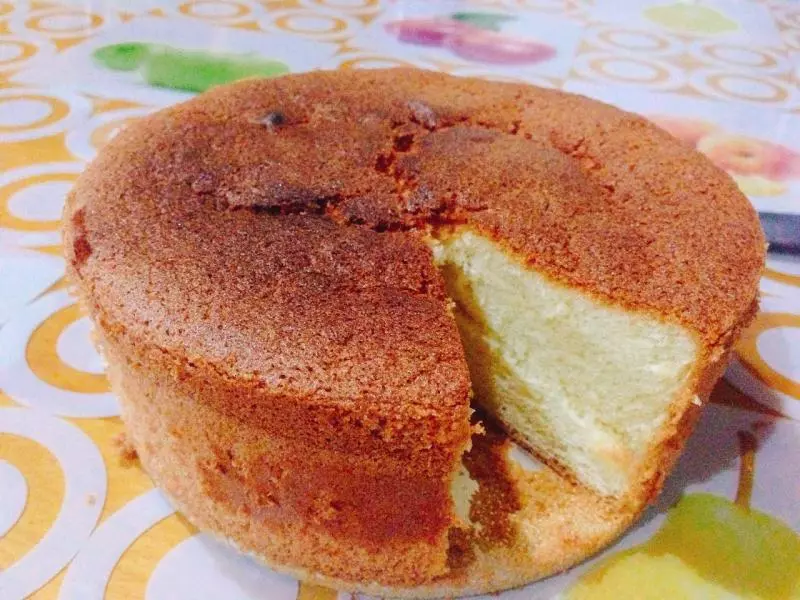
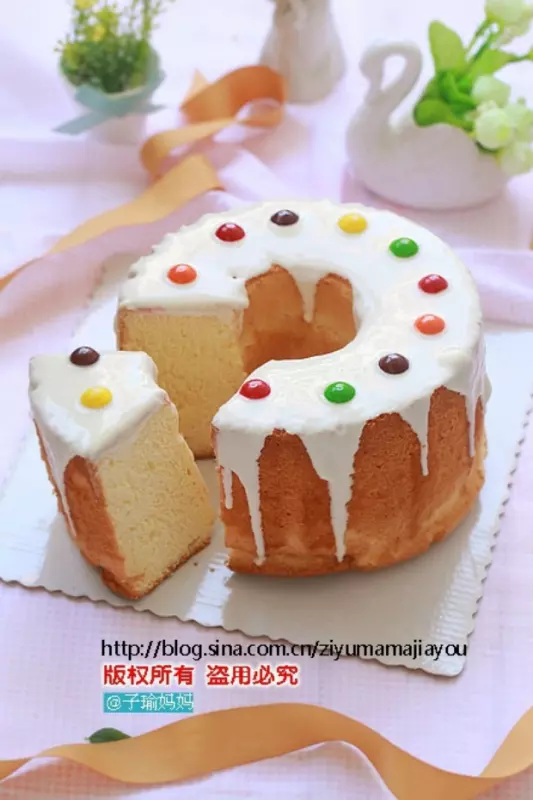
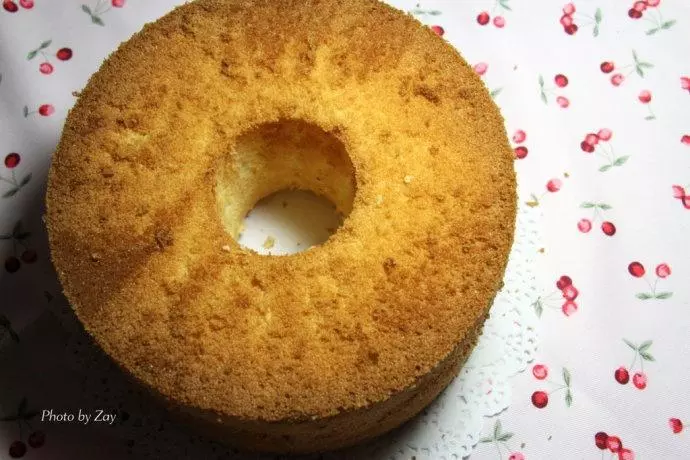
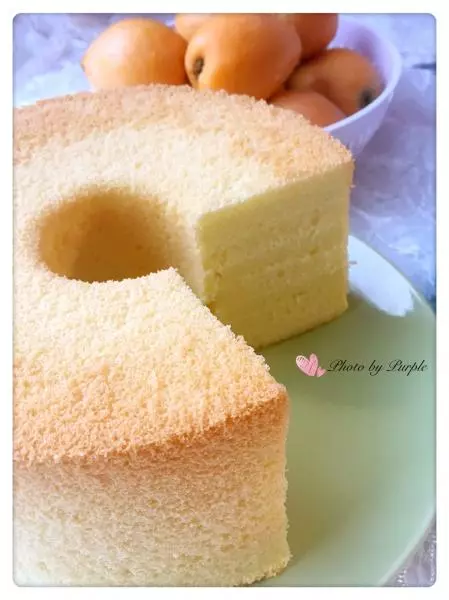
16第二天早上,看到漂亮的开裂,很有成就感。

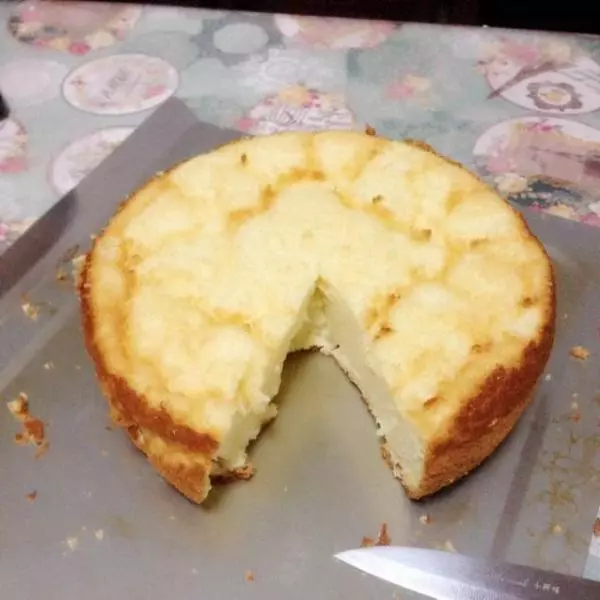
17徒手脱模。想我这种手残星人必须要练习多次。

小技巧
1、所有容器无油无水。不要嫌我啰嗦? 2、做蛋黄糊的时候,蛋白放入冰箱,是为了更好的打发蛋白。 3、做蛋黄糊用电动打蛋器搅打,真的没什么不可以,只是过犹不及,千万注意力度,不过力就非常事半功倍。用手动打蛋器和刮刀,都是容易受累不讨好滴。 4、用刮刀切拌时,推荐用大号刮刀,切拌比较彻底,也快速。 5、入烤箱前和出烤箱时务必务必震去气泡很关键很重要。