原料
低粉: 40克, 蛋白: 50克, 蛋黄: 25克, 白糖: 30克, 芒果泥: 150克, 淡奶油: 250克, 吉利丁片: 8克, 蛋黄: 一个, 牛奶: 100克, 香草豆荚: 四分之一根, 低筋面粉: 8克, 白糖: 50克
步骤
1蛋白加入白糖打至硬性发泡

2蛋黄打至变白

3低粉过筛备用
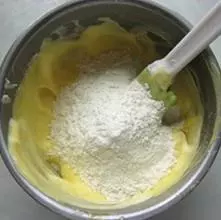
4然后将蛋黄和蛋白混拌

5再倒入低粉混拌均匀
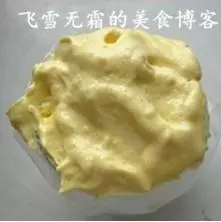
6混拌好的样子

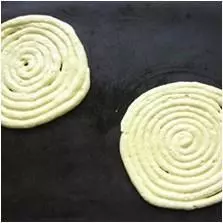
7将面糊装入裱花袋中,裱花袋剪个小口子
8挤成圆形,总共需要四块。每块约14厘米左右直径。多出的挤手指饼干即可。放入预热180度的烤箱中层,烤至20分钟左右上色即可
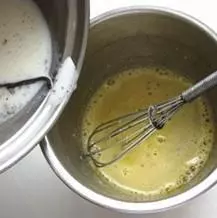
9蛋黄加入白糖打至发白

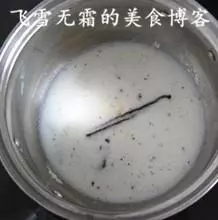
10取另一锅牛奶加入豆荚,豆荚即出豆子,豆荚外壳和豆子也一起放入牛奶中煮开
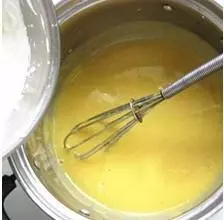
11煮开的牛奶倒入蛋黄中搅拌均匀,注意要慢慢地倒入牛奶
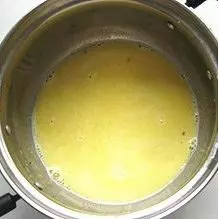
12再倒入过筛后的面粉搅拌均匀

13然后煮开后过滤出豆荚外壳
14吉利丁片提前用冷水泡软

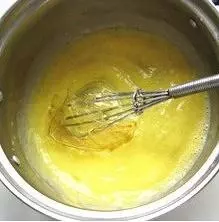
15泡软的吉利丁片再倒入牛奶蛋黄中
16芒果取果泥150克,用料理机搅拌成糊

17然后将果泥过筛

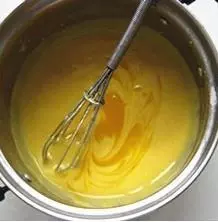
18再将果泥倒入牛奶蛋黄中
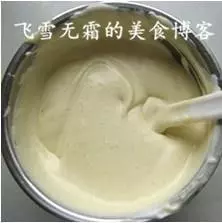
19淡奶油倒入无油无水的容器中

20用电动打蛋器打发至有纹路

21打发好的淡奶油分次倒入蛋黄牛奶中混合均匀
22混合好的样子即是慕司糊
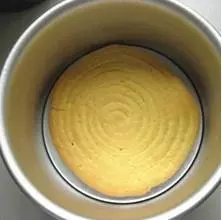
23取一活底模具

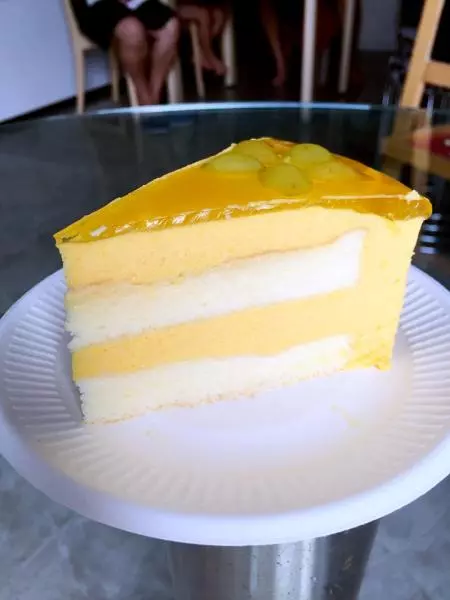
24先放一块蛋糕底
25倒入四分之一慕司糊
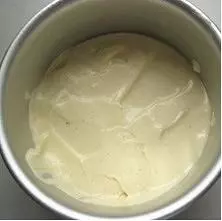
26再放一片蛋糕底,然后再倒一层慕司糊,总共是四片蛋糕底,依次放入后,最后将慕司糊全部铺满

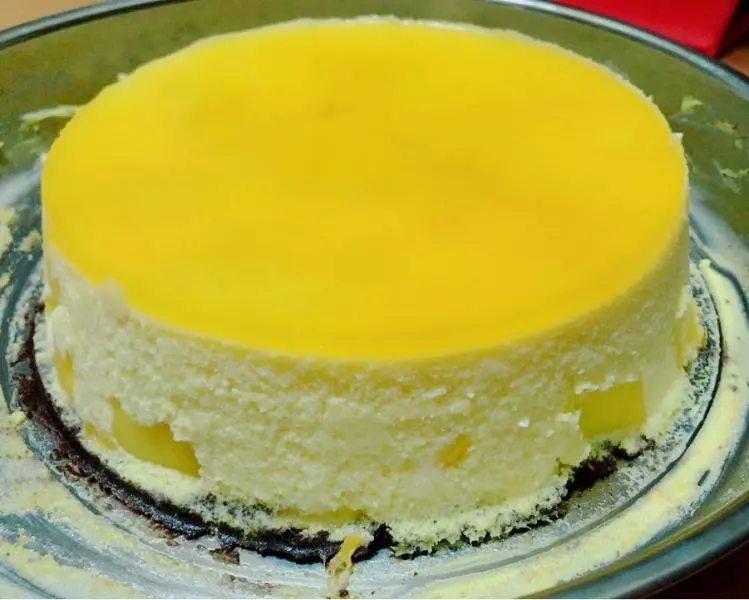
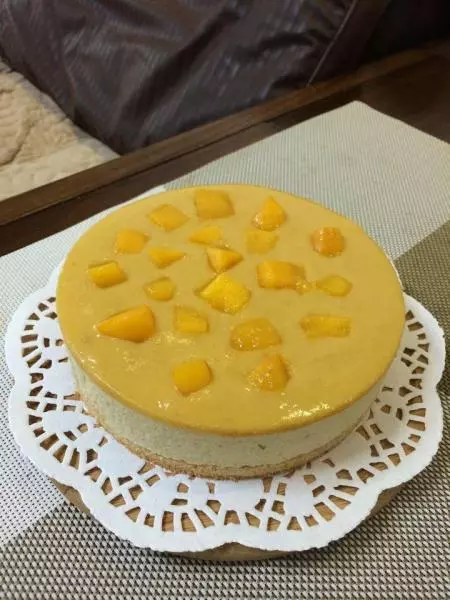
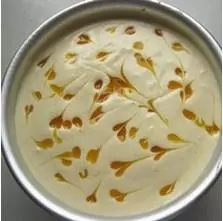
27少许的芒果泥过筛,滴几滴在慕司糊表面

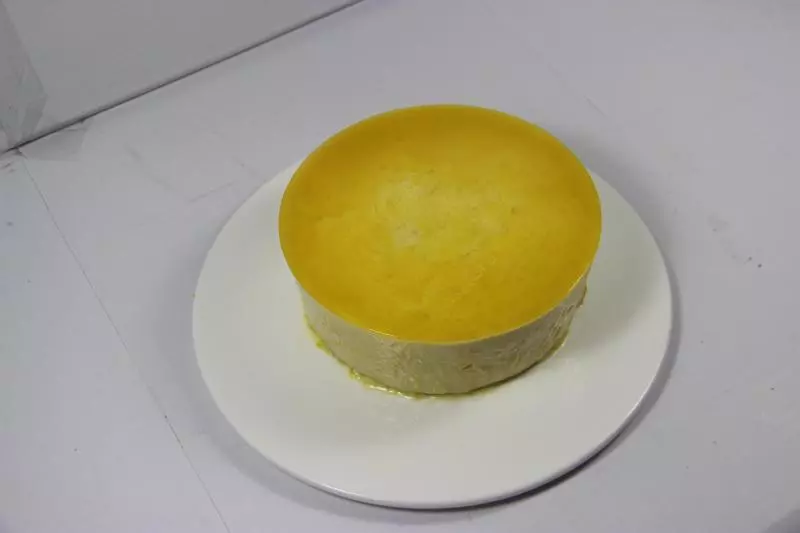
28用牙签划几圈即可。放冰箱冷藏室冷藏至凝固即可
小技巧
1、淡奶油提前放冰箱冷藏室,这样容易打发。 2、打好的淡奶油有纹路即可。 3、装入慕司面糊的时间,注意控制分量,这样做出来的层次才比较均匀。 4、脱模的时候,注意用吹风机吹模具一圈即可轻松脱模。