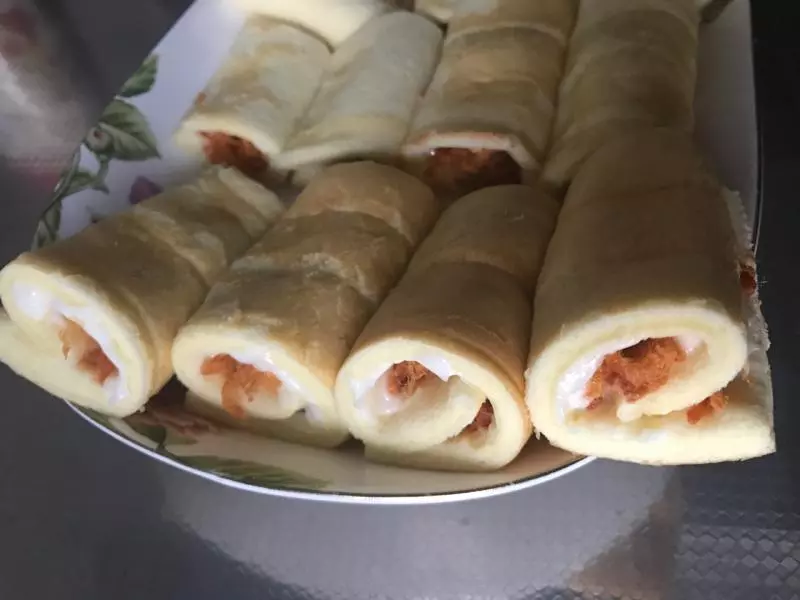
原料
低筋面粉: 90克, 玉米油50: 克, 鸡蛋: 4个, 砂糖: 60克, 牛奶: 55克, 肉松: 适量, 柠檬汁或者白醋: 几滴, 沙拉酱: 适量
步骤
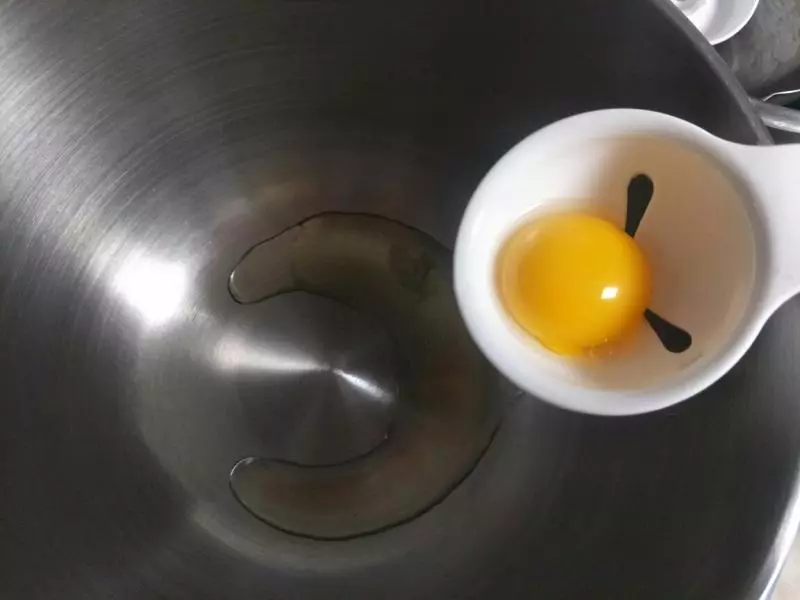
1蛋白与蛋黄分离,蛋白的盆要无水无油,因为一会要打发蛋白。
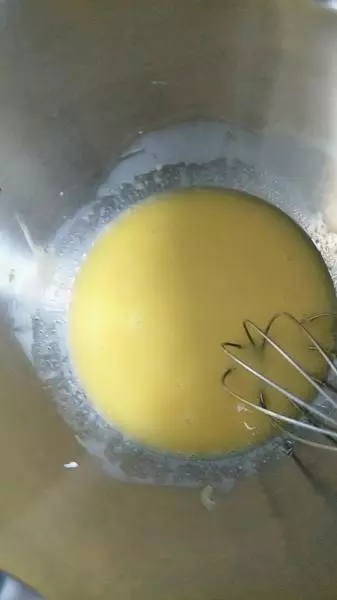
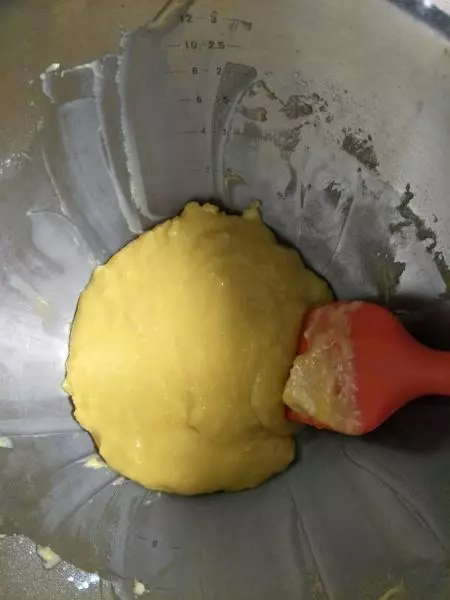
2蛋黄用手动打蛋器搅散后,依次放入牛奶,玉米油
3在搅好的蛋液里放入过筛的面粉,这个时候要用铲子,不要用手动打蛋器,用铲没颗粒快,还避免了面粉起筋。
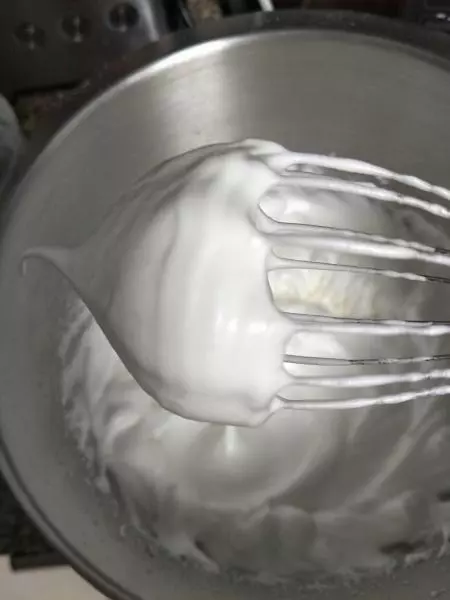
4打发蛋白。蛋液里加几滴柠檬汁,白糖分三次放入。
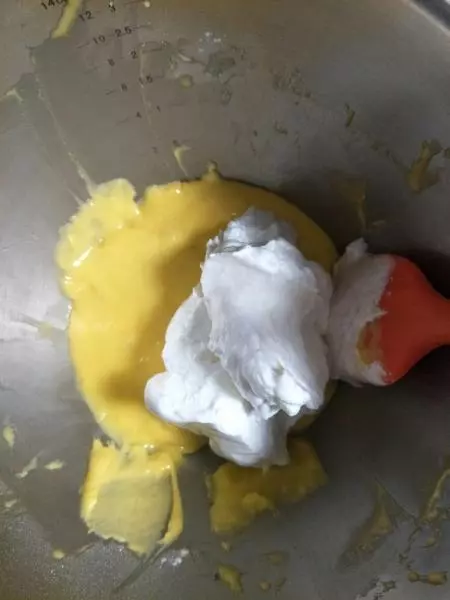
5混合蛋黄糊和蛋白。分三次把打发好的蛋白混入蛋黄面糊,用铲翻均匀。
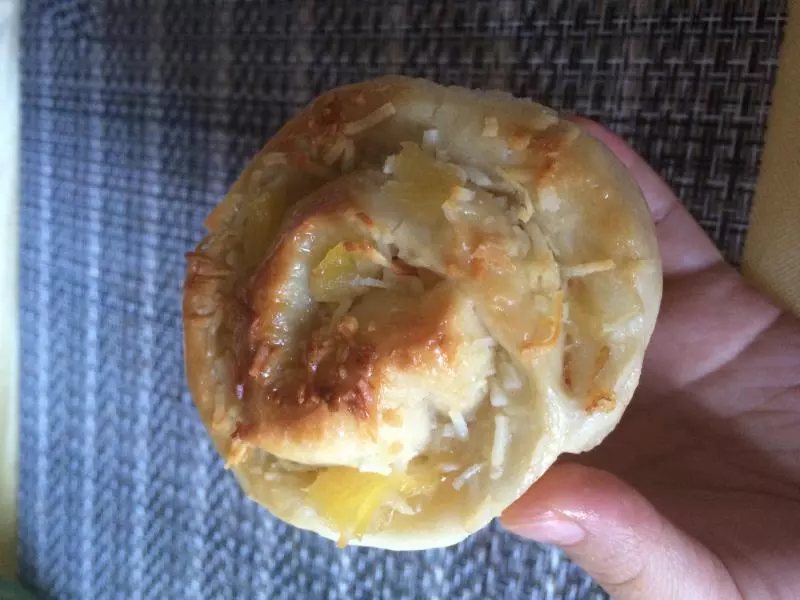
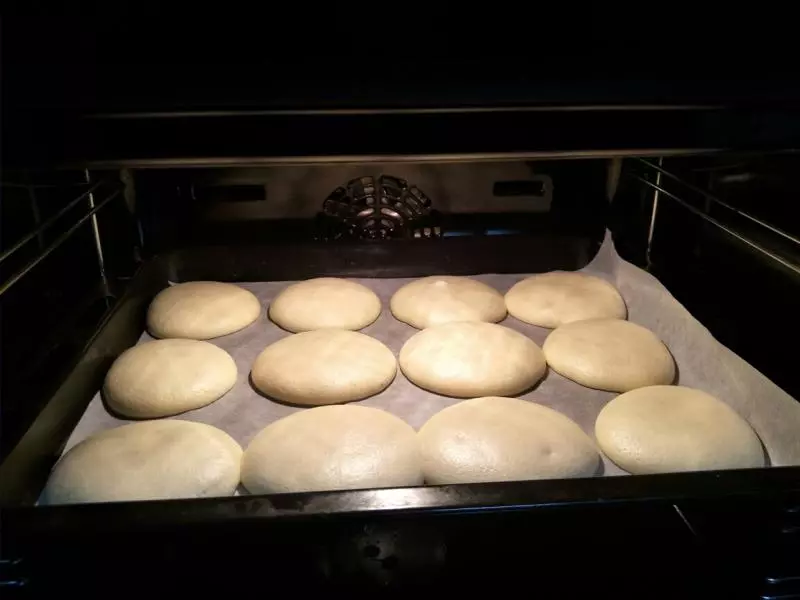
6混合均匀的面糊装入裱花袋,每个比旺旺米饼下一点点,我在托盘上铺了烤箱用纸。

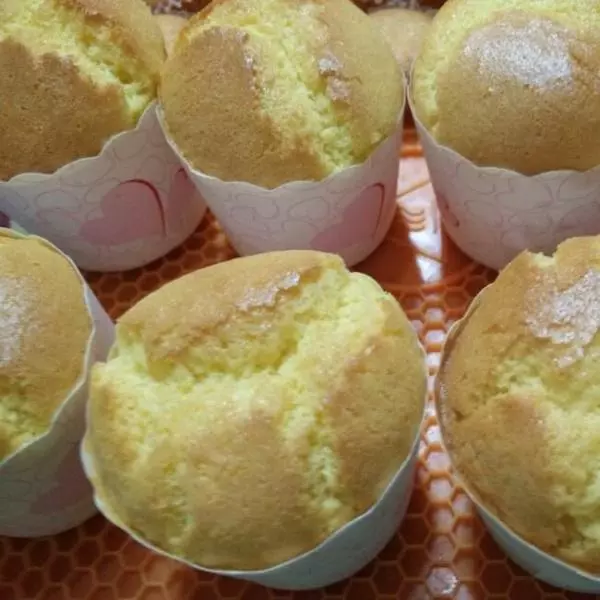
7烤箱预热200.随后180度,我烤了12分钟。
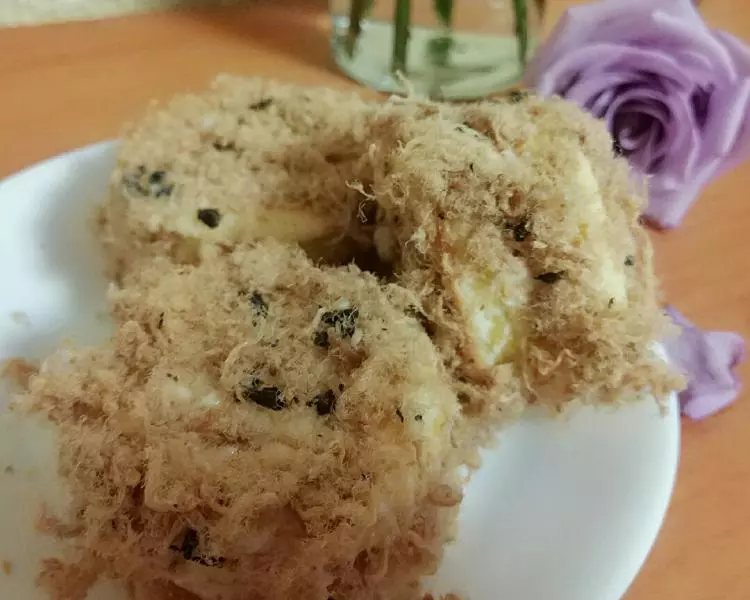
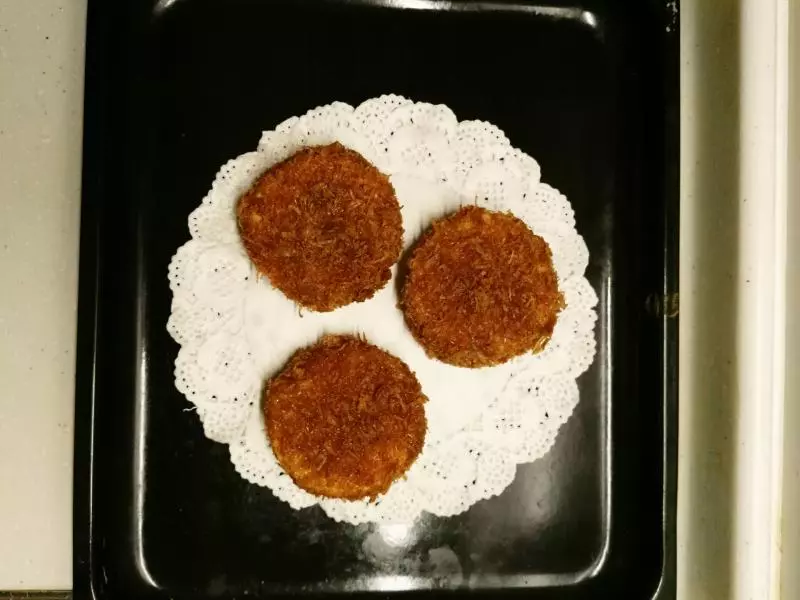
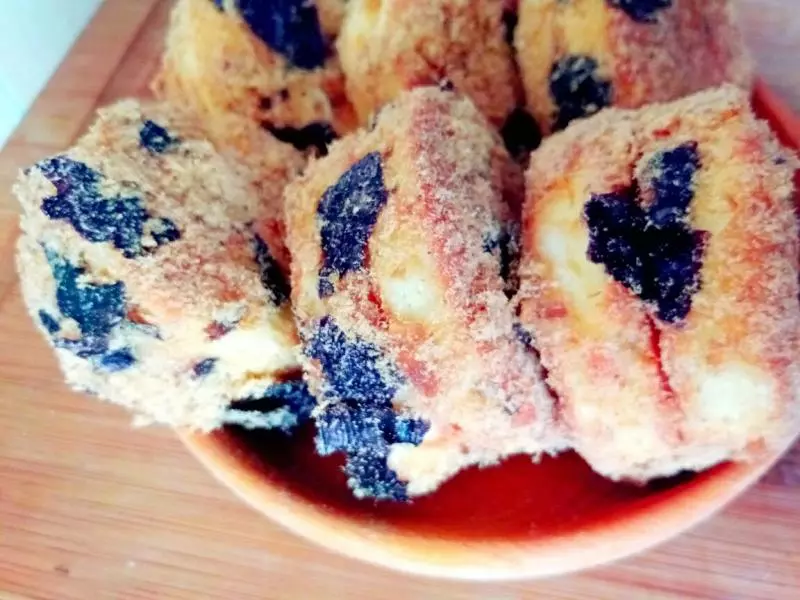
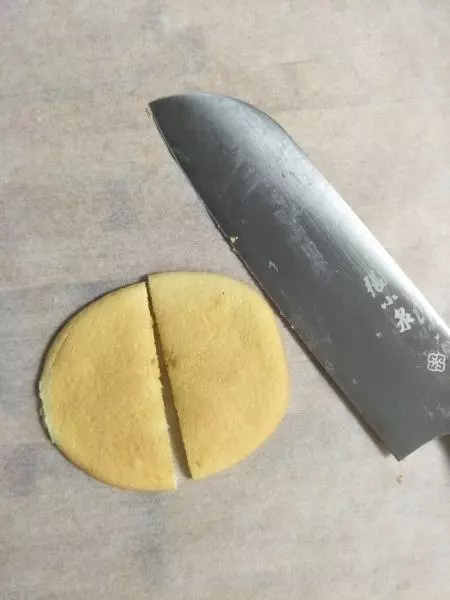
8我没有做圆形的,而是切半的,因为我烤的厚实,每个都比旺旺雪饼大圈。
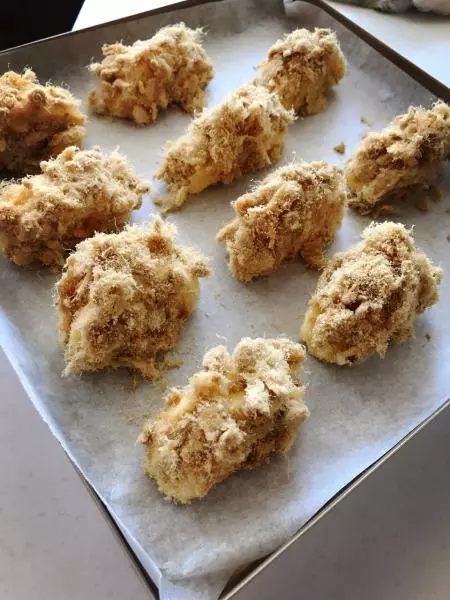
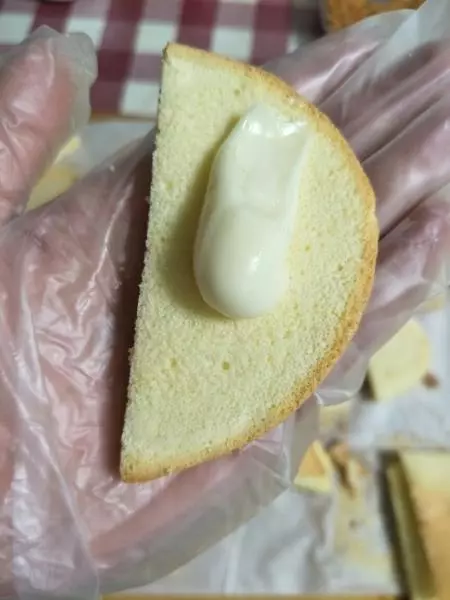
9我在中间,两面都摸上了沙拉酱(香甜味,我喜欢)。
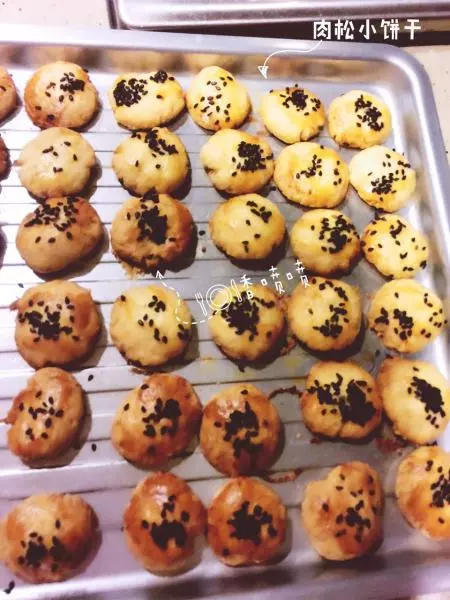
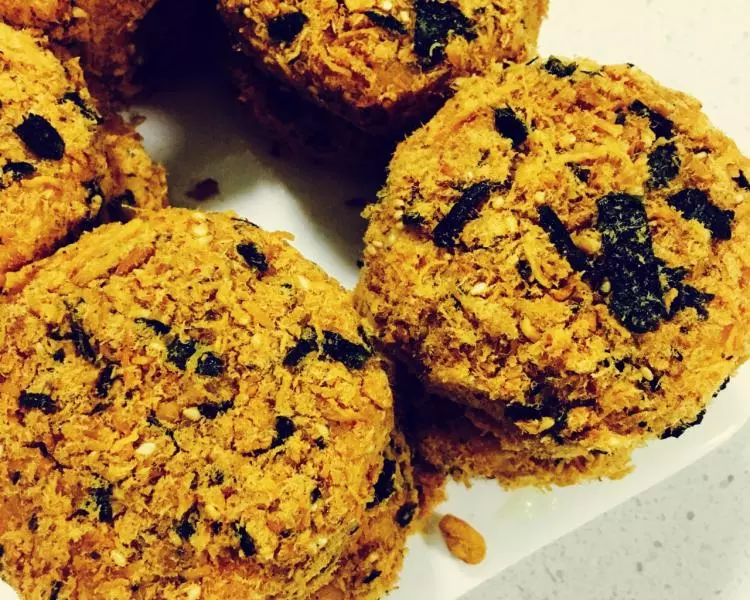
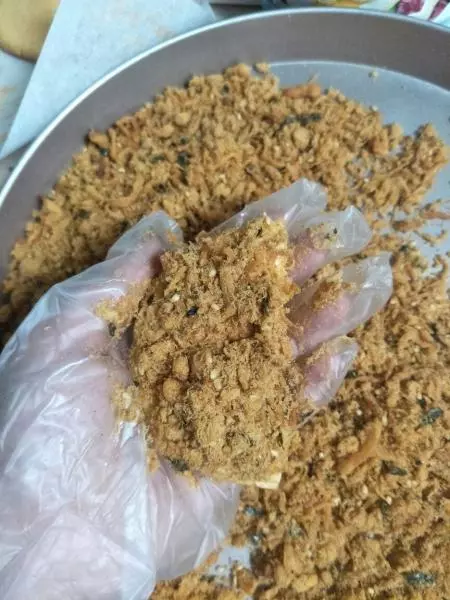
10可以粘喜欢的肉松了,豪爽的我当然是越多越好了。
11肉松小贝真是老少皆宜,我家亲戚都很喜欢?

小技巧
我喜欢吃匹厚的所有面粉放的多,喜欢薄的可以适当减量,不影响口感。