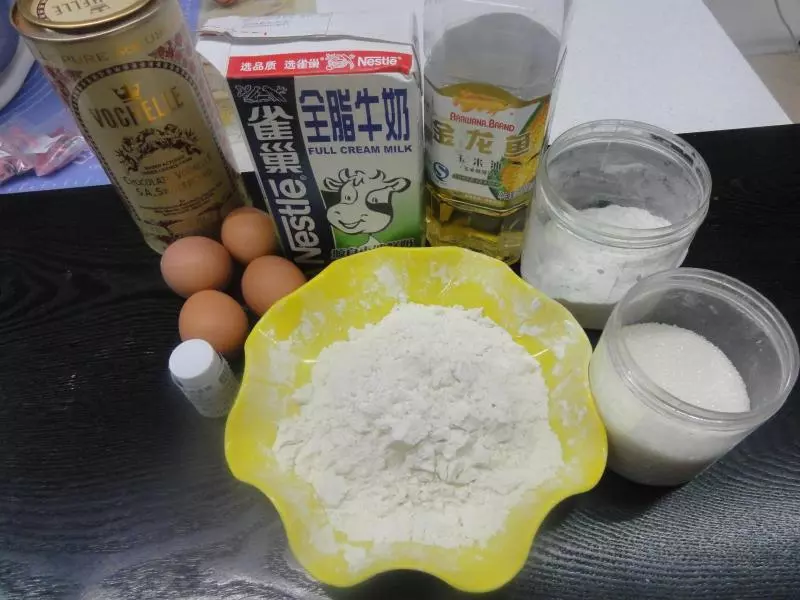
原料
蛋白: 4个, 蛋黄: 3个, 细砂糖: 65克, 牛奶: 60克, 玉米油: 38克, 低筋面粉: 72克, 玉米淀粉: 5克, 可可粉: 10克, 淡奶油: 100克, 砂糖: 20克, 香草精: 2克
步骤
1准备材料。
2蛋黄加入30克砂糖用电动打蛋器打发,
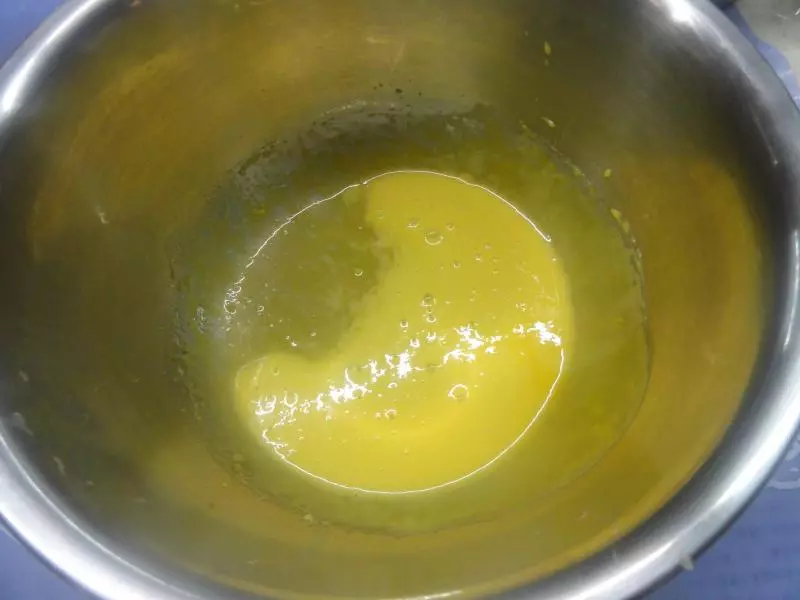
3加入牛奶搅打出粗泡。
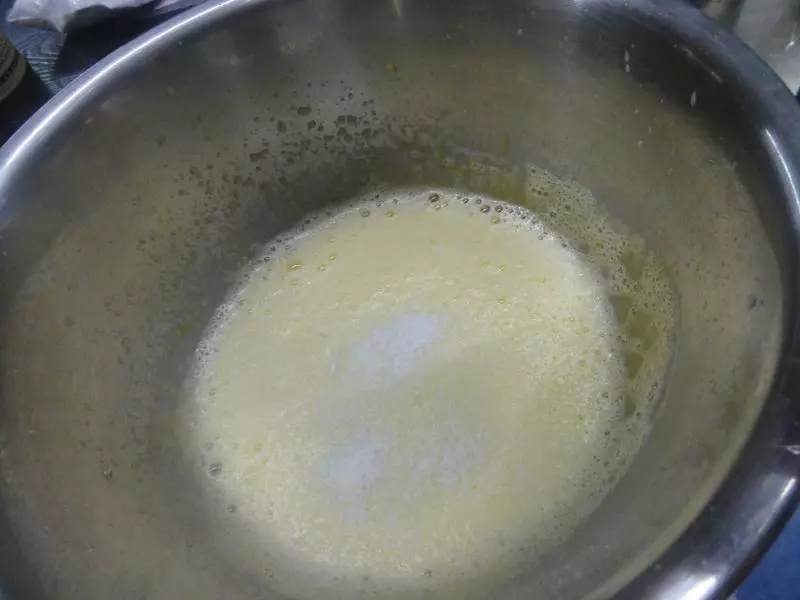
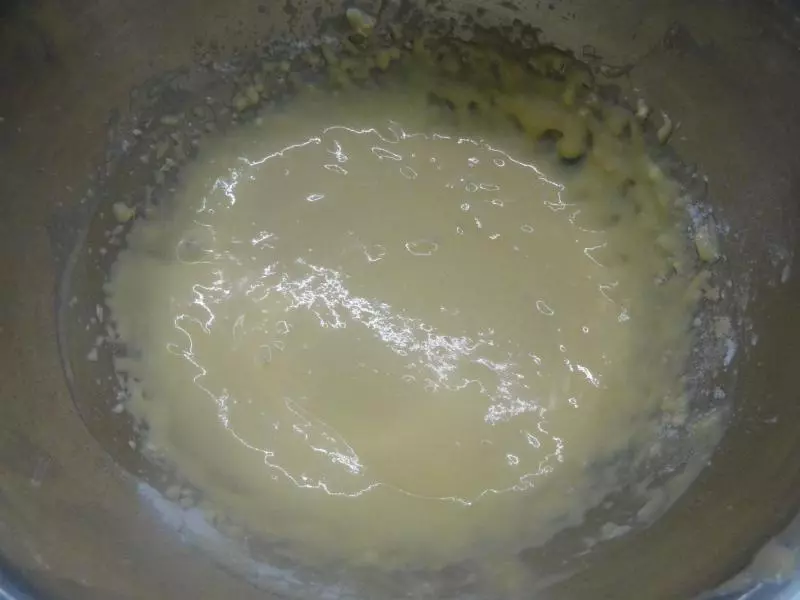
4接着加入玉米油,打至泡沫细腻,再加入香草精混合均匀。筛入70克低筋面粉拌匀。
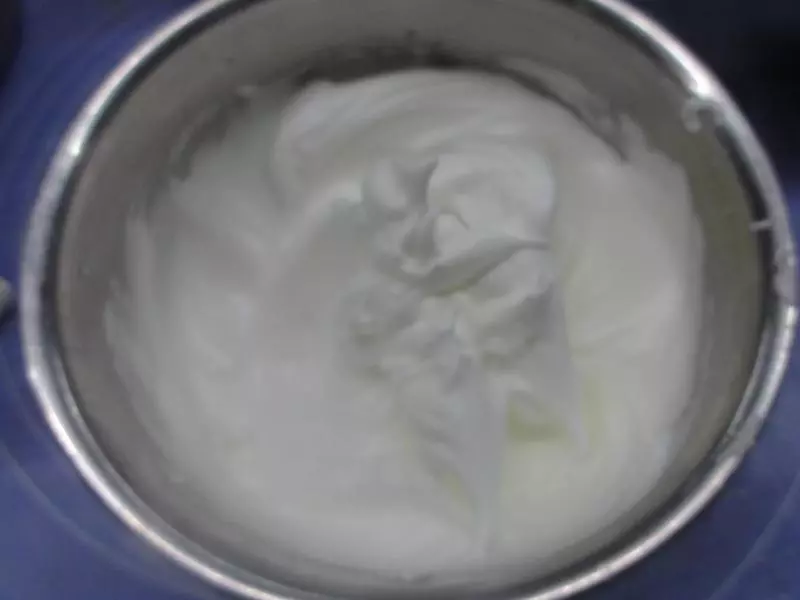
5细砂糖分三次加入蛋白中,最后加入玉米淀粉,打至尖三角的状态。
6取一大勺蛋黄面糊。
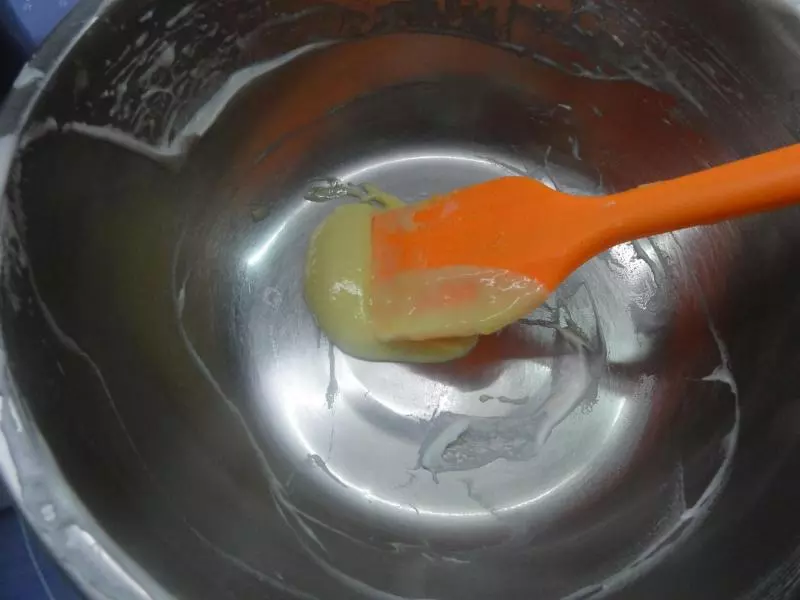
7加入剩下的2克低筋面粉搅拌均匀。
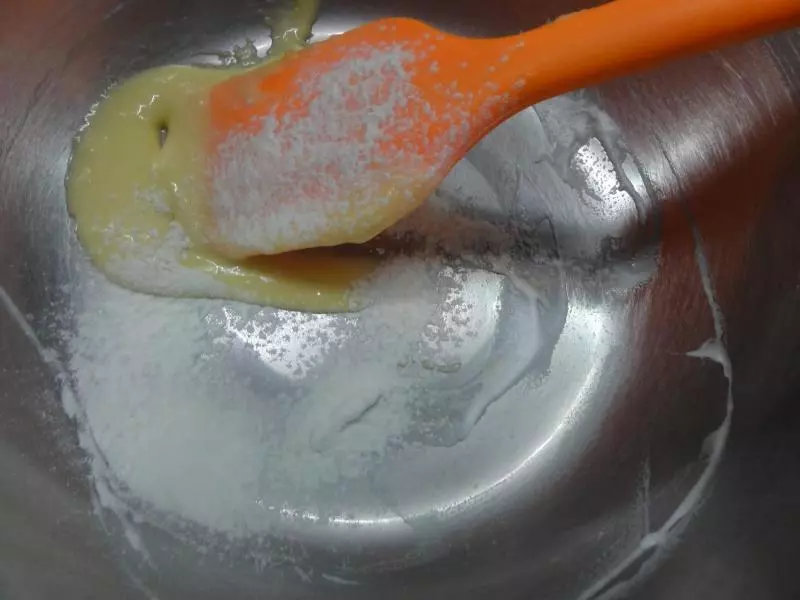
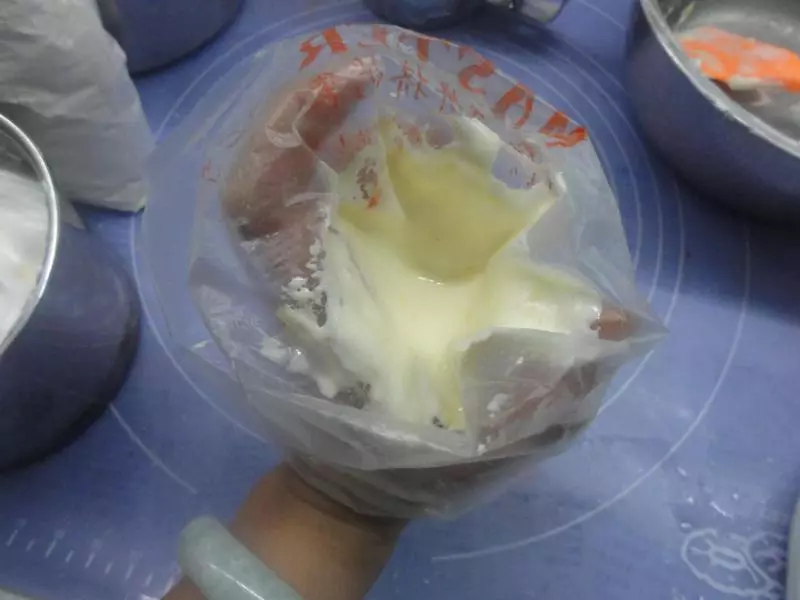
8取蛋黄面糊的三倍的量混合拌匀,装入裱花袋。
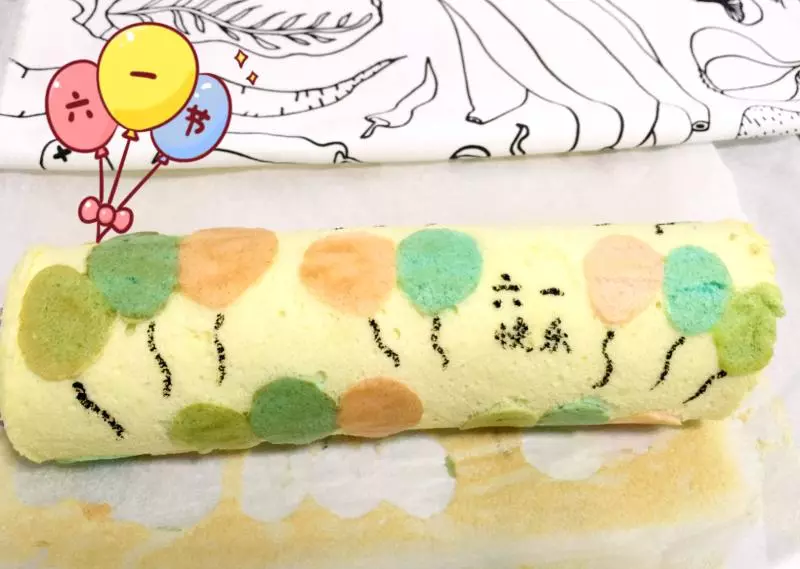
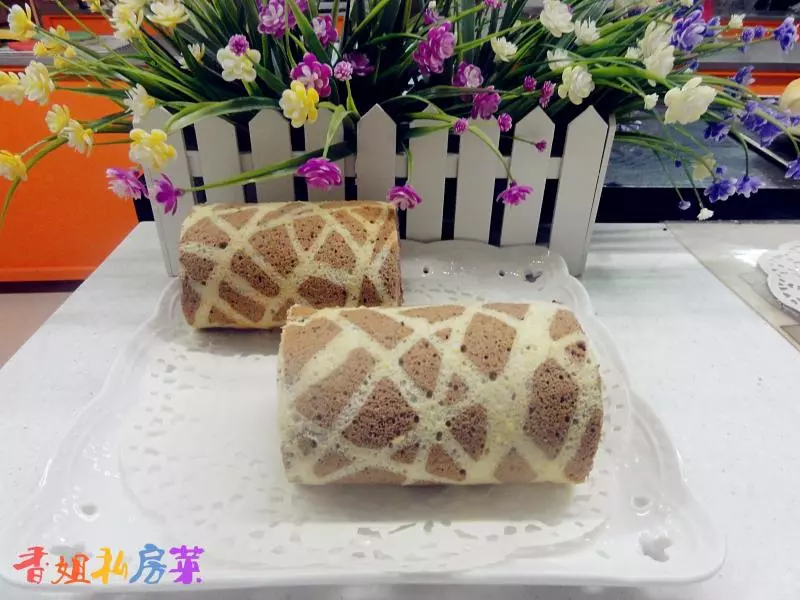
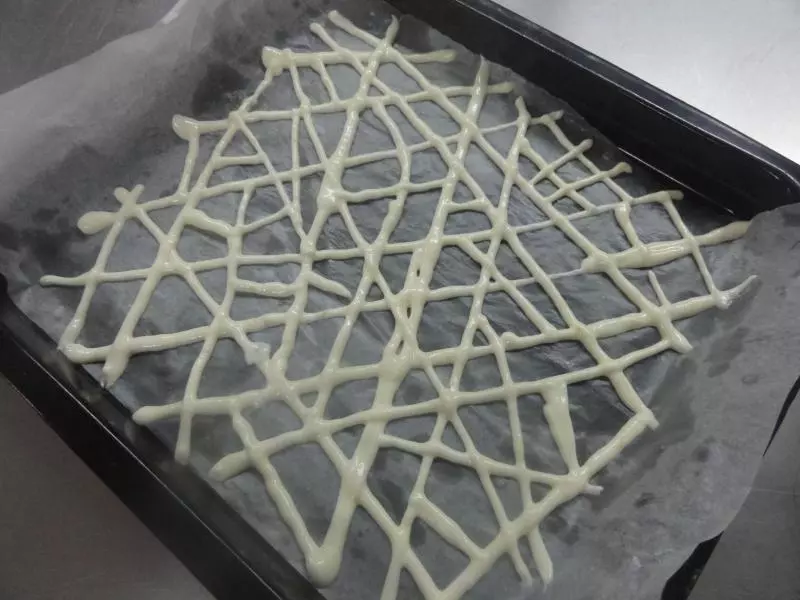
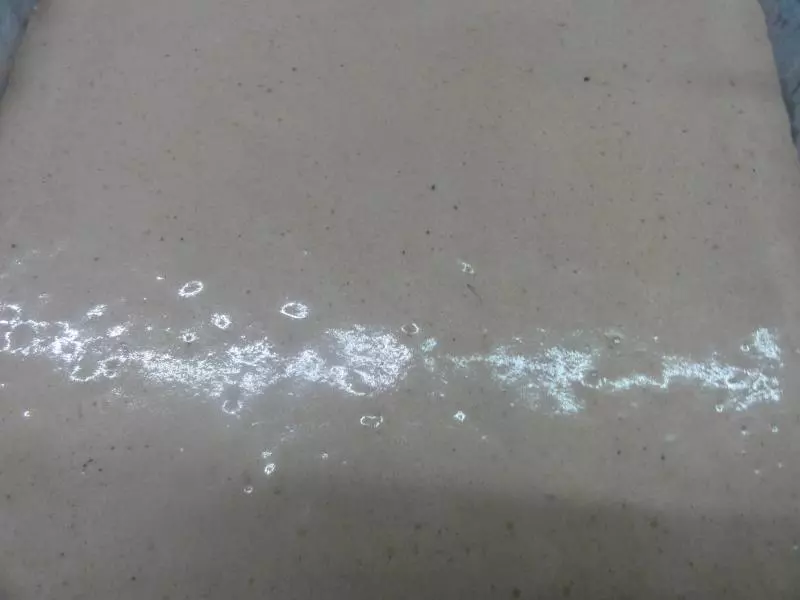
9剪个小口在铺了吸油纸的烤盘上画出长劲鹿的花纹。进烤箱170度一份三十秒。
10在剩下的蛋黄糊里筛入可可粉,加入三分之一的蛋白拌匀。
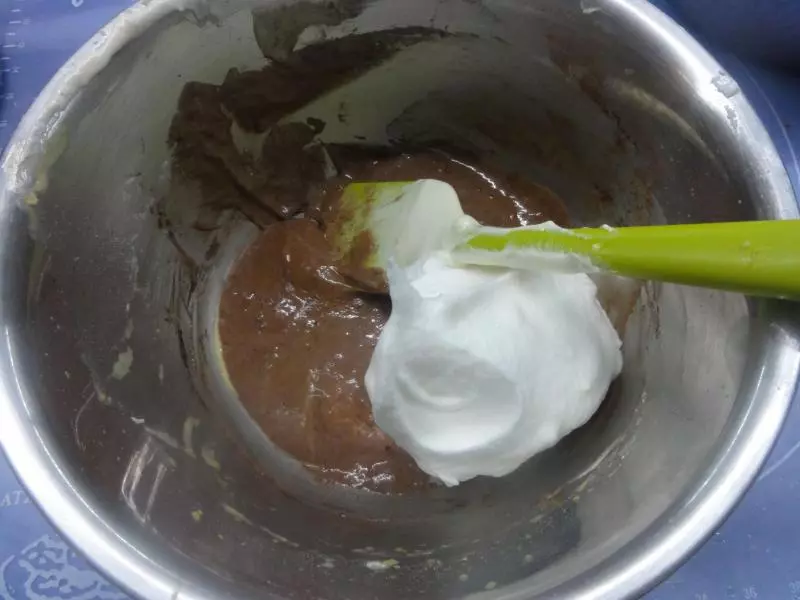
11在将剩下的蛋白一起翻拌均匀。
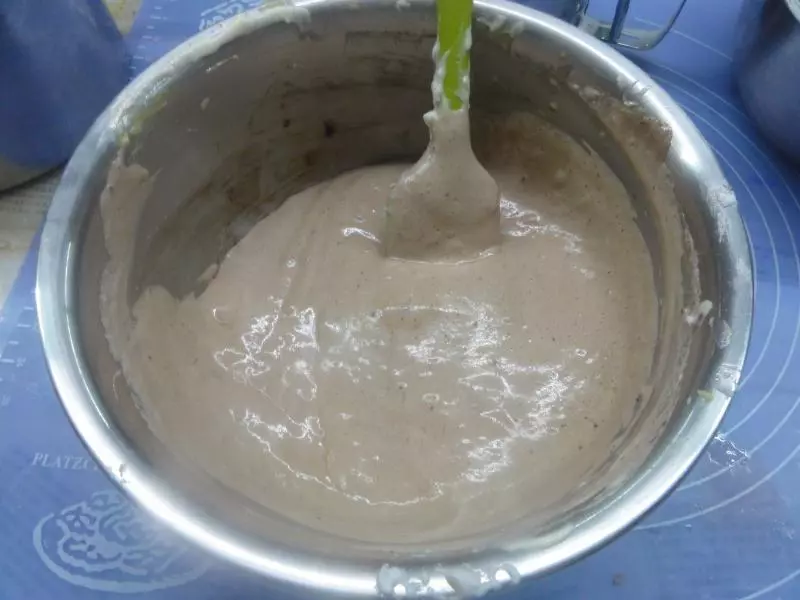
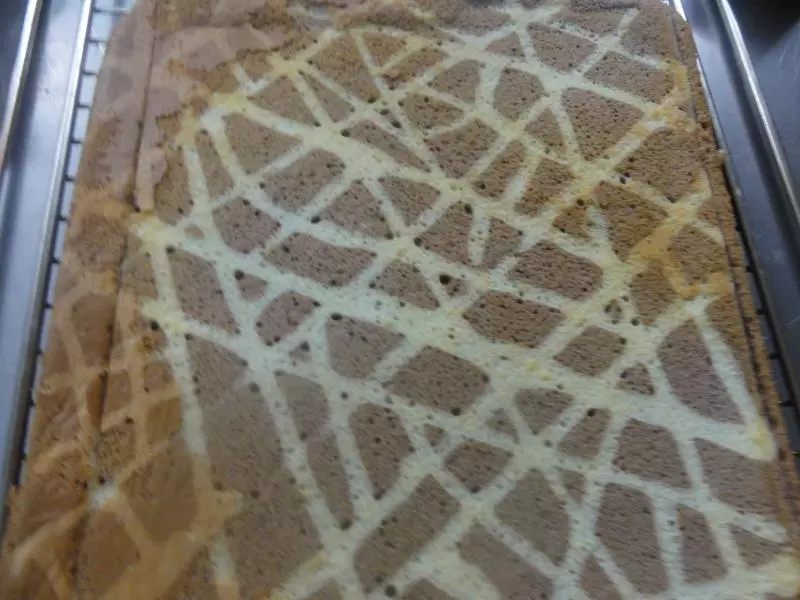
12将面糊倒入烤盘。
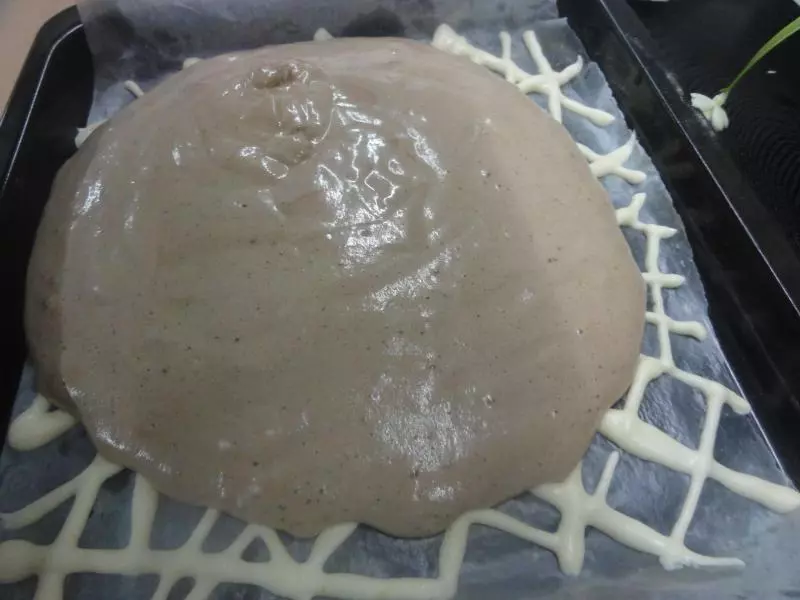
13用刮板刮平,烤箱预热170度15分钟。
14取出后放在烤架上方盖上油纸立即倒出,撕下底部的油纸后在盖上,防止水分 蒸发卷的时候裂开。
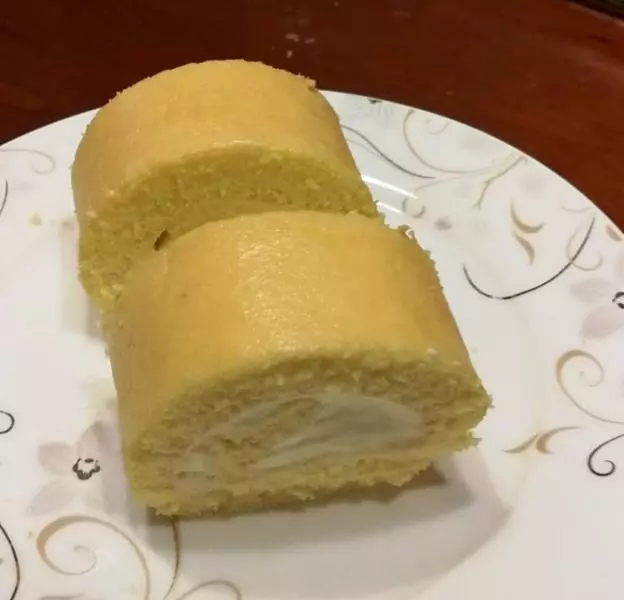
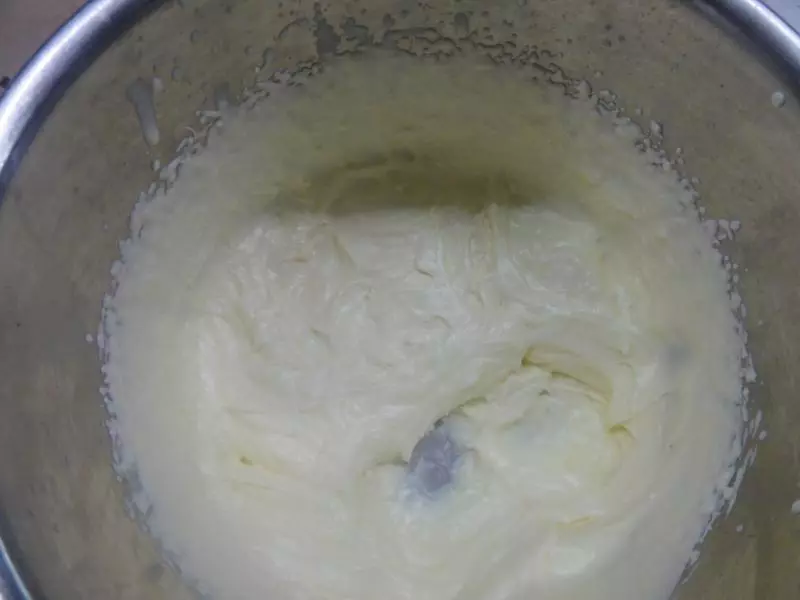
15淡奶油加糖打发,尽量打的硬点。
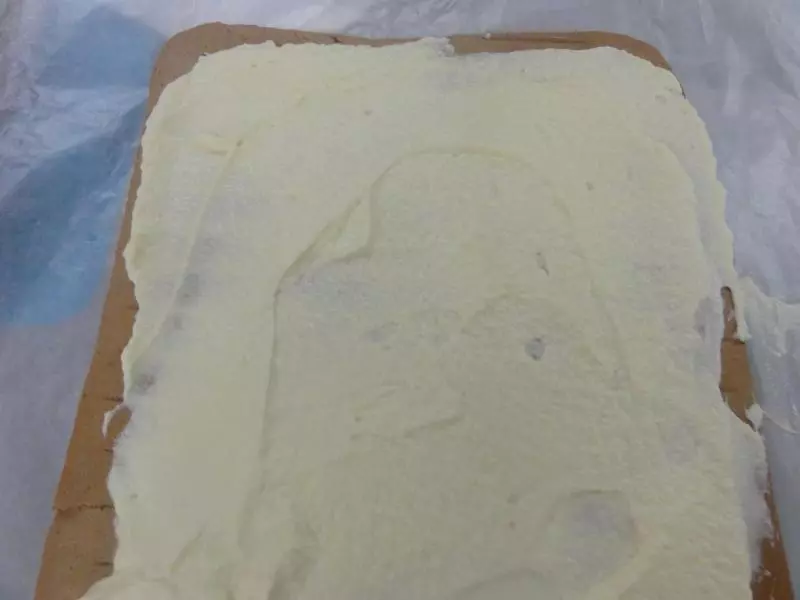
16涂到蛋糕背面。
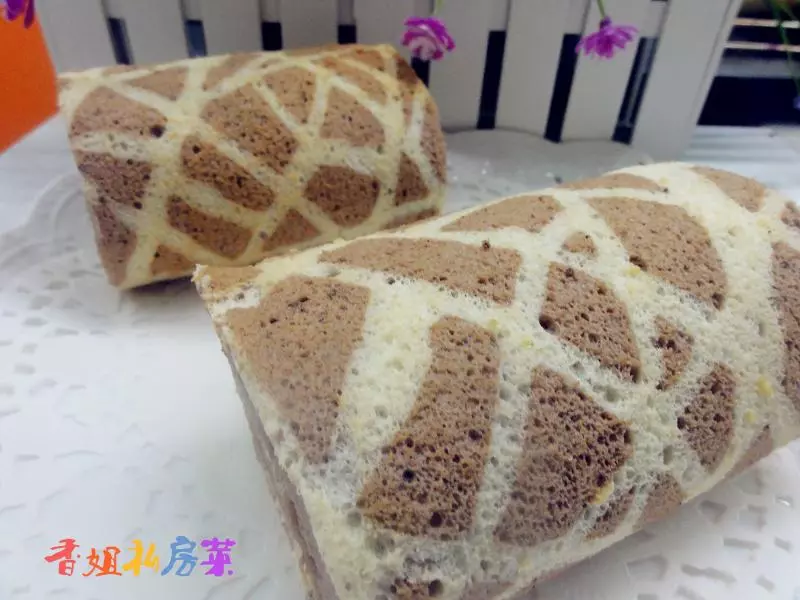
17卷起蛋糕后用油纸包住,两端拧几下。放入冰箱冷藏半小时定型后就完成。
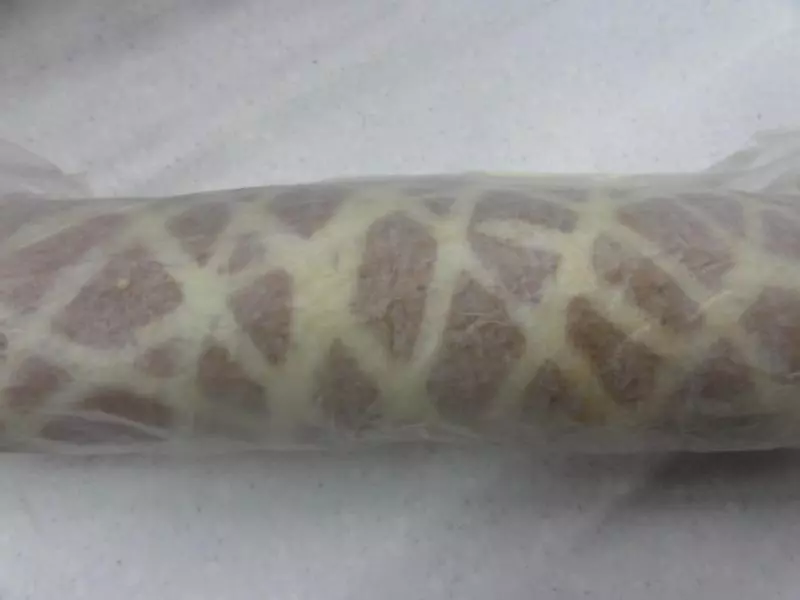
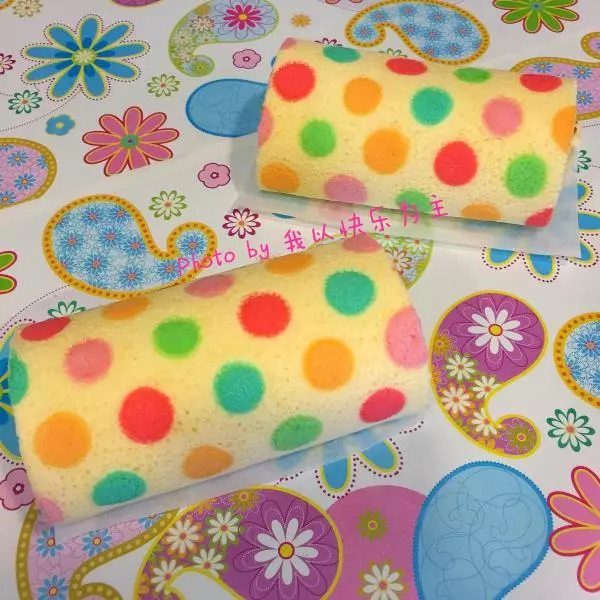
18成品。
小技巧
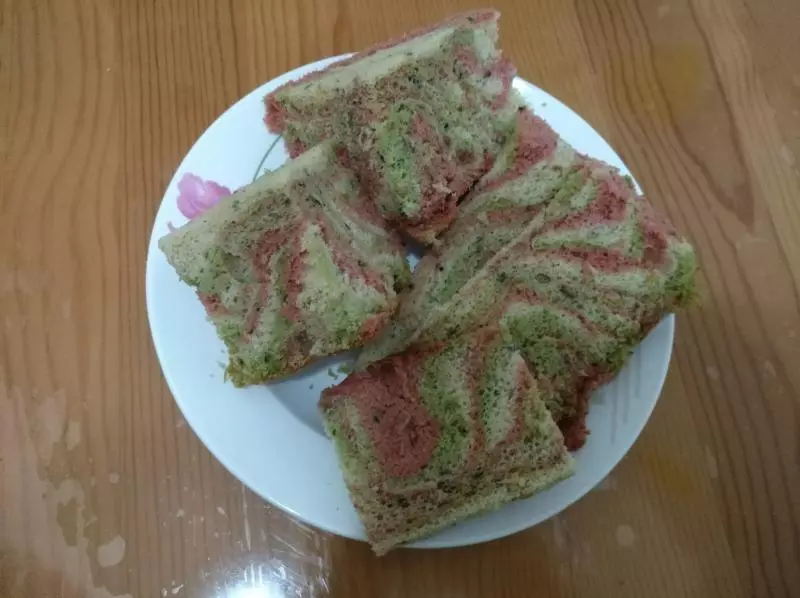
1,蛋白打好后先不用可以先放冰箱冷藏。2.烤制时尽量不要离开以防考过了,稍凉即可卷至。3,图案可以随意画出图案。