原料
猪肉馅料: , 猪肉: 150g, 姜片: 3片, 水: 20g, 盐: 1g, 老抽: 1勺, 醋: 5ml, 糖: 5g, 香葱: 一根, 油: 10g, 饺子皮: , 白鲨高筋饺子粉: 150g, 水: 85g, 盐: 1g, :
步骤
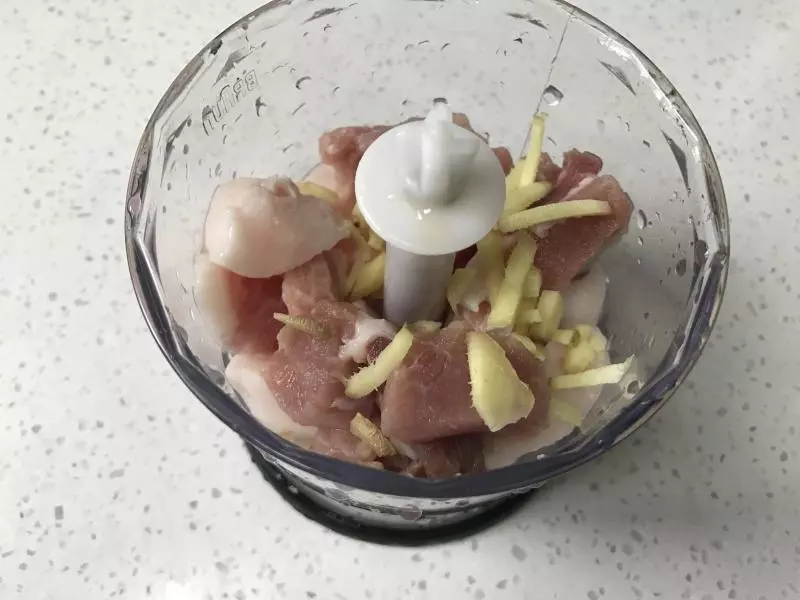
1猪肉和姜末一起放入料理机打成肉泥
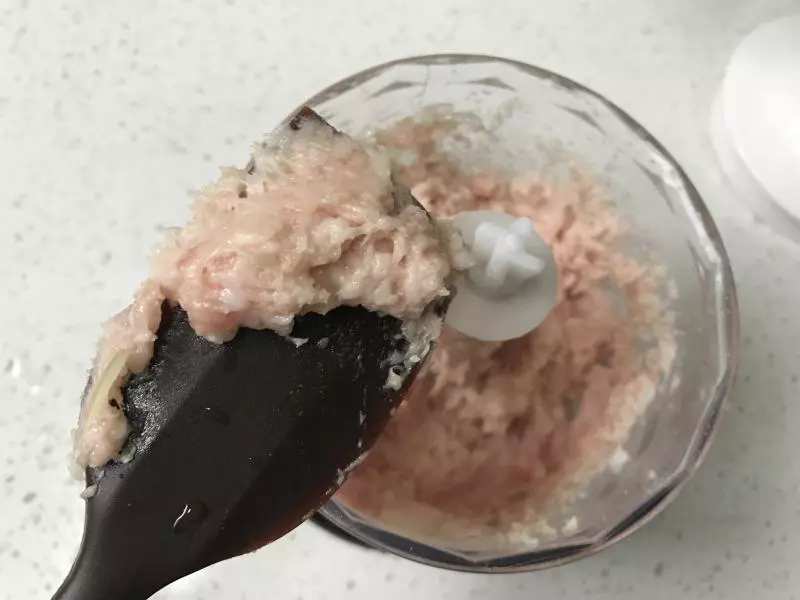
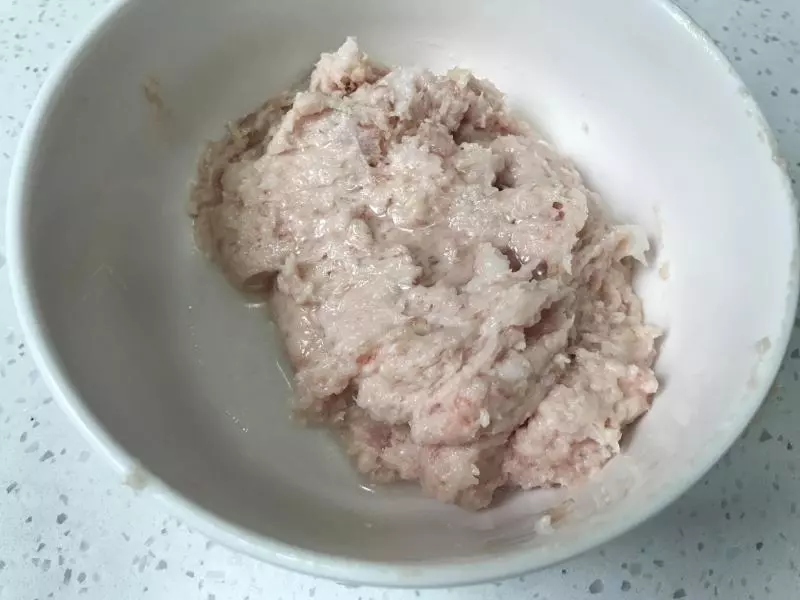
2打好的肉颜色粉红
3加入清水和盐
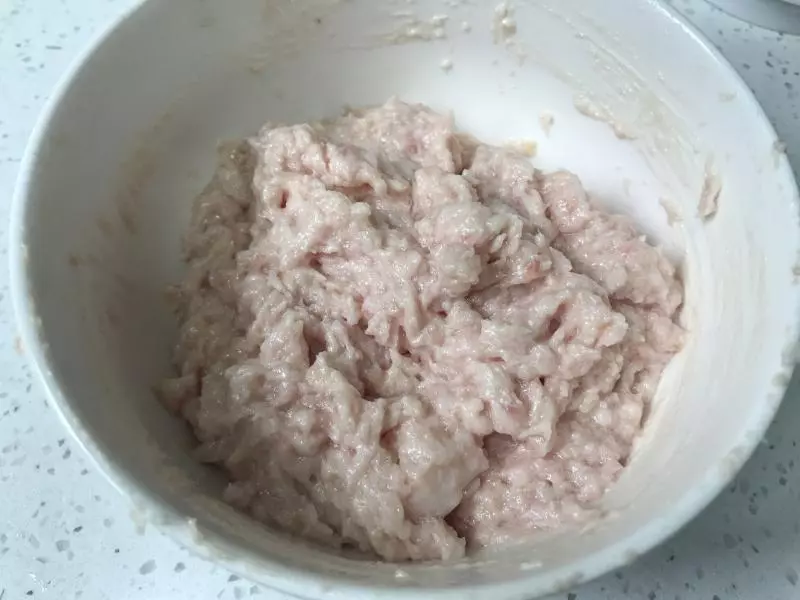
4用筷子顺时针搅拌至肉颜色变浅发白,俗称打水。
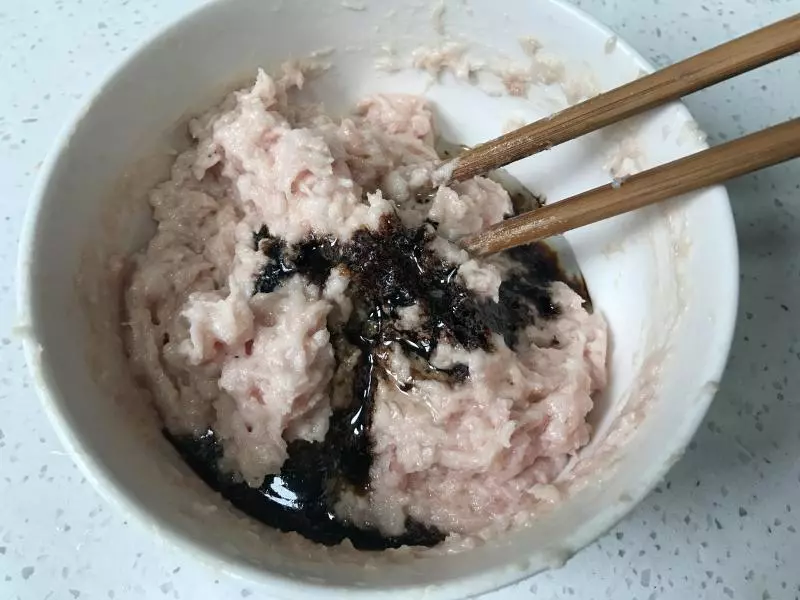
5倒入老抽、醋和糖,搅拌均匀
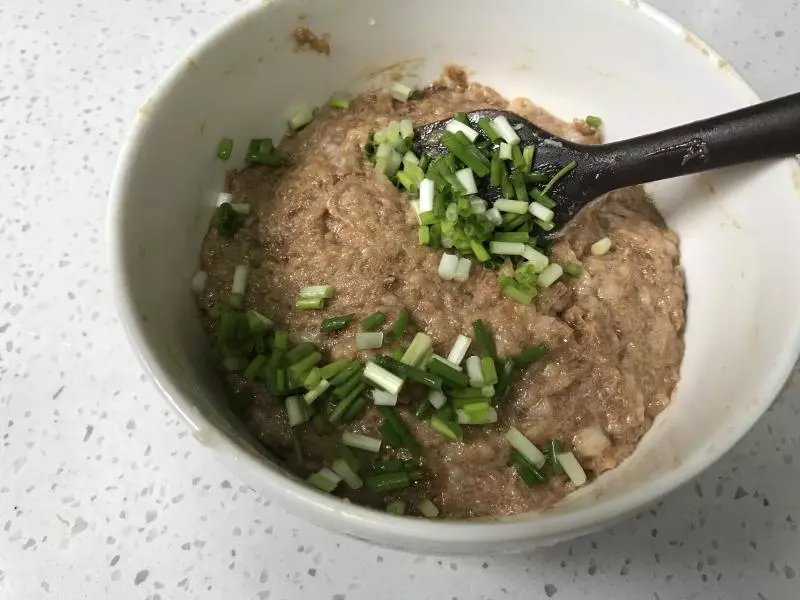
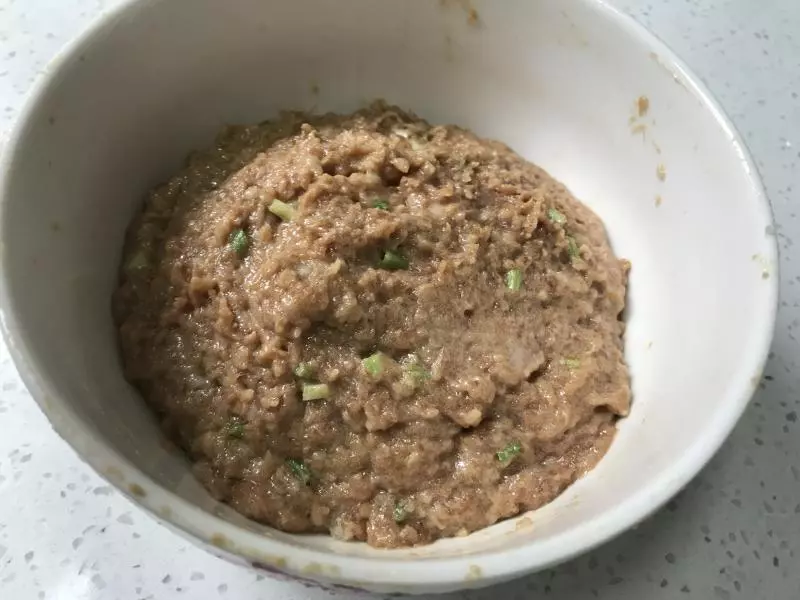
6放入香葱
7拌匀后盖保鲜膜放入冰箱冷藏待用
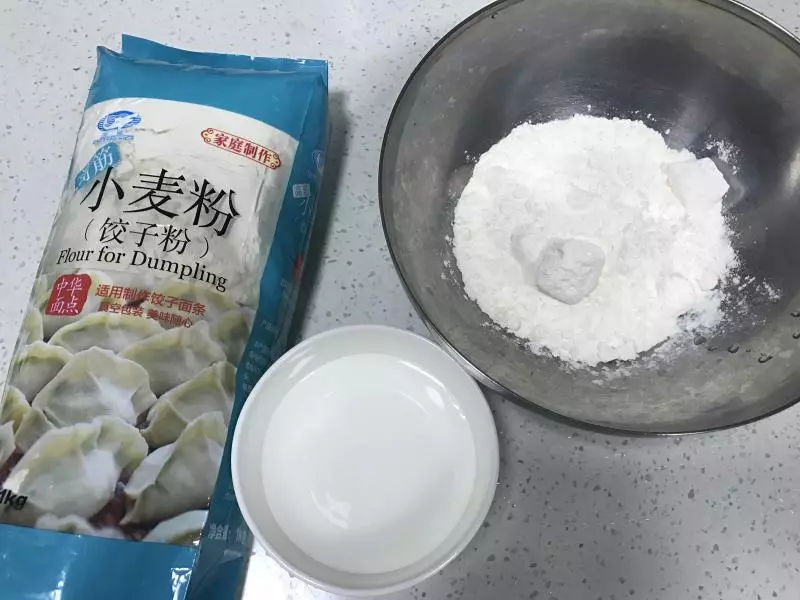
8准备饺子皮材料
9将盐放入清水中化开,逐渐倒入面盆中,一边倒一边拨动筷子
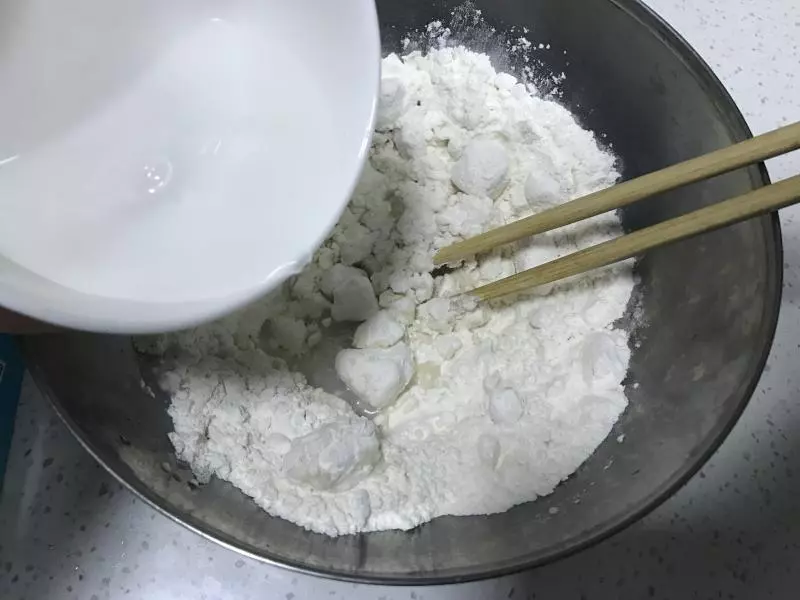
10面团成絮状

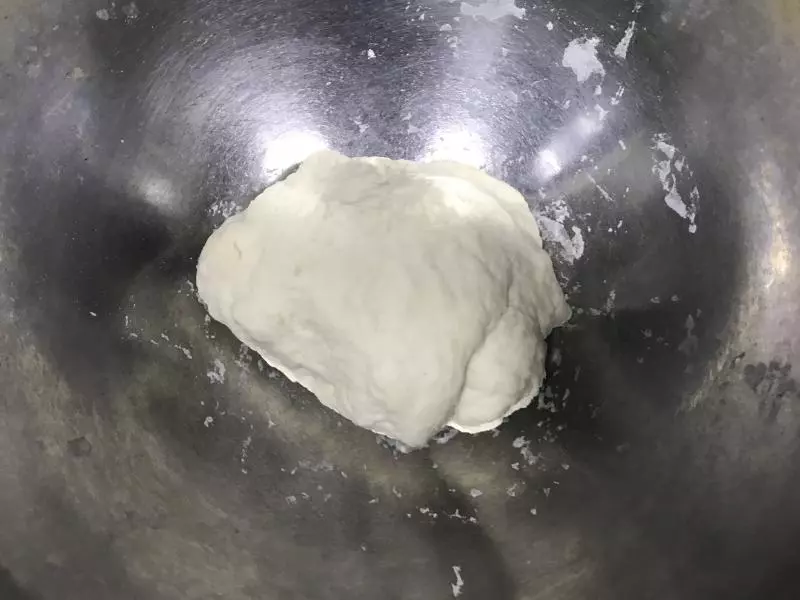
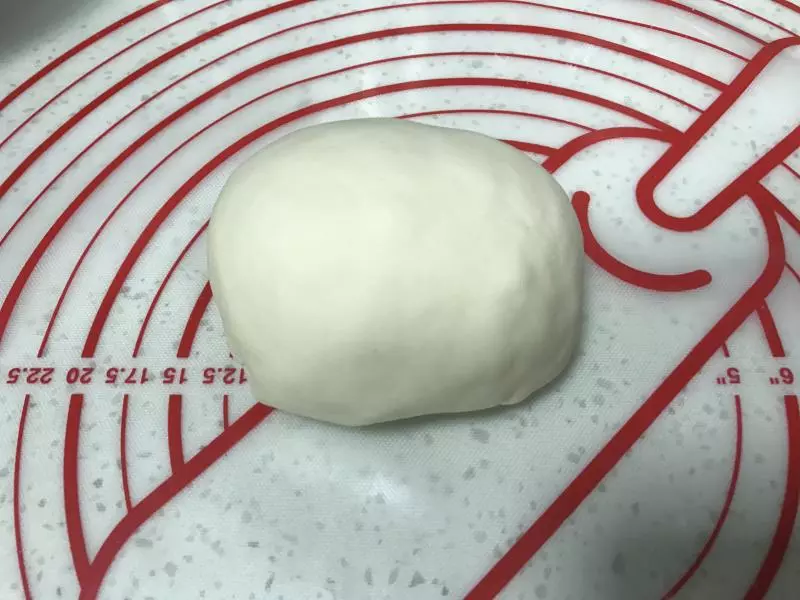
11用手将絮状面团捏成完成面团,盖保鲜膜松弛10分钟
12移至揉面垫上,将面团揉光滑,如果揉不开,可以分成四五份,每份面团按扁,擀面杖擀成薄面皮,再糅合在一起,面团很容易就变的光滑。
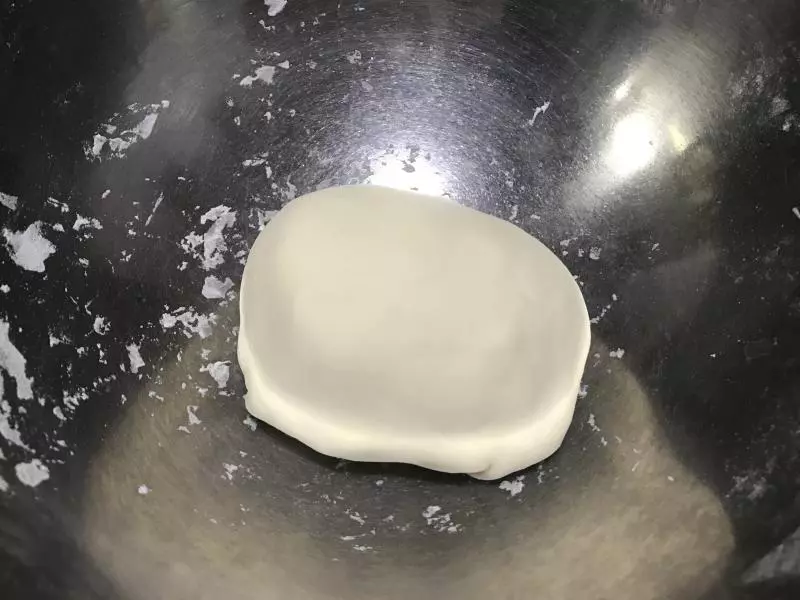
13将面团放入盆中盖保鲜膜松弛30分钟。
14取出面团,用刮板对半切开
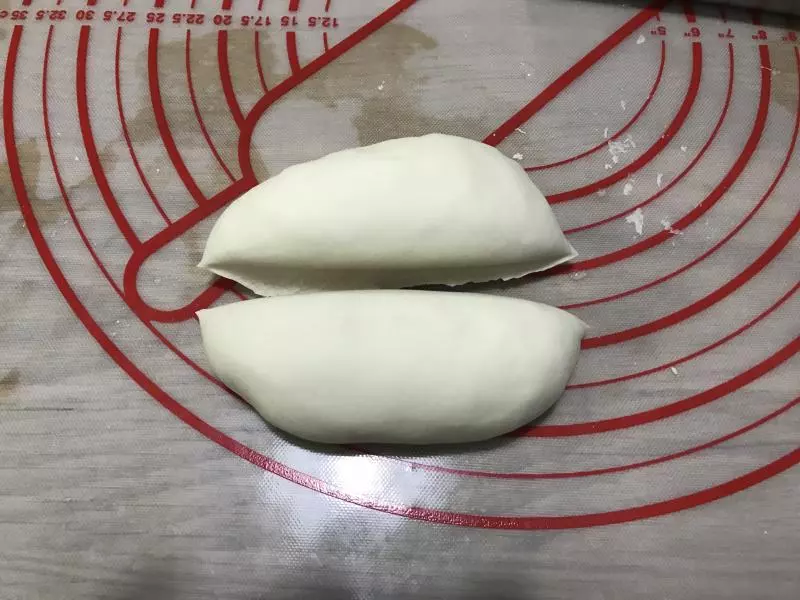
15搓成长条

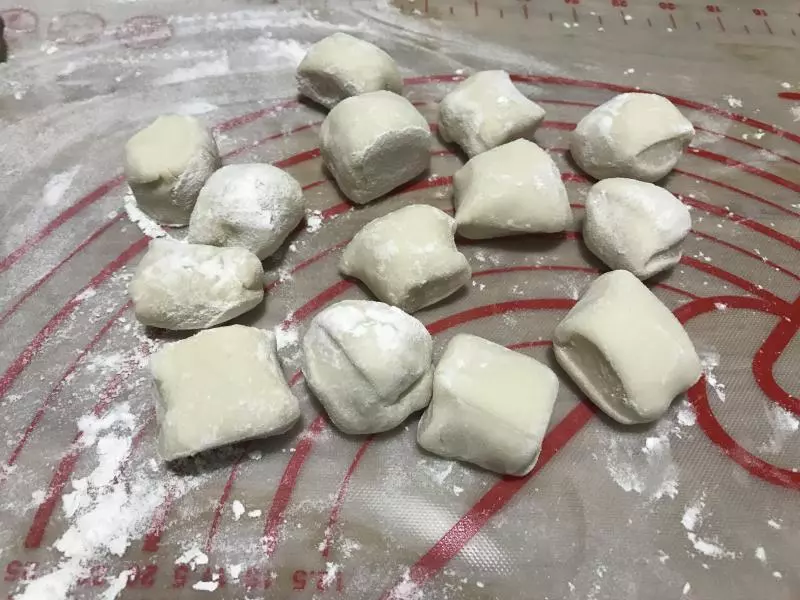
16在均分成12-15份,配方中的总量可以做约30个饺子皮。面团撒少许粉,防止黏粘
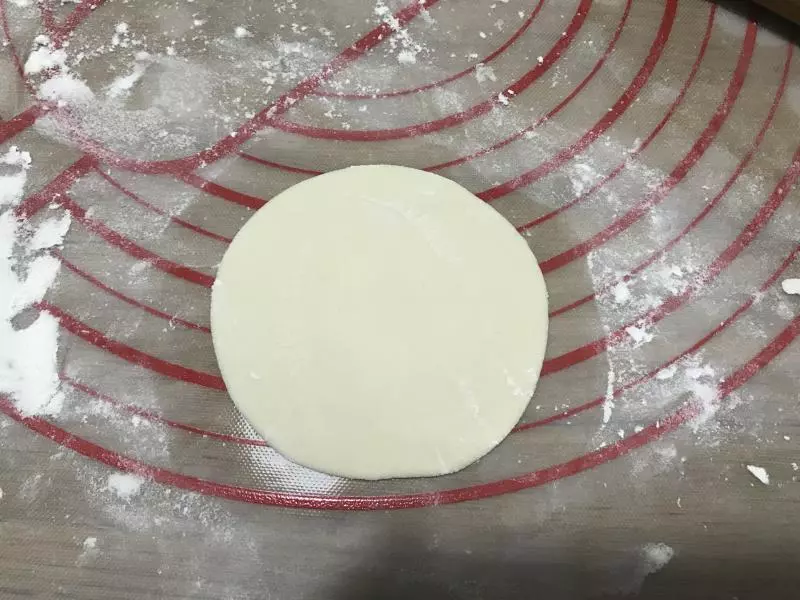
17取一个面团,按扁,擀成圆形薄片
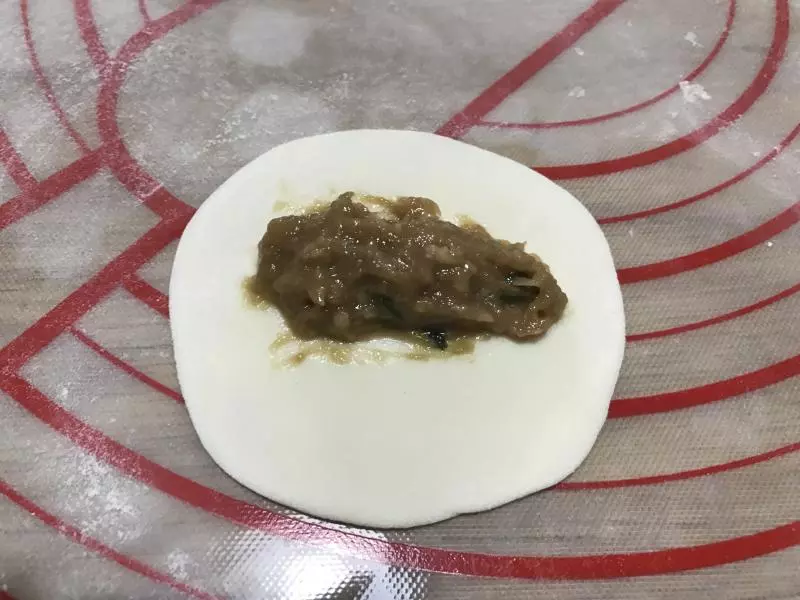
18放入饺子馅料
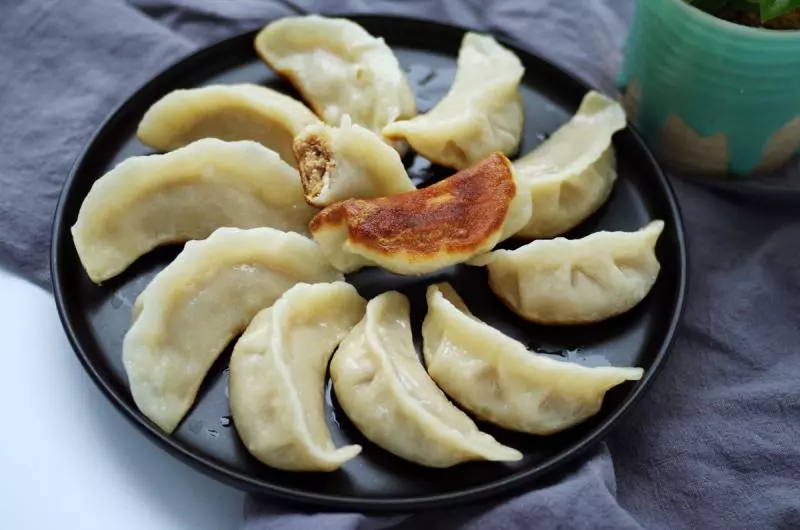
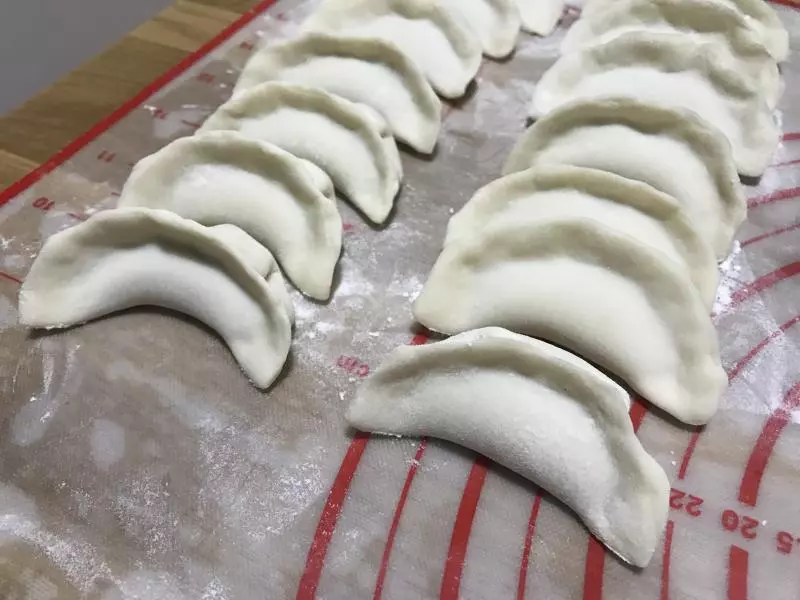
19包成弯弯的形状

20包好放在不粘揉面垫上,底部撒粉防粘。
21水煮饺子,锅内烧开水
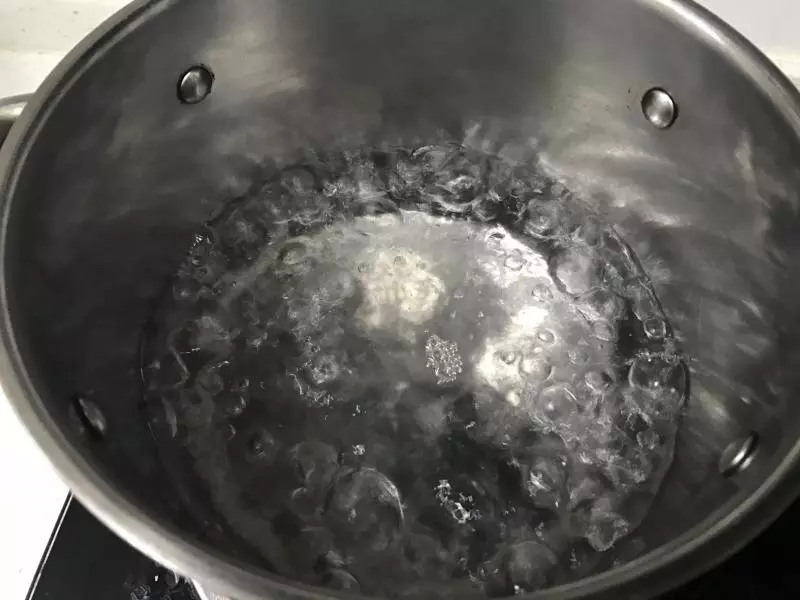
22放入饺子
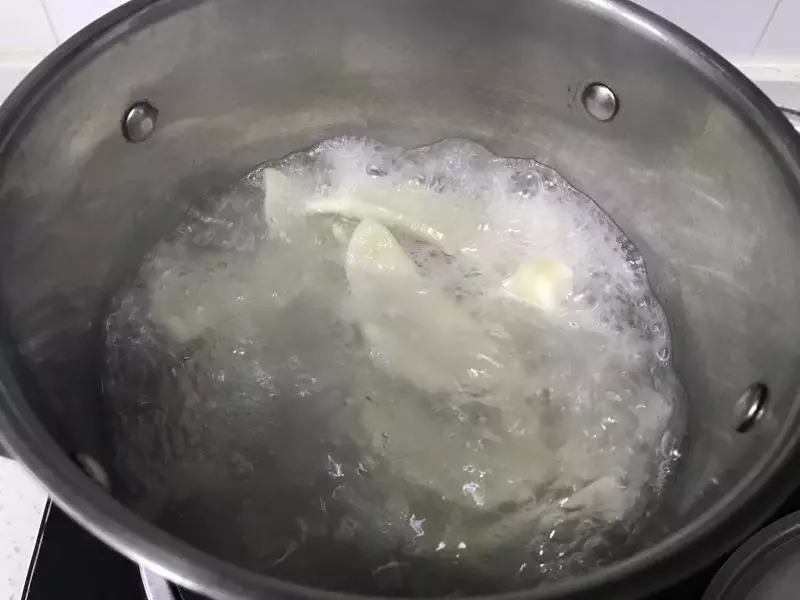
23待沸腾后,倒入一小碗冷水,再沸腾,再倒冷水,如此三次,饺子即可熟而不破皮

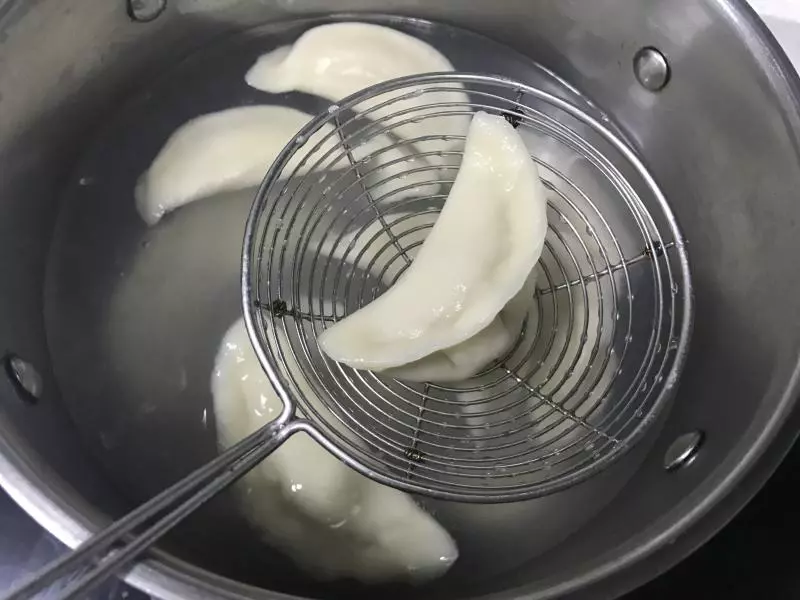
24捞出即可食用
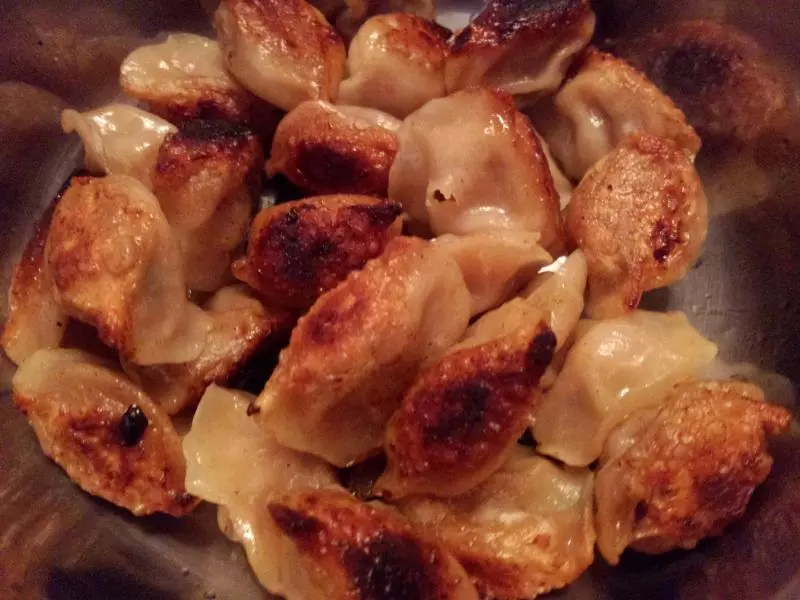
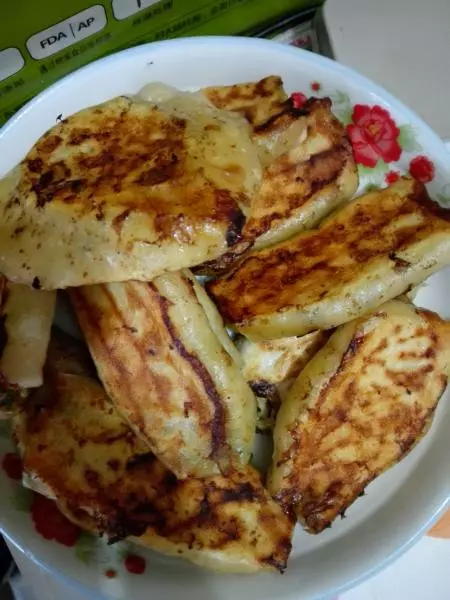
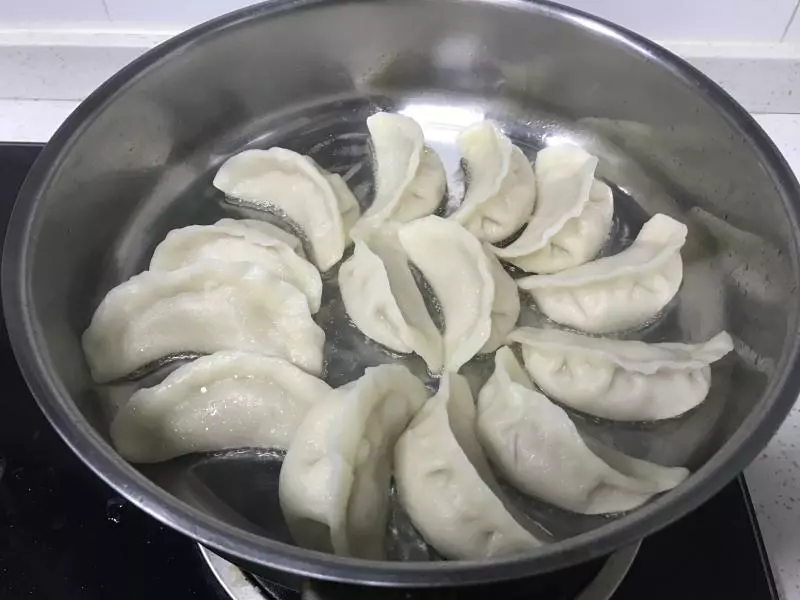
25锅贴饺子 小火起油锅,放入饺子,再中火煎饺子,如果是熟饺子,煎一会就可以吃了,如果是生饺子,取半碗冷水,倒入锅中,盖锅盖,小火焖烧15分钟,即可出锅。
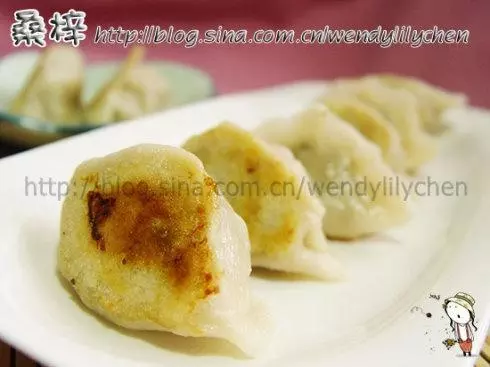
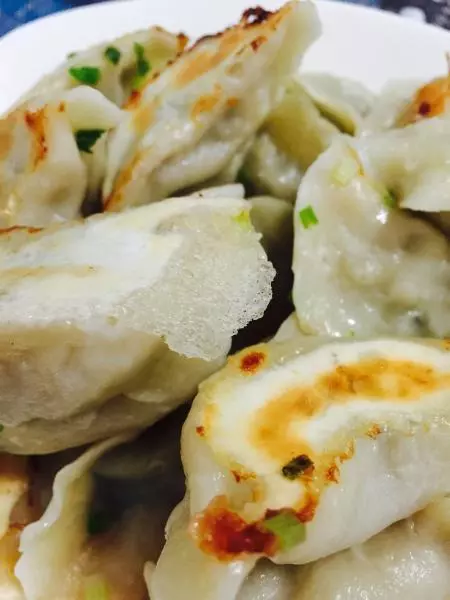
26煎好的饺子底部金黄诱人。
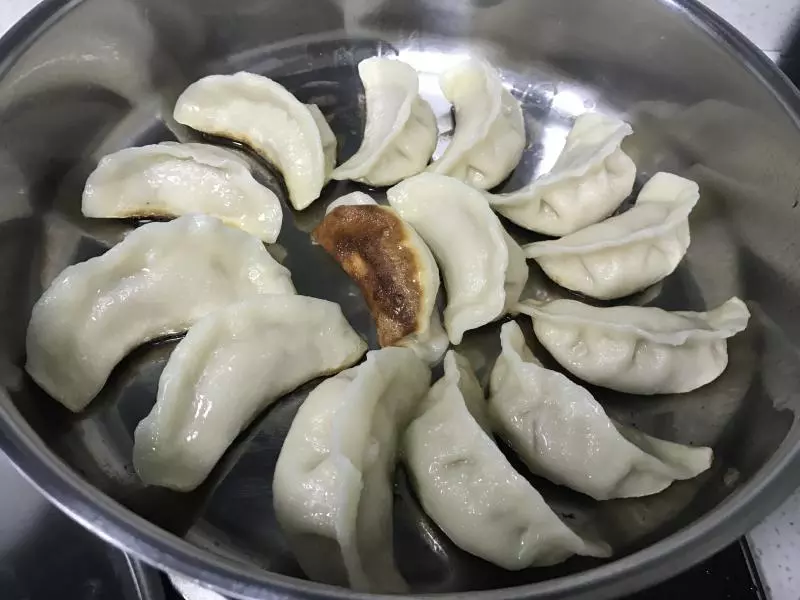
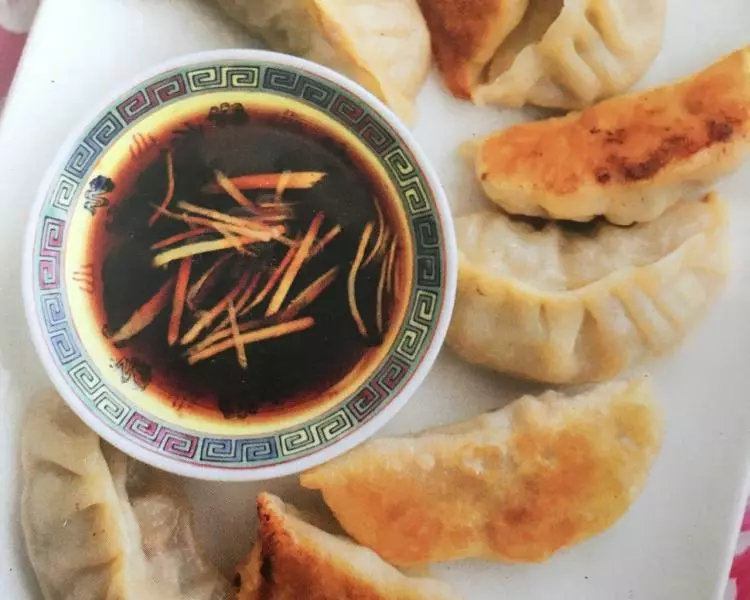
27非常美味的锅贴饺子!

小技巧
1、做好的饺子可以放入冰箱冷冻数日需要时再食用,一样会有汤汁,非常美味。 2、饺子皮水配比不要随意加水减水。配方可以做24-30个饺子。