原料
低筋面粉: 88克, 鸡蛋: 4个, 牛奶: 80克, 白砂糖: 60克(分成3等分), 橄榄油: 60克, 柠檬汁: 适量, 淡奶油: 160克, 糖粉: 16克
步骤
1备齐材料。 工具:硅胶刮刀、2-3个大盆、电动打蛋器

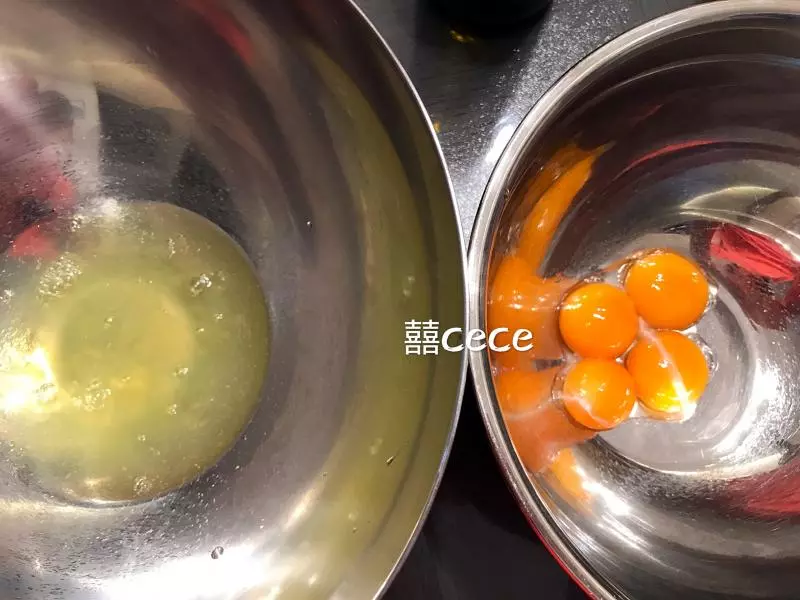
2分离蛋液
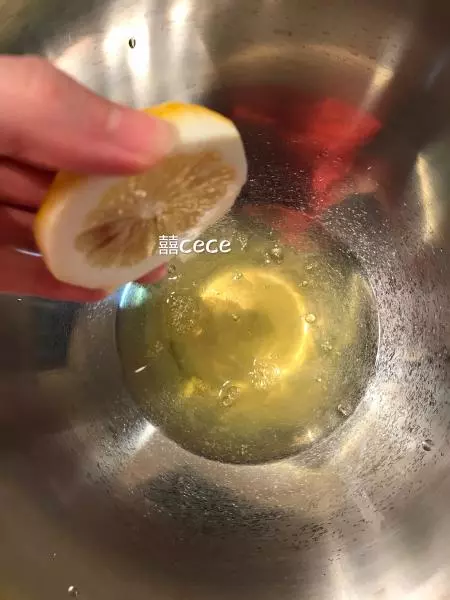
3蛋清中,挤入柠檬汁
4用电动打蛋器打发至起鱼眼,加入20克白砂糖,继续打发
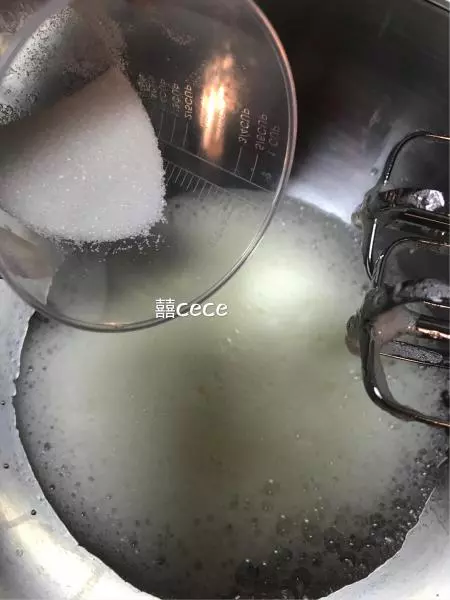
5打发至有纹路,加入20克白砂糖,继续打发
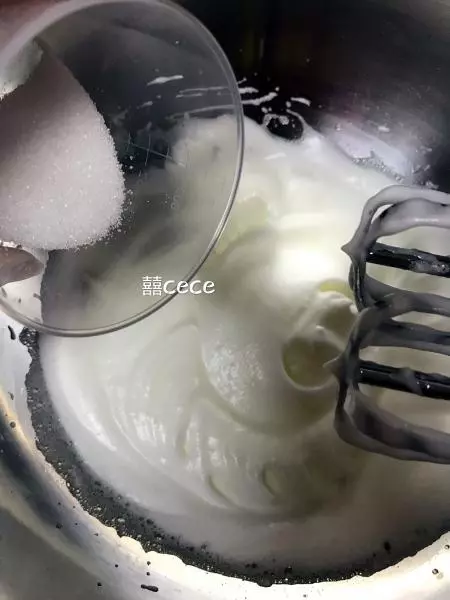
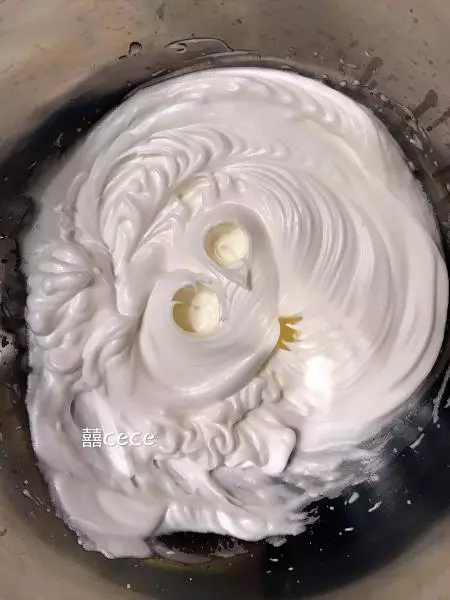
6打发至堆形,备用。
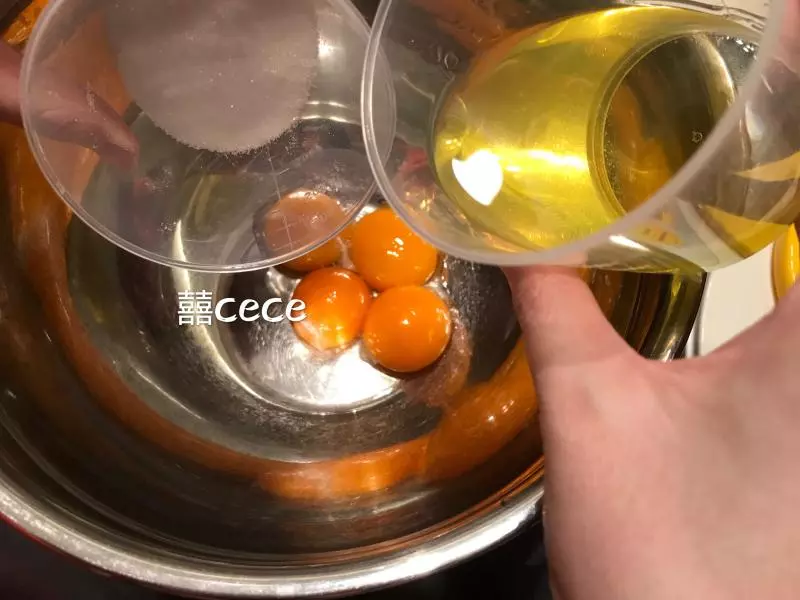
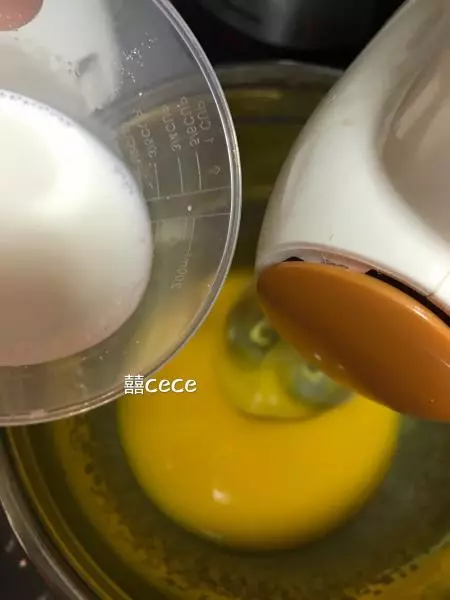
7蛋黄中,倒入橄榄油、20克白砂糖,搅拌均匀
8搅拌均匀后,加入牛奶,搅匀
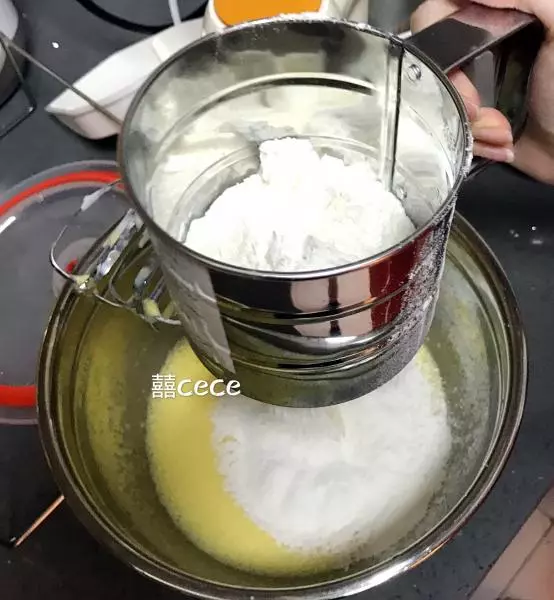
9筛入低粉,用刮刀上下翻动,搅拌成蛋黄糊
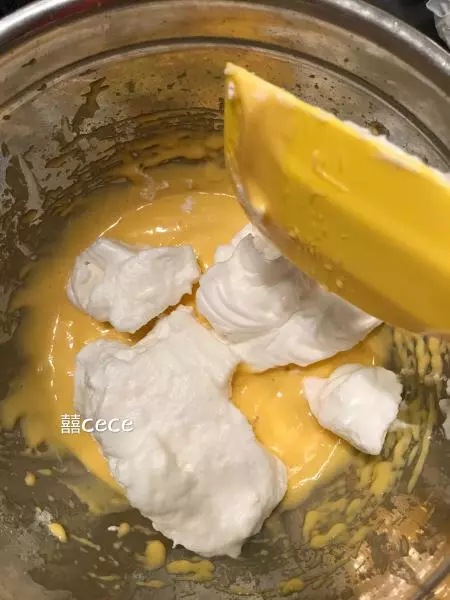
10将打发好的蛋清分三次加入蛋黄糊,上下翻动,搅匀。
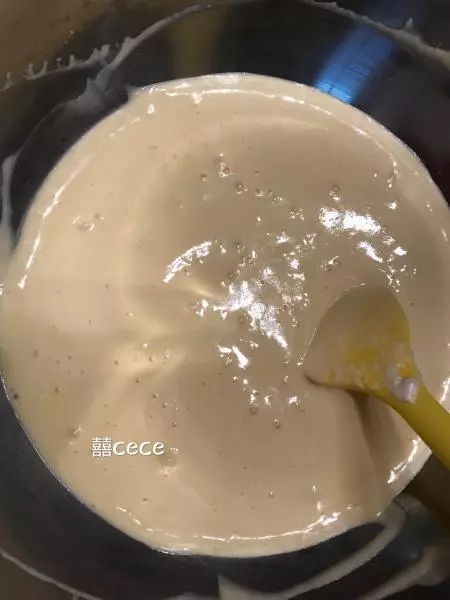
11用硅胶刮刀搅匀蛋糕糊
12倒入模具,轻磕模具,磕出小气泡
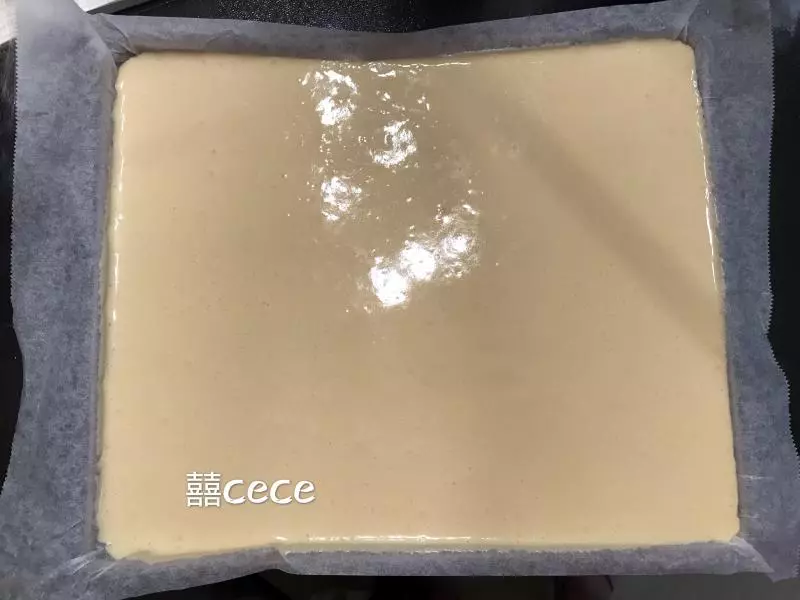
13上下火160度,30分钟
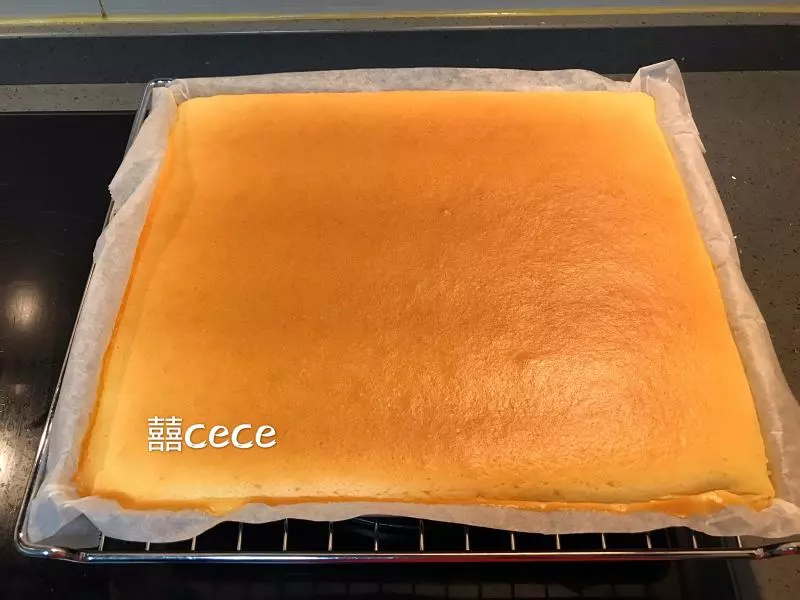
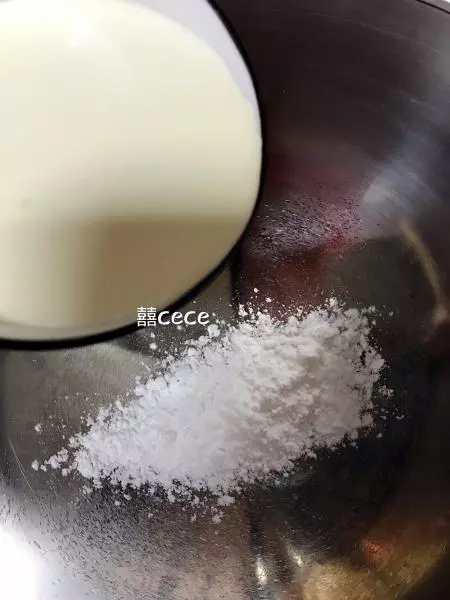
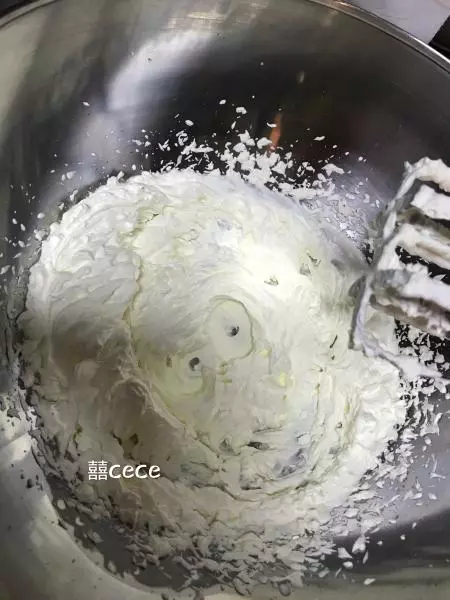
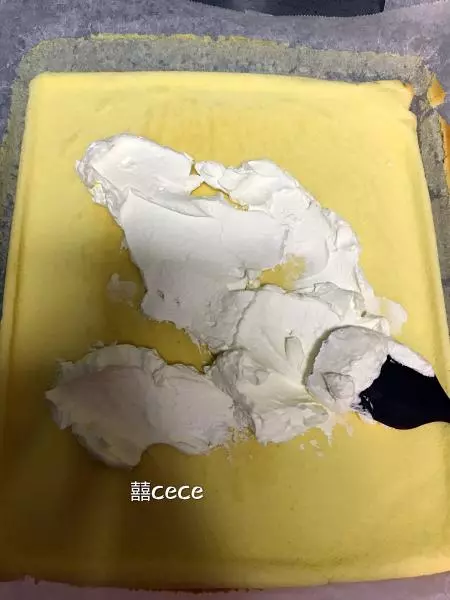
14淡奶油+糖粉,打发
15打发好奶油
16待蛋糕晾至温热后,将奶油均匀涂抹于蛋糕胚表面。始端厚末端薄。
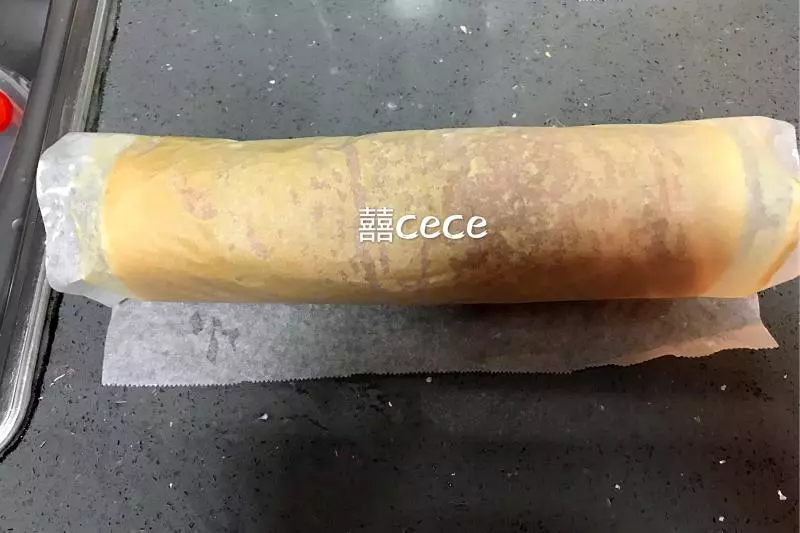
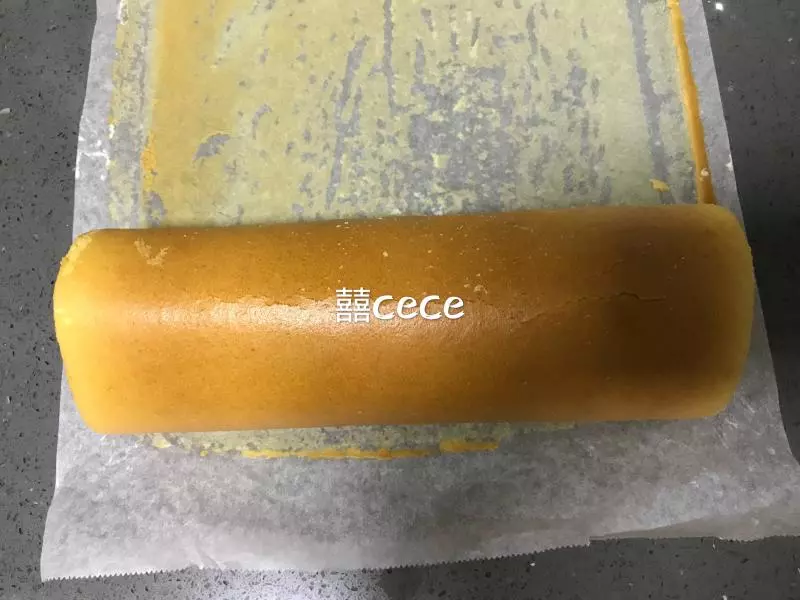
17用烘焙纸包裹蛋糕卷,冷藏一小时以上
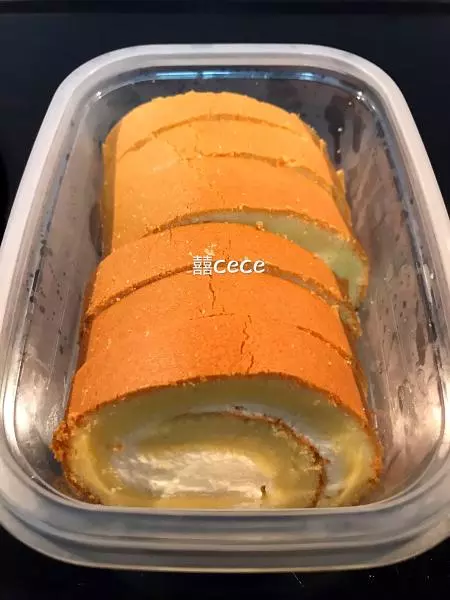
18从冰箱取出,用面包到切片。
19大功告成
小技巧
?烤箱160度预热。 ?用烘培纸垫著模具,方便脱模。 ?淡奶油冷藏12小时以上,易打发。 ?涂奶油时,注意蛋糕胚始端奶油可以厚一些,末端约2厘米处薄些。 ?没有使用多余的烘培纸或其他用具卷蛋糕,只用了烤蛋糕胚时垫模具的烘培纸。但烘焙纸一定要长度一定要够。 ?卷蛋糕卷时,注意用刮刀刮掉多余的奶油。 ?面包刀切蛋糕卷,可以用热水泡一泡面包到,这样切出来的蛋糕卷比较整齐、美观。 ?注意蛋糕胚温度,太烫奶油涂上去会化,太冷卷的时候蛋糕卷会裂、断。 ?淡奶油和糖粉比例为10:1。可根据自身喜好打发奶油量。