原料
鸡蛋: 2个, 低筋面粉: 30克, 奶粉: 20克, 糖: 15克
步骤
1分离蛋清蛋白

2打发蛋白,打蛋器不在手边,用筷子纯手打。。。

3历经一个小时的奋战,终于打发,手已废,以后打发还是要借助工具。

4蛋黄导入蛋白,两点钟到八点钟方向快速搅拌。

5面粉和奶粉拌匀。

6加入蛋液中搅拌均匀。

7烤盘铺好锡箔纸,雾面接触食物。

8将拌好的原件倒入烤盘,均匀摊开。

9薄薄一层

10加入烤箱,上下火,170℃,十七分钟。

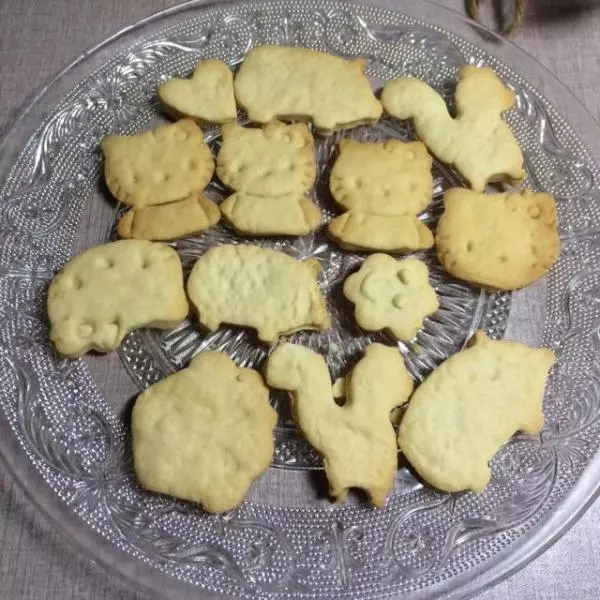
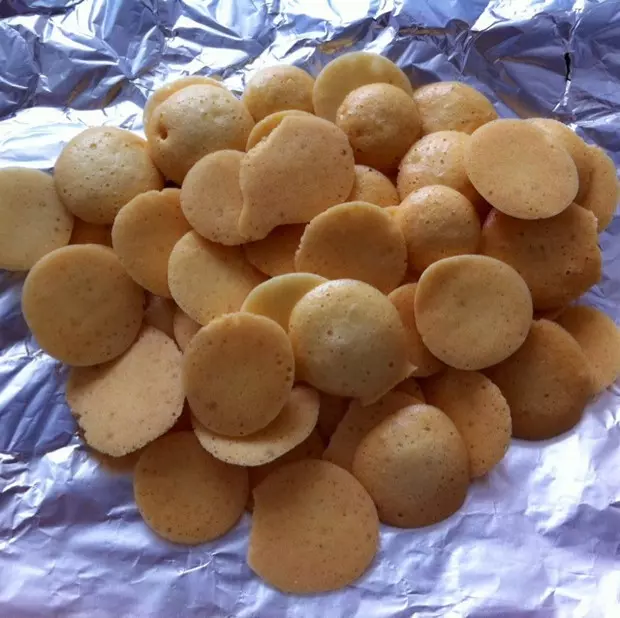
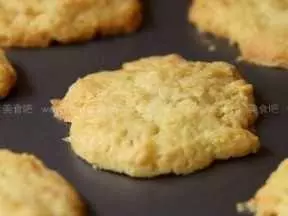
11烤好的整张饼干。哈哈?

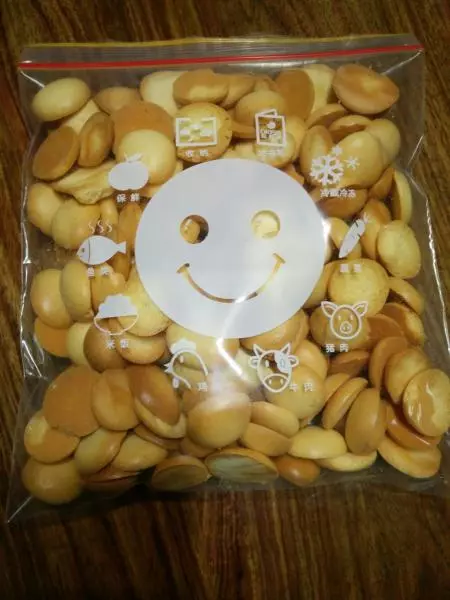
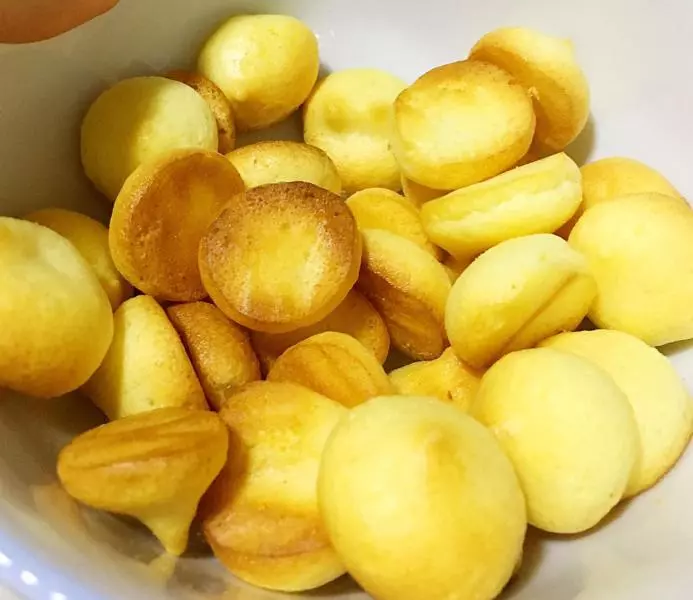
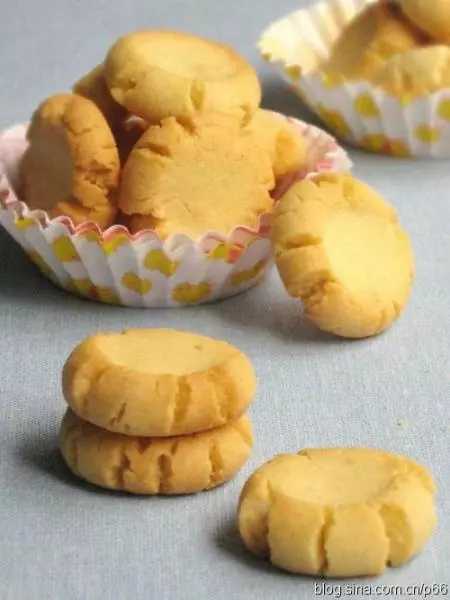
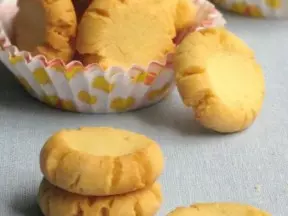
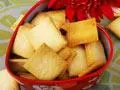
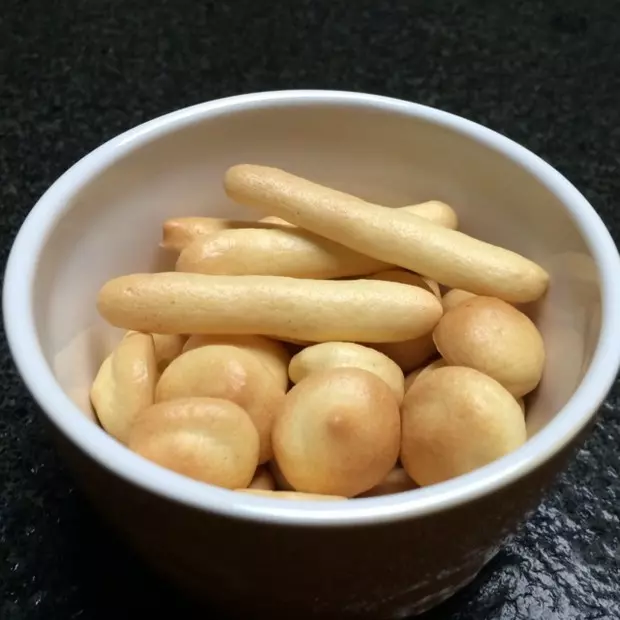
12掰碎后,香喷喷的奇形怪状蛋奶小饼干出炉。