原料
低粉: 68g, 黄油: 50g, 泡打粉: 1g, 绵白糖: 65g, 鸡蛋: 4个, 牛奶: 55g, 雀巢淡奶油: 100ml, 金钻植物奶油: 100ml, 可可粉: 少许
步骤
1蛋清分离
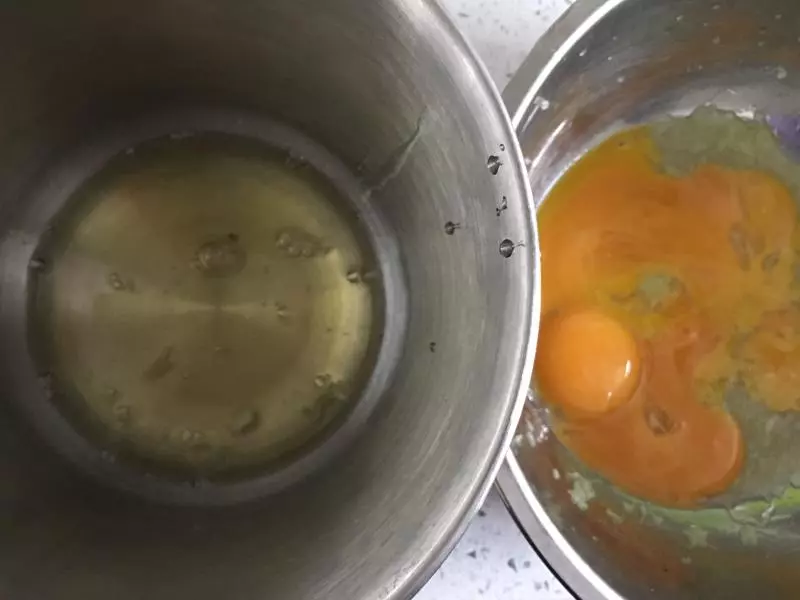
2蛋黄:加入过筛的面粉,加入黄油、泡打粉、牛奶。
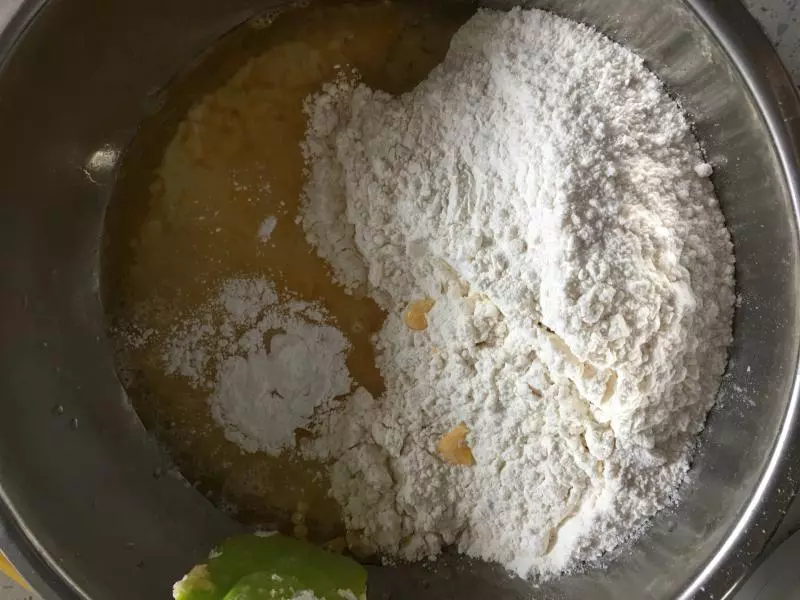
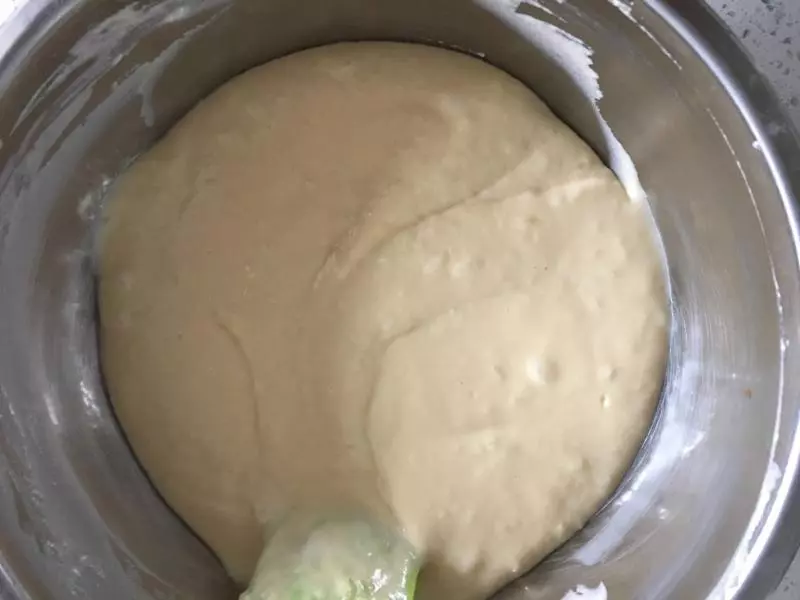
3搅拌均匀。
4蛋清:将蛋清打发,打发过程中加入35g糖。
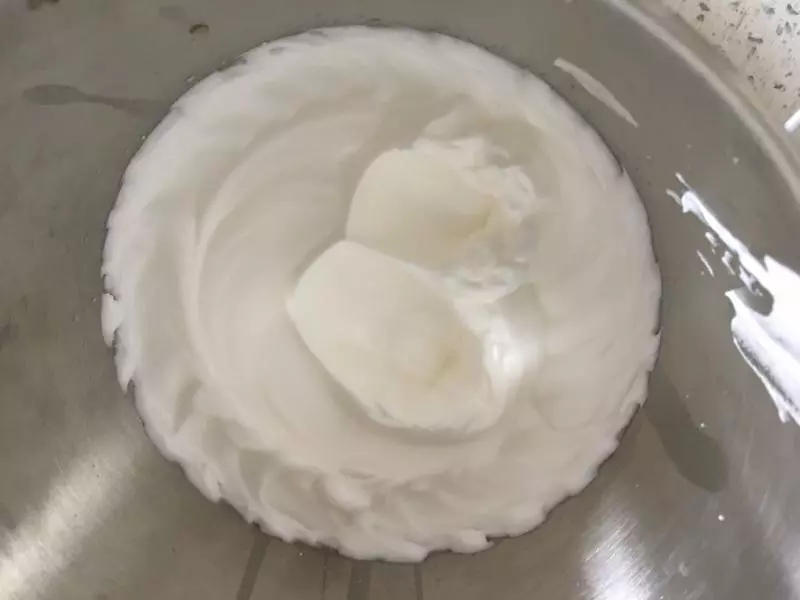
5将步骤4加入步骤3中。(分三次加入)
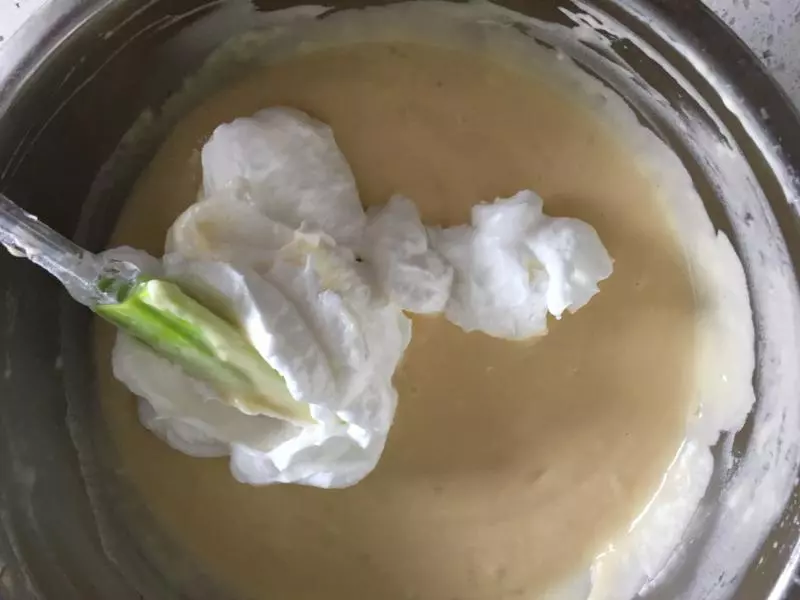
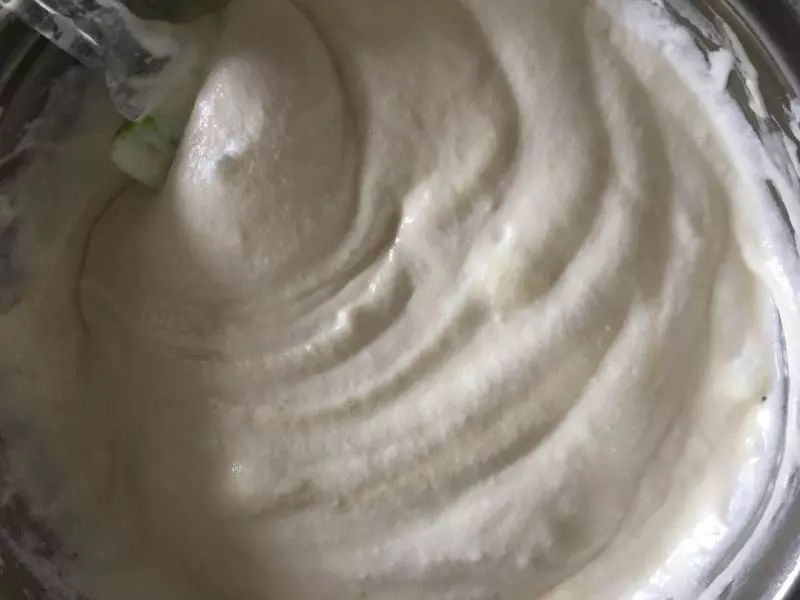
6搅拌均匀。
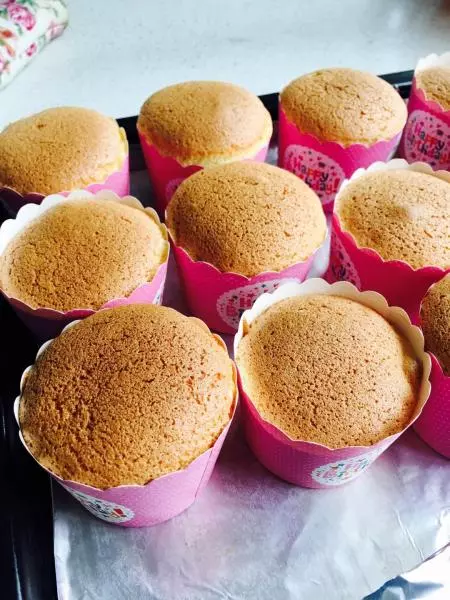
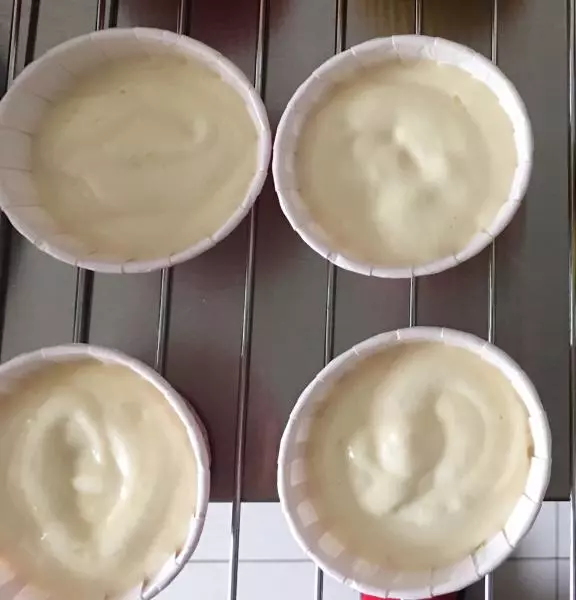
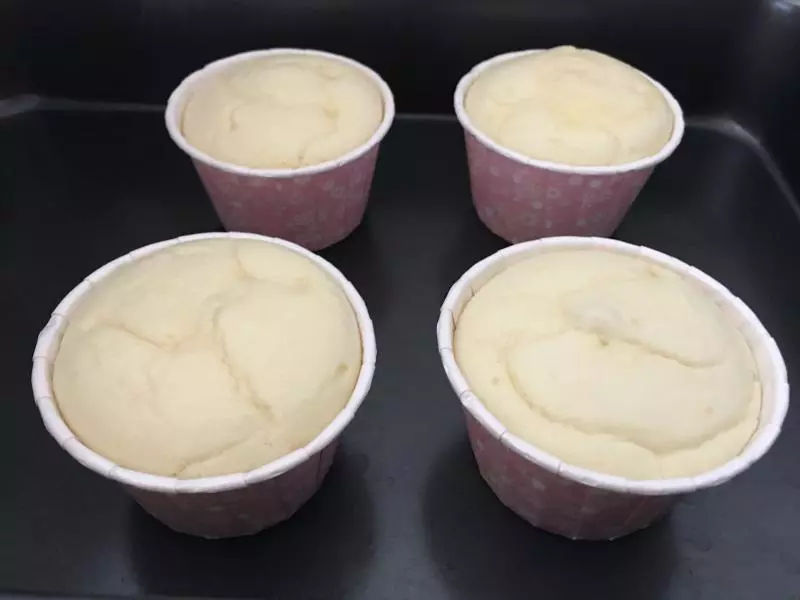
7倒入模具。 烤箱预热,下火180度,上火160度,20分钟。
8放凉备用。
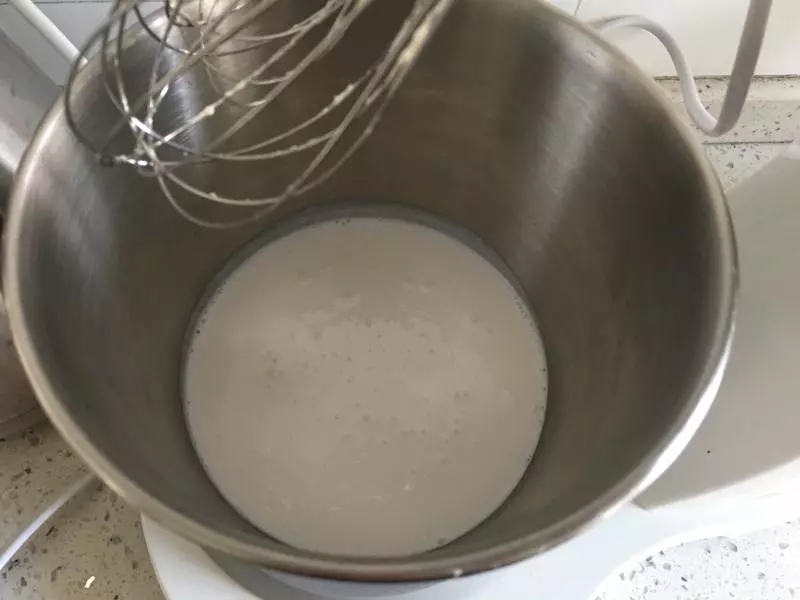
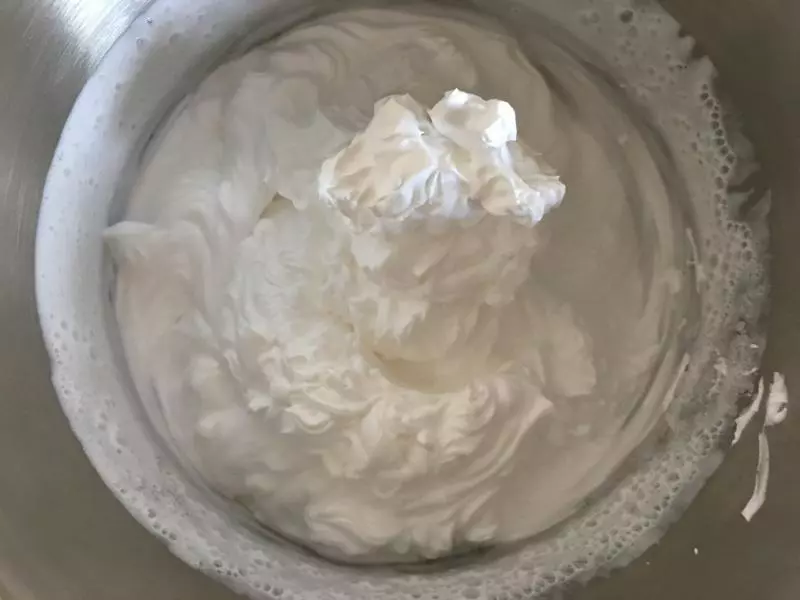
9打发奶油(植物与动物奶油混合一起打发),打发过程中加入30g糖。
10打发成如图所示。 将其分成两部分,加入色素,装入裱花袋。
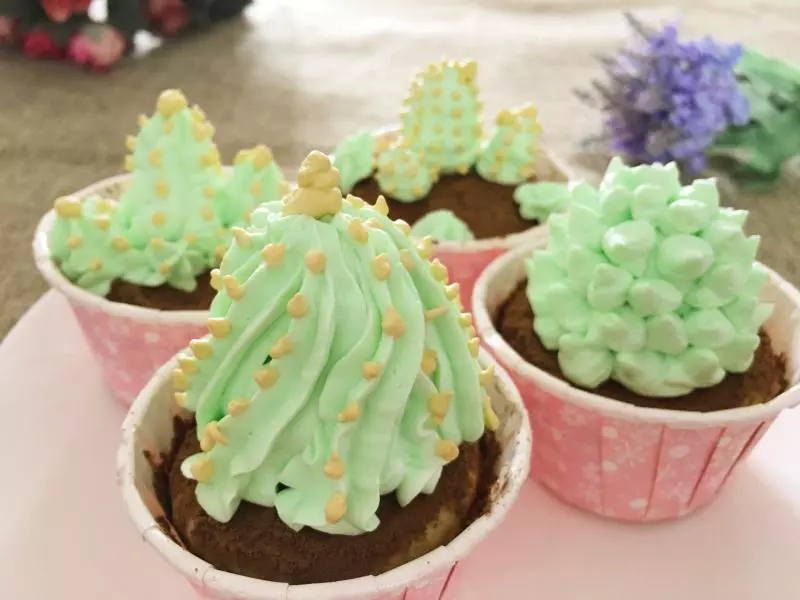
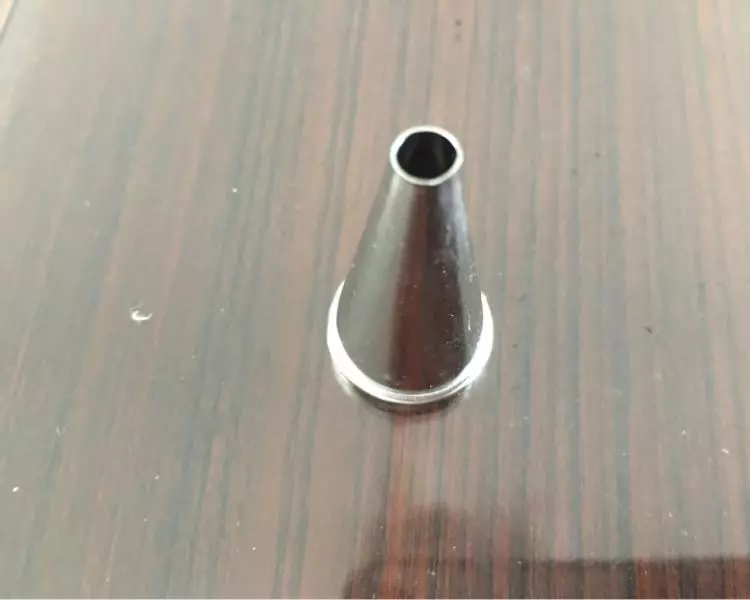
11每个多肉所需的裱花头不一样。
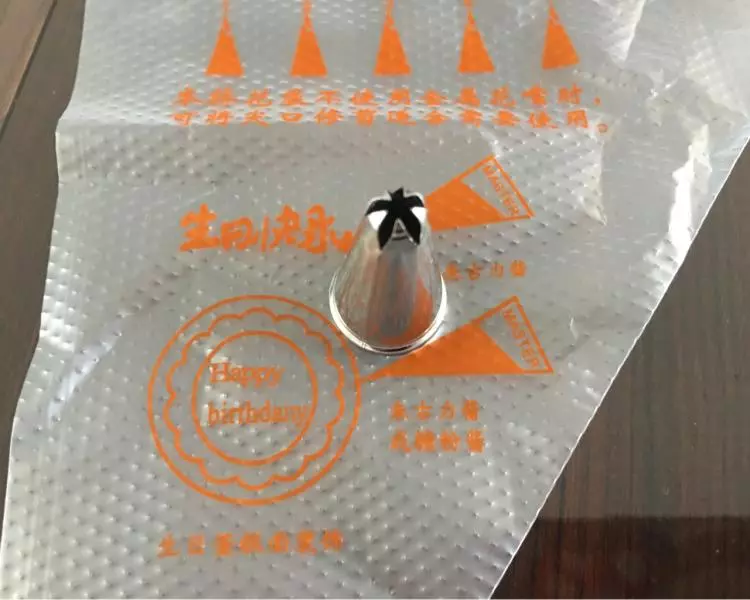
12我需要的就是这两个裱花头。
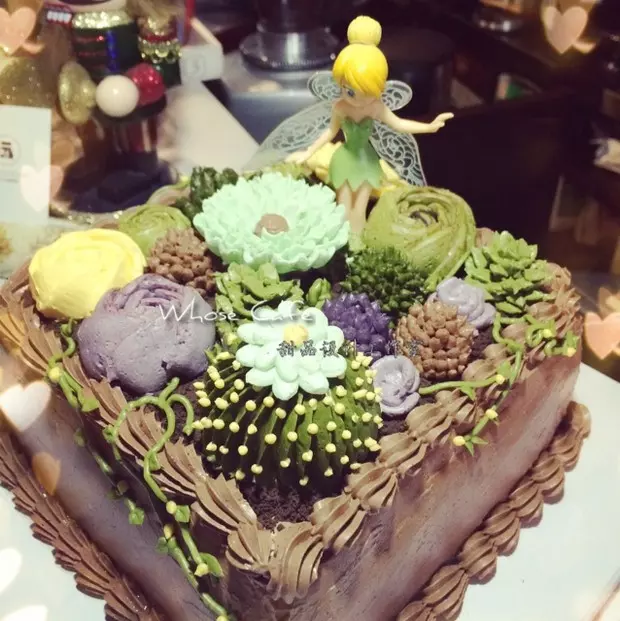
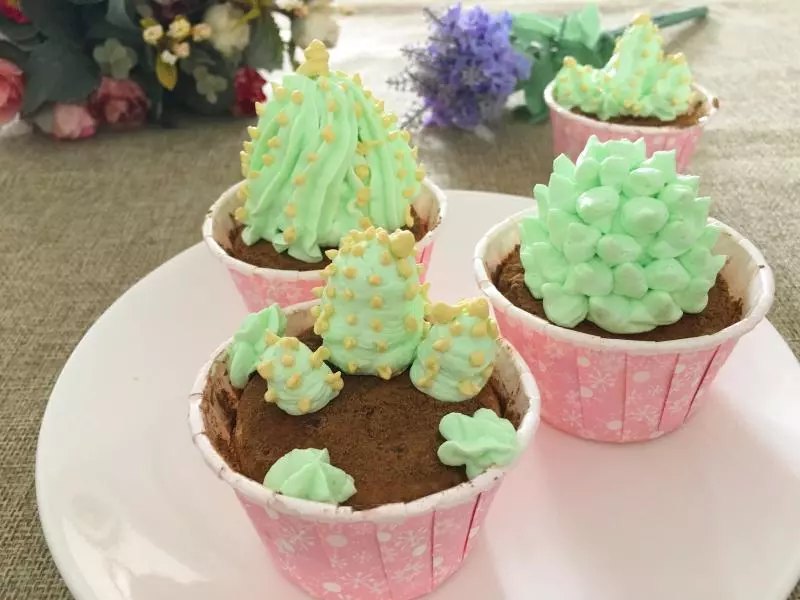
13进行裱花,可爱的多肉就完成啦!
小技巧
在动物奶油中加入植物奶油,是为了更好的塑造多肉的形状。