原料
鸡蛋: 5个, 牛奶: 50克, 玉米油: 50克, 低筋面粉: 60克, 糖: 50克, 奶油: 100克, 细砂糖(加奶油中): 10-15克
步骤
1分开蛋白和蛋清,用两个比较大的容器(装蛋清的盆要无水无油)
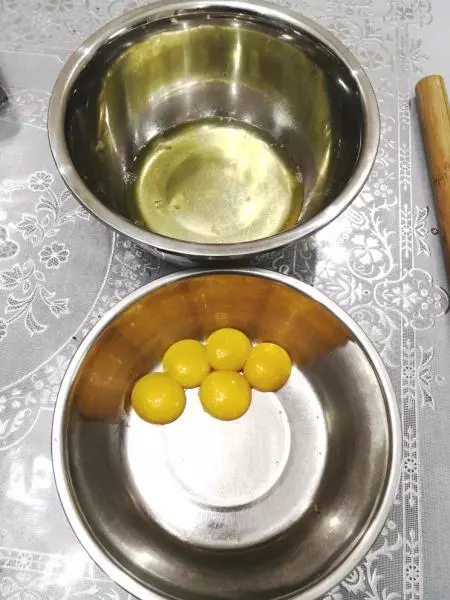
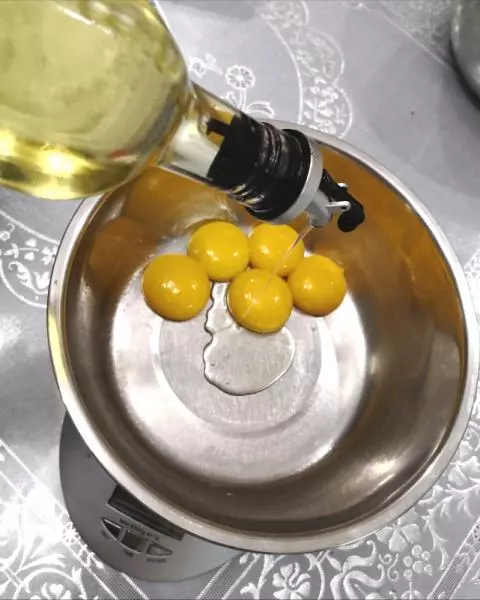
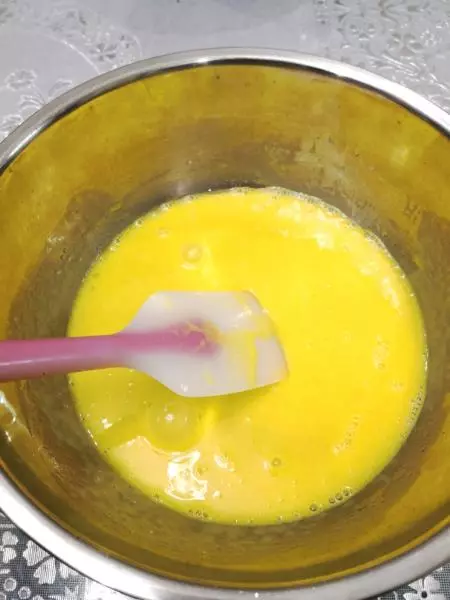
2蛋黄里加50克玉米油
3再加入50克牛奶

4均匀搅拌
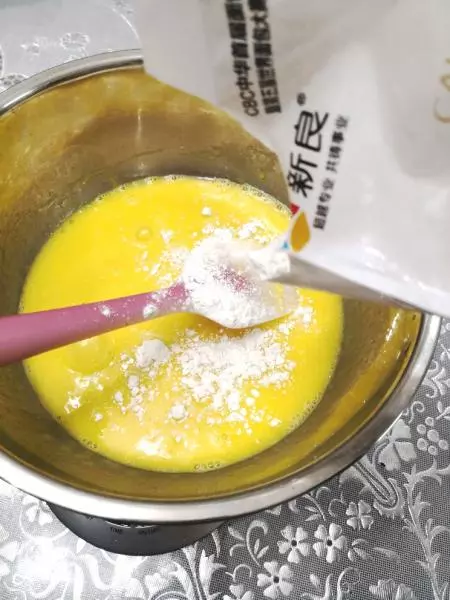
5加入60克低筋面粉,搅拌至无颗粒,然后放一边,准备打发蛋白。
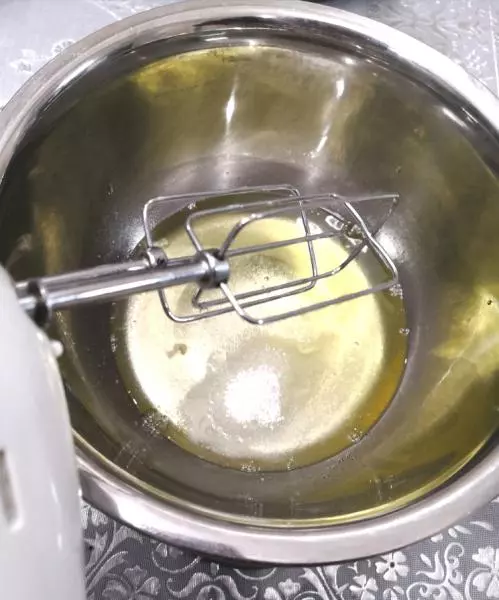
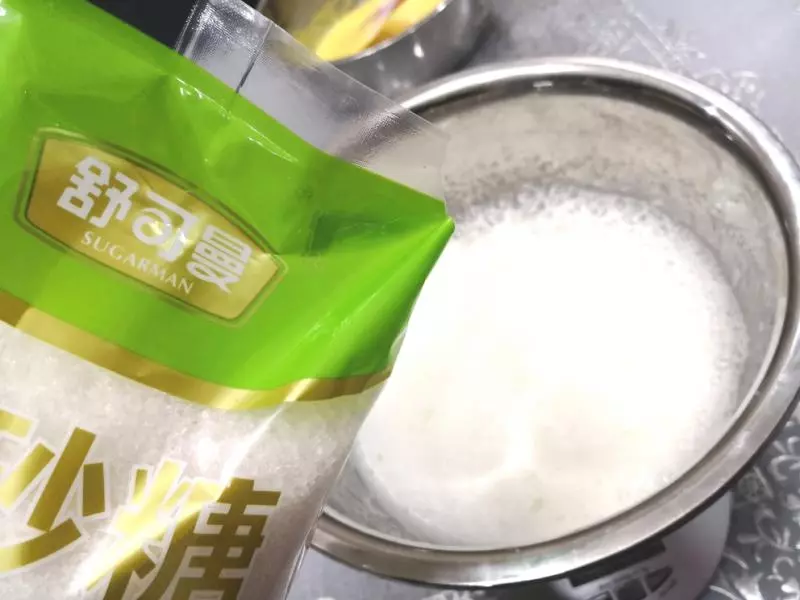
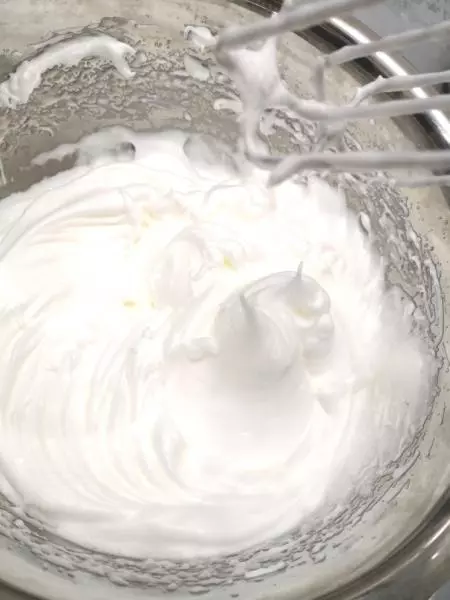
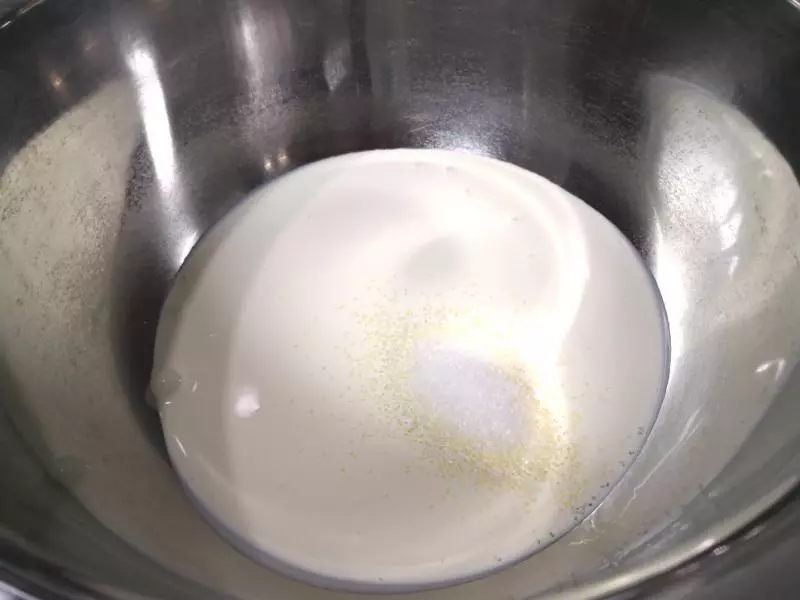
6蛋清放50克细砂糖,分两次打发,第一次放20克细砂糖。
7第二次加入30克细砂糖继续打发。
8打好的蛋白,从盆底缓缓提起打蛋器,头部的蛋白成小尖峰,微微抖动还不倒的状态就可以了。
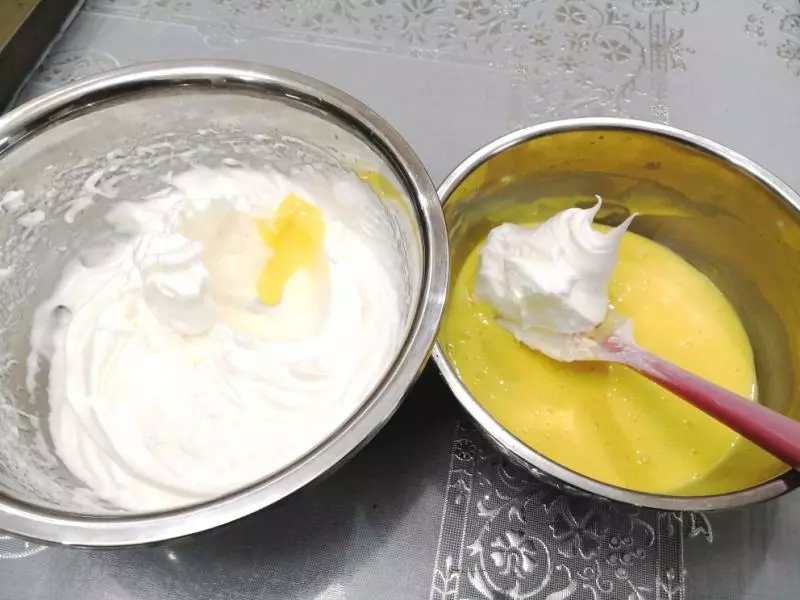
9取三分之一的蛋白到蛋黄糊中,均匀搅拌,搅拌的手法和炒菜一样,抄底、刮边、翻拌。蛋清分三次搅拌到蛋黄糊中哦。
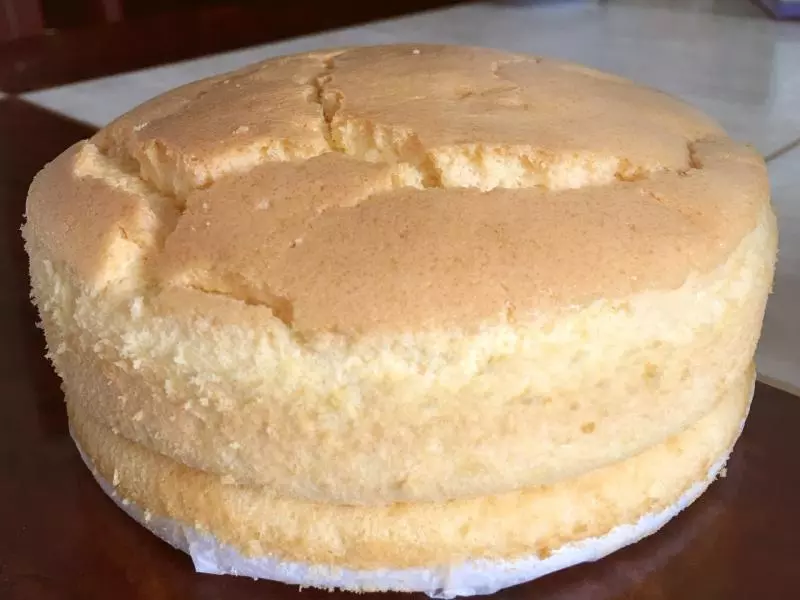
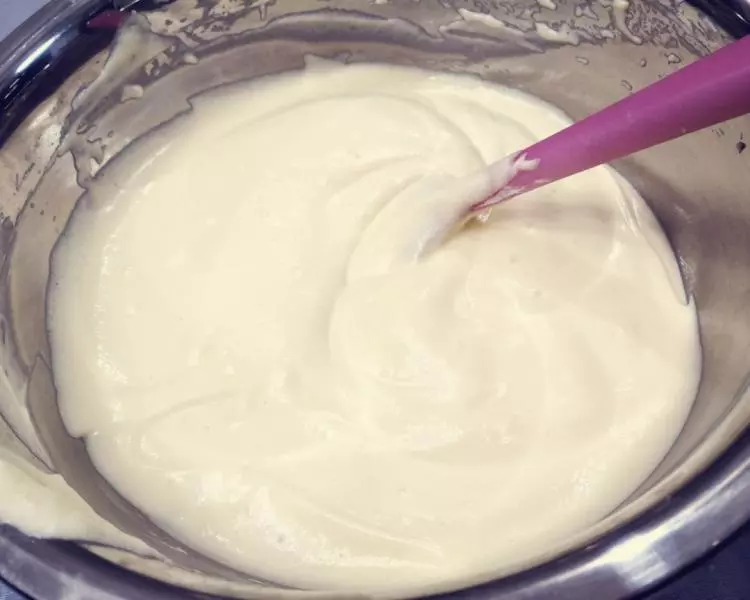
10搅拌好的面糊是这样的
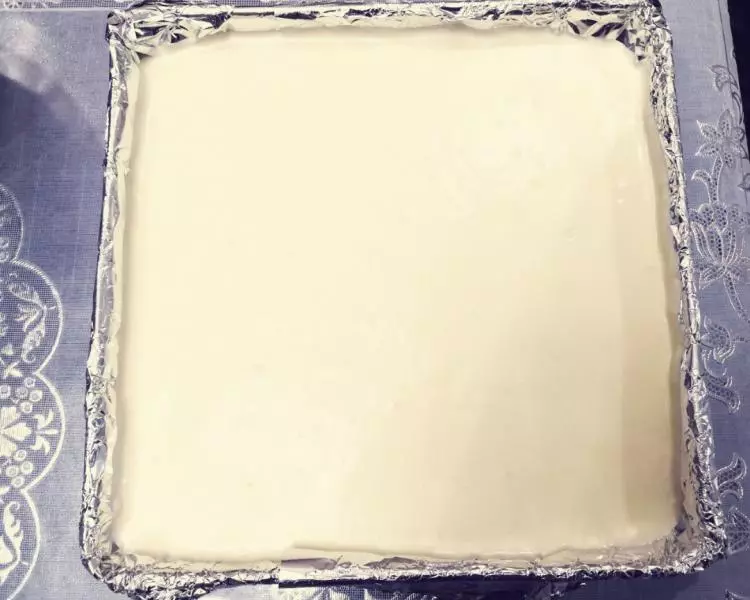
11烤盘摊好锡纸,把面糊倒入烤盘中。
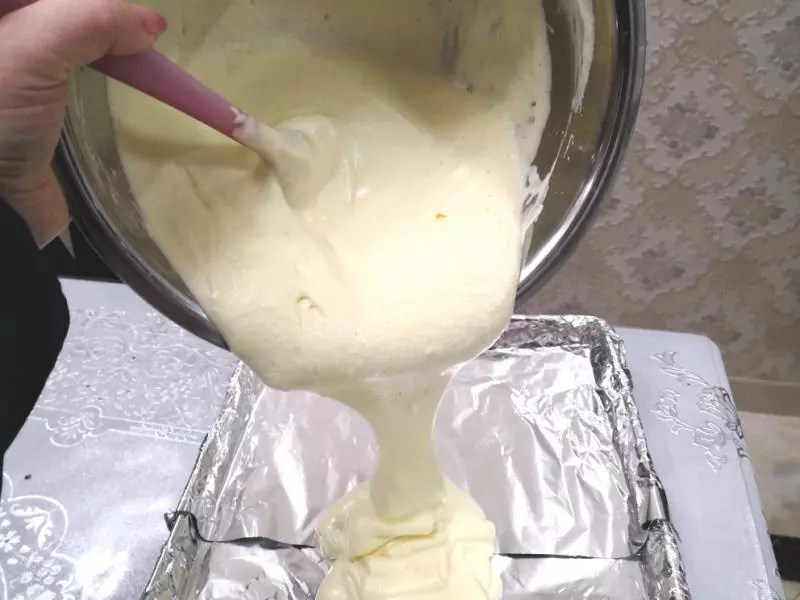
12讲装好面糊的烤盘,水平垂直震一下,将大气泡震出。
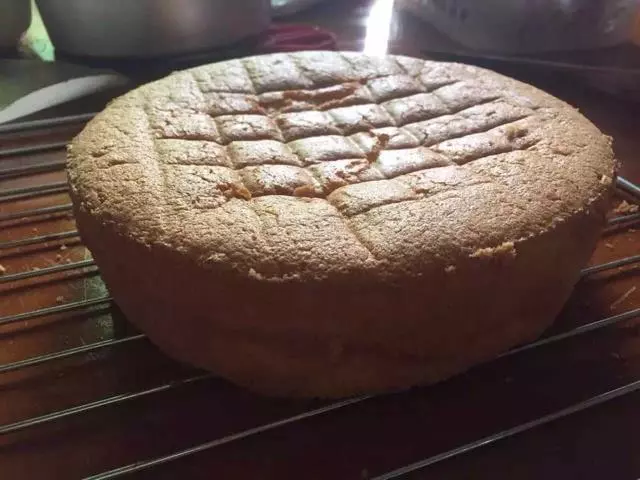
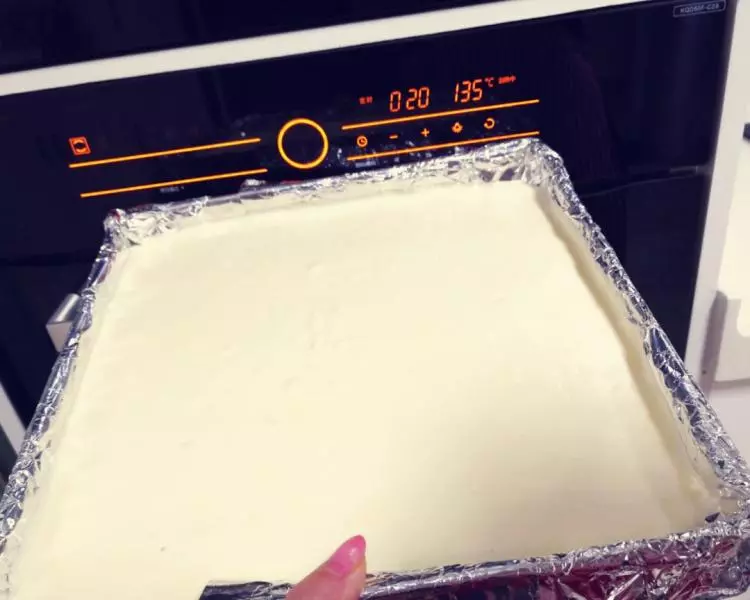
13烤箱预热到135度,烤20分钟。
14等烤箱烘烤完毕,我们准备100克奶油,加入10-15克细砂糖,进行打发。
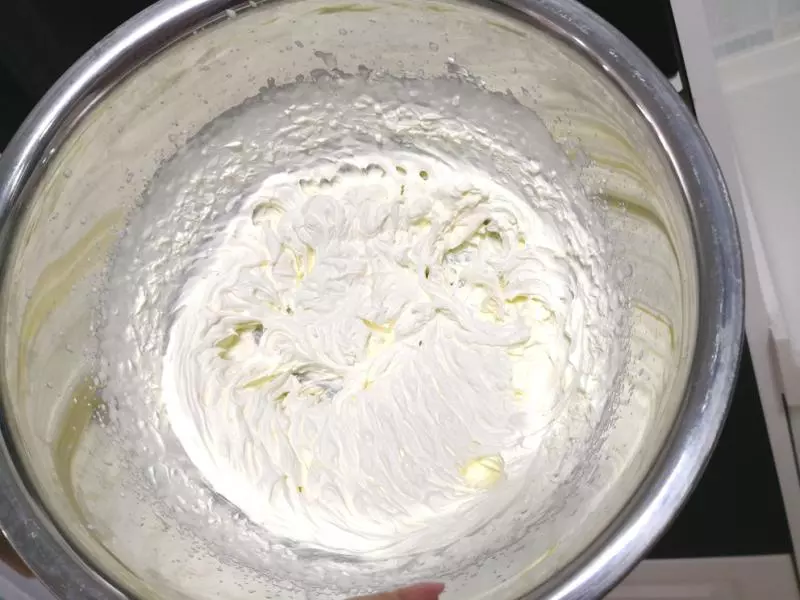
15奶油打发成这样,提起打蛋器的时候奶油有小尖峰就可以了。
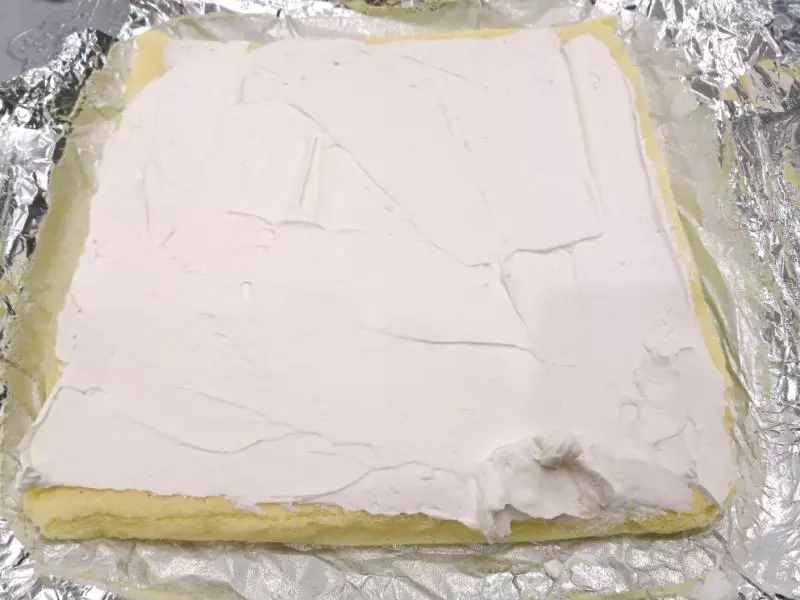
16等蛋糕胚完全冷却后,涂好奶油。
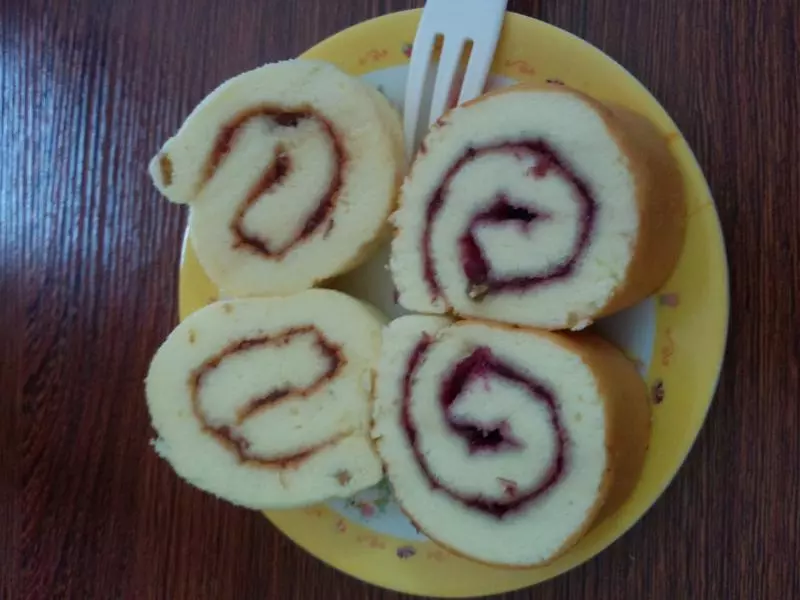
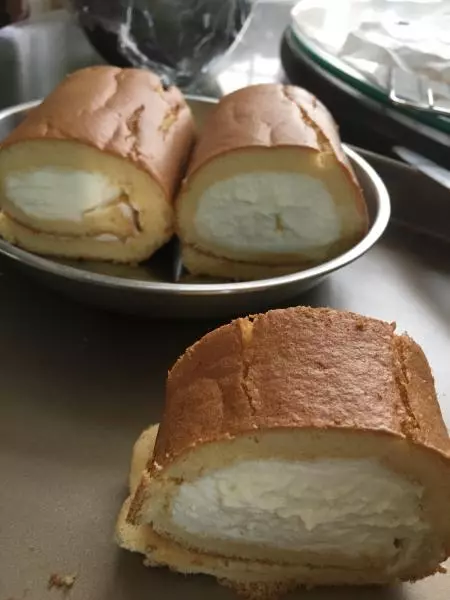
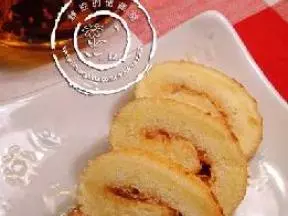
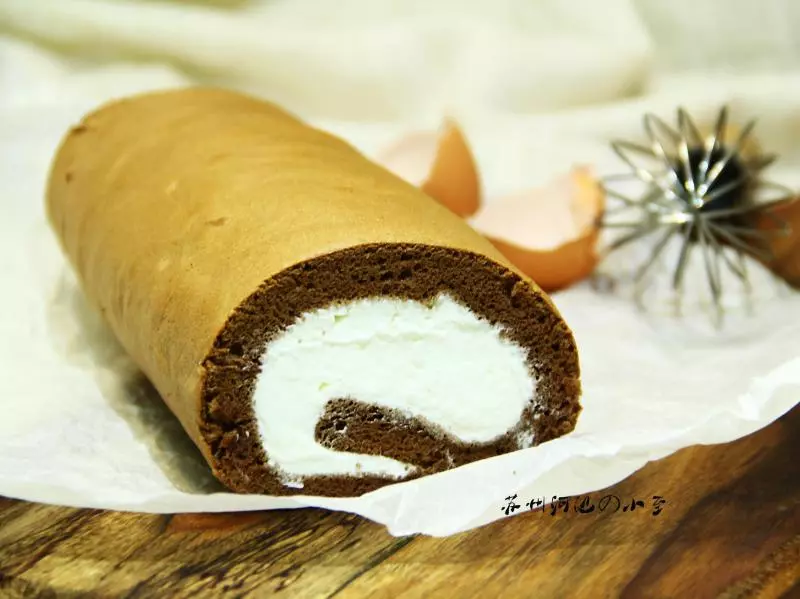
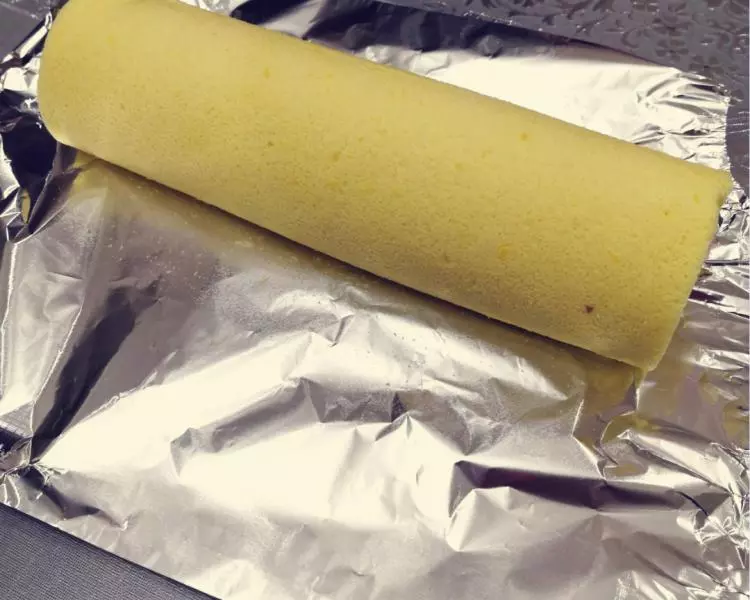
17慢慢卷成圆形
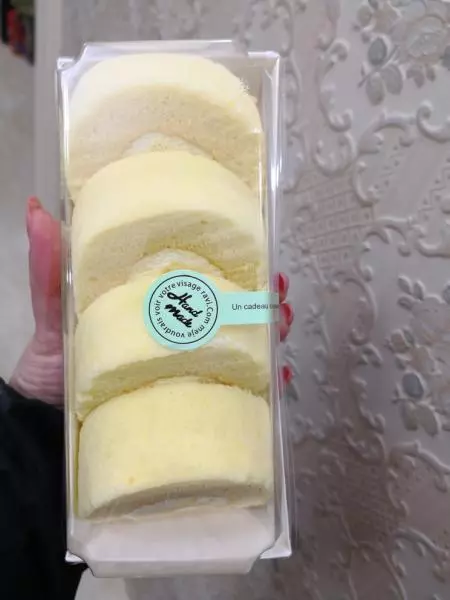
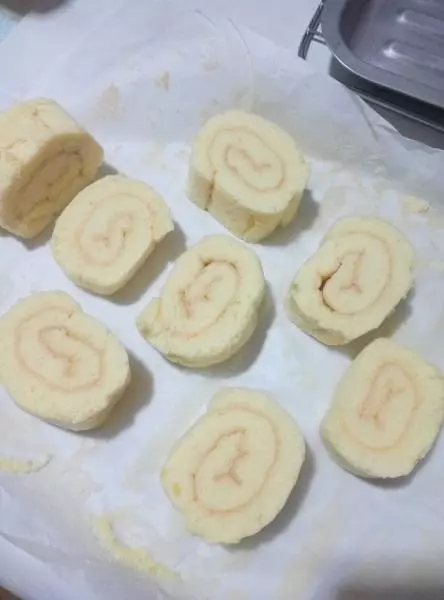
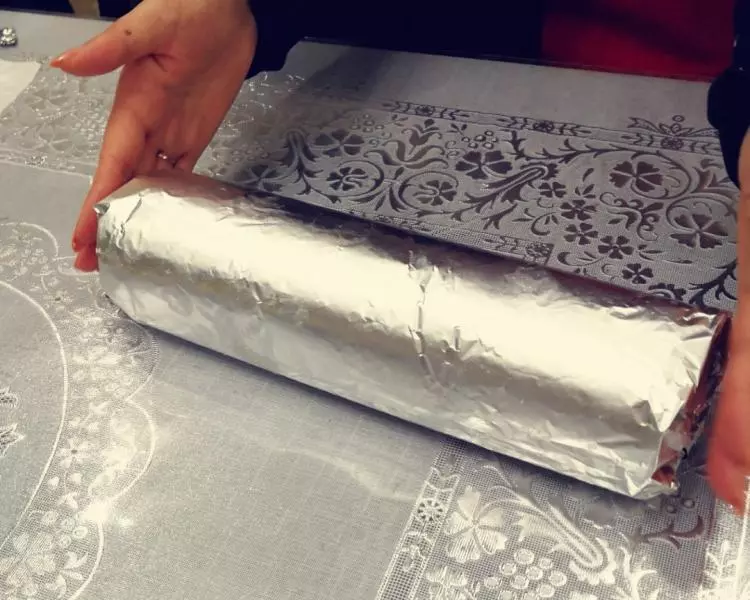
18为了整的型更加固定,把蛋糕卷卷好后,锡纸固定好,放冰箱冷藏。
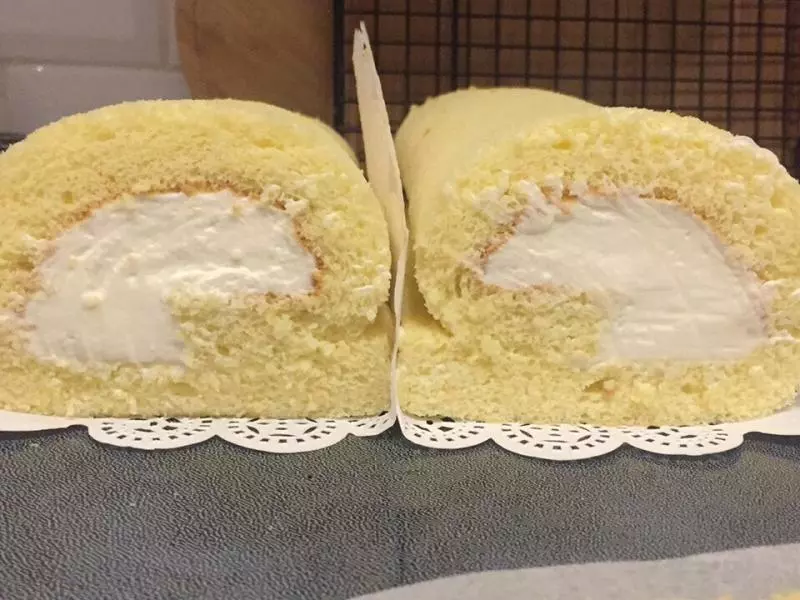
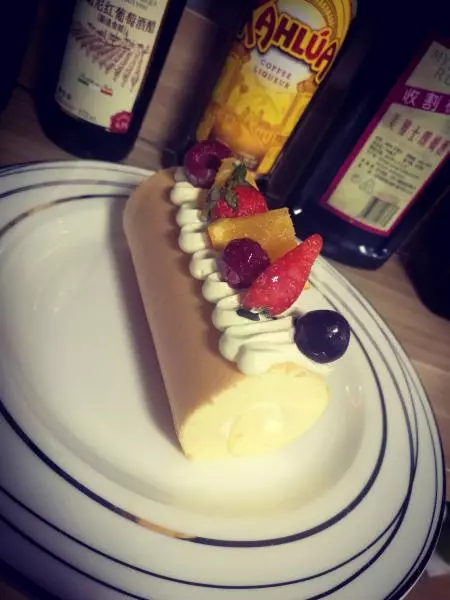
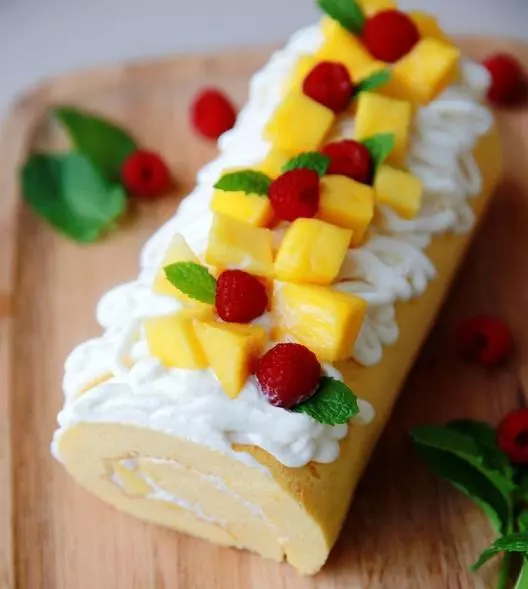
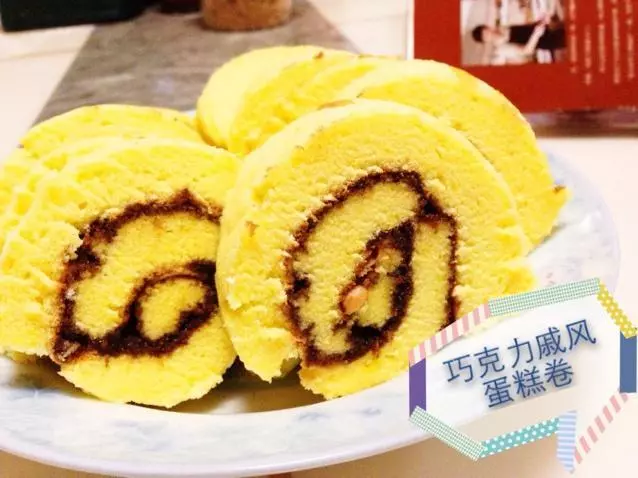
19半小时后拿出来切片,装进盒子里,样子美美哒。