原料
普通面粉: , 盐: , 水: 克, 葱: , 花生油: , 猪油: 克, 白胡椒粉: , 椒盐: , 鸡精:
步骤
1准备材料,面要活的软一些,面里加盐,慢慢加水(凉水就可以),做到三光(手光,面光,盆光),醒面过程中就去熬葱油,选取葱白,切断,锅中放花生油,放入葱白,小火慢熬,直到葱变得有些干糊,用筷子蘸油可以闻到明显香味(葱油可以多弄一些,煮面条就不用煀锅了),倒入碗中晾凉,等待过程中切好葱花,准备工作做好后,面也醒好了
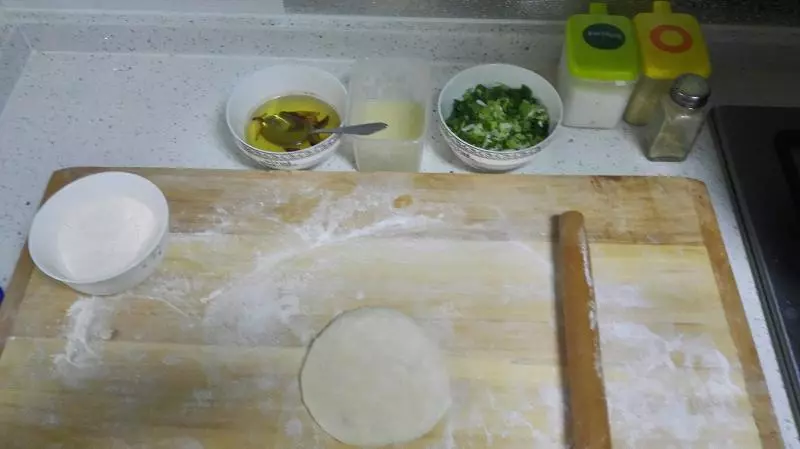
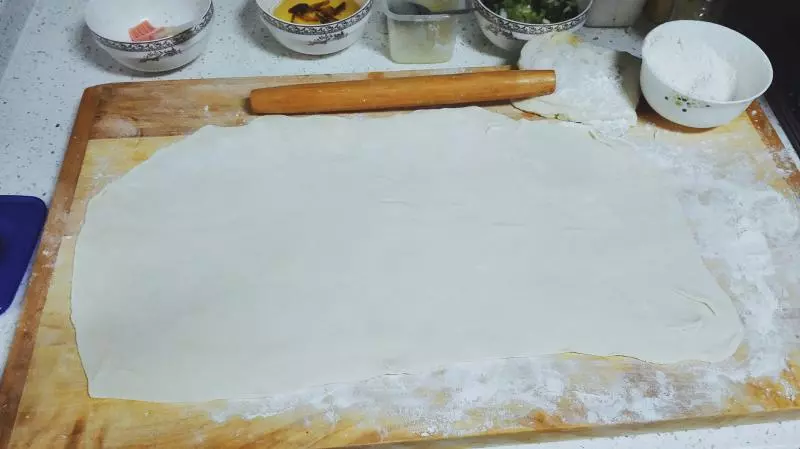
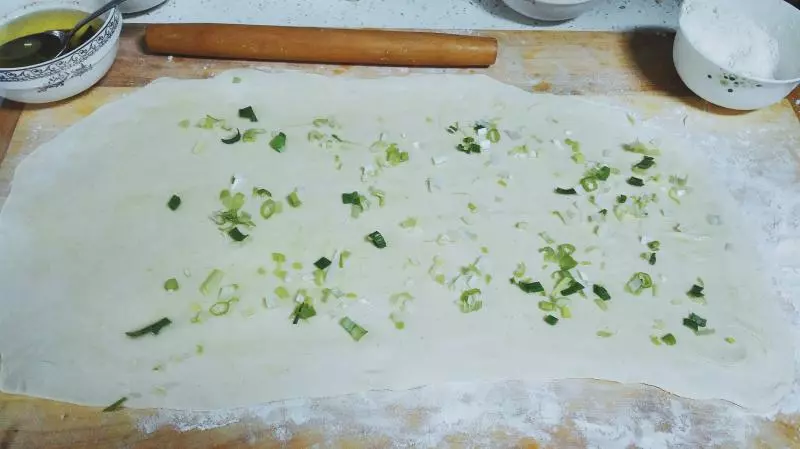
2面剂子揪好不要揉,直接擀,擀成长方形,尽量薄一些
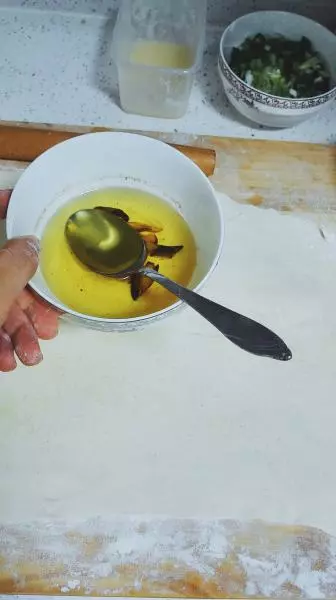
3撒好盐(可以多一点),鸡精,椒盐,白胡椒粉,抹匀,再用擀面杖擀一下,然后抹刚才熬好的葱油
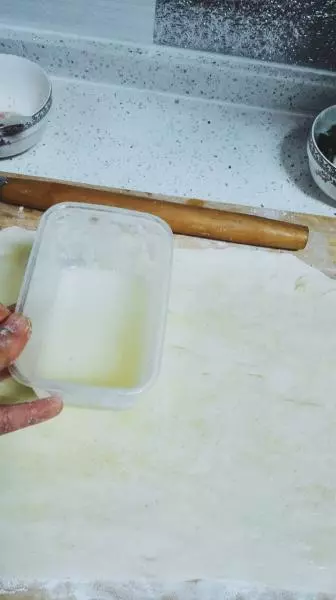
4然后外放猪油(1/2小钢勺)抹匀,主要起到使饼做好后内心柔软╭( ̄▽ ̄)╯,内心柔软的葱油饼~还能起到增香的作用
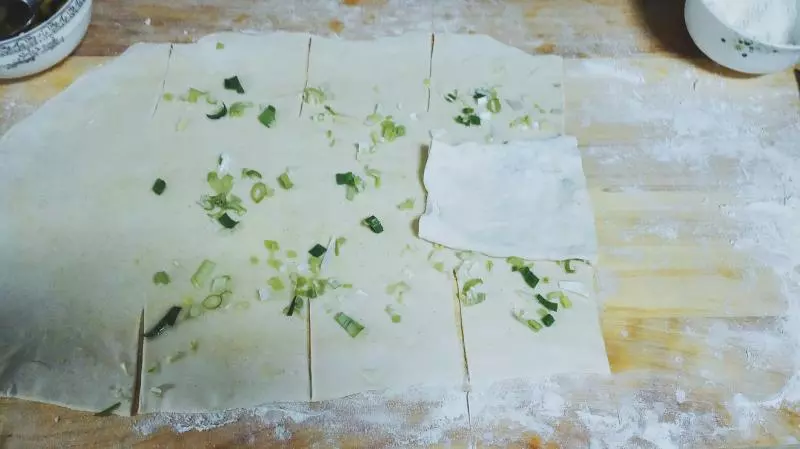
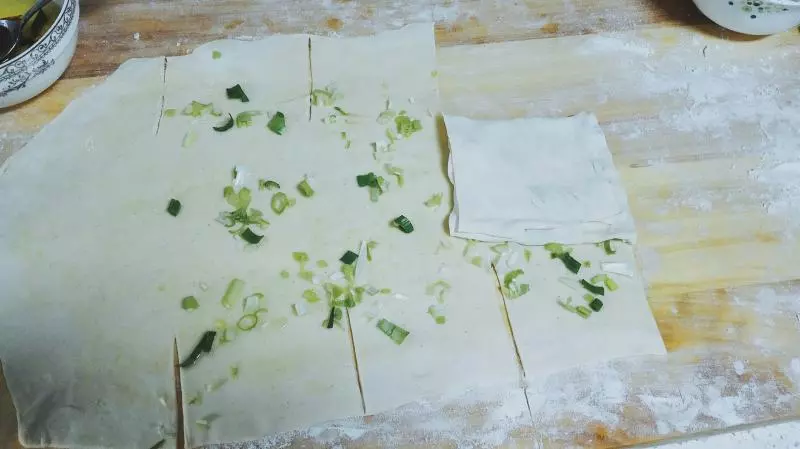
5撒葱花~左边留一条不撒
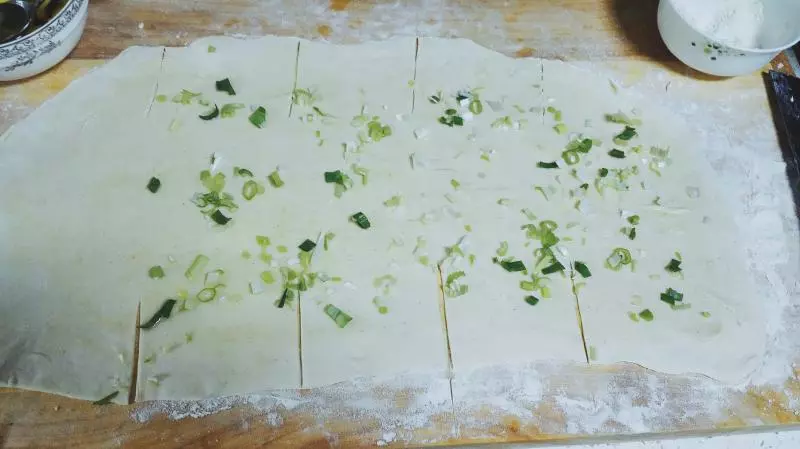
6如图这样切,一刀切宽度的1/3,刀刀之间平均一些
7跟我一起叠~
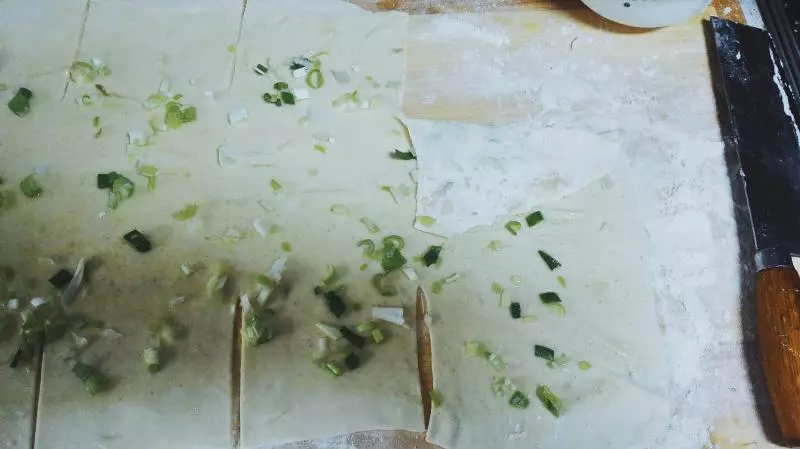
8叠٩( 'ω' )و
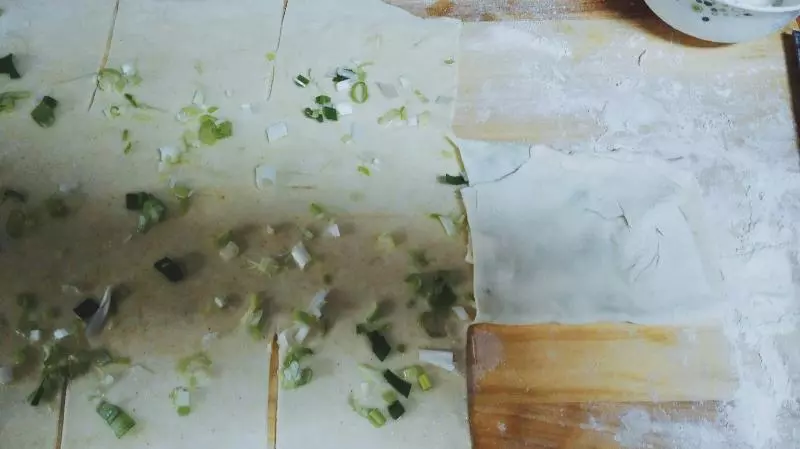
9向左翻
10重复7.8
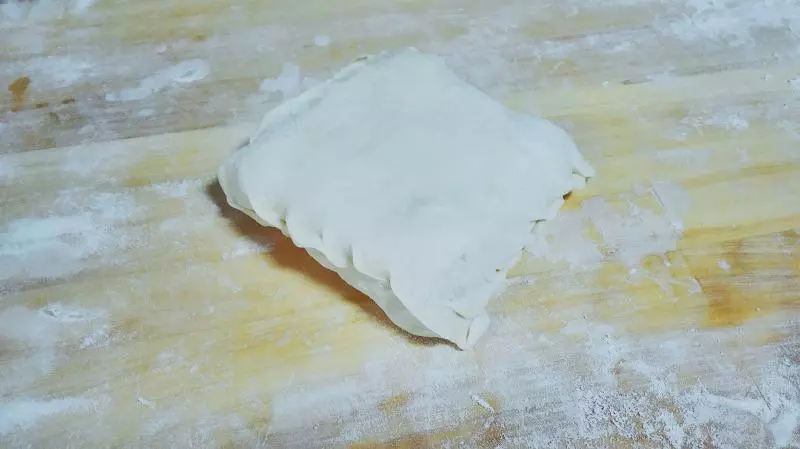
11以此类推,直到叠到预留的左面没有撒葱花的那条,一样的叠法,之所以留一条不撒葱花,是因为葱花会划破面皮,烙饼的时候糊糊(。・ω・。)ノ♡用包饺子的手法收边,这样擀的时候和烙的时候里面葱油就不会流出来
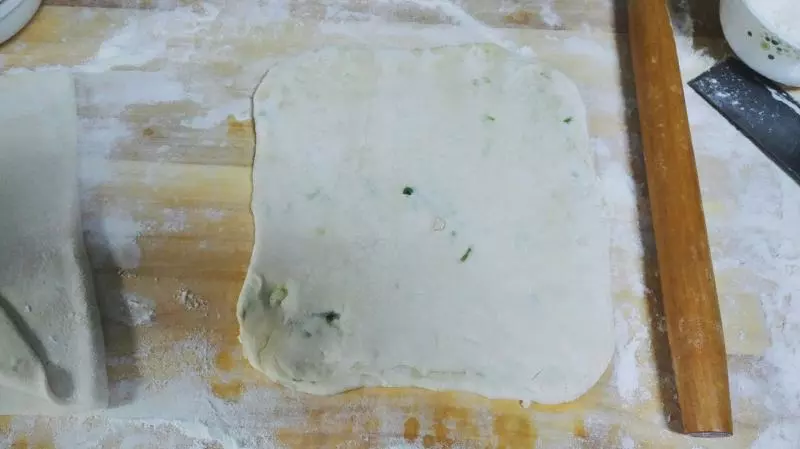
12醒10分钟左右,擀成饼,这张图就可以看出来最后一条不撒葱花的好处啦?
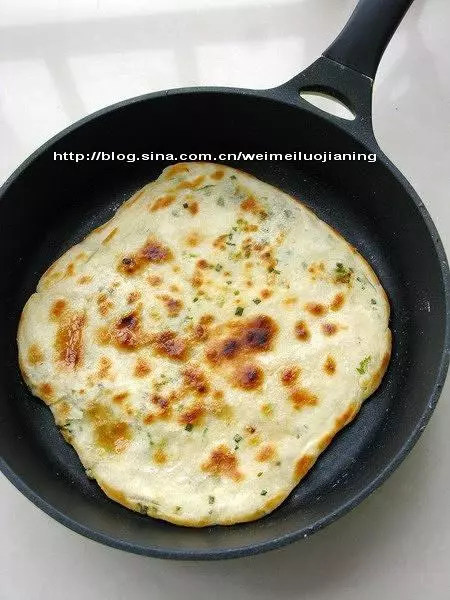
13擀饼的时候就把锅里放油烧上,放入的时候会有呲啦的响声,饼周有小油泡,如果没有,就等一等再放,不然一会火候不好掌握
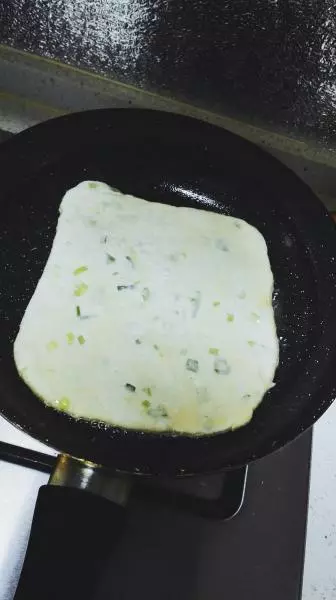
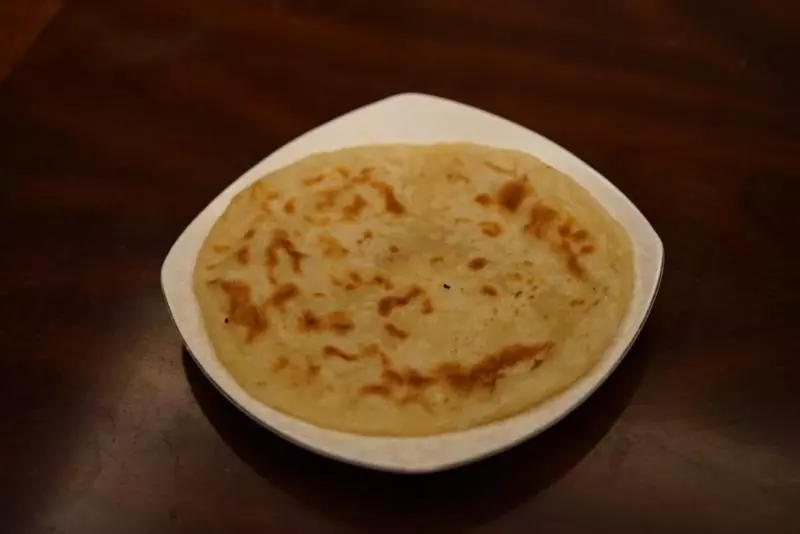
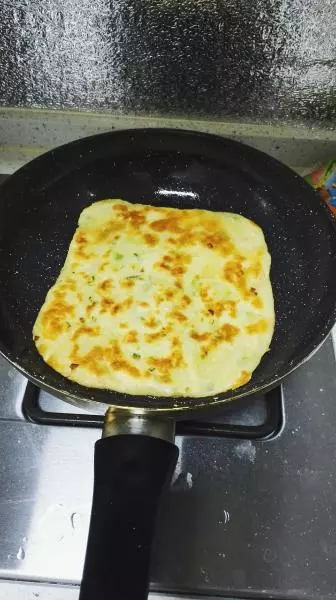
14放入饼后,转小火,盖上锅盖大概一分钟,揭盖,如果病变成了这个颜色,就可以进行下一步了
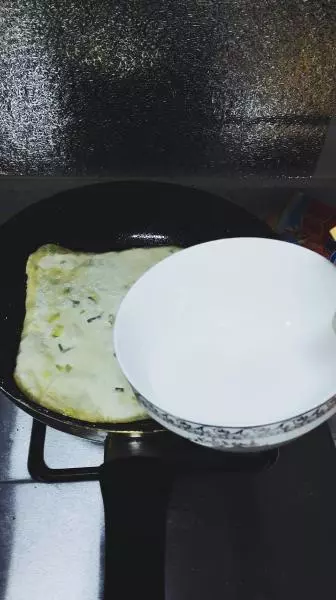
15沿着锅边放一点水,然后迅速把盖子盖上(如果是厨房新手,听到声音可能会害怕,别担心,梁静茹给你勇气٩( 'ω' )و ),会产生大量水蒸气,小心不要嘘着手,这一步的目的就是利用蒸汽使饼的内部迅速成熟,减少烹饪的时间,与煎饺是一个道理
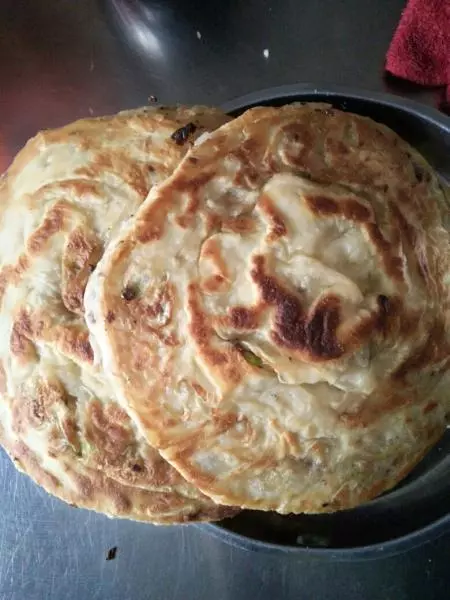
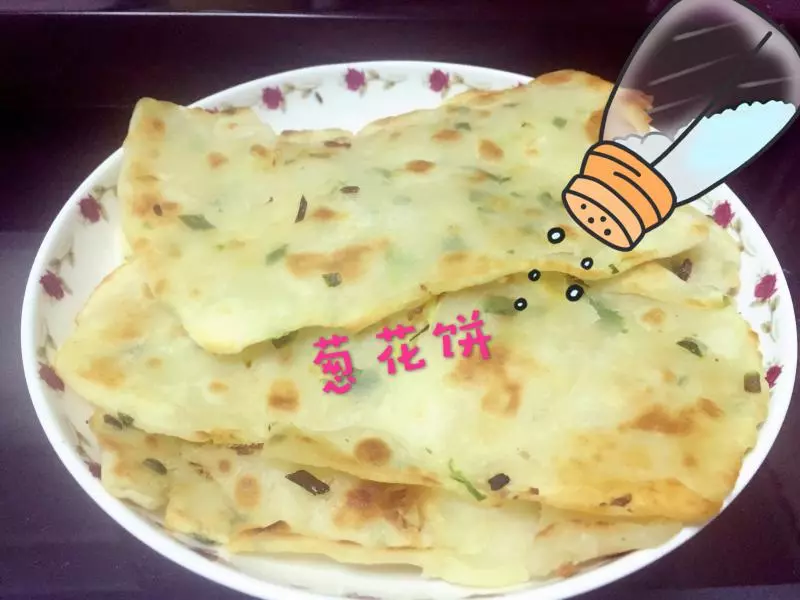
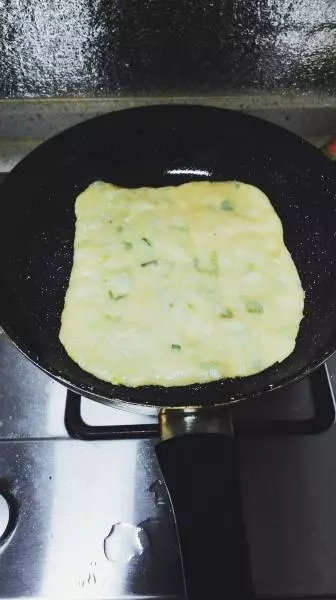
16从锅盖可以看到饼皮在膨胀,等到水耗干了,就可以揭盖了,这时饼的上层已经差不多熟了,在刷一层葱油(。・ω・。)ノ♡关键呦
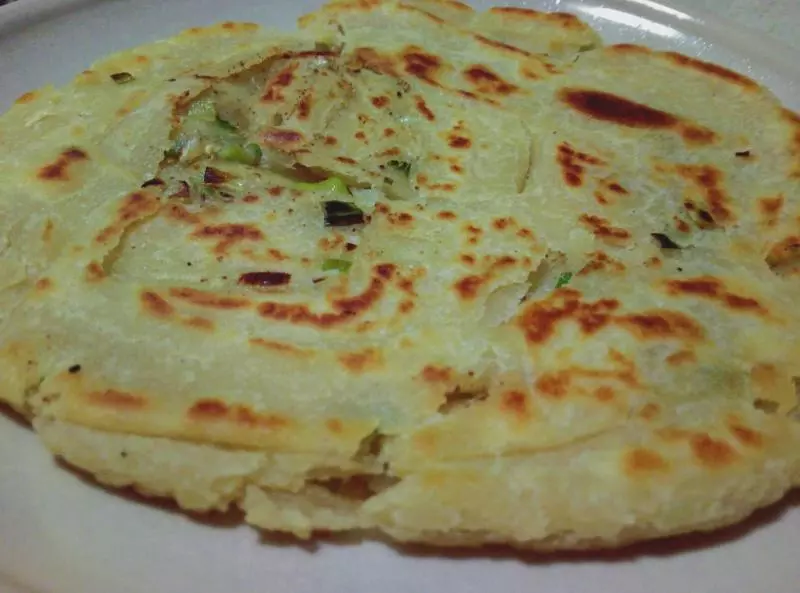
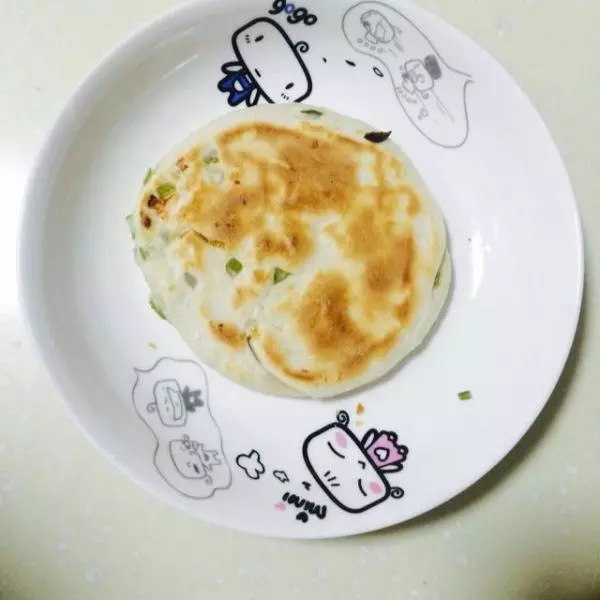
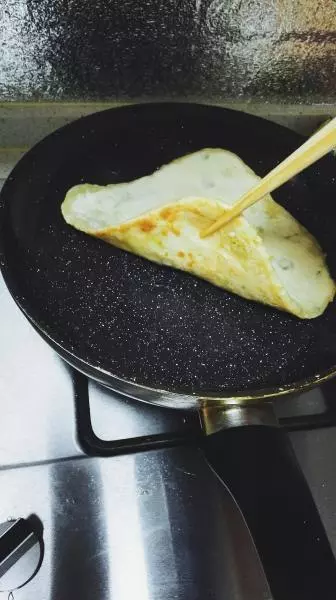
17翻个面,沿四周再放入一些花生油,转转锅使饼均匀沾上油,盖盖子继续烙,2分钟左右看一次,如果和这一面差不多,就可以揭开盖子,再熥1分钟,散掉水汽
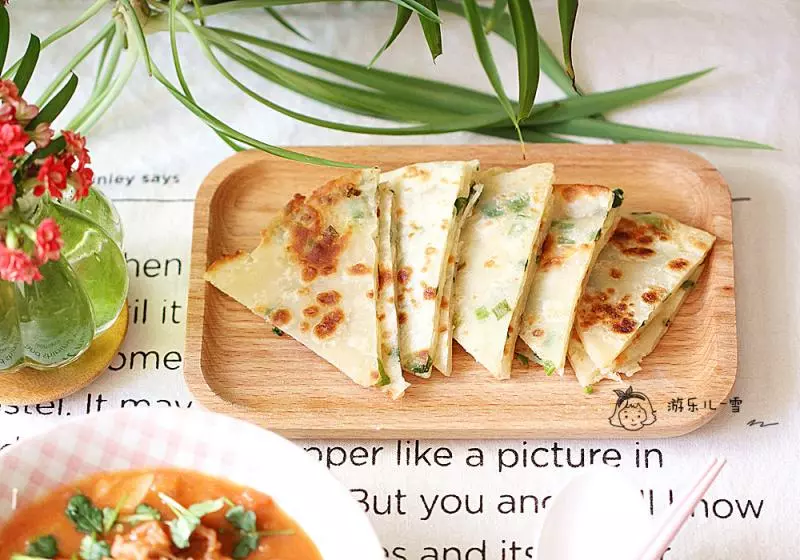
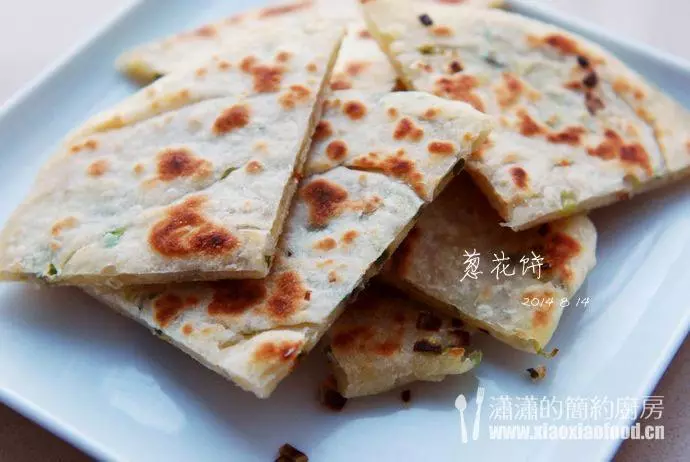
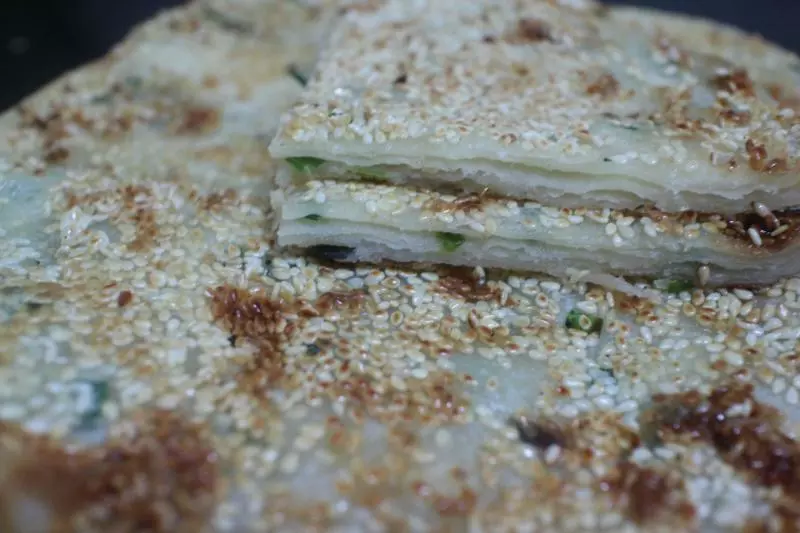
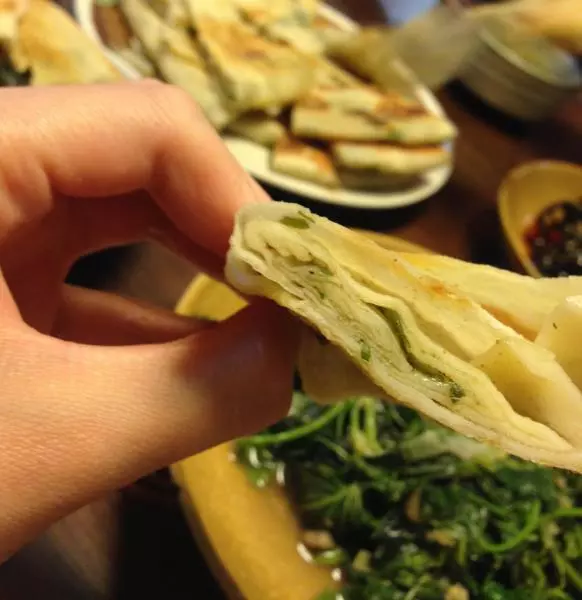
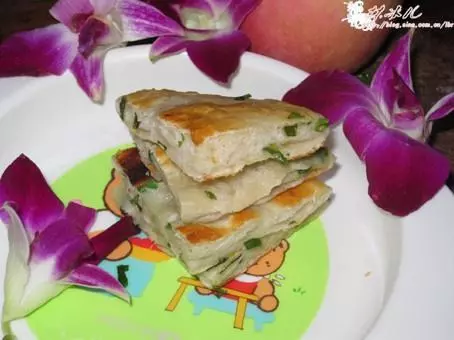
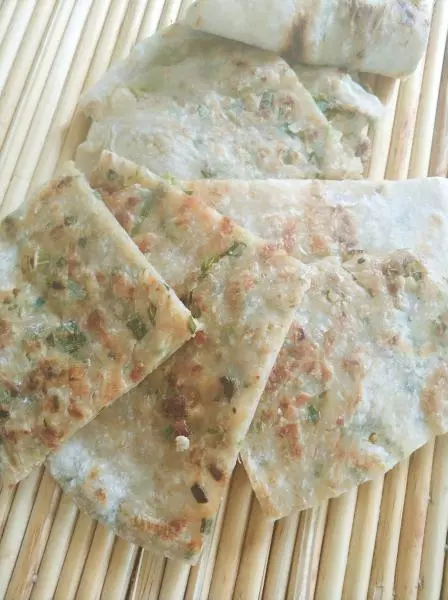
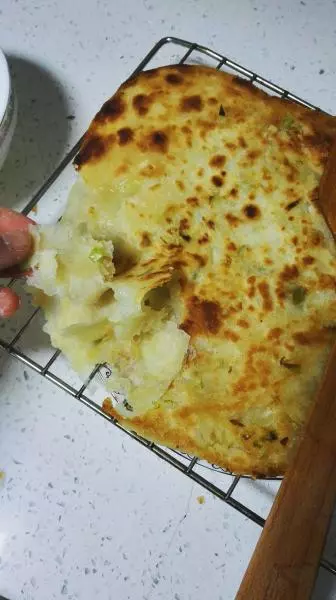
18外焦里软的葱油饼做好了~还有一个关键点,如何保持香脆呢,在盘子上垫上烤架,使饼下方的热气散出去,没有烤架,用两根筷子也可以,只要把底下架空就行,上面晾的温之后,翻个面晾,这样水汽就不会把饼弄软,双面焦脆
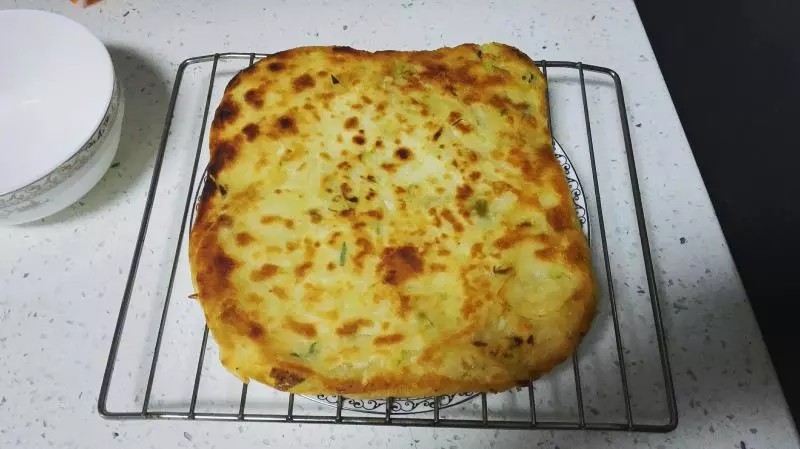
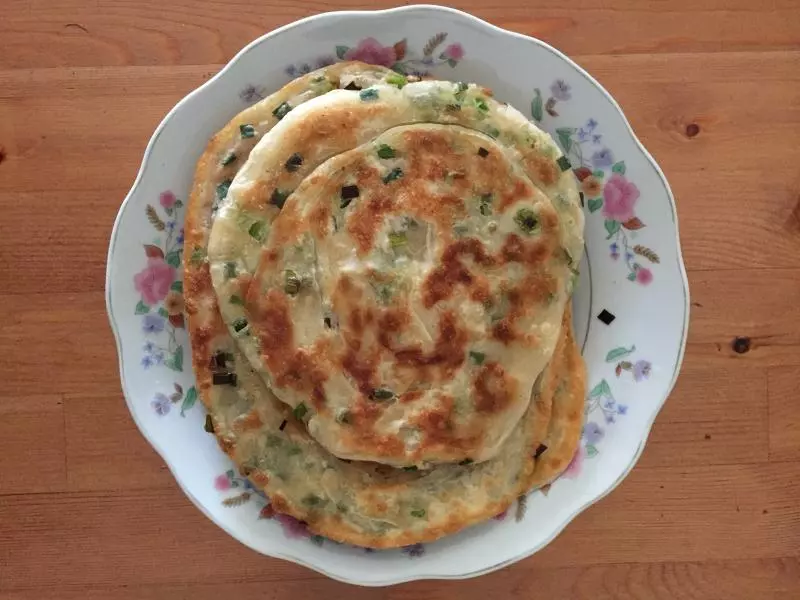
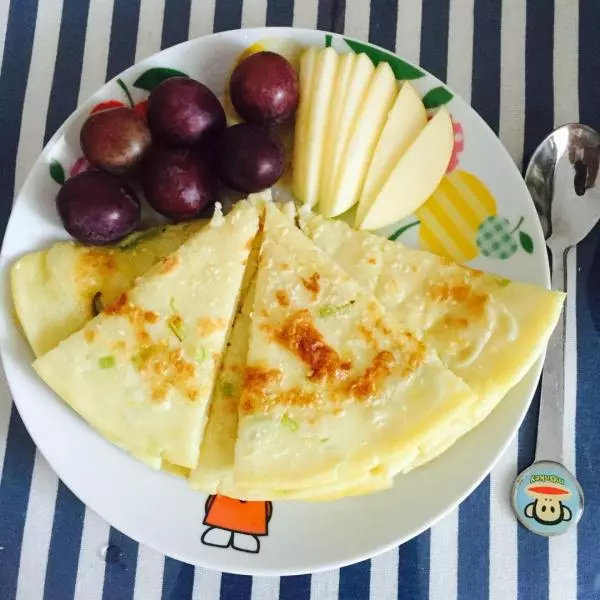
19最后一步,开动吧!趁热吃最棒!

小技巧
1.放凉后用保鲜袋装好放冰箱中,拿出来热的时候,先用微波炉热半分钟,外放入锅里把外皮熥焦,(可以打个鸡蛋粘上)这样也缩短了烹饪时间,很适合忙碌的上班族 2.没有猪油,可以不放,但是一定要有花生油?